This article was co-authored by wikiHow staff writer, Megaera Lorenz, PhD. Megaera Lorenz is an Egyptologist and Writer with over 20 years of experience in public education. In 2017, she graduated with her PhD in Egyptology from The University of Chicago, where she served for several years as a content advisor and program facilitator for the Oriental Institute Museum’s Public Education office. She has also developed and taught Egyptology courses at The University of Chicago and Loyola University Chicago.
There are 7 references cited in this article, which can be found at the bottom of the page.
This article has been viewed 4,554 times.
Learn more...
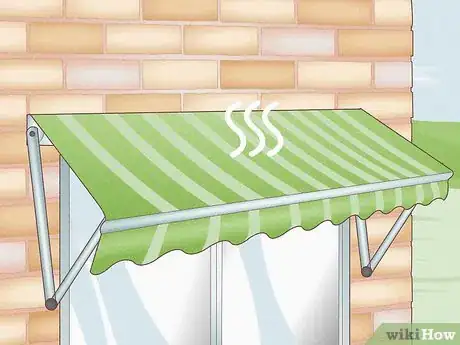
If you have a retractable awning over your window or patio, or attached to your RV, you’ve probably noticed how fast it can start to look dingy. But what’s the safest way to wash an awning, and how do you keep the moving parts clean? In addition to dust and dirt, you may also need to treat your awning for mold, mildew, or algae. In this article, we’ll discuss some of the best ways to clean your retractable awning and tackle those tough stains, as well as what kinds of cleaners work best on common materials, like canvas and vinyl.
Steps
Cleaning the Awning Fabric
-
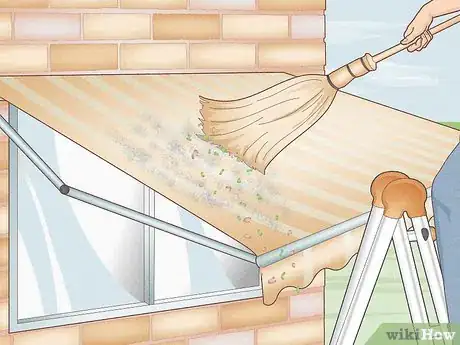
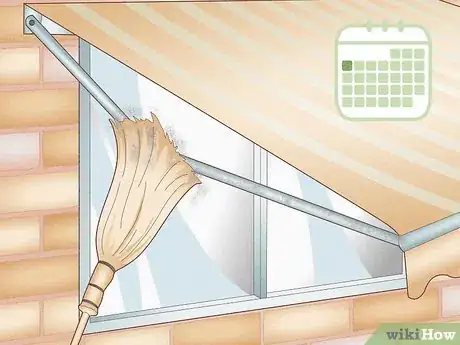
1Sweep off dry debris at least once a month. Grab a clean broom and gently brush any loose dust, dirt, and debris off of your awning. This will help prevent grime from getting set in.[1] Since it’s not usually practical to take a retractable awning down from its mounting for cleaning, you may need to use a ladder to reach all of its surfaces.
- Make sure to sweep the underside of the awning as well as the top, since dust can build up on any surface.
- As you’re sweeping, start from the bottom of the awning and work your way up to the top.[2]
-
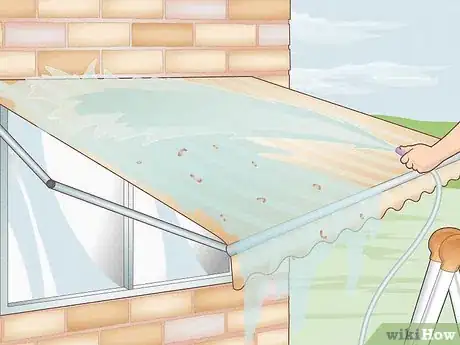
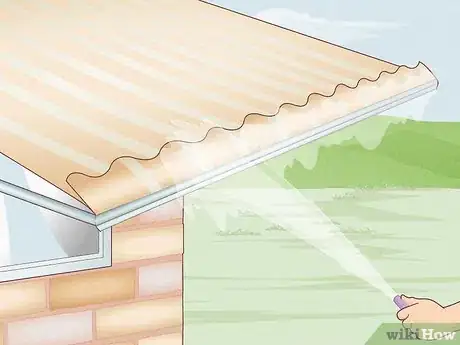
2Hose down the fabric monthly. Rinsing your awning with water will help loosen set-in dust and grime. Grab a garden hose and spray the awning fabric with it.[3] Make sure you rinse both the top and bottom surfaces of the awning.[4]
- If possible, do this on a dry, sunny day so that the fabric dries out faster.
- Unless your awning manufacturer recommends otherwise, use a regular hose instead of a pressure washer. The force of a pressure washer could damage the fabric of your awning.
Advertisement -
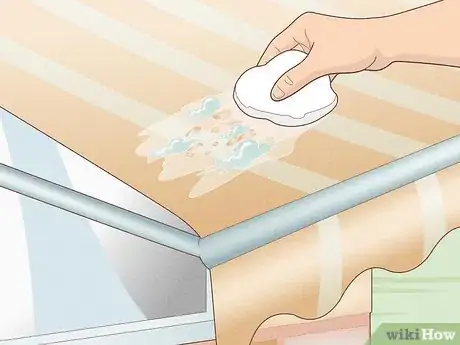
3Spot-clean fresh stains with soap and water. The sooner you clean up stains and dirt, the less likely they are to set in and become permanent. Check your awning regularly for grease stains, bird poop, or tree sap stains and clean them up as soon as possible.[5] If your awning is made of vinyl or another non-porous material, you may be able to simply wipe away these kinds of stains with a damp cloth. For canvas awnings, gently scrub the area with soap and water and a soft-bristle brush.
- Always check the manufacturer’s care recommendations before using any kind of cleaning chemicals on your awning.[6] When in doubt, test the cleaner in an inconspicuous spot to make sure it doesn’t discolor the fabric.
-
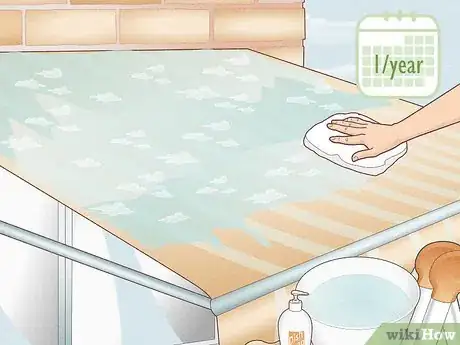
4Wash the fabric with soap and water once a year. For most types of awnings, the best cleaner is soap and water. Fill a bucket with warm water and add a squirt of a gentle cleaner, such as mild dish soap or laundry detergent. Use a cloth, sponge, or soft brush dipped in the soapy water to thoroughly clean the entire awning, including the valance (the decorative frill that hangs in front).[7]
- Be as thorough as possible. Once the awning dries, any spots you missed will be very visible.
- You can also purchase commercial cleaners made specifically for awnings. Make sure you choose an option that is safe for the type of fabric used in your awning (e.g., vinyl or canvas).
-
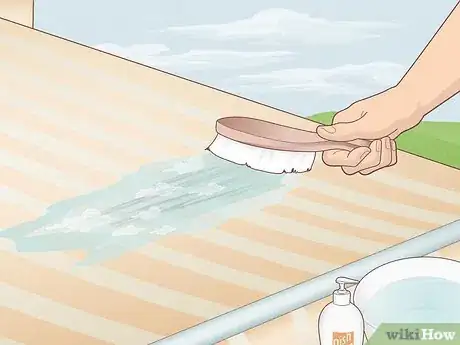
5Scrub stubborn spots with soap and a soft-bristle brush. You may need to use a little elbow grease to get out set-in dirt. After scrubbing the stain, let the soap and water sit for a few minutes to loosen any remaining dirt before rinsing it out.[8]
- Avoid using stiff brushes, since they can tear up the awning fabric.
-
6Treat mold spots with a mildew stain remover. In addition to being unsightly, mold, mildew, and algae can eventually degrade the fabric of your awning and cause holes to form. As you’re cleaning, look for green or black spots. Treat them with a mold or mildew stain remover designed for use on awnings and other outdoor fabrics.[9]
- You can find mold and mildew cleaners at most hardware or home and garden supply stores.
- Always follow the instructions on the label to make sure you’re using the product safely and effectively. Some mold cleaners may recommend wearing gloves or other protective equipment.
- Some awning manufacturers recommend removing mildew with a mixture of 1 cup (240 mL) of bleach, 1⁄4 cup (59 mL) of mild dish soap, and 1 gallon (3.8 L) of water. Let the mixture sit on the stains for about 15 minutes before gently scrubbing the area and rinsing it with clean water.
-
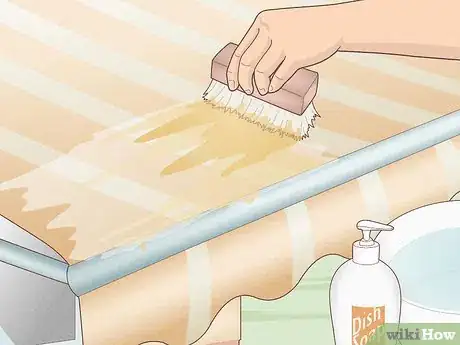
7Use soap and water to clean grease off canvas or vinyl awnings. If you cook near or under your awning, it might occasionally get grease spatters on it. Fortunately, if your awning is made of vinyl, canvas, or coated cotton, most oily stains will come out with soap and water. Gently scrub the area with sudsy water and a soft-bristle brush to remove the stain, then rinse out the soap thoroughly when you’re done.[10]
-
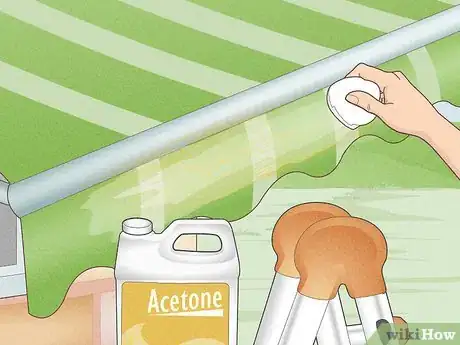
8Dissolve grease stains on acrylic awnings with acetone. For many types of awning fabrics, soap and water is enough to get rid of grease stains. However, some synthetic materials, such as acrylic, soak up oily stains more easily.[11] If you have an acrylic awning, treat grease stains with a bit of acetone (nail polish remover) before scrubbing the area with soap and water.[12]
- Always test acetone in an inconspicuous spot to make sure it doesn’t discolor your awning. You can also check the manufacturer’s guidelines to make sure acetone is safe to use.
-
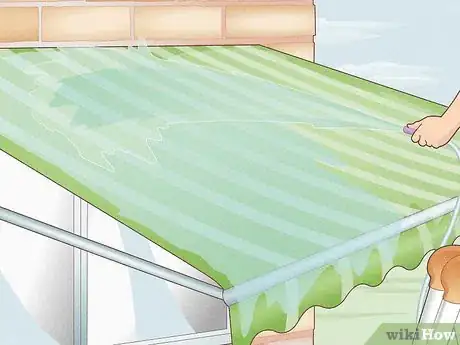
9Rinse the awning with clean water when you’re done. Always thoroughly rinse away any soap or other cleaning fluids, since they could leave behind a filmy residue on the awning fabric. Use a hose to rinse off all surfaces of the awning, including the top, underside, and valence.[13]
-
10Let the awning dry completely before retracting it. If your awning isn’t dry when you roll it up, it could get moldy fast. Leave the awning unrolled so it can air dry thoroughly before you put it away.[14]
- Before you roll up the awning, check it for any spots you missed during cleaning. They’ll become a lot more obvious once the awning is dry.[15]
Maintaining Your Awning’s Moving Parts
-
1Brush away dust on the joints with a broom once a month. Dust and debris can clog up the joints on your retractable awning. To keep this from happening, sweep the arms, joints, rollers, and other moving parts at least once a month, at the same time that you sweep down the fabric.[16]
- A regular kitchen broom or handheld sweeper brush will work fine for this purpose.
- If necessary, get up on a ladder so you can get at hard-to-reach parts of the awning frame.
-
2Hose down the frame when you clean the fabric. When you’re washing the awning fabric, take a moment to wash and rinse the frame, too. To avoid damaging your awning, use a regular garden hose rather than a pressure washer. If you notice any stuck-on grime, wipe it away with a cloth, sponge, or brush dipped in soapy water.[17]
- If you use soap or another cleaning fluid, rinse it away when you’re done.
-
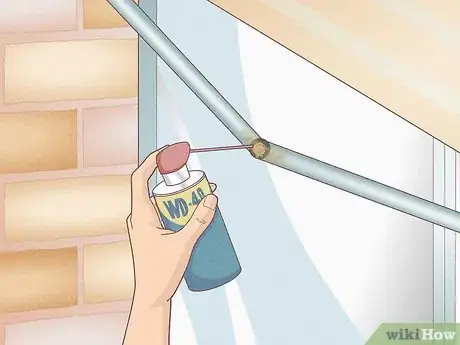
3Tackle rust spots with a lubricant. Inspect the joints, screws, and any other metal parts of your retractable awning for rust and corrosion. If you notice any, spray it with a lubricant, such as WD-40, and wipe it away with a rag.[18]
- When removing rust from moving parts, such as joints, apply the lubricant and then move the joint back and forth a few times until it is moving smoothly.[19]
- Treating rust stains will not only get rid of unsightly discoloration, but will also ensure that the moving parts of your retractable awning keep working the way they are supposed to.
-
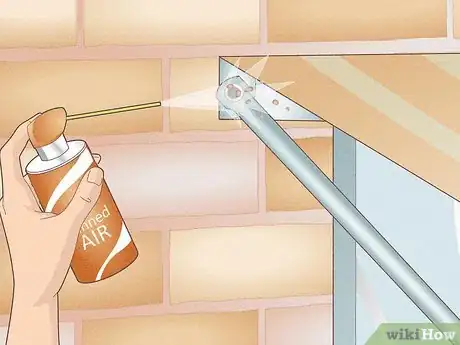
4Spray the gear box or pulley system with canned air. Dust, dirt, dead bugs, and other debris can build up in the mechanisms that control your retractable awning. To keep your awning in good working order, use an air duster to clean out these components from time to time.[20]
- Look for a compressed air duster at your local hardware store, office supply store, or home and garden center.
-
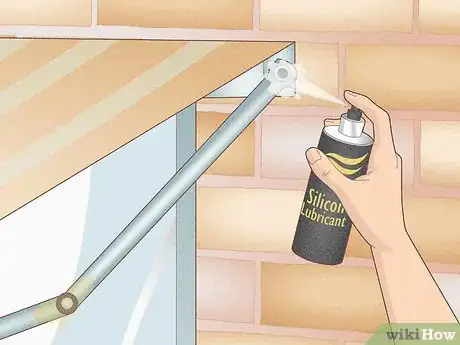
5Lubricate the moving parts with silicone spray once a year. To keep moving parts of your awning (such as the roller tube) working smoothly, you’ll need to lubricate them occasionally. Choose a dry silicone spray and follow the directions on the package to apply it to any joints or moving parts.[21]
- Be careful not to get any of the lubricant on the fabric, since it could leave stains.
References
- ↑ https://awnings.ifai.com/resources/awning-care/
- ↑ https://www.awningresources.com/home-retractable-awning-maintenance-tips/
- ↑ https://awnings.ifai.com/resources/awning-care/
- ↑ https://mygardenzone.com/how-to-clean-and-care-for-your-retractable-awning/
- ↑ https://mygardenzone.com/how-to-clean-and-care-for-your-retractable-awning/
- ↑ https://awnings.ifai.com/wp-content/uploads/sites/6/2016/08/Awning-Care-Tips.pdf
- ↑ https://awnings.ifai.com/resources/awning-care/
- ↑ https://awnings.ifai.com/resources/awning-care/
- ↑ https://www.retractableawningreview.com/awning-cleaning-care/
- ↑ https://mygardenzone.com/how-to-clean-and-care-for-your-retractable-awning/
- ↑ https://www.si.edu/mci/english/learn_more/taking_care/stains.html
- ↑ https://mygardenzone.com/how-to-clean-and-care-for-your-retractable-awning/
- ↑ https://awnings.ifai.com/resources/awning-care/
- ↑ https://mygardenzone.com/how-to-clean-and-care-for-your-retractable-awning/
- ↑ https://awnings.ifai.com/wp-content/uploads/sites/6/2016/08/Awning-Care-Tips.pdf
- ↑ https://www.retractableawningreview.com/awning-cleaning-care/
- ↑ https://www.awningresources.com/home-retractable-awning-maintenance-tips/
- ↑ https://www.retractableawningreview.com/awning-cleaning-care/
- ↑ https://www.thisoldhouse.com/tools/21166221/how-to-remove-rust-from-tools
- ↑ https://www.retractableawningreview.com/awning-cleaning-care/
- ↑ https://www.awningresources.com/home-retractable-awning-maintenance-tips/
- ↑ https://www.retractableawningreview.com/awning-cleaning-care/
