This article was co-authored by Pippa Elliott, MRCVS. Dr. Elliott, BVMS, MRCVS is a veterinarian with over 30 years of experience in veterinary surgery and companion animal practice. She graduated from the University of Glasgow in 1987 with a degree in veterinary medicine and surgery. She has worked at the same animal clinic in her hometown for over 20 years.
There are 8 references cited in this article, which can be found at the bottom of the page.
This article has been viewed 14,820 times.
Malassezia, the most common form of yeast on a dog, is normal to find inside the dog’s ear canal, but too much can create a yeast infection. Dogs tend to get yeast infections when the ear canal gets overly wet or when they have a weakened immune system.[1] When your dog has a yeast infection in its ears, cleaning them out can help with the infection. In order to clean them properly, you need supplies that are safe for your dog’s ears, such as cleanser made specifically for cleaning a dog’s ears. If general cleaning doesn’t clear up the infection, you may also need to apply medication to clean out the infection in the ears. With a bit of proper cleaning and care, you can eliminate the yeast infection in your dog’s ears.
Steps
Getting Veterinary Care for Your Dog’s Infection
-
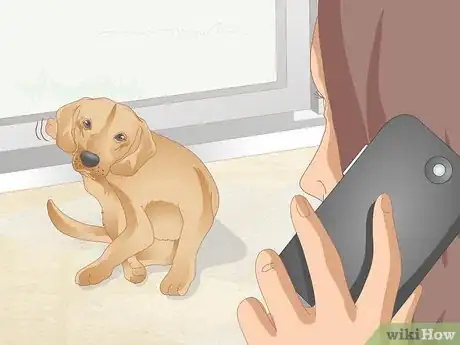
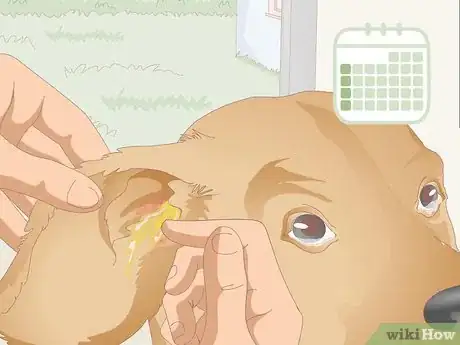
1Contact your veterinarian if your dog has symptoms of an infection. If you suspect that your dog has a problem with its ears, you should have it looked at by a vet. They will look in the ears and they may do diagnostic tests to determine what kind of infection is present. The common symptoms of a yeast infection in the ears include:[2]
- Thick, dark brown or black discharge from the ears[3]
- Rubbing or scratching the ears
- Red, irritated skin
- Scaly skin
- Head shaking
- Rancid smelling ears
- History of allergic skin disease
-
2Follow your veterinarian’s recommendations for treatment. The veterinarian will either diagnose your dog based on the smell and the amount of thick brown wax in your dog’s ears, or they will look at the wax under a microscope to determine the cause. Once they recognize it’s an infection, they will tell you how to treat the condition. Follow their recommendations, which, for a yeast infection, usually include cleaning the ears, applying medication, and watching for changes in the dog’s symptoms.
- If your dog’s condition is not severe, your vet may simply suggest that you clean your dog’s ears daily.
- If the condition is severe, meaning the infection likely won’t clear up on its own, your vet will likely prescribe you medication.
Advertisement -
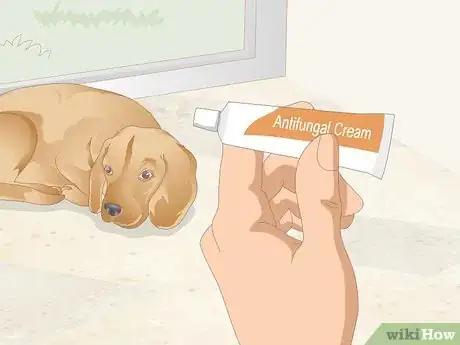
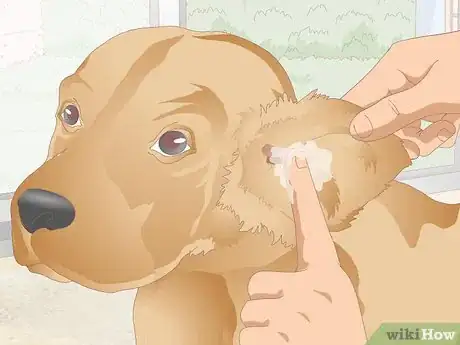
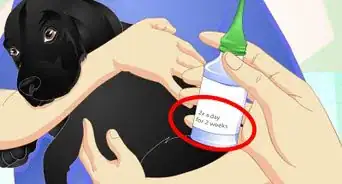
3Put topical medication in your dog’s ears. If your vet prescribes a topical antifungal ointment or cream, apply it according to the directions you are given. In most cases, you will apply it in the ear once or twice a day right after cleaning the area. Massage the ear canal right after application to ensure that the medication is spread around the inner ear.[4]
- If your vet gave you drops, you will hold the ear open by holding the tip of the ear with one hand. Then use your other hand to drop the designated amount of drops into the ear canal.
- If your vet gives you an ointment, put the amount recommended in the instructions on your finger. Hold the ear open by the tip with your other hand and then put the ointment in the ear canal with your finger. Wash your hands right after application.
- Medications you may be prescribed for your dog include clotrimazole, nystatin or thiabendazole, among others.[5]
Tip: If you are applying an ointment, consider wearing a glove while applying it with your finger. This will keep your hands clean and will prevent you from accidentally putting additional bacteria into your dog’s ear.
-
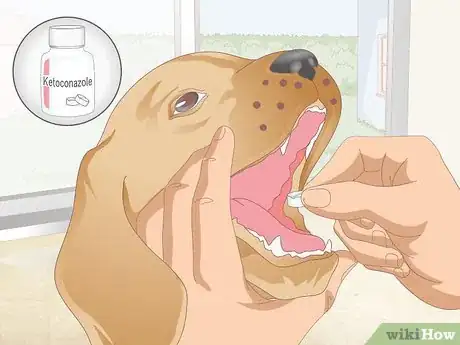
4Give your dog a systematic medication if topical medication doesn’t work. If you have treated your dog’s infection, cleaning the ears and putting medication in the ears, and your dog’s yeast infection won’t go away, contact your vet again. They may prescribe a systemic anti-fungal medication, such as ketoconazole, itraconazole, or fluconazole.[6]
- These medications are usually only given if the infection is advanced or won’t go away after weeks of another type of treatment.
- Your vet may prescribe other medications to fight against underlying conditions that weaken the immune system, such as allergies. This way, your dog will be less likely to develop yeast infections.
Rinsing Out Your Dog’s Ears
-
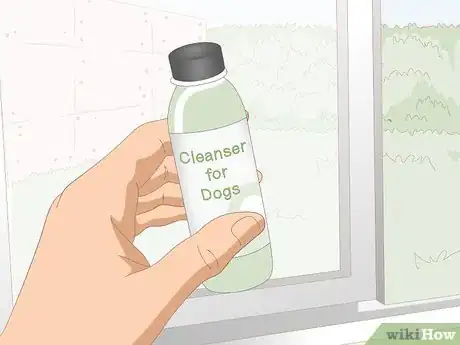
1Purchase a cleanser made specifically for cleaning dog ears. Go to your local pet supply store and purchase a cleaner that says it can be used in the ears. These products can be put into the ear canal without damaging the eardrum or other parts of the ear.[7]
- Ask your veterinarian about what products will work best for your dog. They may have a prescription product that will be very effective at cleaning the ears.
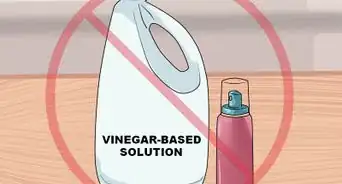
Warning: Don’t get a cleaner that contains alcohol or hydrogen peroxide. These chemicals can dry out the skin in your dog’s ears.
-
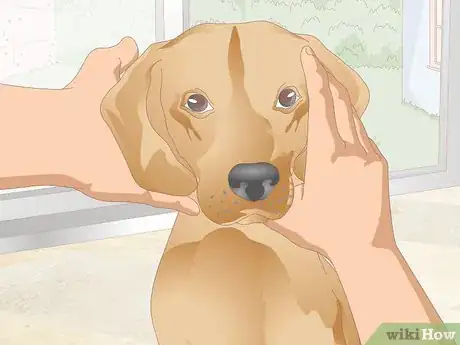
2Position your dog in front of you and hold it still. In order to get your dog’s ears clean without injuring it, you need to keep the dog still. If you have a small dog, put it on your lap facing out. If you have a large dog, put it in front of you on the ground while you sit in a chair and hold it still.[8]
- It can be difficult for a dog to put up with having its ears cleaned. If your dog doesn’t like the procedure, you may need someone else to help you hold your dog while you do it.
-
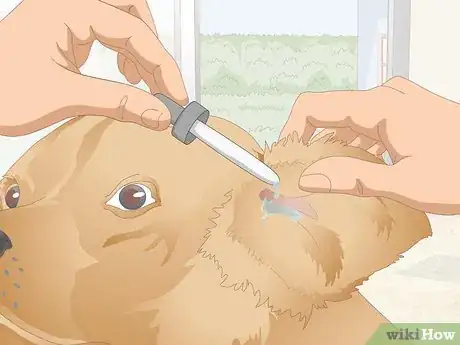
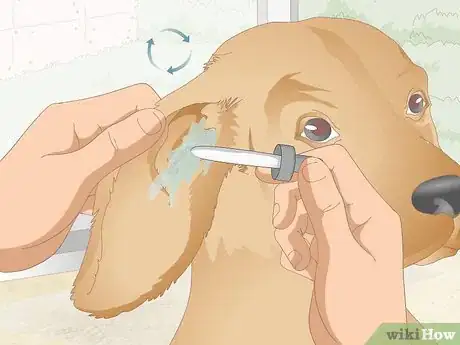
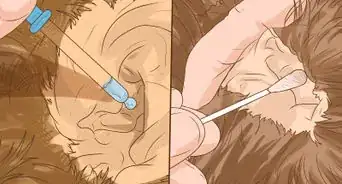
3Put drops of cleaning solution into your dog’s ears. With one hand, gently pull up the flap of your dog’s ear to open up the ear canal. With your other hand, drop the cleaning solution liquid into the dog’s ear canal. Hold your dog still while they drain down into the ear.[9]
- Follow the directions on the packaging of the cleaning solution, including how many drops to put in each ear. In many cases, you will put in enough drops to fill the ear canal.
-
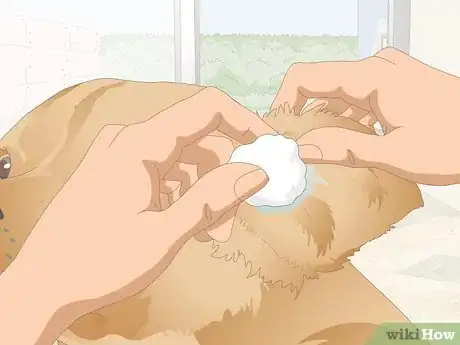
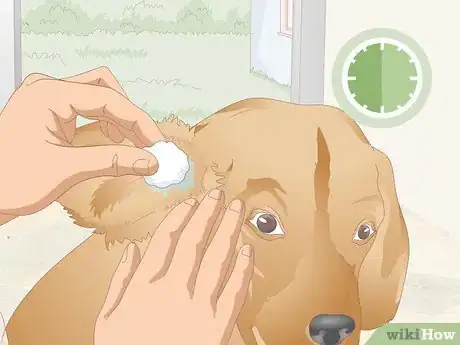
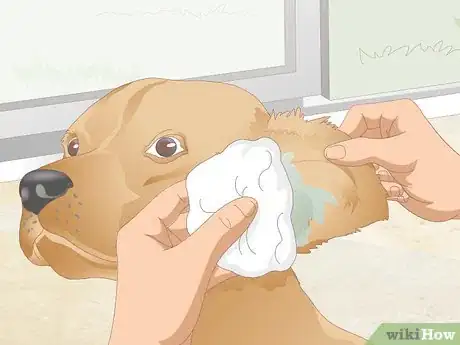
4Remove the liquid with cotton balls or pads. Place a cotton ball or cotton pad over the opening of your dog’s ear. Lean the dog’s head toward the cotton ball or pad so that the cleaning solution comes out of the ear canal and onto the cotton.[10]
- Leave the dog’s head tilted for a few seconds to give time to let the moisture drain.
- Leaving moisture in your dog’s ear can exacerbate the infection, even if the moisture is an ear-cleaning solution.
Warning: Don’t use cotton swabs to clean your dog’s ears because there is a risk of you inserting them too far into the ear canal, which can puncture the eardrum.[11]
-
5Clean each of your dog’s ears once or twice a day. In order to eliminate the fungal infection, you will need to keep your dog’s ear really clean. Use the cleanser daily, even if the condition appears to be improving, until all of the symptoms are gone.[12]
Preventing a Yeast Infection in Your Dog’s Ears
-
1Check your dog’s ears weekly for discharge, odor, or swelling. Part of keeping your dog healthy is assessing its body for health problems on a regular basis. Lift its ears and look inside the ear canal for symptoms of an infection.
- If you see small amounts of redness, peeling, or excessive dirt or debris, your dog should have its ears cleaned.
Warning: If the inside surface of the ears look infected, such as if there is a lot of inflamed skin that looks painful, contact your vet.
-
2Dry your dog’s ears after they get wet. Moisture in your dog’s ears can promote the growth of yeast. To keep this from happening, use a towel or cotton ball to remove as much moisture as possible after your dog has been swimming or has gotten its head wet otherwise.[13]
- Use a clean towel when you dry your dog's ears. Using a dirty towel can introduce fungus or bacteria into the ear canal, instead of keeping it clean.
-
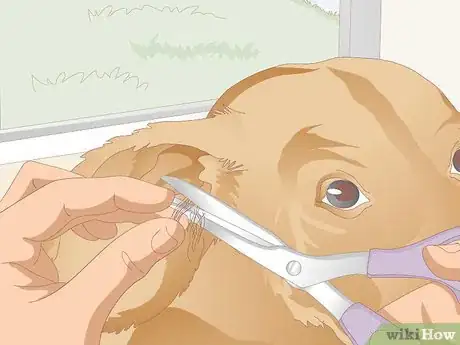
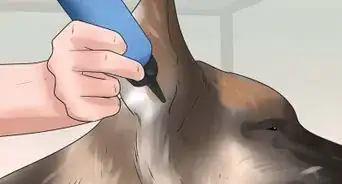
3Trim fur out of your dog’s ears. If your dog has fur in its ears, trimming it away will help prevent an infection because less dirt and bacteria will be able to stay in the ear canal. Either ask your groomer to clear out the fur in the ears when you get your dog groomed or do it yourself with grooming tools.
- Removing the fur in the ears will allow your dog to keep their ears cleaner and will allow you to inspect the state of their inner ear more easily.
- Be wary of plucking hair from your dog’s ears since it could cause inflammation, which can weaken your dog’s skin and make it vulnerable to a secondary infection. Talk with your vet to determine the best course of action.
-
4Clean the ears of dogs with floppy ears on a regular basis. Dogs with big floppy ears are more prone to ear infections. The flap of the ear keeps dirt and debris in the ear canal and the ear being covered makes the canal more moist and humid, which encourages the growth of yeast.[14]
- This does not mean that a dog without floppy ears can’t get a yeast infection. It is just less likely.
References
- ↑ https://www.willows.uk.net/specialist-services/pet-health-information/veterinary-dermatology/malassezia-dermatitis
- ↑ https://pethelpful.com/dogs/Home-Remedies-for-Dog-Ear-Yeast-Infection
- ↑ https://www.msdvetmanual.com/ear-disorders/otitis-externa/overview-of-otitis-externa
- ↑ https://vcahospitals.com/know-your-pet/instructions-for-ear-cleaning-in-dogs
- ↑ https://www.petfinder.com/dogs/dog-health/dog-ear-yeast-infection-treatment/
- ↑ https://vcahospitals.com/know-your-pet/yeast-dermatitis-in-dogs
- ↑ https://vcahospitals.com/know-your-pet/instructions-for-ear-cleaning-in-dogs
- ↑ https://vcahospitals.com/know-your-pet/instructions-for-ear-cleaning-in-dogs
- ↑ https://www.preventivevet.com/dogs/how-to-clean-your-pets-ears
- ↑ https://vcahospitals.com/know-your-pet/instructions-for-ear-cleaning-in-dogs
- ↑ https://vcahospitals.com/know-your-pet/instructions-for-ear-cleaning-in-dogs
- ↑ https://www.petfinder.com/dogs/dog-health/dog-ear-yeast-infection-treatment/
- ↑ https://healthypets.mercola.com/sites/healthypets/archive/2018/11/28/otitis-externa-dogs.aspx
- ↑ https://pethelpful.com/dogs/Home-Remedies-for-Dog-Ear-Yeast-Infection
