This article was co-authored by Erik Bakirov. Erik Bakirov is a Cleaning Specialist at Room413 Cleaning in Los Angeles, California. Erik specializes in deep, move-in, and move-out cleaning services. Room413 matches homeowners with reliable and trustworthy cleaning services. They also promote environmentally friendly cleaning products.
This article has been viewed 24,268 times.
Fluorescent lights usually have a white or clear plastic cover that diffuses the light from the bulbs. These types of plastic covers can yellow over time, which makes them look old and dingy. If you have a fluorescent light cover that’s seen better days, don’t despair! You don’t have to throw it out and replace it just yet. Try whitening your yellowed light cover using hydrogen peroxide and UV rays to bring it back to life.
Steps
Removing and Washing the Cover
-
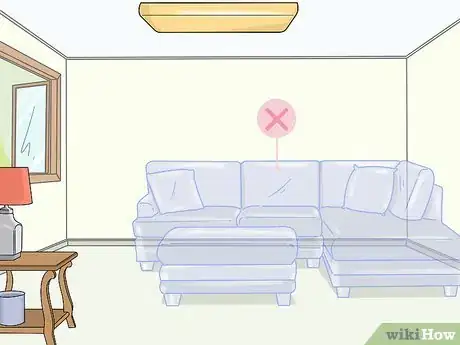
1Clear away furniture and other objects from underneath the light cover. Move any furniture or other objects located underneath the light cover to the side. Light covers tend to accumulate a lot of dust, dead insects, and other dirt, so this will ensure you don’t drop all that debris on your furniture or other items when you remove the cover.
- If anything is too big to move or you don’t have space to relocate it to, you can cover items with improvised drop cloths, such as tarps or old sheets.
-
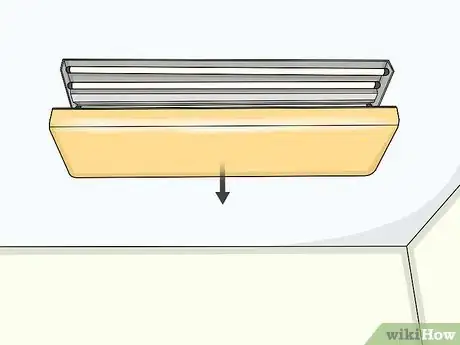
2Take off the light cover carefully. Unscrew and remove any screws holding the light cover in place and set them somewhere safe where you will be able to find them again later, such as in a cup or dish. Carefully lift the cover off the fluorescent light fixture, trying your best to avoid dumping dust and debris everywhere.[1]
- The exact technique for removing your light cover depends on the specific light fixture you have. For example, some types of flat covers can just be pushed up into the fixture at an angle that allows you to slide them out. Other types of round or square covers might have screws through the sides that hold them in place.
Advertisement -
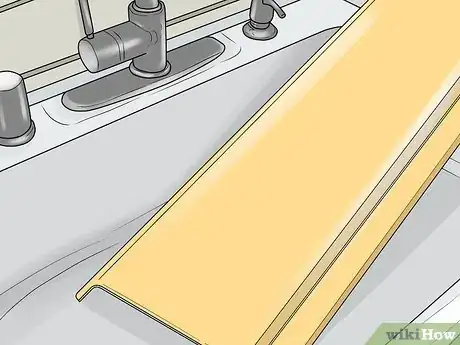
3Put the light cover in a large sink or a bathtub. Gently transfer the dirty light cover to a large sink, such as a kitchen or laundry sink, or your bathtub. Pick whichever spot will be easiest to clean it in.[2]
- If your light cover is super dusty and dirty, try your best to balance it while you carry it to wherever you plan to clean it so that you don’t leave a trail of grime behind you on the way there.
-
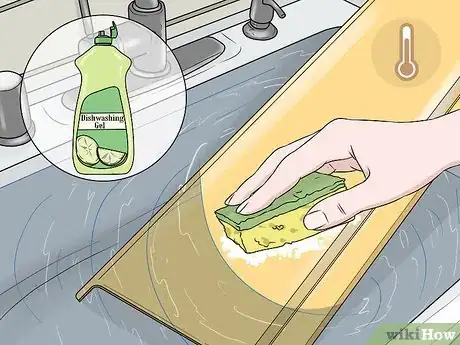
4Use warm water, dish detergent, and a sponge to wash the cover. Fill your sink or tub with enough warm water to comfortably wash the cover without splashing water everywhere. Squeeze a few drops of liquid dish detergent into the water or onto a sponge, then scrub the cover thoroughly with the sponge to remove dust and other grime.[3]
- If the light cover has any stuck-on grease or oils, you can also use a degreasing spray cleaner to help clean it.
- You could also take your light cover outside and clean it with a hose, if you have space to do so and it’s easier.
Warning: Even though it might seem easier, don’t put a fluorescent light cover in a dishwasher to clean it. The cover could break and all your efforts so far will go to waste.
-
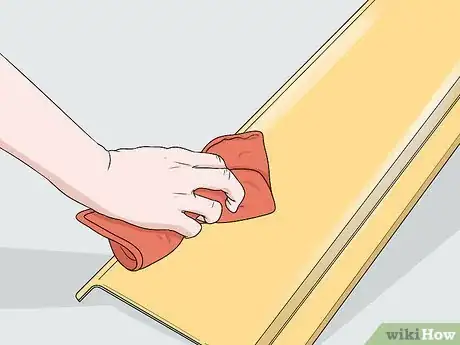
5Dry the light cover off thoroughly with a soft, lint-free cloth. Use a microfiber cloth or another type of soft, lint-free cloth. Rub the cloth all over the light fixture to soak up all the water from the surface.[4]
- If you don’t have a soft, lint-free cloth, you can use an old cotton T-shirt. Consider cutting one up to have some cotton rags handy for other projects around your home that call for soft, lint-free cloths.
Whitening and Replacing the Cover
-
1Choose a sunny day with at least 3-6 hours of daylight left to work. UV rays are a major component of the whitening process, so make sure you have enough hours of sunlight left in the day when you start the job. The temperature is not important,—all you need are the sun’s UV rays.[5]
- Even if the skies are blue and the sun is shining brightly, it’s a good idea to check the forecast as well to make sure that the weather isn’t going to abruptly change in an hour or two.
-
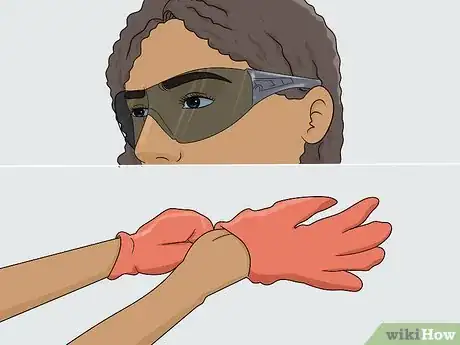
2Put on safety goggles and rubber gloves. You’ll be handling strong hydrogen peroxide during this process. Wear the proper protective gear to protect your eyes and skin against irritation.[6]
- If you don’t have rubber gloves, like the kind used for cleaning, you can wear latex gloves as an alternative. If you don’t have safety goggles, any pair of protective safety glasses is better than nothing.
-
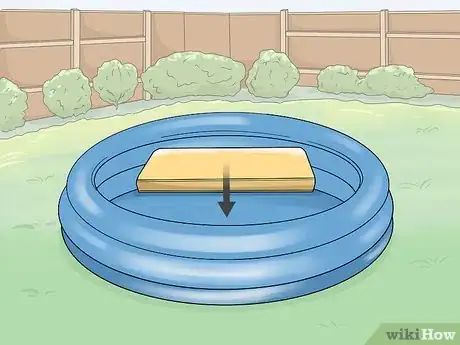
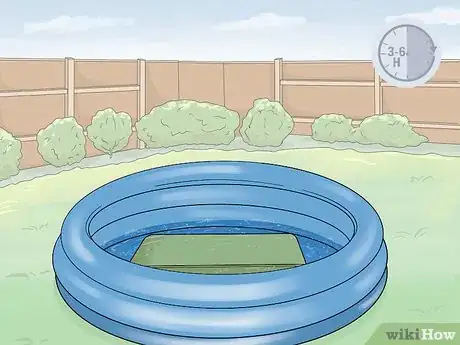
3Place the light cover in a plastic container large enough to submerge it in. Set the cover in something like a large plastic bucket or even a child-sized plastic swimming pool. Anything that is large enough to hold it and cover it in liquid will work.[7]
- Try to choose something that is as close to the size of the light cover as possible. This will reduce the amount of hydrogen peroxide required to cover it.
-
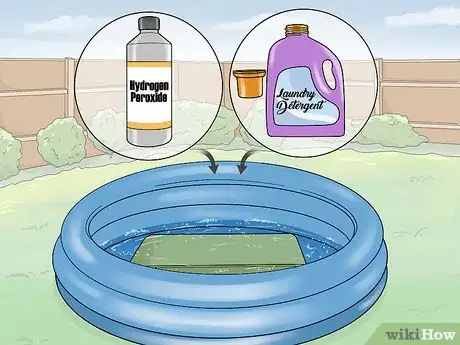
4Submerge the cover in 6-12% hydrogen peroxide and oxy-boosting detergent. Pour in enough high-strength hydrogen peroxide to completely submerge the light cover. Add 1 scoop of an oxy-boosting laundry detergent to the container and mix it in using a spoon or other utensil.[8]
- You can buy high-strength hydrogen peroxide from a hair salon or order it online. The hydrogen peroxide that supermarkets and pharmacies sell is only about 3% strength, which would take a very long time to whiten your light cover with.
- The stronger the hydrogen peroxide is, the faster it will work to whiten your yellowed light cover. Try to use 12% hydrogen peroxide, if you can find it.
- The most well known oxy-boosting laundry detergent brand is OxiClean, but anything with active ingredients that include sodium percarbonate and sodium carbonate will work. These types of detergents come with a scoop you can use to measure it out.
-
5Let the light cover soak for 3-6 hours, checking on it every hour. Leave the cover submerged in the whitening solution under the sun. Check on it every hour to see the progress and leave it alone until it looks whiter, or up to 6 hours.[9]
- If you didn’t have enough hydrogen peroxide to fully submerge the light cover, rotate it every hour or so to submerge any parts that are sticking up out of the whitening solution. You can also flip it over periodically to ensure both sides whiten evenly.
-
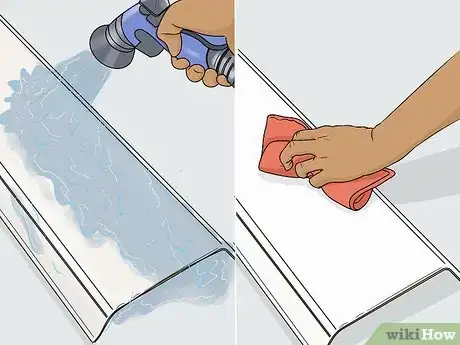
6Rinse and dry the light cover. Remove the light cover from the whitening solution after 3-6 hours of soaking in the sun, or when it no longer looks yellowed. Rinse it off thoroughly with a hose and dry it off completely with a soft, lint-free cloth.[10]
- Dispose of the solution when you're done.
- If you don’t have a hose available to rinse the cover with, fill a bucket with water and splash it onto the cover to rinse it off. Repeat this several times to remove all traces of the hydrogen peroxide.
Tip: Unlike regular bleach, hydrogen peroxide actually won’t harm your grass or any other plants it comes into contact with. It can actually be good for plants and soil, in small doses.
-
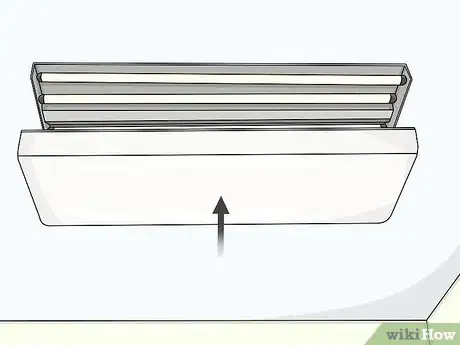
7Put the light cover back on your fluorescent light fixture. Slide or push the cover back into place over the light bulbs. Reattach any screws you previously removed to secure it in place.
- If the light bulbs themselves are dusty or dirty, give them a quick wipe-down with a wet wipe or a damp rag before you reattach the light cover.
Expert Q&A
Did you know you can get expert answers for this article?
Unlock expert answers by supporting wikiHow
-
QuestionHow do you clean clear plastic that has yellowed?
 Erik BakirovErik Bakirov is a Cleaning Specialist at Room413 Cleaning in Los Angeles, California. Erik specializes in deep, move-in, and move-out cleaning services. Room413 matches homeowners with reliable and trustworthy cleaning services. They also promote environmentally friendly cleaning products.
Cleaning Specialist
Warnings
- Always wear protective gloves and eyewear when you handle high-strength hydrogen peroxide.⧼thumbs_response⧽
Things You’ll Need
- Safety goggles
- Rubber gloves
- Plastic container
- Hydrogen peroxide
- Oxy-boosting laundry detergent
- Sunlight
- Sponge
- Dish detergent
- Spoon
- Screwdriver (optional)
References
- ↑ https://diffuserspecialist.com/does-your-fluorescent-light-cover-need-cleaning/
- ↑ https://www.houselogic.com/remodel/painting-lighting/clean-room-light-fixtures/
- ↑ https://www.houselogic.com/remodel/painting-lighting/clean-room-light-fixtures/
- ↑ https://www.houselogic.com/remodel/painting-lighting/clean-room-light-fixtures/
- ↑ https://diffuserspecialist.com/does-your-fluorescent-light-cover-need-cleaning/
- ↑ https://diffuserspecialist.com/does-your-fluorescent-light-cover-need-cleaning/
- ↑ https://diffuserspecialist.com/does-your-fluorescent-light-cover-need-cleaning/
- ↑ http://www.retrofixes.com/2013/10/how-to-clean-whiten-yellowed-plastics.html
- ↑ https://diffuserspecialist.com/does-your-fluorescent-light-cover-need-cleaning/
