This article was co-authored by Barry Zakar. Barry Zakar is a professional handyman and the founder of Little Red Truck Home Services based in the San Francisco Bay Area. With over ten years of experience, Barry specializes in a variety of carpentry projects. He is skilled at constructing decks, railings, fences, gates, and various pieces of furniture. Barry also holds his MBA from John F. Kennedy University.
There are 14 references cited in this article, which can be found at the bottom of the page.
This article has been viewed 51,332 times.
If your halogen light bulb has stopped working, it's likely time for it to be replaced. When changing a halogen light bulb, it's important not to touch the bulb directly with your fingers. Switch the power source off before removing any protective casing holding the light bulb. Pull the bulb out of the fixture and install the new one by lining up the prongs so they fit inside the grooves. Once your light bulb is pushed back into place, you're ready to turn the power back on and enjoy your new light.
Steps
Switching off the Power and Collecting Essentials
-
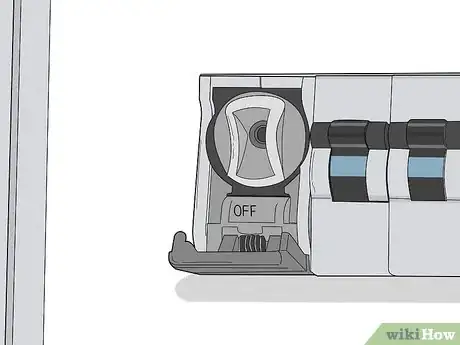
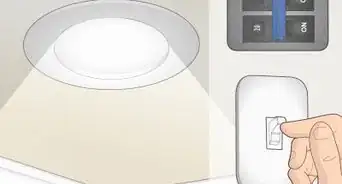
1Switch the power source off to make sure you don’t injure yourself. Switch the power off if your light is connected through the wall, or unplug your light source if possible. If you’re ever in doubt as to whether the light is truly off or not, turn the power off using the fuse box to be sure.[1]
- If you don’t switch the power source off, you could get electrocuted or badly injured due to the running electricity in the light bulb.
-
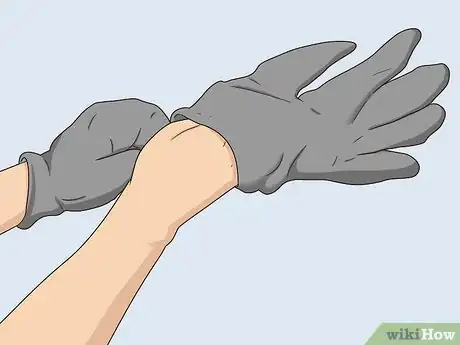
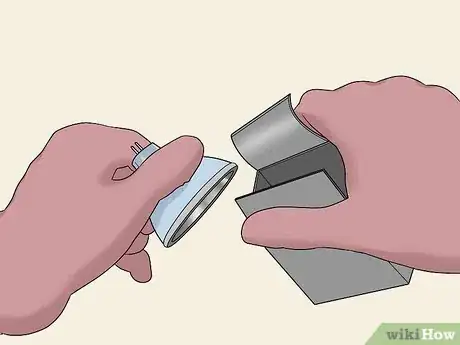
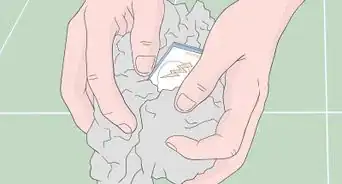
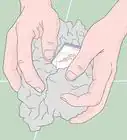
2Cover your hands with gloves or a rag so you don’t touch the bulb. Touching a halogen light bulb with your bare hands can ruin the bulb or make it last a shorter period of time due to the oils on your fingers. Put on thin fabric gloves or cover your hand with a cloth so you’re ready to change the bulb.[2]
- Make sure your hands are dry before touching the bulb, even if they’ll be covered up.
Advertisement -
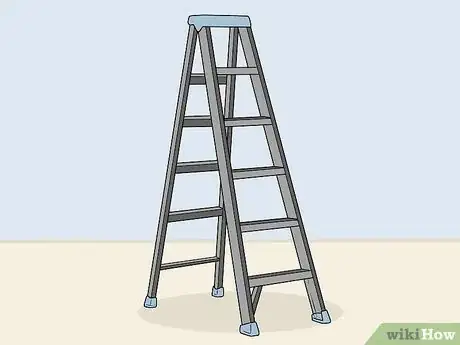
3Use a stable chair or ladder to change hard-to-reach bulbs. Because many halogen light bulbs are in the ceiling or high light fixtures, it may be necessary to find something sturdy to stand on to reach the light bulb more easily. Use a step stool or chair that props you up enough that you can see and reach the light bulb easily.[3]
- Avoid standing on your tip-toes to reach the light bulb—you need to be stable and balanced to be able to replace it properly.
-
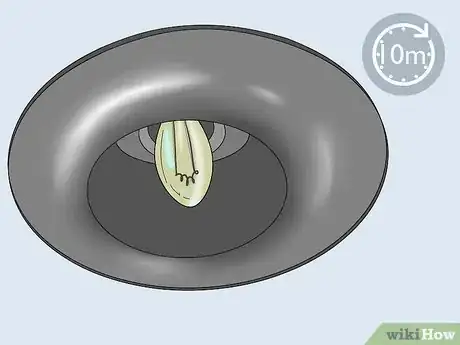
4Let the bulb sit for at least 10 minutes to cool down before touching it. Halogen light bulbs can get very hot when they’re on. After turning the lights off, wait about 10 minutes for the bulb to cool down before you start changing it.[4]
- Do a quick touch test to see if the bulb is cool enough after the 10 minutes have passed.
- If changing your halogen light bulb requires you to unclip the bulb using a metal prong, it’s best to wait 20 minutes for the metal to cool down.
-
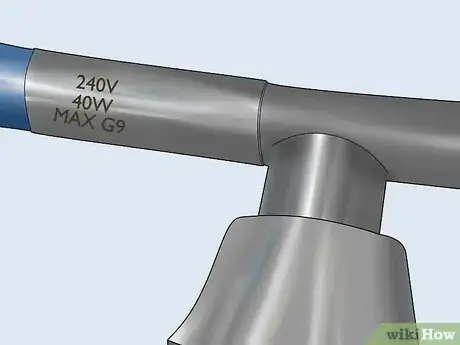
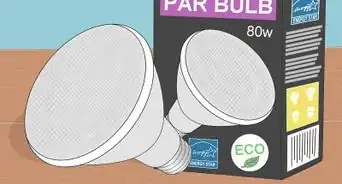
5Replace your halogen light bulb with a bulb of the same type. There are several different kinds of halogen light bulbs, such as a G4, G9, GU10, and so on. Make sure you’ve purchased the correct replacement for your light bulb, noting the specific type as well as the wattage of your old one. If you’re not sure what type of halogen light bulb you have, unscrew it from its fixture and look for labeling that will tell you exactly what kind it is.[5]
- The fixtures are often marked with stickers or other labels telling you the voltage, wattage, and specific type of halogen bulb needed.
- For example, G4 and G9 halogen bulbs are very small, while GU10 and MR16 light bulbs are larger and often found in ceilings around the house.
Removing the Halogen Bulb
-
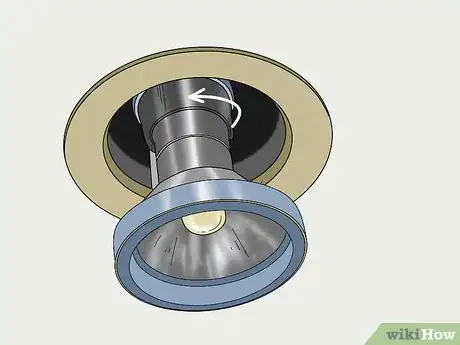
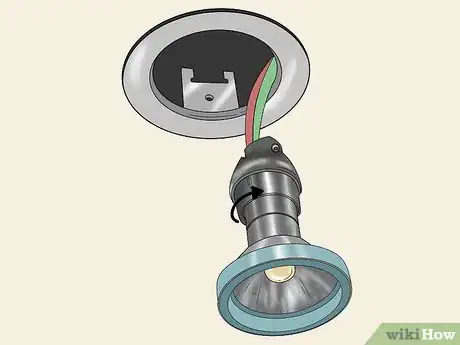
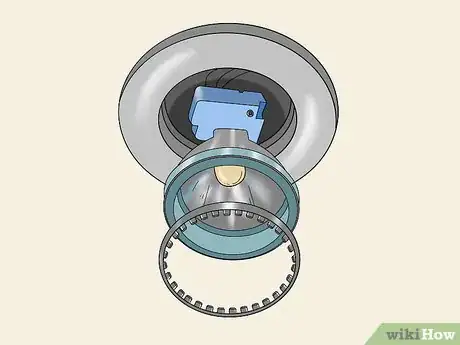
1Loosen the light bulb by twisting or pulling on the enclosure, if necessary. Some halogen bulbs can be pulled out directly, while others will be held in place with things like a clip or an outer ring. Squeeze the metal clip together to remove the fixture, or twist the outer ring to the left until the fixture comes out.[6]
- Use needle nose pliers to remove the metal clip, if desired.
- If you see three bumps spaced evenly around the trim, grip the trim using the bumps and twist the fixture to the left to remove it.
- Put aside any clips or enclosures that you removed so you don’t lose them.
-
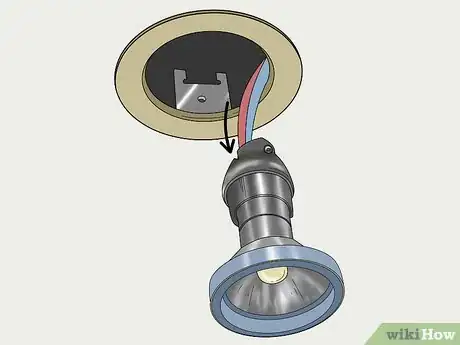
2Bring the wiring down so you can see the connection. After you twist or pull on the fixture’s trim, the light bulb should loosen from the ceiling or other fixture, remaining attached to the ceiling by the wiring. Pull the bulb close to you so you can see the socket that the bulb is attached to.[7]
- As you’re looking at the socket that's attached to the wiring, see if the bulb will require twisting to loosen it, or if you can just pull it straight out.
- If your bulb needs twisting, the socket will be rounded and closed around the end of the bulb. A bulb that just needs to be pulled out won't have a real socket around it.
-
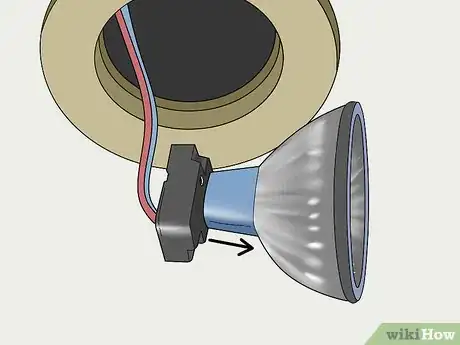
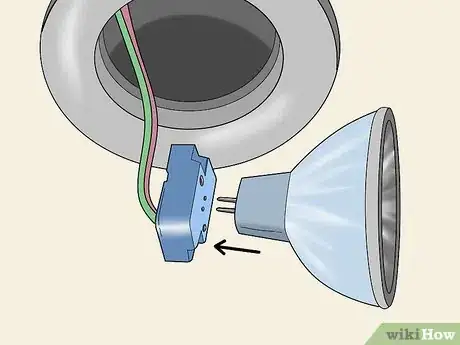
3Pull the halogen bulb straight out if it doesn’t require twisting. Smaller types of halogen light bulbs, like a G9 or G4, don’t require twisting to remove them. Simply grasp the bulb using your covered fingers or a tool, and pull directly outwards. The prongs will come loose from the notches and the bulb will be completely removed.[8]
-
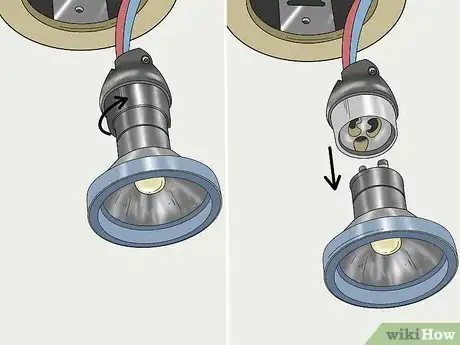
4Twist the bulb to the left and pull it out, if twisting is required. If you need to twist the bulb to loosen it, you’ll see that the bulb is attached by a rounded disk. Grasp the bulb and twist it in one movement to the left. This should release the bulb. Pull the bulb directly outwards, and it will come completely loose.[9]
- It’s often necessary to twist the bulb out for larger halogen light bulbs like a GU10 or MR16.
- The two prongs will come loose from the round disk after you twist and pull outwards.
Installing the New Light Bulb
-
1Remove the new bulb from the packaging with your fingers still covered. Because you’re now handling the brand-new light bulb, it’s especially important to remember not to touch the bulb with your bare fingers. Take the new halogen bulb out of its packaging, double-checking to make sure it’s the right kind that will fit the specific fixture.[10]
-
2Line up the prongs to fit in the grooves correctly and push them in. Your new halogen bulb will have two prongs just like the old one. Line the prongs up so that they fit into the grooves of the fixture. Push inwards until the grooves are fully connected.[11]
- The prongs should only need a light push to move into the grooves. If you’re having to push hard and they’re still not going in, check to see if there’s something like a small piece of metal blocking their path.
-
3Twist the halogen bulb to the right to lock it in place, if needed. If you had to twist your bulb to the left to remove it from the wiring and fixture, you’ll need to twist it to the right to lock it back in place once the prongs are attached. Twist it to the right until it no longer moves and is reattached to the wiring.[12]
-
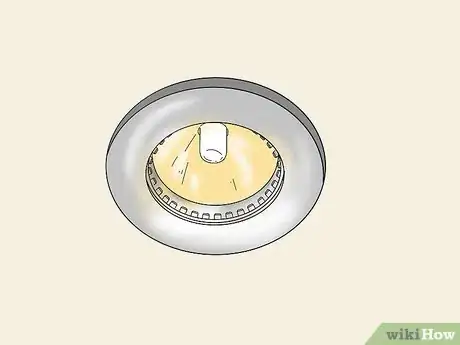
4Reattach any protective covering that you removed earlier. Hold the light in the fixture with one hand and use the other hand to reattach any coverings or metal rings. If it had a metal ring, push the ring back into place around the bulb until it clicks in. If you unscrewed the trim around the light to remove it, press the trim so it’s flush against the fixture and twist it to the right to reattach it.[13]
- Use pliers to reattach the metal wire if desired, making it easier to push the round metal ring into place.
-
5Turn on the power to see if your new light bulb works. Once the halogen bulb is fully installed, you can plug back in any cords that you previously unplugged. Turn the power source back on and enjoy your newly installed halogen light.[14]
Expert Q&A
Did you know you can get expert answers for this article?
Unlock expert answers by supporting wikiHow
-
QuestionHow do you find your fuse box?
 Barry ZakarBarry Zakar is a professional handyman and the founder of Little Red Truck Home Services based in the San Francisco Bay Area. With over ten years of experience, Barry specializes in a variety of carpentry projects. He is skilled at constructing decks, railings, fences, gates, and various pieces of furniture. Barry also holds his MBA from John F. Kennedy University.
Handyman Look for the fuse box in your garage, basement, or closet. Sometimes they may be attached to your house outdoors. You can turn off the main power switch in the fuse box, which will be the largest switch. You can also cut the power to the specific room you're working in if your fuse box is labeled with each room.
 -
QuestionIs it hard to change out a lightbulb?
 Barry ZakarBarry Zakar is a professional handyman and the founder of Little Red Truck Home Services based in the San Francisco Bay Area. With over ten years of experience, Barry specializes in a variety of carpentry projects. He is skilled at constructing decks, railings, fences, gates, and various pieces of furniture. Barry also holds his MBA from John F. Kennedy University.
Handyman
-
QuestionHow do I know if the power is actually off?
 Barry ZakarBarry Zakar is a professional handyman and the founder of Little Red Truck Home Services based in the San Francisco Bay Area. With over ten years of experience, Barry specializes in a variety of carpentry projects. He is skilled at constructing decks, railings, fences, gates, and various pieces of furniture. Barry also holds his MBA from John F. Kennedy University.
Handyman
Warnings
- Avoid touching the halogen light bulb using your fingers or it may stop working.⧼thumbs_response⧽
- Turn the lights and power source off before starting to change the light bulb.[15]⧼thumbs_response⧽
References
- ↑ Barry Zakar. Handyman. Expert Interview. 16 July 2020.
- ↑ https://www.youtube.com/watch?v=7KIJqdboVIA#t=1m37s
- ↑ https://www.saazs.com/how-to-change-a-2-pin-halogen-light-bulb/
- ↑ https://www.popularmechanics.com/home/a27968863/light-bulb-types-buying-guide/#
- ↑ https://www.youtube.com/watch?v=7KIJqdboVIA#t=1m
- ↑ https://www.youtube.com/watch?v=KSvbu9oDR1M#t=11s
- ↑ https://www.youtube.com/watch?v=USvLN6EDLk4#t=28s
- ↑ https://www.youtube.com/watch?v=4D-Ft-YF4yY#t=1m22s
- ↑ https://www.youtube.com/watch?v=USvLN6EDLk4#t=35s
- ↑ https://www.youtube.com/watch?v=5XFipCGtVJo#t=8s
- ↑ https://www.youtube.com/watch?v=4D-Ft-YF4yY#t=1m40s
- ↑ https://www.youtube.com/watch?v=USvLN6EDLk4#t=1m41s
- ↑ https://www.youtube.com/watch?v=4D-Ft-YF4yY#t=1m57s
- ↑ https://www.youtube.com/watch?v=KSvbu9oDR1M#t=2m4s
- ↑ Barry Zakar. Handyman. Expert Interview. 16 July 2020.
