This article was co-authored by wikiHow Staff. Our trained team of editors and researchers validate articles for accuracy and comprehensiveness. wikiHow's Content Management Team carefully monitors the work from our editorial staff to ensure that each article is backed by trusted research and meets our high quality standards.
There are 9 references cited in this article, which can be found at the bottom of the page.
This article has been viewed 42,465 times.
Learn more...
If you’re into crafting, there’s nothing craftier than crafting your own craft table! Taking the DIY approach to creating a special work area to tackle craft projects is simple—all you’ll need is a blank door slab or desktop to serve as your work surface, one or two modular shelving units for the base, and a few wood screws to hold it all together. You could even get creative and use materials like rolling shelves or sawhorses as your table’s base for a custom crafting experience.
Steps
Assembling a Basic Craft Table
-
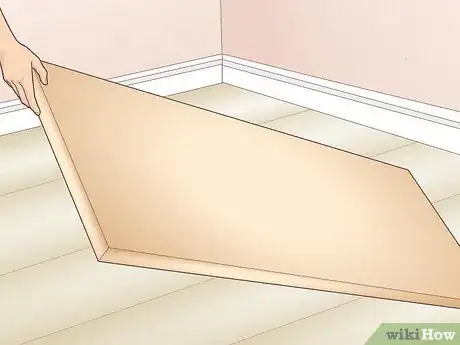
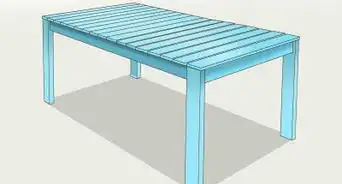
1Purchase a blank door slab or desktop to serve as your work surface. Because of their rectangular shape and thick, sturdy construction, these materials make a perfect ready-made top for a DIY craft table. Look for a door slab or desktop that’s around 50–60 inches (130–150 cm) in length and 30–40 inches (760–1,020 mm) wide. This will give you plenty of space to play with and store your crafting materials.[1]
- You can find blank door slabs and premade tabletops at most hardware stores and home improvement centers.
- For a custom-size tabletop, you can also pick up a sheet of 3⁄4 inch (1.9 cm) plywood and cut it to your preferred specifications.[2]
-
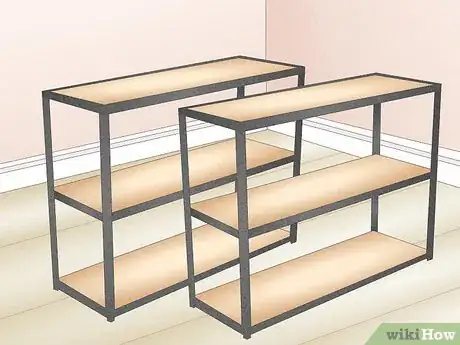
2Use a pair of modular shelving units as the base. There are a couple major benefits to opting for modular shelving units over ordinary table legs. Not only do they offer accessible built-in storage, they also tend to be just the right height to allow you to either sit or stand comfortably, which is useful if you spend a lot of time laboring at your craft table.[3]
- Modular shelving units are available at all major furniture and home goods stores, and come in all different shapes and sizes. Look for a matching set that meets both your storage needs and style preferences.[4]
- If you happen to find a particularly large shelf that catches your eye, you may be able to get away with using a single unit as your base rather than two separate units.
Advertisement -
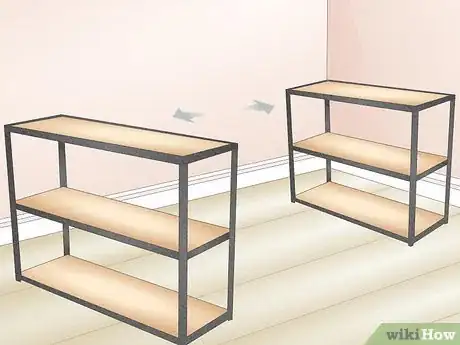
3Space your shelving units no wider than the length of the tabletop. Setting the outer edges of the shelves flush with the ends of the tabletop will provide the maximum amount of legroom underneath. Alternatively, by moving them in 2–3 inches (5.1–7.6 cm), you can create a short overhang on both sides, which may be more aesthetically pleasing. Decide on a spacing that best suits your intended use.[5]
- If you plan on sitting down at your craft table, try to leave at least 30 inches (76 cm) of open space beneath to give yourself plenty of legroom.
- Use a tape measure to double-check the spacing and alignment of the shelving units before you install the tabletop.
-
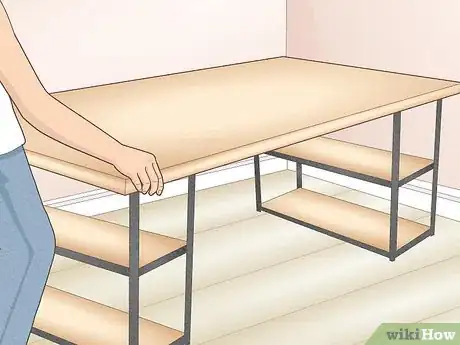
4Set your makeshift tabletop on top of your base. Once you’ve got the tabletop in position, check to make sure it’s perfectly centered. If you just want a convenient place to tinker with small craft projects, you could simply call it a day here. Otherwise, proceed to fasten your work surface to the shelving units to ensure that it’s stable enough to handle bigger, more involved crafts.[6]
- For the sake of stability, it’s important to make sure your tabletop is properly positioned, whether your base consists of one or two shelving units.
-
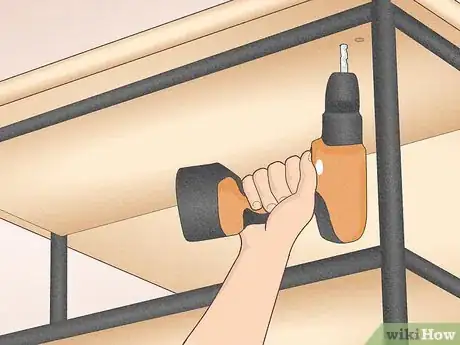
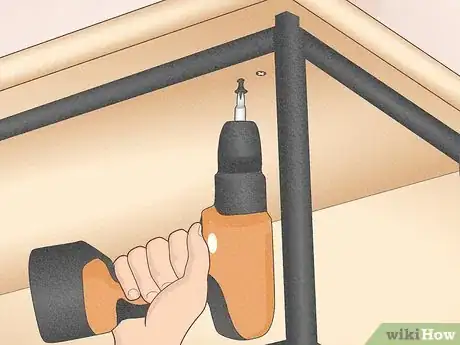
5Pre-drill screw holes through both the shelving units and tabletop. Use a power drill to bore a series of holes up through the top of the shelving units and into the bottom surface of the tabletop. If space allows, open up 2 screw holes in each corner where your base meets your work surface to guarantee that they’re secure.[7]
- The holes you drill should be the same diameter (or very slightly larger) as the wood screws you’ll be using to fasten the table.[8]
- Be careful not to drill all the way through the tabletop, or you could end up ruining the pristine appearance of your work surface.
-
6Screw the tabletop to the shelving units to hold the table together. Now that you’ve drilled your screw holes, all that’s left to do is slip your wood screws inside and tighten them until they’re nice and snug. You can use your drill for this, or do your tightening by hand for a little extra control.
- Rock your completed craft table back and forth a few times once you’ve got it screwed together. If it feels loose or lopsided, you may need to disassemble it and reset the screws.
Customizing Your Craft Table
-
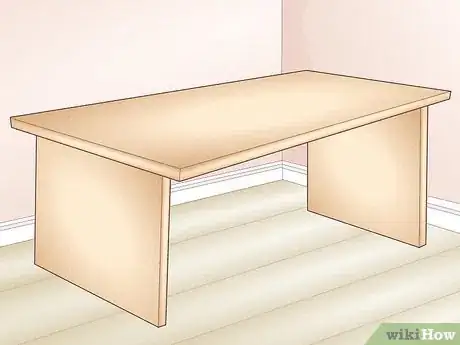
1Try out different materials for your base. If storage isn’t as much of a concern for you, you might cut two sheets of 3⁄4 in (1.9 cm) plywood to whatever height you need and use them as simple, minimalistic supports. Or, you could repurpose a pair of sawhorses for more of a rugged workshop look. Almost anything can be converted into the bottom half of your craft table, so get creative.[9]
- Selecting rolling shelves as your base (or screwing on a set of detachable wheels later on) will make it possible to move your craft table from place to place.
-
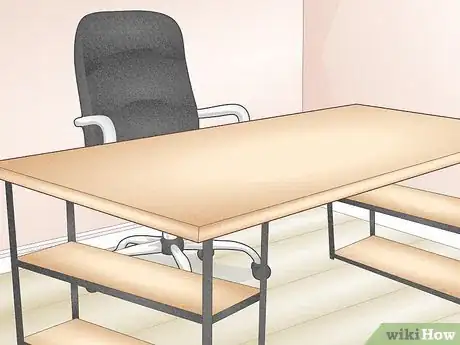
2Leave the back of the table open to make room for a chair or stool. Find a shallow shelving unit long enough span the front of the table, then attach two large table legs to the backside. You’ll then be free to pull up a seat while still having several drawers which you can use to hold small items.[10]
- You can buy individual table legs at any hardware store. It’s a good idea to pick out legs that are slightly bigger than they need to be so you can cut them to match the height of your shelving unit.
- Settling for a half-and-half design is a clever solution if you like to do your crafting seated, but prefer a “closed” style and don’t want to sacrifice storage space altogether.
-
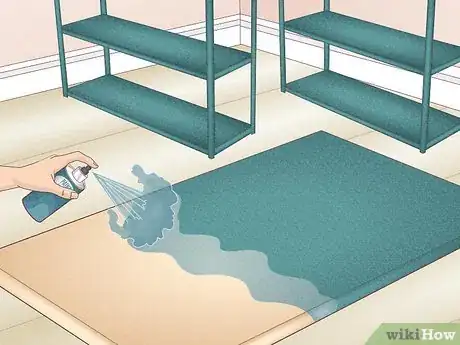
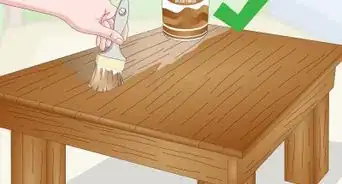
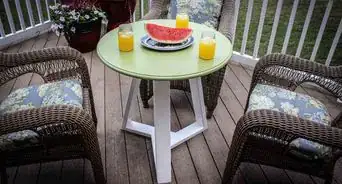
3Paint your various components whatever color you like. Before you put your table together, brush or spray it with 2-3 coats of water-based paint. That way, you won’t be forced to stick with whatever color your tabletop and shelving units came in. Painting is a quick and easy way to add a splash of personality to your craft table.
- Let each coat of paint dry to the touch before applying the next one. This will usually take 4-6 hours, but drying times may vary depending on what type of paint you’re using, so be sure to follow the instructions on the label.[11]
- If you plan on using your craft table in your garage or another open-air space, consider finishing it with a topcoat of clear outdoor varnish to protect it from moisture, scratches, and exposure to the elements.
-
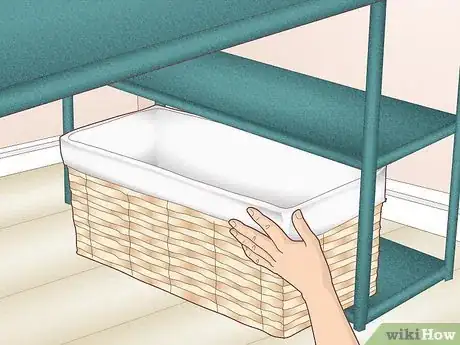
4Incorporate other storage solutions to keep your materials organized. The shelves built into the base of your table will work nicely for stashing large materials. To keep up with smaller items like paint brushes, fabric samples, and hand tools, slide baskets onto the shelves and sort your various supplies into them. They’ll function as handy internal organizers.[12]
- Plastic lidded containers are preferable for storing supplies that could easily be spilled or misplaced, such as loose beads, glitter, paint, and any kind of liquid.[13]
- Create labels to go on the outside of your baskets and bins so you’ll know what each one holds at a glance.
Community Q&A
-
QuestionHow do I strip a coffee table to re-stain it?
 Ashton GilmoreCommunity AnswerThere are many other articles on how to accomplish this. Search for "how to refinish a table."
Things You’ll Need
- Blank door slab, premade tabletop, or 3⁄4 in (1.9 cm) plywood sheet
- Modular shelving units
- Power drill
- Wood screws
- Tape measure
- Sawhorses or other custom base (optional)
- Individual table legs (optional)
- Chair or stool (optional)
- Water-based paint (optional)
- Outdoor varnish (optional)
- Baskets, bins, and additional storage solutions (optional)
References
- ↑ https://www.shelterness.com/diy-craft-tables-free-plans/
- ↑ http://www.ana-white.com/2010/09/modern-craft-table
- ↑ https://www.icreativeideas.com/25-creative-diy-projects-make-craft-table/
- ↑ https://www.shelterness.com/diy-craft-tables-free-plans/
- ↑ https://www.infarrantlycreative.net/large-craft-table/
- ↑ https://www.diyncrafts.com/40235/crafts/17-easy-to-build-diy-craft-desks-you-just-cant-live-without
- ↑ https://www.infarrantlycreative.net/large-craft-table/
- ↑ https://www.popularmechanics.com/home/how-to/a9517/how-to-drive-screws-like-a-pro-15985749/
- ↑ https://www.icreativeideas.com/25-creative-diy-projects-make-craft-table/
- ↑ https://www.youtube.com/watch?v=gDdC0nPrBMo&feature=youtu.be&t=53
- ↑ https://www.bobvila.com/articles/how-long-does-it-take-paint-to-dry/
- ↑ https://www.diyncrafts.com/40235/crafts/17-easy-to-build-diy-craft-desks-you-just-cant-live-without
- ↑ https://www.icreativeideas.com/25-creative-diy-projects-make-craft-table/2/



-Step-9.webp)


