This article was co-authored by wikiHow Staff. Our trained team of editors and researchers validate articles for accuracy and comprehensiveness. wikiHow's Content Management Team carefully monitors the work from our editorial staff to ensure that each article is backed by trusted research and meets our high quality standards.
The wikiHow Tech Team also followed the article's instructions and verified that they work.
This article has been viewed 65,379 times.
Learn more...
Google Chrome automatically updates itself whenever it detects a new version available. This happens in the background and you won’t even notice it, unless there’s a change on the user interface. You can also manually trigger the checking of the update, if you wish to. iOS and Android can also be set up to automatically update all installed apps, the Chrome app included.
Steps
Updating Google Chrome on the Computer
-
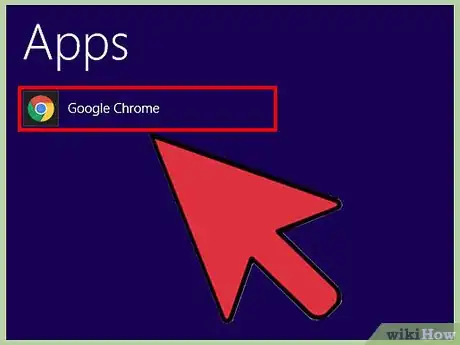
1Launch Google Chrome. Look for Google Chrome on your computer and open it. The web browser will load.
-
2Click on the button with three horizontal bars on the upper right corner of the browser. This will bring down the main menu.Advertisement
-
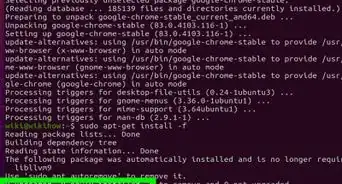
3Trigger the auto-update. Click “About Google Chrome” from the menu. The About page will load. This will also trigger Google Chrome to check for updates.
- You will notice a “Checking for updates” status under the version number of the browser. If an update is found, Google Chrome will apply the update.
-
4Exit Google Chrome. In order to properly apply the update, you have to exit and restart it. Google Chrome will save all your opened tabs and windows.
-
5Restart Google Chrome. Open the browser again. It will automatically open the previous opened tabs and windows so you can continue from where you left off.
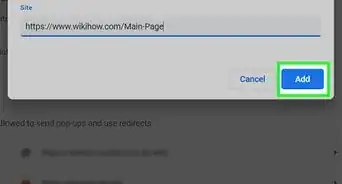
- If you wish to set Chrome to do this automatically when it starts up, open the menu like described above, but click "Settings" from the menu instead of "About Google Chrome". After the page loads, find the "On startup" section (you may need to scroll up/down the page to find it). Once it is found, make sure you have selected the "Open a specific page or set of pages" option. Click the "Add a new page" button and it will ask for a URL. Use the address for the "About Google Chrome" page as the URL (chrome://settings/help) and then click the "Add" button. Doing this will set Chrome to automatically check for updates on when launched.
Updating Google Chrome on iOS
-
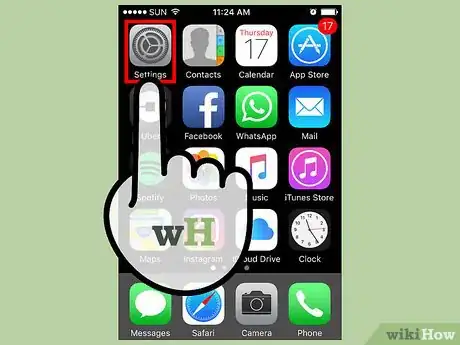
1Open Settings. Look for the Settings app, the one with the gear app icon, and tap it to launch it.
-
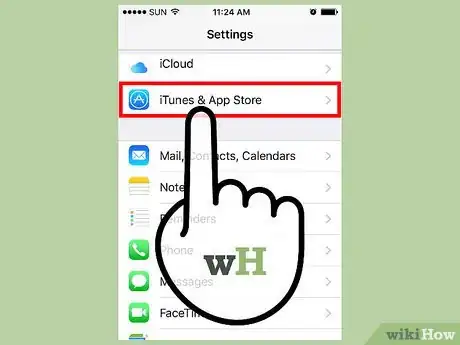
2Go to iTunes & App Store. Scroll down the Settings menu until you find “iTunes & App Store.” Tap on it.
-
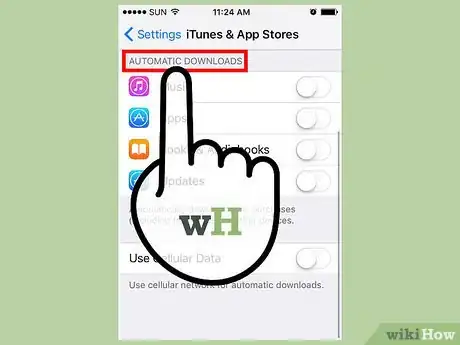
3Go to Automatic Downloads. Scroll to the very end of the iTunes & App Store screen, and you’ll see the Automatic Downloads section.
-
4Enable updates. Under the Automatic Downloads section, tap the white oval next to “Updates.” The white oval will have a green portion. All your apps installed on your iOS mobile device, including the Chrome app, will now automatically update whenever updates are available. Of course, you need to be connected to the Internet for this to happen.
Updating Google Chrome on Android
-
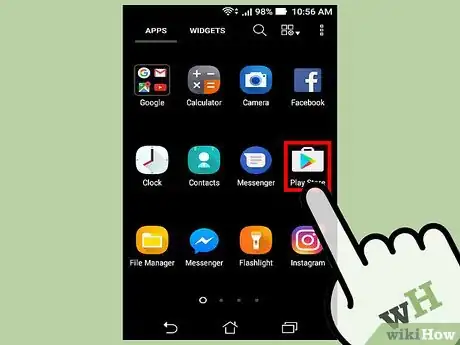
1Open Google Play Store. Look for the Play Store app icon (the white suitcase with a Play symbol on it). Tap on it to launch it.
-
2Go to My Apps. Tap on the Menu button on the left side of the header to bring out the main menu of the Play Store.
- Tap on My Apps, and you will be brought to the screen that lists all your installed apps.
-
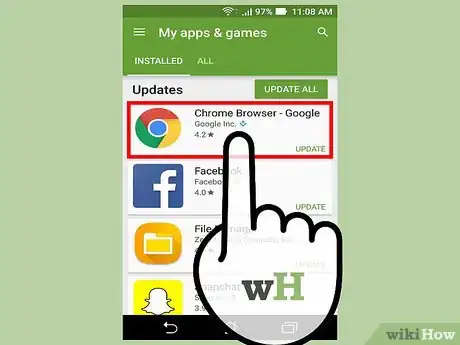
3View apps with updates. The apps that have available updates will have the label “Update” beside them. Scroll to see if the Chrome app is one of them.
-
4Tap on the Chrome app from the list. You will be taken to its information page.
-
5Enable auto-update. Tap on the 3-dot icon at the top right corner of the page. This will bring up a small box with the Auto-update option. Tap on the checkbox beside the option to enable it.
- When this is selected, the app will automatically update itself when updates are available. Of course, you need to be connected to the Internet for this to happen.







-Step-7.webp)
