This article was co-authored by wikiHow staff writer, Hannah Madden. Hannah Madden is a writer, editor, and artist currently living in Portland, Oregon. In 2018, she graduated from Portland State University with a B.S. in Environmental Studies. Hannah enjoys writing articles about conservation, sustainability, and eco-friendly products. When she isn’t writing, you can find Hannah working on hand embroidery projects and listening to music.
There are 11 references cited in this article, which can be found at the bottom of the page.
This article has been viewed 55,477 times.
Learn more...
Giving out presents is super fun, but it can be annoying to wrap oddly shaped objects like a stuffed toy. If you don’t have any gift bags on hand, it can seem like you’re all out of options. Fortunately, there are a few different ways you can wrap a stuffed toy to make it look less lumpy and more like a fun, exciting present that any child will love.
Steps
Making a Pouch out of Wrapping Paper
-
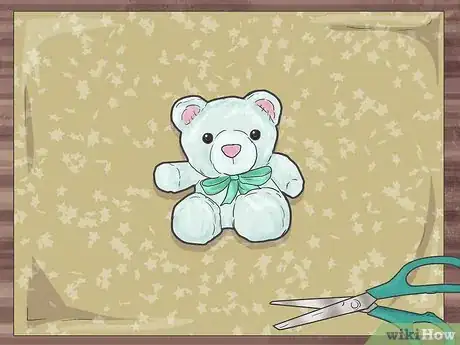
1Cut a strip of paper twice as wide as the stuffed toy. Lay out your wrapping paper and put the stuffed toy on top of it. Roll the toy inwards towards the center of the wrapping paper to see how wide you need to cut, then use scissors to cut a strip of paper off the roll.[1]
Tip: It’s better to make your paper too wide than not wide enough. You can cut paper off, but you can’t really add more.
-
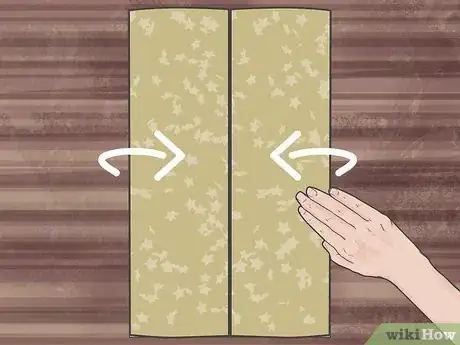
2Fold the edges of the paper to meet in the middle. Smooth out your strip of wrapping paper and fold the outer edges in toward each other vertically. Make sure they are just barely touching in the middle without overlapping.[2]
- Double check that the toy will fit inside of the wrapping paper and that it can fold closed on top of the toy.
Advertisement -
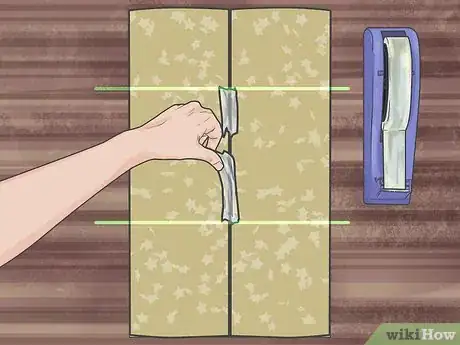
3Tape the edges of the paper together in the middle. Add 2 to 3 pieces of clear tape to the middle of the wrapping paper to hold the edges together. Leave room at the top and bottom of the wrapping paper so you can still open it up.[3]
- Clear tape won’t disrupt the pattern on the wrapping paper.
-
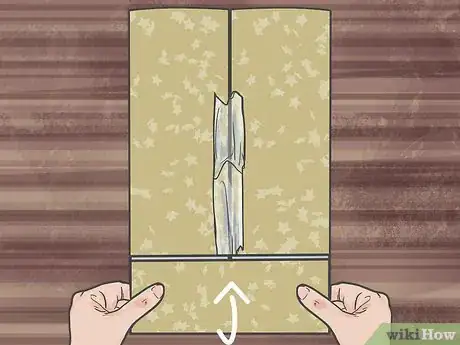
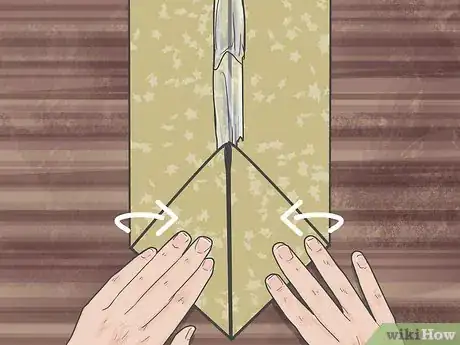
4Make a 2 in (5.1 cm) fold at the bottom of the paper. Situate the wrapping paper so that it faces you vertically. Grab the bottom of the wrapping paper rectangle and fold it upwards, but don’t tape it down.[4]
- You don’t need to use a ruler to make the fold. Just estimate a couple of inches.
-
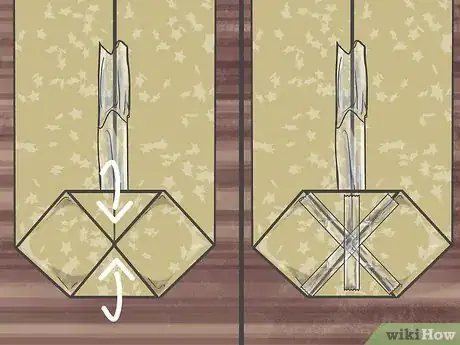
5Press the outer edges of the fold inward. Let go of the fold in your wrapping paper so it stands up on its own. Press down on each vertical edge of the fold so that it creates a diamond shape, then crease the paper so the diamond stays in place.[5]
- Make sure you create sharp creases in the paper to make a strong base for your pouch.
-
6Fold the bottom and top of the diamond inward and tape them down. Grab the top point of the diamond and fold it down about 1 in (2.5 cm), then use clear tape to secure it in place. Do the same thing to the bottom point of the diamond.[6]
- This will be the bottom part of the pouch, so your folds don’t have to look perfect.
-
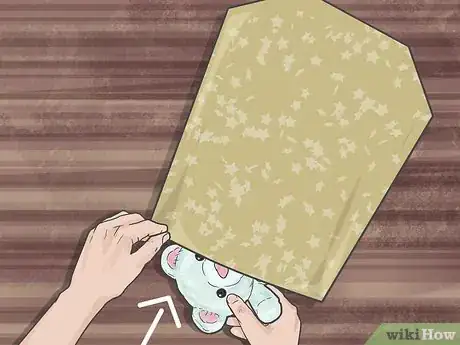
7Place the toy into the pouch. Pick up your wrapping paper and open up the top of it. Slide the stuffed in to open up the bottom part of the pouch and make it stand up.[7]
-
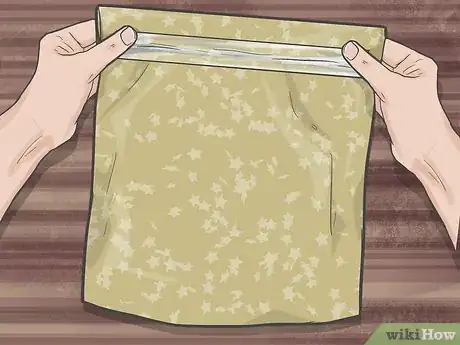
8Roll the top of the pouch downwards and tape it closed. Grab the top part of the pouch and make a 1 in (2.5 cm) crease. Keep making small creases downwards until you reach the top of the toy inside the pouch, then tape it up.[8]
- Add a cute bow or ribbon to your pouch for added flair, and don’t forget to write who it’s for on the outside!
Using Unconventional Wrapping Materials
-
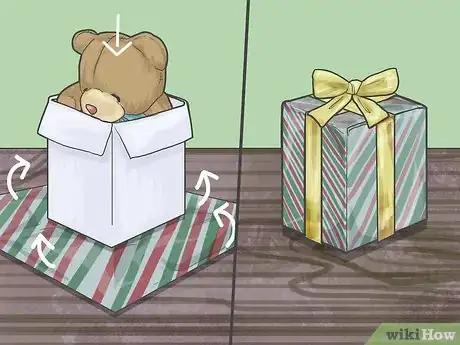
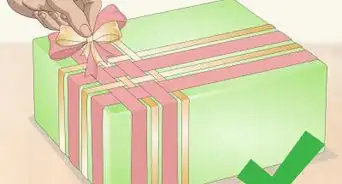
1Put the stuffed toy in a box, then wrap the box. Tape up the sides and top of the box so that they don’t open up. Use wrapping paper to cover the outside of the box and add a bow or ribbon on top to make it look cute.[9]
- This is a super easy way to wrap a large stuffed toy.
- You can even trick someone by placing multiple boxes inside of one box and having them unwrap each one.
-
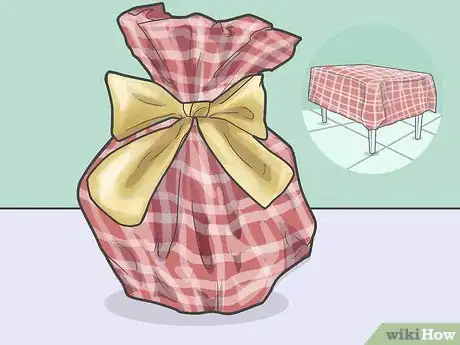
2Wrap a large toy in a plastic tablecloth for a pop of color. Spread out a colored table cloth on a flat surface and place the toy in the very center. Gather up all of the edges of the table cloth and pile them on top of the toy. Wrap up the excess table cloth with a ribbon and tie it in a bow for a securely wrapped toy.[10]
- You can reuse the tablecloth afterwards for parties or get-togethers.
-
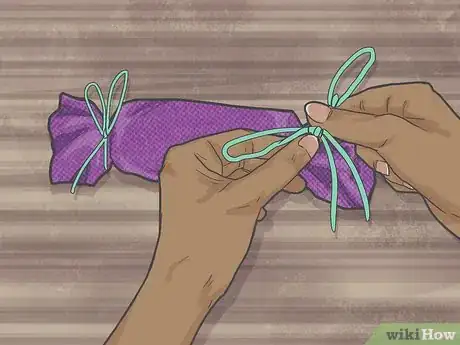
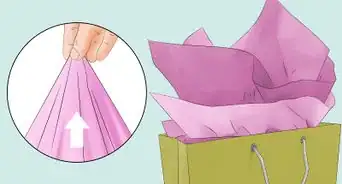
3Tie up small toys in tissue paper to look like candy. Tie the legs and arms of the stuffed toy down until the entire thing is one long, slender line. Find 2 to 3 pieces of tissue paper that are 2 to 3 times the length of the toy, then roll the toy up in them. Tie up the excess ends of the paper with a ribbon on each side to make the stuffed toy look like a delicious piece of candy.[11]
- Be gentle as you roll the toy in the tissue paper so that it doesn’t rip.
- Choose dark colored tissue paper so it isn’t see-through.
-
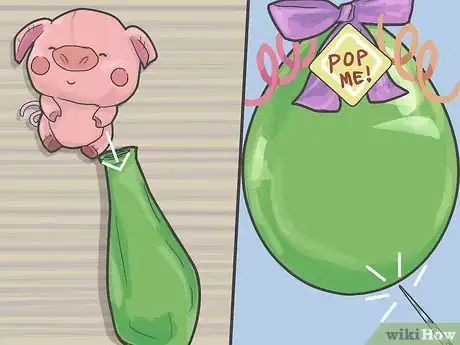
4Put a small toy inside of a balloon for a fun pop. Find a large party balloon that’s about 36 inches (91 cm) in diameter. Slide a small stuffed toy inside the opening of the balloon, then start blowing it up. Tie off the balloon and add a ribbon to make it more fun and exciting.[12]
- You can find large balloons at most party supply stores.
- Keep the balloon away from your child until you're ready for him/her to pop it.
Tip: Make a little card that says “Pop Me!” and attach it to the balloon with ribbon for some extra fun and cuteness.
-
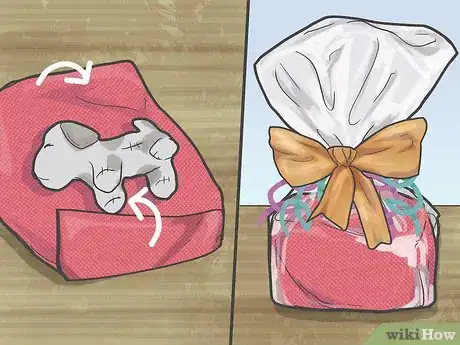
5Make gift bags out of cellophane for smaller toys. Wrap the toy in a few layers of tissue paper until you can’t see it anymore, then tape down the edges so they are all folded together. Slide the wrapped toy into a clear cellophane bag, then tie off the top with a few pieces of ribbon.[13]
- Match the ribbon to the color of the tissue paper for a cute, festive look.
References
- ↑ https://www.youtube.com/watch?v=Uyiq2iST4C8&feature=youtu.be&t=14
- ↑ https://www.youtube.com/watch?v=Uyiq2iST4C8&feature=youtu.be&t=26
- ↑ https://www.youtube.com/watch?v=Uyiq2iST4C8&feature=youtu.be&t=45
- ↑ https://www.youtube.com/watch?v=Uyiq2iST4C8&feature=youtu.be&t=57
- ↑ https://www.youtube.com/watch?v=Uyiq2iST4C8&feature=youtu.be&t=58
- ↑ https://www.youtube.com/watch?v=Uyiq2iST4C8&feature=youtu.be&t=65
- ↑ https://www.youtube.com/watch?v=Uyiq2iST4C8&feature=youtu.be&t=86
- ↑ https://www.youtube.com/watch?v=Uyiq2iST4C8&feature=youtu.be&t=99
- ↑ https://blog.currentcatalog.com/5-creative-ways-to-gift-wrap-a-plush-toy/
