This article was co-authored by James Hornof. James Hornof is a Master Electrician and the Owner and President of B & W Electric based in Denver, Colorado. With over two decades of experience in the electrical construction industry, James specializes in field installation, management, estimating, and design. He graduated top of his class in electrical trade school and studied Business Management at The Community College of Denver. James holds a Master Electrician license in Colorado, Wyoming, and Texas.
There are 8 references cited in this article, which can be found at the bottom of the page.
This article has been viewed 183,791 times.
Trying to wire a light in your home can be intimidating. After all, wiring involves electricity, and electricity can be dangerous. However, by taking basic precautions and understanding the basic working of a circuit and the wires involved, you can have new fixtures wired and installed in your home in no time!
Steps
Removing Your Old Light
-
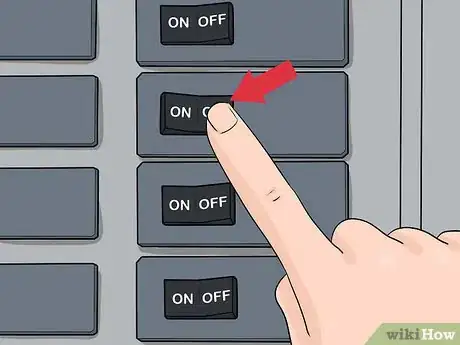
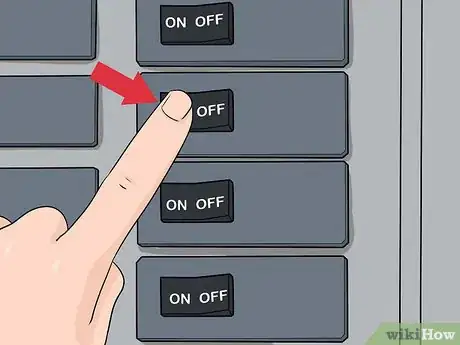
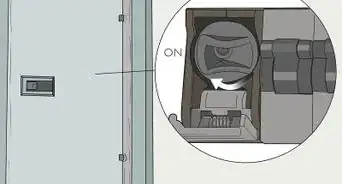
1Cut power to your circuit.[1] The best way to do this is by turning off the electricity supplied to the circuit on which you will be working at the junction box (also called a fuse box) for your home. Switch the breaker of your fuse-box so the fuse for the circuit supplying electricity to your fixture reads "Off."[2]
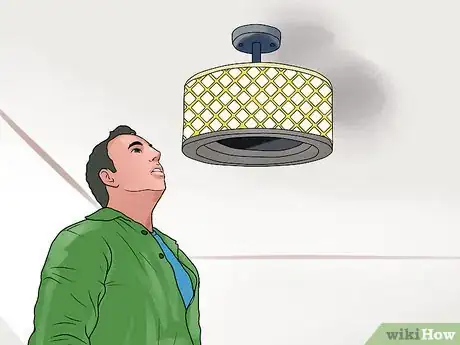
- It's always a good idea to double-check the flow of electricity by checking the light itself before moving forward with this project. Flick the light on, and if the circuit has been disabled, the light should stay off.
-
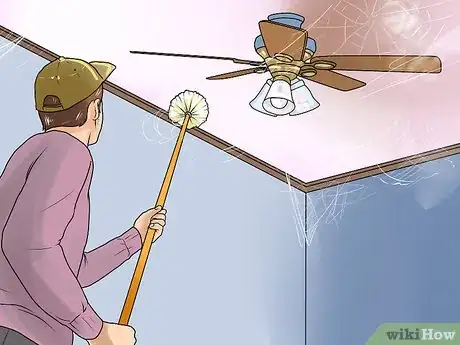
2Clean the old fixture and installation area. If the light you are wiring is in the ceiling, you should clean any cobwebs and dust before attempting to install your new fixture. The same is true for lights or switches in walls; a clean work area will improve your ease of installation.
- If you are using a ladder to reach your light fixture, or are in a less than ideal position, be sure the ground is also clear of debris or anything else that might affect your balance or safety.
Advertisement -
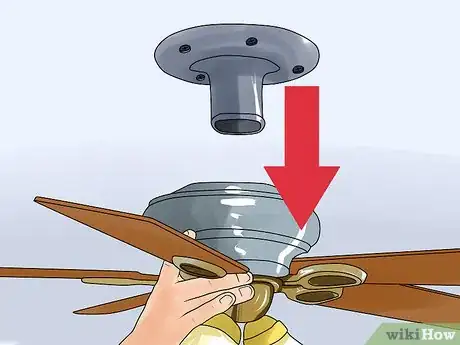
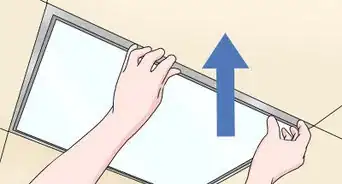
3Remove the old fixture covering. There is usually, but not always, a decorative globe, shield, or some kind of external feature covering your existing light fixture. This could also be something more involved, like ceiling fan blades.[3]
-
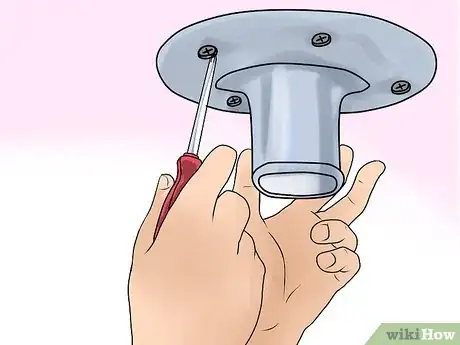
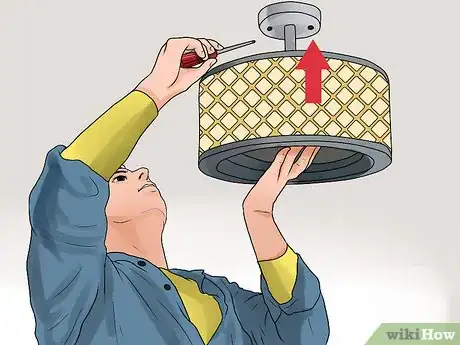
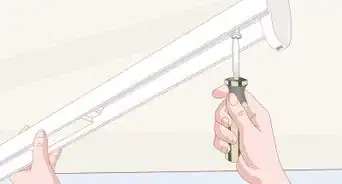
4Unmount the fixture. There will be a mounting bracket holding your old fixture in place. You will need to unscrew this from mounting bracket, usually with Phillips-head screwdriver, and then pull it from the bracket.
- Be sure you support the old fixture with your hand as you unscrew it from the mount. If you do not support the fixture, it could fall to the floor once you loosen the screws holding it in.
-
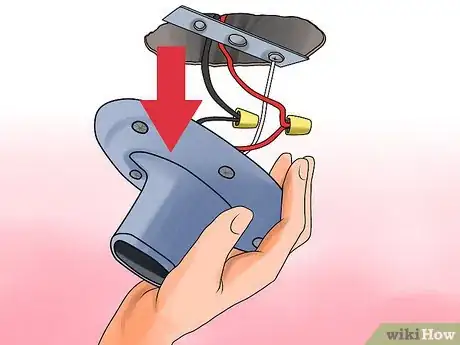
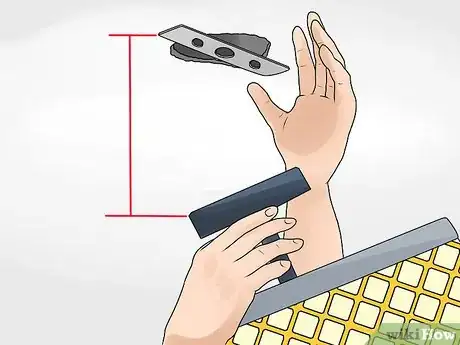
5Lower the fixture. Allow the unscrewed fixture you are supporting with your hand to descend a few inches below its mount. You will likely see three wires attached to your fixture: a hot wire, grounding wire, and neutral wire. You will need to use your free hand to uncouple these wires, twisting the wiring cap to free the wires from each other.
- Hot wires are those that run electricity to your fixtures and grounding wires are intended to offer surge electricity a neutral point, like the earth, into which it can dissipate.
- In some cases, a grounding wire might be attached to the mounting bracket itself, rather than a house wire. This is fairly common in new light fixtures.
-
6Disengage your light from its wires. You should see plastic caps, called wiring caps (also called a wire nut), with two wires running into each cap. One wire will come from the light, the other from the main electrical circuit of your house. Disengage the wires by twisting the wiring cap until it comes free.
- Once you have released the light from its wiring, you can set the existing light fixture aside.
Installing Your New Light
-
1Check for compatibility. In most cases, the mounting hardware for your new fixture will fit the bracket that's already installed.You'll need to hold the new light fixture up to the existing mounting bracket and compare fasteners and size to make sure you don't need to install a new mounting bracket.
-
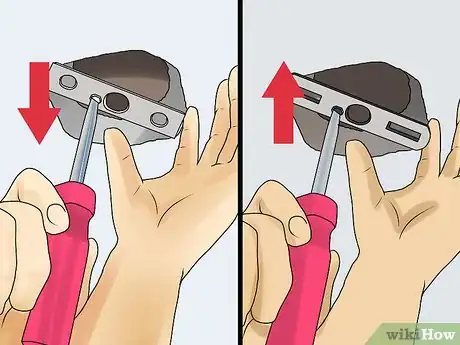
2Swap in a new bracket, if necessary. Oftentimes, if a light requires a special bracket, this will be included with the light you have bought. If not, you can look up the light information online by doing a general search of the name of the light fixture, which you can find on the box. Listed with its information should be mounting information as well.
- Once you know the kind of bracket you need, you can find and purchase it at your local hardware store.
- Replacing the old bracket is just a matter of unscrewing it and screwing the new one into place.
-
3Investigate the age of your wiring. This is especially important if you have an older home, in particular, any home built before 1985. Wiring installed prior to 1985 has weaker insulation than contemporary circuits, meaning the heat generated by your fixture could cause a short, fire, or worse.
- Fixtures unsafe to use for older wiring will have a warning label that says, “Use wire rated for at least 90 degrees C.” Fixtures without this warning will still be suitable for your pre-1985 wiring.[4]
-
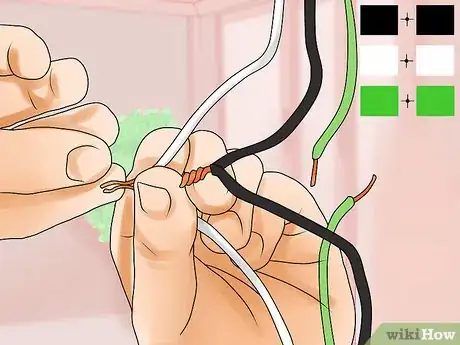
4Join like colored wires. Depending on your country, the colors that code which wires are live, ground, and neutral may differ. In any case, you should support your new light with one hand and take each like colored wire coming from your wall or ceiling and combine it with its mate coming from the light fixture. Twist the exposed ends of the wire together, and seal it by screwing on a wiring cap. A general guide to electrical wiring color code is as follows:[5]
-
CA:
Live - black (single phase), red (with a second hot wire)
Neutral - white
Earth/ground - green, green and yellow, or bare copper -
UK:
Live - brown, black, or red
Neutral - blue
Earth/ground - green and yellow -
USA:
Live - black (single phase), red (with second hot wire)
Neutral - white
Earth/ground - green, green and yellow, or bare copper[6]
-
CA:
-
5Ground your fixture. If there is a remaining wire that is green, green and yellow, or bare copper, you should screw it into place on the mounting hardware for your light fixture. [7] There will likely be a small screw for this purpose on the fixture, which you can unscrew slightly, slot the wire into the gap between screw and fixture, and then tighten to fasten your ground.[8]
- Be sure your ground wire feeds to a place it can safely disperse an electrical current. Many metal surfaces can be suitable for this purpose.
-
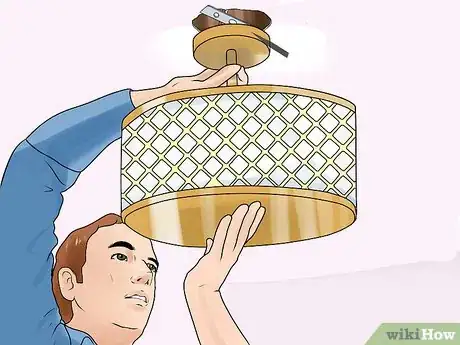
6Fasten your fixture in the mounting bracket. Continuing to support your fixture with your hand, hold it in place so as to line up the screw holes with those of the bracket and screw it into the mount using the hardware that came with the fixture.
-
7Finish any supplemental installation. There may be external features or parts, like a light cover or ceiling fan blades, to add to your new light fixture. Take a moment to step back and inspect your fixture for levelness, orientation, and flushness with the surface on which you've installed it. Some light fixtures are permanently angled a certain way, and improper installation can lead to your light shining where it does little good.
-
8Test your new light. Return to your fuse-box and reset the fuse for the room in which you've been wiring to restore the flow of electricity to the room. Now you can install a light bulb and turn on the new light fixture you have installed to test it out.[9]
Trouble Shooting
-
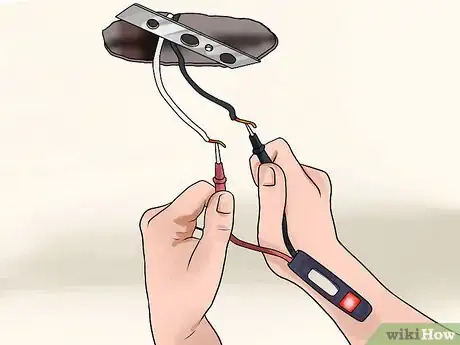
1Test for electrical current. Sometimes, over the course of installation, a wire might be jostled or damaged in such a way as to compromise its ability to transmit electricity to your new light. Additionally, in some cases, contractors may have used different colored wires for your electrical setup. In both of these cases you should use a circuit tester to ensure you don't make a dangerous mistake with your wiring.
- A circuit tester can be purchased at most hardware stores. Turn off the electricity, free the wire you are uncertain about from the old fixture, and then turn the electricity back on, being sure that your free wire is not touching anything dangerous.
- Your circuit tester will have two nodes; connect one to the questionable wire and the other to a grounded, metal surface or your ground wire. If the light on your tester turns on, the wire is hot and is supplied with electricity.[10]
-
2Create space to work. Some wiring jobs are done haphazardly, with poorly managed wire in the fixture box or wall or ceiling where you are working. After turning off the circuit, hold up your fixture to your mount to approximate how much wire you will need.
- Be sure to leave some excess. Wire can become damaged or get brittle over time, in which case, you might want to strip some insulation off the wire to tie a new fixture in to your circuit.
-
3Give yourself more wire. If you are working with older wire, or if the stripped part of the wire is difficult to work with, after you have cut power to the circuit you are working on, you can strip more wire for greater ease of handling.[11]
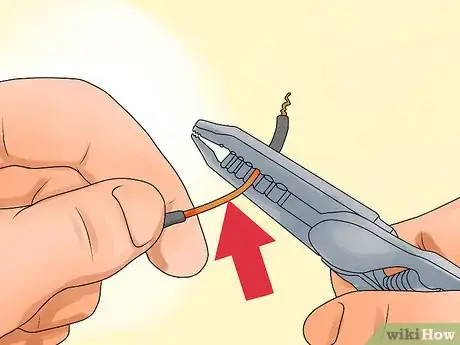
- It is recommended that you remove about ½" of wire insulation with a wire stripper or a utility knife. Be sure you exercise care when using a utility knife; you don't want to nick or damage the metal part of your wire.[12]
-
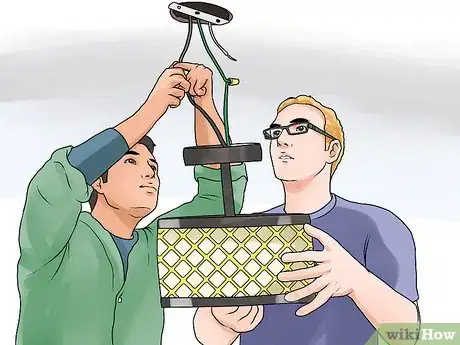
4Give yourself another hand while wiring. If you have a friend of family member available to assist, it can help a great deal to have this person hold the fixture while you're wiring. If you do not have help available, you can bend a piece of unused scrap wire to hang the light securely from the mount. With the fixture secured, you should be able to use both hands, making the wiring portion a cinch.[13]
- An assistant is especially helpful when you are wiring a ceiling light. While you are on a ladder or chair, your helper can hold you steady, hand you tools and parts, and take unneeded parts from you as you finish.
Expert Q&A
-
QuestionThe lamp cord on my fixture doesn't have a color. Which wire should I use?
 James HornofJames Hornof is a Master Electrician and the Owner and President of B & W Electric based in Denver, Colorado. With over two decades of experience in the electrical construction industry, James specializes in field installation, management, estimating, and design. He graduated top of his class in electrical trade school and studied Business Management at The Community College of Denver. James holds a Master Electrician license in Colorado, Wyoming, and Texas.
Master Electrician If the fixture has a lamp cord that has no color, then the white wire attaches to the wire that has ridges — you can feel that with your finger. It is important that you attach the conductors correctly as reversing the polarity can cause someone to be shocked if they touch the screw shell base.
 -
QuestionThe wiring has two cables, but my light only has two. What should I do?
 Community AnswerIsolate the free wire. it will work. That free wire is for safety, but most lights do not need them.
 -
QuestionIs it safe to use a light with bare wires?
 Community AnswerIf the light uses a high current (like outlets in your house), no. Instead of taking risks of a fire or short circuit, install new wires, or at least cover the bare parts in electrical tape.
Warnings
- Always turn off the power to the circuit you are working on by throwing the fuse of your main junction box to "Off." Not doing so could result in serious harm to yourself, an electrical fire, or worse.⧼thumbs_response⧽
- When working on aluminum wire, you will need knowledge of special techniques to safely and effectively install your fixture. You may need to hire a licensed expert in this case.[14]⧼thumbs_response⧽
Things You'll Need
- Phillips-head screwdriver
- Light fixture
- Wiring caps (also called wire nuts)
- Wire stripper
References
- ↑ James Hornof. Master Electrician. Expert Interview. 7 September 2021.
- ↑ http://www.lowes.com/projects/build-and-remodel/change-a-light-fixture/project
- ↑ http://www.thisoldhouse.com/toh/skill-builder/0,,20058655,00.html
- ↑ https://www.familyhandyman.com/project/how-to-replace-light-fixture/
- ↑ https://www.apartmenttherapy.com/how-to-install-a-new-light-fixture-176074
- ↑ http://www.allaboutcircuits.com/textbook/reference/chpt-2/wiring-color-codes/
- ↑ James Hornof. Master Electrician. Expert Interview. 7 September 2021.
- ↑ http://www.indepthinfo.com/wire-switch/switch-light.shtml
- ↑ http://www.lowes.com/projects/build-and-remodel/change-a-light-fixture/project
- ↑ http://www.thisoldhouse.com/toh/photos/0,,20434090_20863232,00.html
- ↑ James Hornof. Master Electrician. Expert Interview. 7 September 2021.
- ↑ http://www.indepthinfo.com/wire-switch/switch-light.shtml
- ↑ https://www.familyhandyman.com/project/how-to-replace-light-fixture/
- ↑ https://www.familyhandyman.com/project/how-to-replace-light-fixture/
About This Article
To wire a light in your home, start by switching the appropriate circuit in your fuse box to “off” so you can work safely with the wires. Next, twist together like-colored wires coming from the fixture and the wall or ceiling, such as black with black and red with red, then screw a wiring cap over the exposed ends. After that, if you see a wire that’s green, green and yellow, or bare copper, wrap it around the small screw on the fixture. Then, tighten the screw, fasten the fixture to the mounting hardware, and test your new light. For tips on how to remove your old light, keep reading!
