This article was co-authored by wikiHow Staff. Our trained team of editors and researchers validate articles for accuracy and comprehensiveness. wikiHow's Content Management Team carefully monitors the work from our editorial staff to ensure that each article is backed by trusted research and meets our high quality standards.
There are 7 references cited in this article, which can be found at the bottom of the page.
This article has been viewed 41,681 times.
Learn more...
It may sound funny, but waterproofing is a crucial first step when installing a new shower. The idea is to create a watertight seal around the stall that will keep draining water from leaking into the tiny crevices around the wall joints and floorboards and causing rot and other structural issues. After building or stripping the walls of the shower, you can utilize a combination of liquid waterproofing adhesive and tightly woven reinforcing membrane to make the area surrounding your shower immune to water damage.
Steps
Measuring Your Work Area and Materials
-
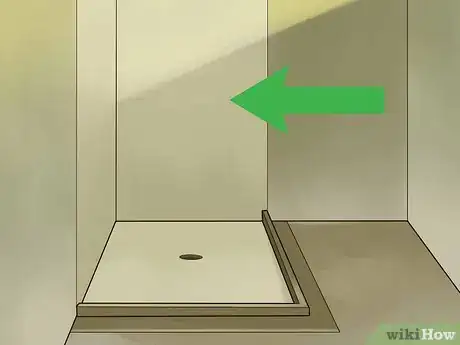
1Wall in the shower area. If you’re in the process of building the entire bathroom from scratch, you’ll need to start by laying the foundation for the walls around what will be the shower stall. To do this, you can install cement or fiber backing board. The rest of the waterproofing materials will be applied directly to this wall backing.[1]
- If you use cement board, apply cement board tape to the joints, corners, and any other areas where the floor and walls of the shower meet.
- Another option is to put in green board, a type of drywall formulated to withstand moisture, mold, and mildew. It’s only slightly more expensive than ordinary drywall and can be found at home improvement stores.
- Even though materials like concrete backing board are designed not to swell, split or mold when they come into contact with moisture, it’s highly recommended that you take the time to treat them with liquid waterproofing to ensure that they’ll last.[2]
-
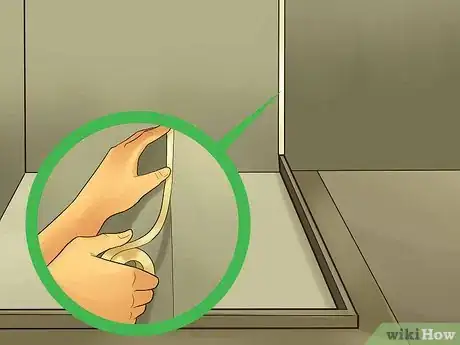
2Mark off the area you want to waterproof. Measure the shower stall and use a pencil to mark the exact dimensions along the backing board. Then, run a strip of painter’s tape along the markings you made to create an outline. This will make it clear where the waterproofing materials are needed.[3]
- It’s a good idea to extend your waterproofing an inch or so beyond the boundaries of the shower stall itself, just to be on the safe side.
Advertisement -
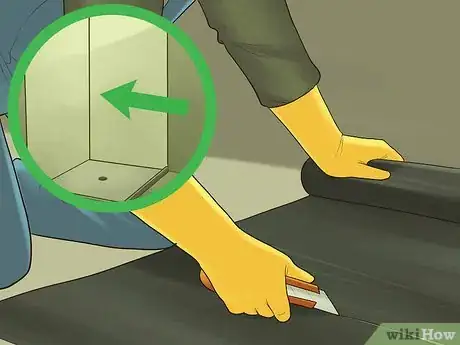
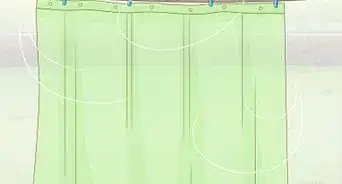
3Cut a roll of reinforcing membrane to fit over the walls. First, measure and trim the membrane to fit the flat sections of the walls, marking to indicate where key fixtures like the valve, shower head and temperature knobs will be situated. Cut the membrane into long, thin strips to fit the corners where the shower walls meet.[4]
- Reinforcing membranes are typically made from tightly-woven fibers. When sandwiched between layers of liquid waterproofing, they’ll provide an additional layer of water-stopping protection.[5]
- Leave 2–3 in (5.1–7.6 cm) between the membrane and the corners and edges of the shower stall. A little blank space will make it easier to waterproof these areas separately later on.
-
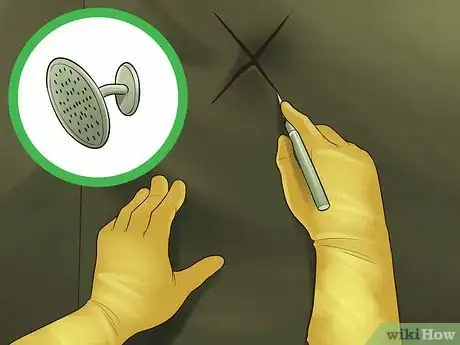
4Create openings to accommodate the shower fixtures. Once you've modified the membrane to the appropriate size, cut a large X-shaped slit in each of the spots you marked. When it comes time to install the fixtures later on, you'll be able to easily fit them into place over the membrane without losing an inch of waterproofing surface area.[6]
- If you already have a shower head, faucet and knobs picked out, measure them around the base before you cut the slits so you don't have to make them any bigger than necessary.
- Do your cutting with an Xacto or craft knife, and place the membrane on a hard, flat surface that you don't have to worry about scarring up.
Applying Waterproofing to the Walls
-
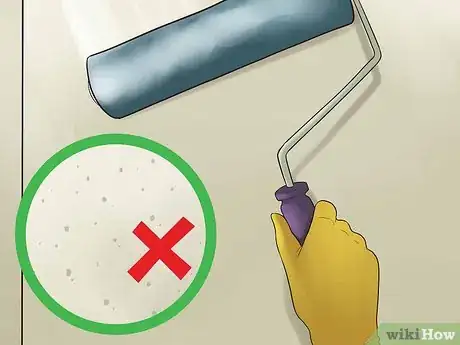
1Apply a coat of liquid waterproofing to the backing board. Use a high-quality paintbrush to ensure the bristles can hold up to the thick waterproofing material. Brush the waterproofing over the entire wall and make sure it forms a thick, even coat, with no obvious gaps or bare spots.[7]
- Paint-on waterproofing products contain liquid rubber, which both acts as an adhesive for the membrane and a forms a bond that’s too tight for moisture to penetrate.[8]
-
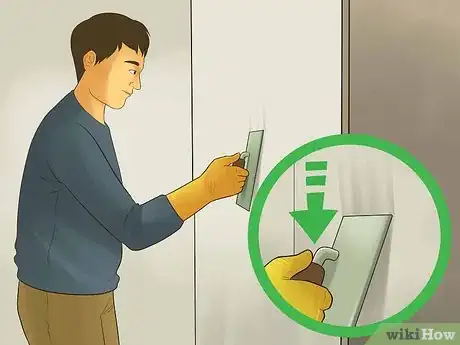
2Press the reinforcing membrane into place. Carefully position the precut membrane and stick it to the wall by hand, starting at the top. Once it’s secure, go over it a few times using the flat side of a trowel to work out any creases or air bubbles.
- You may need to use a liberal amount of waterproofing in order to get the membrane sheet to stick.
- To help the membrane conform to the corners of the stall, try folding the strips in half widthwise or scoring the backside lightly so that they sit at a 90-degree angle.
-
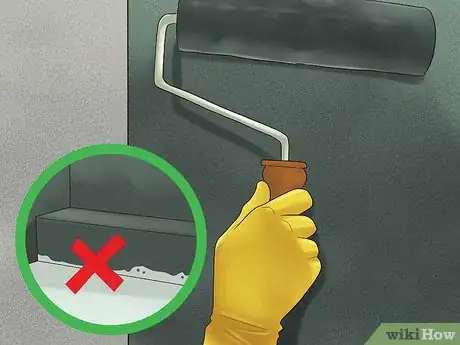
3Brush on an additional coat of waterproofing. Apply the second coat directly over the reinforcing membrane. The second coat should be thick, and your efforts should be focused on corners and other areas where the membrane meets. By the time you’re finished, the brightly-colored membrane should no longer be visible underneath.[9]
- Avoid totally covering up the valve and fixture sites. You’ll need to be able to find these later once it comes time to install the finished surface.
- Brush on the second coat in the opposite direction of the initial coat. For instance, if you used vertical strokes to apply the first coat, use horizontal strokes for the second one. This will help create a better seal.
-
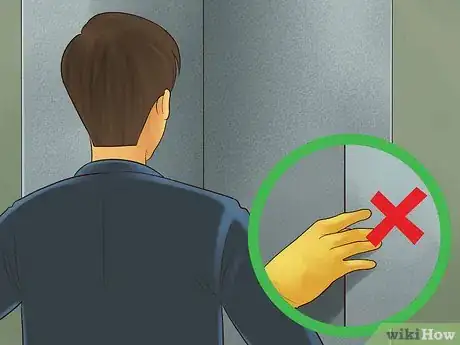
4Allow the waterproofing to dry completely. Properly ventilate the room, including opening windows and running fans, if possible. Depending on the size of the shower and the thickness of the adhesive, this may take several hours. In the meantime, be careful not to touch the materials. Doing so may wear down the waterproof coating or cause the reinforcing membrane to come loose.
- It may be a good idea to begin your project in the afternoon or evening, then wait until the following day to complete it.
Finishing the Floor of the Shower
-
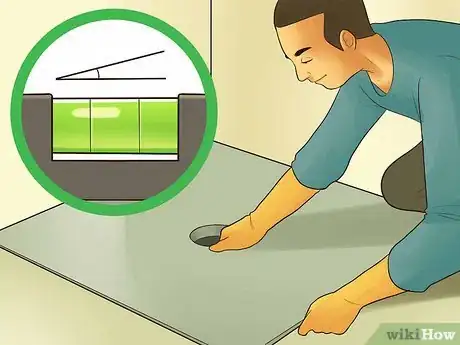
1Install the floor tray. Set the sloped tray on top of the subflooring at the base of the shower stall. If your shower’s floor pan comes in multiple sections, make sure they’re properly aligned and locked before moving on. Use the circular template included with the installation kit to make a small mark or notch in the subflooring where the drain will be centered.[10]
- Be sure to arrange the opening for the drain on the same side that the showerhead will be on.
- Floor trays are included in most shower installation kits. They are typically sold pre-sized and ready to go.
-
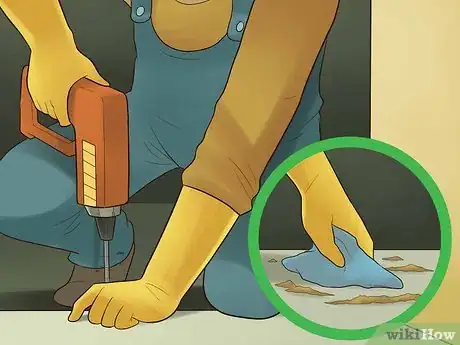
2Drill a hole for the drain. Remove the floor tray and find the place where you marked the drain. Fit an electric drill with a 4 in (10 cm) hole saw attachment. Place the drill head flush against the subflooring and begin drilling, applying constant pressure all the way through.[11]
- When you’re done, wipe the subflooring with a damp cloth to pick up any sawdust that’s collected nearby.
-
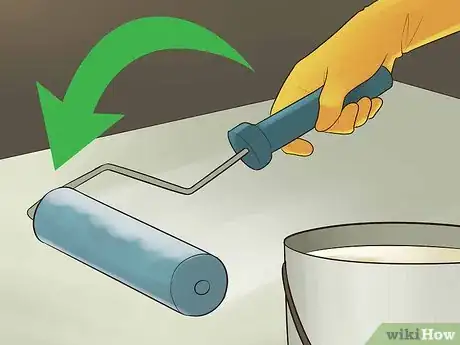
3Spread waterproofing over the floor tray. Brush on the waterproofing the same way you did with the walls. Aim for a thick coat and even coverage.[12]
- A handheld brush will be your best bet for applying the waterproofing to the floor.
-
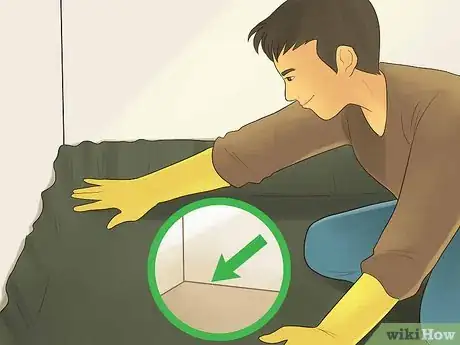
4Smooth reinforcing membrane over the floor and surrounding areas. In addition to the tray itself, you’ll need to lay strips over the cracks where the floor and walls connect. Afterwards, measure and cut a large hole to fit precisely over the drain opening. Finish by applying one last coat of waterproofing over the entire floor.[13]
- If the membrane you’re using isn’t large enough to cover the floor in one piece, you can trim and overlap multiple sections to get just the right size.
- For showers with sliding doors, place a strip around the lip of the stall where you enter.[14]
-
5Let the waterproofing dry. Once the materials have had time to set up, they’ll prevent water from seeping into the wall behind and beneath the shower stall. You’ll then be ready to install eye-catching tile or a vinyl or acrylic liner. Enjoy a hot shower as a reward for a job well done![15]
- Perform at least one one “flood test” when you’re finished to determine whether you’ve waterproofed all parts of the shower stall successfully.
- Don’t forget to later set the drain, shower head and other fixtures in the openings you left for them.
Warnings
- Before you begin, you should be certain that you have the tools, materials and know-how necessary to complete it the right way. Even a small mistake could potentially result in thousands of dollars worth of structural damage and force you to redo the entire project.⧼thumbs_response⧽
Things You'll Need
- Cement or fiber backing board
- Drywall and mortar (optional)
- Liquid waterproofing adhesive
- Paint roller or handheld brush
- Hand trowel
- Shower installation kit with floor tray
- Electric drill with 4 in (10 cm) hole saw attachment
- Multiple rolls of reinforcing membrane
- Colored painter's tape
- Drywall knife (optional)
References
- ↑ https://www.youtube.com/watch?v=ZaCFA5reK9E
- ↑ https://www.angieslist.com/articles/your-shower-tile-really-waterproof.htm
- ↑ https://www.bunnings.com.au/diy-advice/home-improvement/baths-showers-toilets/how-to-waterproof-a-shower
- ↑ https://www.thisoldhouse.com/how-to/how-to-use-membrane-system-to-prep-shower-tiling
- ↑ https://www.lifeofanarchitect.com/how-to-build-a-shower-that-wont-leak/
- ↑ https://www.thisoldhouse.com/how-to/how-to-use-membrane-system-to-prep-shower-tiling
- ↑ https://www.youtube.com/watch?v=ZaCFA5reK9E
- ↑ http://extremehowto.com/liquid-waterproofing-and-vapor-barriers-for-tile-showers/
- ↑ https://www.bunnings.com.au/diy-advice/home-improvement/baths-showers-toilets/how-to-waterproof-a-shower
- ↑ https://www.thisoldhouse.com/how-to/how-to-use-membrane-system-to-prep-shower-tiling
- ↑ https://www.thisoldhouse.com/how-to/how-to-use-membrane-system-to-prep-shower-tiling
- ↑ https://www.youtube.com/watch?v=x8emPz4fy9Y
- ↑ https://www.bunnings.com.au/diy-advice/home-improvement/baths-showers-toilets/how-to-waterproof-a-shower
- ↑ https://www.youtube.com/watch?v=x8emPz4fy9Y
- ↑ https://www.angieslist.com/articles/your-shower-tile-really-waterproof.htm
