This article was co-authored by wikiHow Staff. Our trained team of editors and researchers validate articles for accuracy and comprehensiveness. wikiHow's Content Management Team carefully monitors the work from our editorial staff to ensure that each article is backed by trusted research and meets our high quality standards.
There are 16 references cited in this article, which can be found at the bottom of the page.
wikiHow marks an article as reader-approved once it receives enough positive feedback. In this case, several readers have written to tell us that this article was helpful to them, earning it our reader-approved status.
This article has been viewed 275,788 times.
Learn more...
Hats can accumulate a lot of dirt and grime. Unfortunately, they're often tricky to wash, especially if they are made of hand-knit wool. Washing your hats by hand is the safest method to use, but some sturdier hats can be machine-washed. Before washing a hat, determine what material it's made out of and whether or not it can lose its shape. The simplest way is to check for a tag with this information. However, if your hat doesn't have a tag, you will need to use your own best judgement.
Steps
Washing a Hat by Hand
-
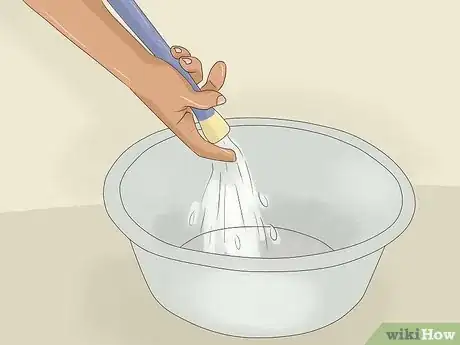
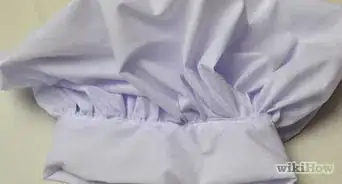
1Fill a small plastic tub with cold water. Warm or hot water can cause colors to run and may even cause the hat to shrink depending on the material. You only need enough space to keep the hats submerged. If you only want to wash one or two hats, you can even use a large plastic bowl instead of a tub.
-
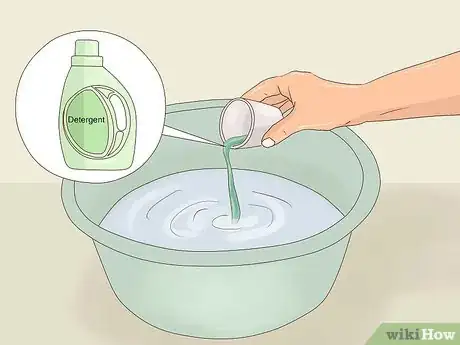
2Mix in a mild cleanser. Stir about a teaspoon of detergent or soap into the water until it is completely dissolved. The type of cleanser you use will be determined by the material your hat is made of and what kind of grime you're trying to remove.
- If your knit hat is woolen, you should select a soap that is specially formulated for wool fabric. This will reduce the chance of pilling, discoloration, and other types of damage. If this type of cleaner is unavailable, a mild detergent without bleach or other additives may work.
- Never use chlorine bleach or enzyme treatments on woolens.[3]
Advertisement -
3Spot test your hat. If you're using this method on a hat for the first time, you should soak a small patch before immersing the whole garment. Hold the patch underwater for about two minutes.
- Check for bleeding colors while the hat is still wet. You may notice dye coming off in the water. If you don't, try dabbing the hat on a light surface or object.
- When dabbing the patch, make sure to do so with something that is either easy to bleach or that you don't mind discoloring.
- Pick a part of the hat that is not easily visible to others when you wear it. That way, if the discoloration is noticeable, it won't affect the hat's overall look.
- If you don't notice any bleeding colors or general discoloration, you can move onto the next step.
-
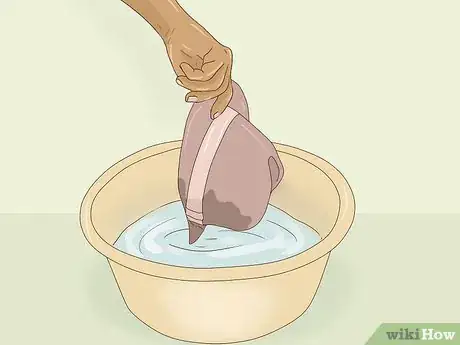
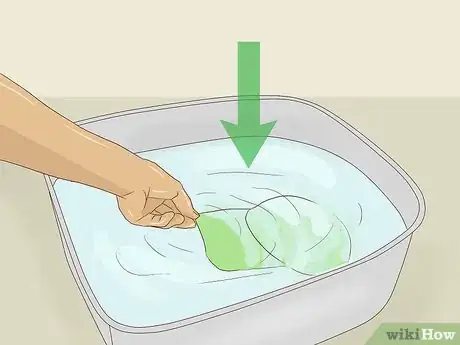
4Soak the entire hat. If your test patch does not show any signs of damage after two minutes, go ahead and submerge the entire hat. For a light, ordinary cleaning, you only need to soak the hat for roughly 30 minutes. If there is mud caked onto the hat or if the dirt is more stubborn, you may need to soak the hat for a few hours.[4]
-
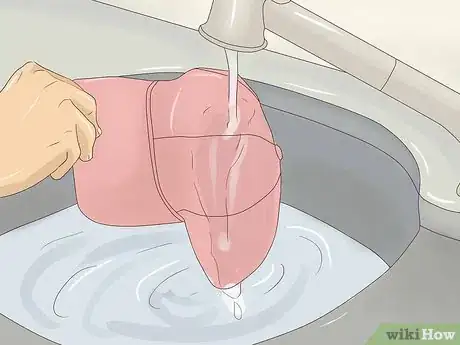
5Rinse the hat. Remove the hat from the soapy water. Rinse it under a strong, steady stream of running tap water to get all of the detergent out. Keep using cold water to prevent discoloration and shrinkage. Continue rinsing until it no longer feels sticky and no additional soap can be spotted.[5]
-
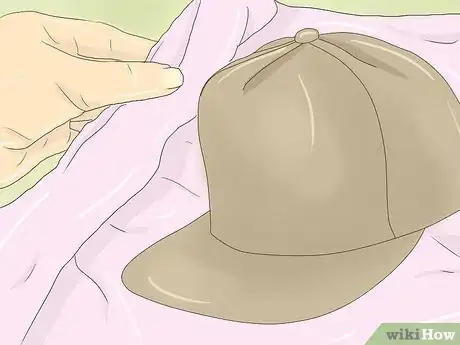
6Remove excess water. Hold the hat in between your hands and gently squeeze your hands together. Place the hat on a clean towel and continue patting it until there is no longer any water dripping out of it. Do not wring or twist the hat, as doing so may distort your hat's shape or cause pilling.[6]
-
7Allow the hat to air dry. Place the knit hat in a location with good air circulation. Lay it out flat on a towel and arrange it in its original shape. You can speed the process up by running an electric fan nearby on low power, but do not use a hot blow dryer. Heat may cause your hat to shrink. Do not place the hat near direct sunlight, which may cause your hat to fade.[7]
Washing a Knit Hat with a Laundry Machine
-
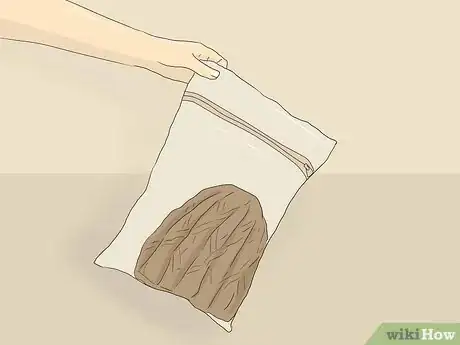
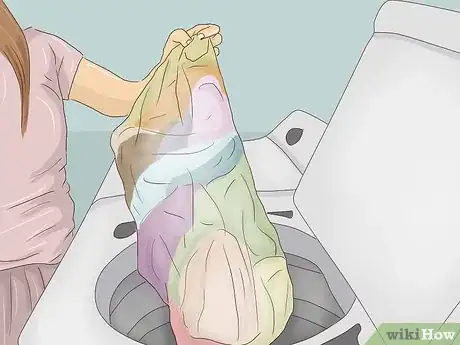
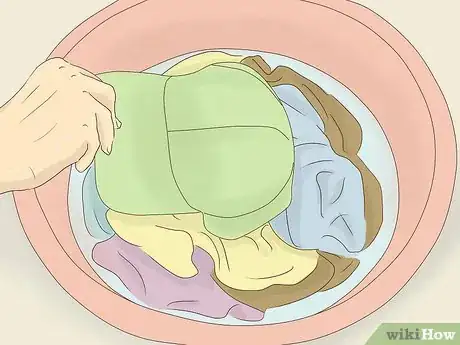
1Place delicate knit hats in a laundry bag. Some hand-knit hats, especially those made with wool, can get damaged by the motion of the washer. To prevent this from happening, place these hats in a pillowcase, netted intimates bag, or washable garment back. Close the bag by its drawstring or tie the top if it doesn't have one. This will prevent your hat from falling out, which is especially important if you're doing a small load.[8]
- Be careful which knit items you choose to wash using this method. If your hat is made from acrylic, superwash wool, or cotton yarn, then it is likely to be fine in the washer. However, wool that is not specifically labeled as "superwash" or otherwise machine-washable may felt in a washer, ruining your garment.[9]
-
2Prepare a large load if possible. Knits are more likely to felt in an under-loaded washer. Although your laundry bag should protect your hat, the bag may end up undone during the wash cycle. Make sure that the other items are of like colors. Ideally these items should be knit, as well.
-
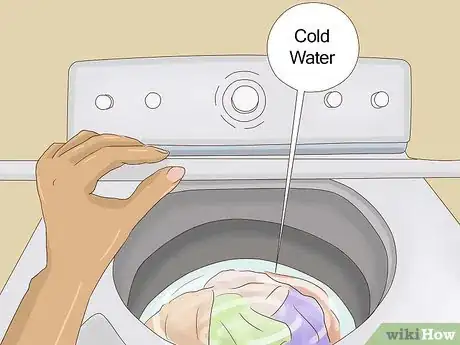
3Start the wash cycle on cold before adding your laundry. Allow the washer to fill with cold water. Pause the machine before the agitation cycle begins and add your garments.
- If you have a front-loading washer, go ahead and load your laundry as normal before starting. While it isn't ideal, your hat is likely to be fine.
-
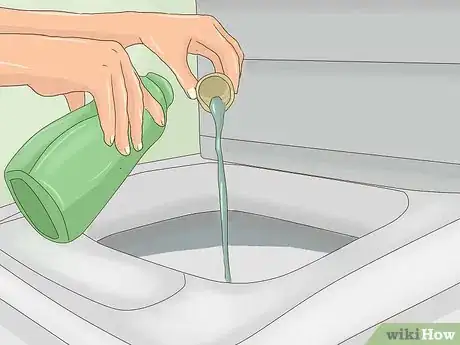
4Add a cap of liquid soap or detergent. If you're washing wool items, a specialty wool detergent works best. These detergents often contain lanolin, which will condition your wool to decrease static and increase water resistance. If you aren't washing wool or you can't find a specialty detergent, use any mild liquid detergent that is free of bleach and other harsh chemicals.[10]
-
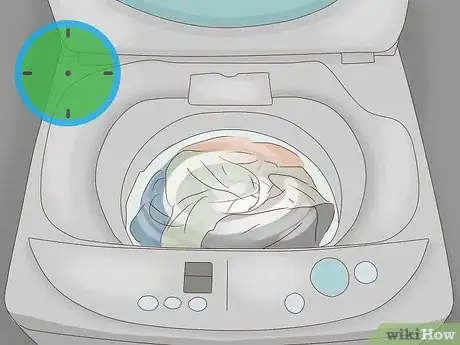
5Let the laundry soak. Do not re-start your washer. Allow the load to soak for at least one hour. Especially-soiled items may need to be left overnight. Don't be alarmed if your wool items float to the top at first. They will eventually take on enough water and sink back down on their own.
-
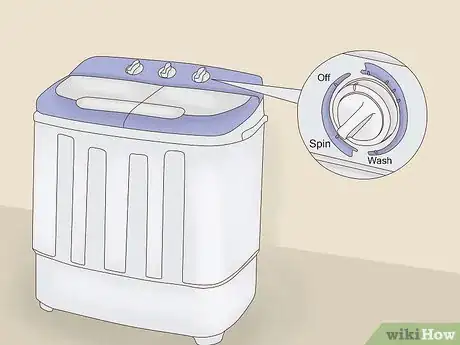
6Run your washer on "spin-only." This will put your garments through what is normally the last part in a wash cycle. The washer will very mildly agitate its contents before draining off the soapy water. The spin cycle will also work to partially dry out your garments by removing excess water through centripetal force. If your items are still soaking wet, run them through the spin cycle once more.
-
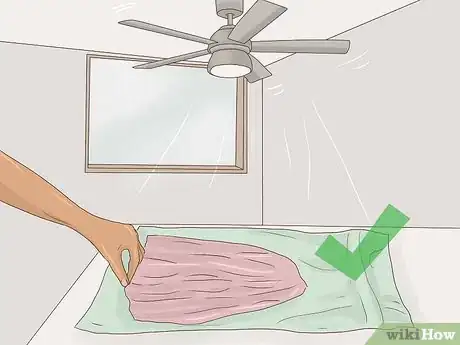
7Allow your hats to air dry. Spread a clean, dry towel out on a flat surface. Lay your knit garment(s) spread out on top of it. A well-ventilated location, such as a room with a ceiling fan, works best. Allow the hats to dry naturally. This should only take a few hours.
Washing a Baseball Cap with a Laundry Machine
-
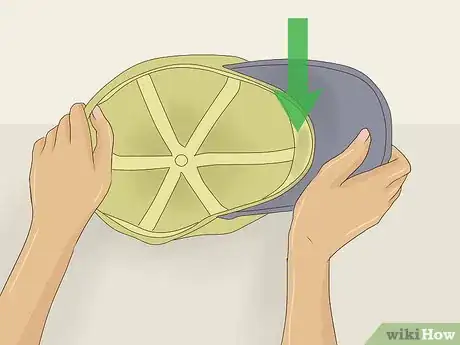
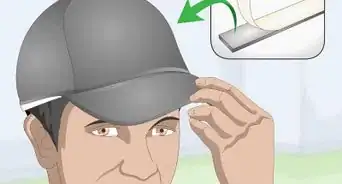
1Pre-treat the liner or headband. The liner is likely to be the dirtiest part of your cap, as it soaks up sweat and skin oils while wearing. Pick an enzyme-based laundry pre-spray and spritz some on to break down this type of grime.
- Most modern baseball caps made in the last 10 years or so can be easily machine washed without issue.
- It's better to hand wash wool baseball caps.
- Older baseball caps tend to have cardboard brims. These caps should never be soaked completely in water. Instead, it's best to clean them with a spray bottle and washcloth.[11]
-
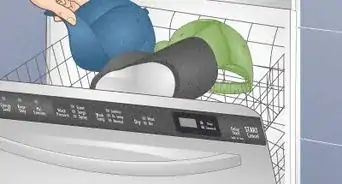
2Toss your cap in with your normal laundry. At this phase, treat your cap like any other type of laundry. Pair your cap with similarly-colored clothing and use whichever laundry detergent you prefer.
- Wash with cold water for the best results. However, warm water should be fine, too. Do not use hot water when washing your cap.
- Do not use bleach.[12]
-
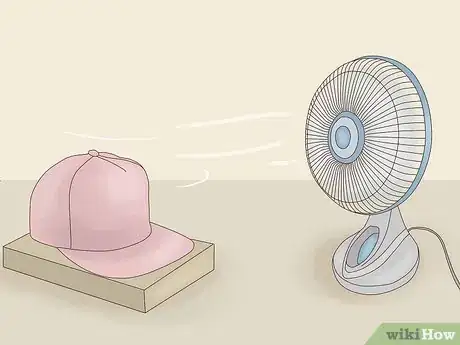
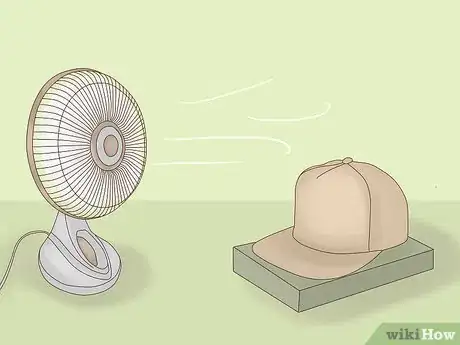
3Leave your cap to air dry. Once the wash cycle has finished, remove your cap and place it on a flat surface in a well-ventilated area. You may choose to position an electric fan nearby to speed up the drying process. Do not put your cap in the clothes dryer; it would likely shrink or lose its shape.[13]
Washing a Straw Hat
-
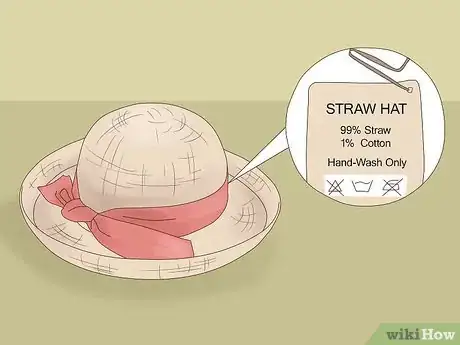
1Verify that the straw hat can be washed. Some types of straw are too delicate to wash, even by hand. Most straw hats are made from sturdier types of straw, however, which makes a gentle hand-washing possible. Check the manufacturer's tag. Baku and shantung straw is likely to be sturdy.[14]
- If you are unable to find out what type of straw the hat is made from, gently bend the rim of the hat. If it resists or begins to draw back to its original shape slightly, it might be durable enough. If it bends easily or starts to fray, it is too delicate.
-
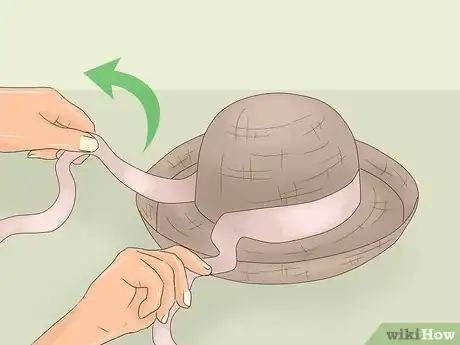
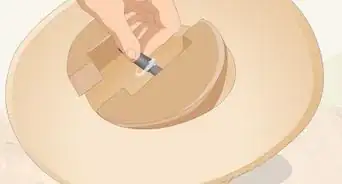
2Remove any decorative pieces, if possible. Ropes, ribbons, buttons, or other elements are often held onto a straw hat with small pieces of crafting wire. Wire can be easily unwound so that the decorations are simple to remove. If the decorations are held on by thread, however, you do not need to remove them. You are more likely to damage them when trying to sew them back on rather than while cleaning.
-
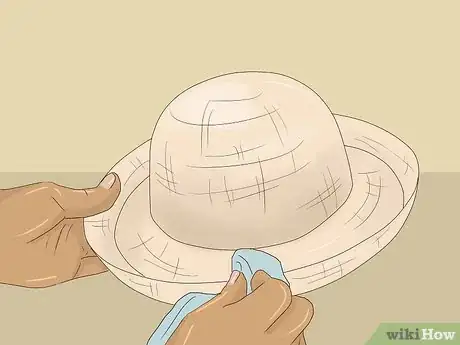
3Sponge lightly with a washcloth. For light cleaning that can't be done with a brush, use a damp washcloth. Carefully dab the hat directly, sweeping away grime from its surface. Do not allow the straw to become damp itself.[15]
-
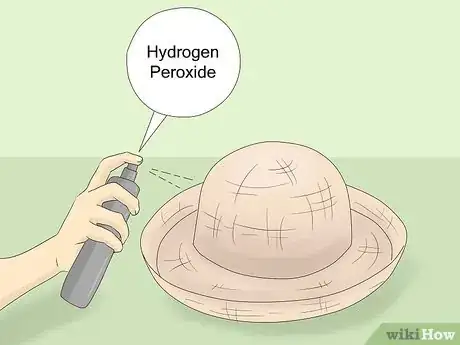
4Clean the whole hat using a hydrogen peroxide solution. If simple water isn't working to clean your hat, you can use hydrogen peroxide as a gentle cleaner. Fill a spray bottle, half with hydrogen peroxide and half with water.
- Spray the solution onto a soft cloth. Carefully wipe down the entire hat with the cloth.
- For especially stubborn stains, spray the solution directly onto the hat and wipe it off with a washcloth. Avoid soaking the straw, as this may cause it to warp and shrink.[16]
Community Q&A
-
QuestionWhat if my cap has stickers on it and I don't want to take them off?
 Community AnswerTry to hand wash around your stickers and be careful not to get them wet.
 -
QuestionHow would I do this for a snapback?
 Community AnswerThe same as with a baseball hat. Make sure to fill the hat with some towel or a container that fits, to keep it in shape after the washing process. After it dries, you can iron it on low heat on top of a used t-shirt to make it wrinkle free.
References
- ↑ http://freecuteknit.com/how-to-care-wash-hand-knitted-items-toys-step-tutorials
- ↑ http://www.craftsy.com/blog/2013/12/cleaning-caring-for-knitted-garments/
- ↑ http://www.si.edu/mci/english/learn_more/taking_care/stains.html
- ↑ http://freecuteknit.com/how-to-care-wash-hand-knitted-items-toys-step-tutorials/
- ↑ http://freecuteknit.com/how-to-care-wash-hand-knitted-items-toys-step-tutorials/
- ↑ http://freecuteknit.com/how-to-care-wash-hand-knitted-items-toys-step-tutorials/
- ↑ http://freecuteknit.com/how-to-care-wash-hand-knitted-items-toys-step-tutorials/
- ↑ http://laundry.reviewed.com/features/how-to-wash-dry-clean-only-clothes-at-home
- ↑ http://www.petalstopicots.com/2011/11/caring-for-your-hand-knitted-and-crocheted-items/
- ↑ http://www.petalstopicots.com/2011/11/caring-for-your-hand-knitted-and-crocheted-items
- ↑ http://www.sport-smart.com/How-To-Wash-Baseball-Hats-and-Caps.asp
- ↑ http://www.sport-smart.com/How-To-Wash-Baseball-Hats-and-Caps.asp
- ↑ http://www.sport-smart.com/How-To-Wash-Baseball-Hats-and-Caps.asp
- ↑ http://www.hats-plus.com/chronicles/not-all-straw-hats-created-equally/
- ↑ http://www.hatsinthebelfry.com/hat-cleaning
- ↑ http://www.howtocleanstuff.net/how-to-clean-a-straw-hat/
- ↑ http://articles.chicagotribune.com/2013-08-06/features/sc-fam-0806-lifeskill-wash-cap-20130806_1_hat-brim-wool
- ↑ http://deadspin.com/how-to-clean-your-filthy-baseball-cap-1453998609
- ↑ http://cleanmyspace.com/clean-your-baseball-cap/
About This Article
To wash a baseball hat in the laundry machine, pretreat the liner first as it's typically the dirtiest part. After pretreating, toss the hat in with the normal laundry and then leave it to air dry. You can also wash a knit hat in the laundry machine, but first place the hat in a washable garment bag to keep it safe. Set the machine for a cold wash, add your detergent, and allow the load to soak for at least one hour. Next run the washer on the spin-only cycle to mildly agitate the load before spinning dry. Finally, allow your knit hat to air dry. If you want to learn how to wash your hat by hand, keep reading the article!
