This article was co-authored by Gonzalo Martinez. Gonzalo Martinez is the President of CleverTech, a tech repair business in San Jose, California founded in 2014. CleverTech LLC specializes in repairing Apple products. CleverTech pursues environmental responsibility by recycling aluminum, display assemblies, and the micro components on motherboards to reuse for future repairs. On average, they save 2 lbs - 3 lbs more electronic waste daily than the average computer repair store.
This article has been viewed 23,429 times.
So you just got your hands on a brand new iPad, and now you want to make sure that you get the most out of your new device. This guide will get you up and running, so you can be downloading apps in no time!
Steps
Getting Started
-
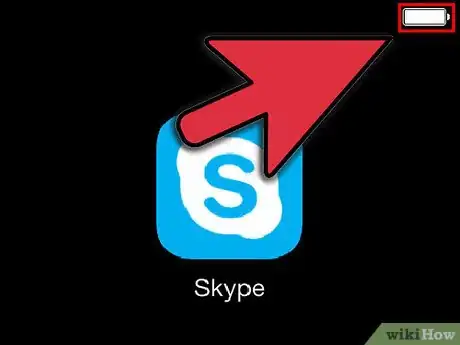
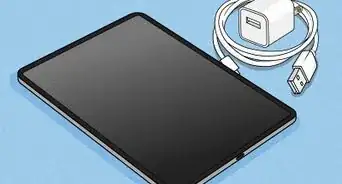
1Make sure your iPad is fully charged. To get the most out of your battery, charge it up to full before you turn the iPad on for the first time. Usually the battery sits around 40% when it comes from the factory.
-
2Perform the initial setup. If this is the first time that you are using the iPad, then you will have to set some configuration options before you get started. When you turn the iPad on, the Setup Assistant will start automatically.
- Configure your Location Services. This service will track your iPad and provide the data to apps that request it. This can be useful for map apps and social media apps. Turn on or off at your own discretion.
- Use the Setup Assistant to setup your wireless network. The iPad will scan for any wireless networks in its signal range. Select the one you wish to connect to and enter any security codes you may need to connect.
- When you are successfully connected, you will the connection strength icon in the status bar
- Enter or sign up for an AppleID. This is what you will use to access your files in the iCloud, as well as make purchases through iTunes. Getting an account set up is free.
- Setup iCloud. This service will backup all of your pictures, contacts, apps, documents, and more to a remote server. This means that you will be able to access your files from any computer, and backup your iPad without having to connect it to a computer.
Advertisement -
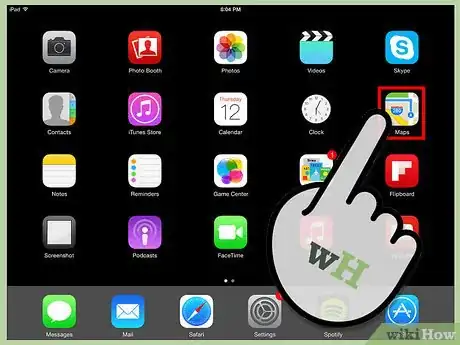
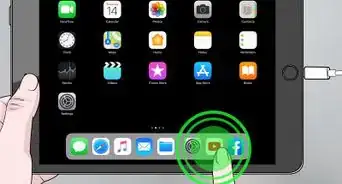
3Get familiar with the UI. You can move icons around by tapping and holding the icon for a second. The icons will shake and you can drag them around the screen to reorganize them however you’d like.
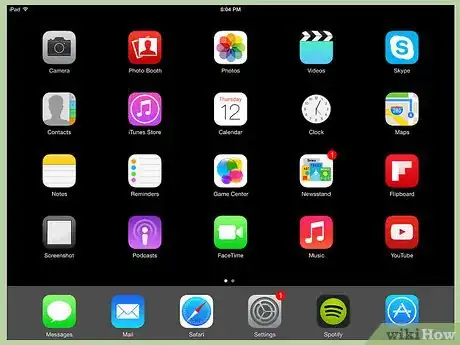
- The bottom of your home screen contains the apps that Apple feels that the average user will access the most. These will appear no matter which Home screen you are on. You can change these by moving the icons.
Setting up Mail
-
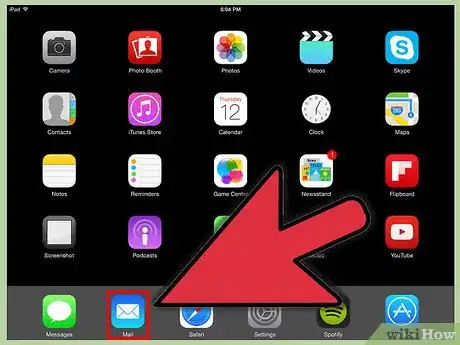
1Tap the Mail icon in the bottom tray of your Home screen. This will open the Welcome to mail setup screen.
-
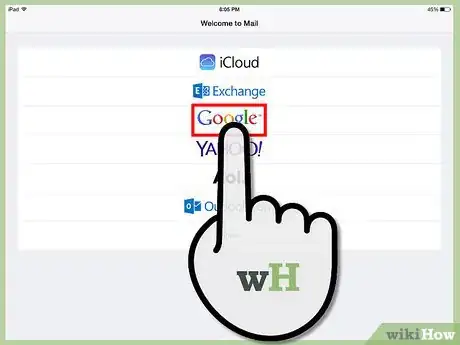
2Select your mail service. If you use one of the services listed, tap it and enter the information requested. Usually you’ll just need your email address and password for the service you select.
-
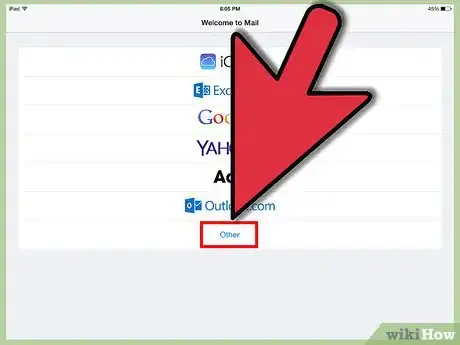
3Setup an unrecognized mail address. If your email is not listed, you will need to enter the information manually. Select Other, then Add Account from the Welcome to Mail screen
- Enter your name, email address, password for your email account, and a description (Work, Personal, etc.). Tap Save.
- You will need to know the host name for your email service. Your email service’s Help page should tell you how to find your host name.
Installing New Apps
-
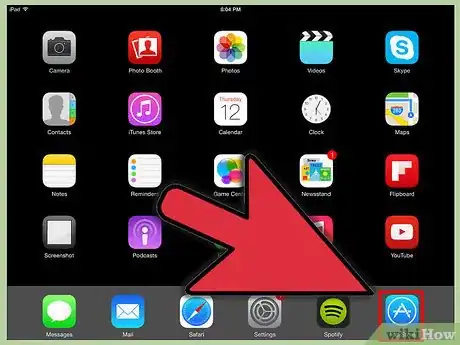
1Open the App Store. There are a large number of both free and paid apps available. You can browse by category, popular, or search for specific apps. For paid apps, you will either need to purchase an iTunes card from a store, or input your payment information.
- To enter your credit card information, go to the Home screen and tap Settings. Select iTunes & App Stores. Select your Apple ID and enter your password. In the Edit section, select Payment Information. Enter your credit or debit card information, then tap Done.
-
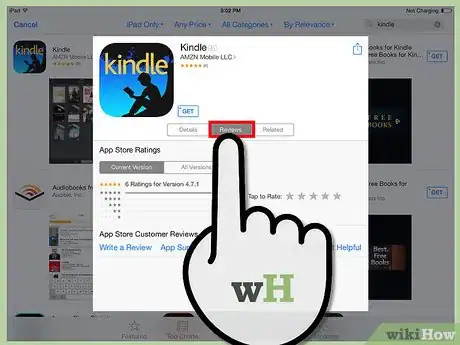
2Check reviews and requirements. Before buying an app, browse through some reader reviews to see if other users are enjoying their purchase. Also be sure to check the requirements. Some older apps are not optimized for newer iPads, and may not function correctly, or at all.
- In the Requirements section, it will list what devices the app is compatible with. Make sure you are not accidentally purchasing an app for iPhone that is not designed for the iPad.
-
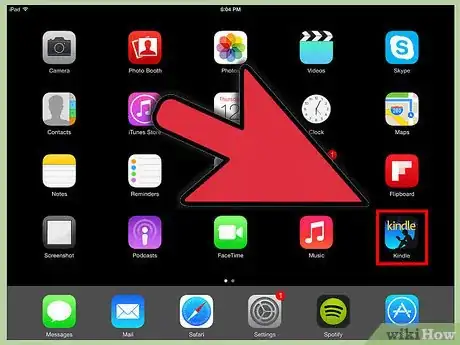
3Once you’ve selected an app to download, the icon will appear on your Home screen with a loading bar on it. This bar will show you how long until it is finished downloading and installing.
-
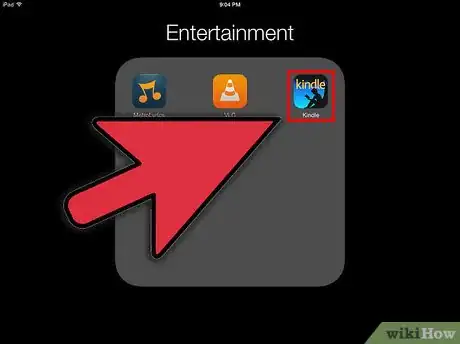
4You can categorize apps by dragging them on top of each other. This will create folders that you can use to keep your Home screens from getting cluttered.
- If an app is frozen on your iPad, close or exit out of the app.
- If your iPad has a home button, you can double-click on your home button and swipe the app out of the page.
- If you do not have a home button, pinch with three fingers onto the screen to swipe the app out of the page.
Community Q&A
-
QuestionHow do I use the mic on my iPad?
 Community AnswerIf an app needs the mic then it should have a notification for your approval to use the mic, otherwise just go into settings and manually turn on the mic for that app.
 -
QuestionI have entered my email address but I'm still not getting notifications for email. What can I do?
 Community AnswerGo to settings, scroll to notification center and click on it, and if your email is in the "not include" section, click on it and select how you want the notification to appear.
 -
QuestionHow do I get my home screen to show my apps when I switch on?
 Community AnswerLook in the drop-down menu. You should see the app. Hold down on the app and drag it to where you want.
About This Article
1. Fully charge the iPad before use.
2. Turn on the iPad.
3. Follow the on-screen setup instructions.
4. Tap Mail to set up and access email.
5. Tap Messages to send and receive iMessages.
6. Tap Safari to browse the web.
7. Tap App Store to browse and download apps.
8. Tap Camera to take photos.
9. Tap Photos to view your photo gallery.
10. Tap Settings to access your settings and preferences.
