wikiHow is a “wiki,” similar to Wikipedia, which means that many of our articles are co-written by multiple authors. To create this article, 11 people, some anonymous, worked to edit and improve it over time.
wikiHow marks an article as reader-approved once it receives enough positive feedback. In this case, 94% of readers who voted found the article helpful, earning it our reader-approved status.
This article has been viewed 45,349 times.
Learn more...
An English wheel is a simple, easy-to-use machine designed for sheet metal forming and fabrication. The machine is used to produce different types of curves in sheet metal. Generally, the machine is manually operated. However, hydraulic drives are sometimes used on larger machines.
Steps

Using the English Wheel
-
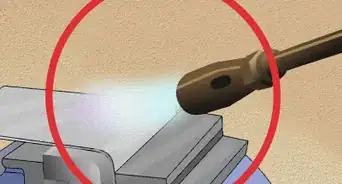
1
-
2Attach the die to the frame. The lower jaw of the C frame has two carved grooves and the anvil wheel has an axle which extends on either side. Place the die onto the lower jaw by fitting the axle into the grooves.
-
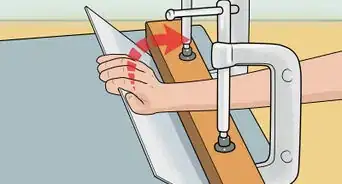
3Adjust the gap between the wheels. Turn the handle under the lower jaw to adjust the space between the wheels. A smaller the gap will apply more pressure to the sheet metal.
-
4Begin the metal forming process. Pass the sheet metal through the gap between the rolling wheel and the anvil wheel.
-
5Move the sheet metal back and forth between the two dies to help form the sheet metal. Note that the sheet metal part can be manipulated in every direction. [6]
-
6Remove the sheet metal after forming is complete. Many English wheels are equipped with a lever just under the anvil wheel. The lever increases the gap so you can remove the sheet metal easily without changing your settings.


Warnings
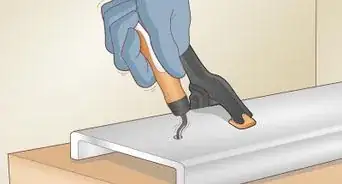
- Always wear gloves when handling sheet metal and while operating the English wheel.⧼thumbs_response⧽


References
- ↑ https://www.youtube.com/watch?v=zHX2B9r-iaA
- ↑ https://www.youtube.com/watch?v=2v4Cbkm2_ug
- ↑ https://www.youtube.com/watch?v=PzOILKDpV1E&feature=youtu.be
- ↑ https://www.youtube.com/watch?v=EU02nuCnah4
- ↑ https://www.youtube.com/watch?v=zHX2B9r-iaA
- ↑ https://www.youtube.com/watch?v=PzOILKDpV1E&feature=youtu.be