X
wikiHow is a “wiki,” similar to Wikipedia, which means that many of our articles are co-written by multiple authors. To create this article, 14 people, some anonymous, worked to edit and improve it over time.
This article has been viewed 33,607 times.
Learn more...
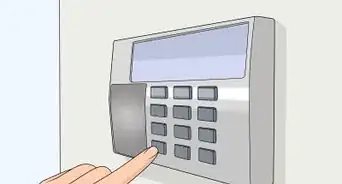
A security alarm is an alarm system that detects intrusion or burglaries in a residential (such as a house or apartment) or commercial (such as a store or office) building. It is used to commonly deter intrusion, break-ins, vandalism, and much more. Here are some common directions on how to use a security system manufactured by Honeywell, including ADT.[1] [2]
Steps
Part 1
Part 1 of 8:
Arming/Disarming via Touchscreen
-
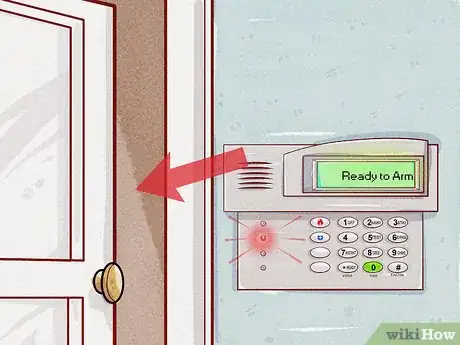
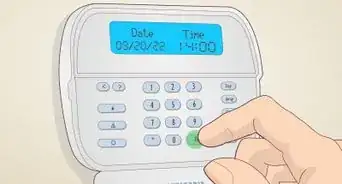
1Check the ready indicator is illuminated. If the panel does not display "Ready to Arm" then you cannot arm the system. Check for any open sensors listed by selecting "Zones".
- If a motion detector is tripped, the system may not display "Ready to Arm", but you will still be able to arm the system STAY.
-
2Select the mode to arm the security system. You can select between a few arming modes:
- Disarm: Disarms the security system, regardless of which mode the alarm is in, and clears any previous alarms or faults. The keypad beeps once.
- Arm Stay: Arms the security system in "stay" mode. This enables all sensors except for motion detectors. The security system beeps three times.
- Night Stay: Arms the security system in "night" mode. This enables all perimeter sensors, plus a few motion detectors. The motion detectors armed in night mode are set by your installer.
- Entry Delay: Turns the entry delay on or off. If the entry delay is off, then opening any set entry/exit door before disarming the system will immediately sound the alarm.
- Arm Away: Arms the security system in "away" mode. This enables all sensors, including motion detectors, doors, windows, and glass break detectors. During the exit delay, the alarm will count down the amount of time until the alarm is fully armed, and beep rapidly within the last 10 seconds.
- Arm Custom: Arms the security system, but allows for bypassing of up to five zones. Bypassed zones will not trigger an alarm when they are opened.
Advertisement -
3Enter your security code or select "Quick Arm". "Quick Arm" will arm the system instantly using the default master code. Note that different codes have different permissions, which means that doing so may prevent you from disarming the security system if you do not know one of the master codes.
-
4Leave within the exit delay. Except in "Arm Away" mode, the alarm will give a silent countdown indicating the amount of time left to leave the premises. When the countdown reaches zero, the entry/exit zones will be armed.
- An alarm sounds immediately if a door not normally used for exit, or if any enabled sensor is tripped. If the keypad is equipped with a loud sounder, then that will be used to sound the alarm. If the keypad is not equipped, then any external sounders, along with alternating high and low-frequency continuous beeps will sound.
-
5Turn off the system upon return. Upon arriving back, enter your security code where prompted. After the entry delay ends, the alarm will sound.
- During the entry delay, the keypad will beep continuously until the delay ends. During the last ten seconds, the keypad will beep rapidly.
- If a false alarm sounds, silence the alarm by entering your security code within two minutes to avoid the monitoring center being notified. To clear the false alarm, press "Disarm" then enter your security code again.
Advertisement
Part 2
Part 2 of 8:
Arming/Disarming via Keypad
-
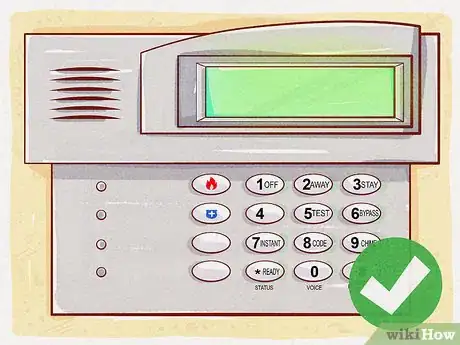
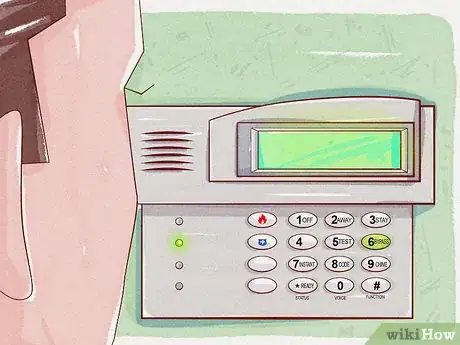
1Check that the ready light is green. If the LED is not green, you cannot arm the system. Check for any open sensors listed on the display.
- If a motion detector is tripped, the LED will not turn green, but you will still be able to arm the system STAY.
-
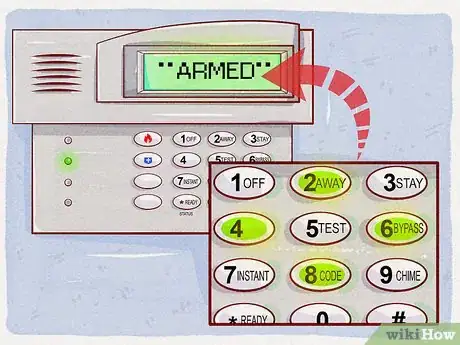
2Enter your security code on the keypad. Then press the following keys depending on what you are doing:
- OFF: Disarms the security system, and clears any previous alarms or faults. The keypad beeps once.
- AWAY: Arms the security system in "away" mode. This enables all sensors, including motion detectors, doors, windows, and glass break detectors. The security panel repeatedly beeps until the exit delay (time you have to leave the premises) ends, and beeps rapidly within the last 10 seconds. The delay resets if an exit door is opened within the last ten seconds of exit delay.
- STAY: Arms the security system in "stay" mode. This enables all sensors except for motion detectors. The security system beeps three times.
- NIGHT-STAY: Arms all perimeter sensors, plus a few motion detectors. To do so, press the stay button twice after entering your security code. The motion detectors armed in NIGHT-STAY is programmed by your security installer.
- INSTANT: Arms the security system in "stay" mode, but removes the entry delay. The entry delay is the grace period before the alarm sounds. The entry delay is set by the installer of the security system. The security system beeps three times.
- MAX: Arms the security system in "away" mode, but removes the entry delay. If the security system is not disarmed before entering the home, the alarm will sound.
-
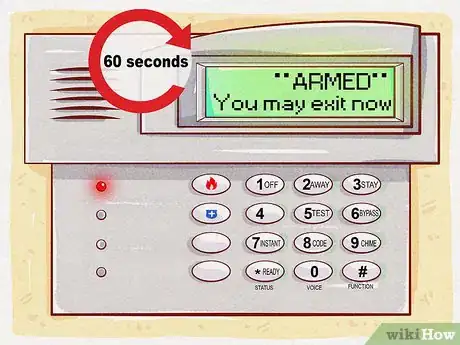
3Leave the premises within the exit delay. This is the usual time that is set by the installer, which allows for normal exit through main doors.
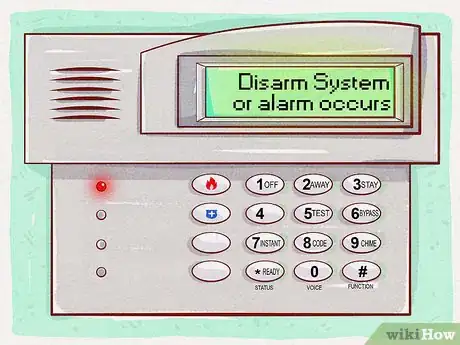
- An alarm sounds immediately if a door not normally used for exit, or if any enabled sensor is tripped. If the keypad is equipped with a loud sounder, then that will be used to sound the alarm. If the keypad is not equipped, then any external sounders, along with alternating high and low-frequency continuous beeps will sound.
-
4Turn off the system upon return. Do this by entering your security code and pressing OFF. After the entry delay ends, the alarm will sound.
- During the entry delay, the keypad will beep continuously until the delay ends. During the last ten seconds, the keypad will beep rapidly.
- If a false alarm sounds, enter your four-digit PIN then press OFF within two minutes to avoid the monitoring center being notified. To clear the false alarm, enter your four-digit PIN again then press OFF.
Advertisement
Part 3
Part 3 of 8:
Testing Your Security System
-
1Enter test mode. To do so, either go into your touchscreen panel's settings and look for "Test" mode, or enter your security code and press "TEST". Select "walk" test mode.
- Some panels do not have a built-in test mode and can only be put on test by calling the monitoring center or using their online portal.
-
2Open a door or window to test it. You should hear three beeps, followed by the name of the zone (if your security system is voice equipped).
-
3Bang near or tap a glass break detector to test it. You should hear three beeps, followed by the name of the zone. You do not need to break a window or glass item to test the detector.
-
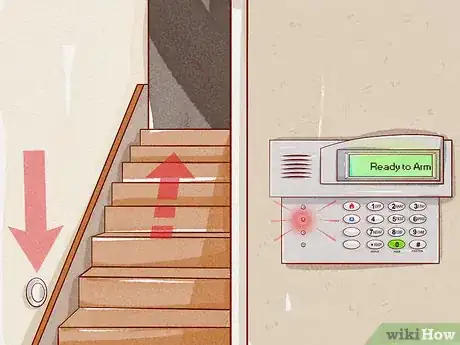
4Walk by a motion detector to test it. You should hear three beeps, followed by the name of the zone.
-
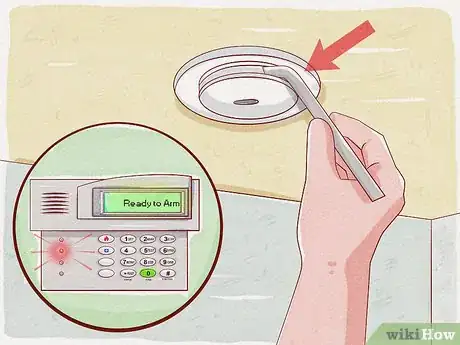
5Test a smoke detector by inserting an Allen key into the "Test" hole of the smoke detector. The smoke detector will sound but the fire department won't be notified.
-
6Perform a communications test. To do so, call your security company, and follow their instructions. On command panels, a communications test can be initiated from the tools menu of the touchscreen. If the panel is able to communicate with the monitoring center, the panel will display "Test passed". This means there is both a cellular and a wireless connection to the panel.
-
7Deactivate test mode. To do so, select "Exit test mode" and then enter your security code, or enter your security code and press "OFF". You may have to deactivate test mode by contacting your monitoring center or using their online portal.
Advertisement
Part 4
Part 4 of 8:
Bypassing a Security Zone
-
1Enter your security code, followed by BYPASS, followed by the two- or three-digit code for zone to be bypassed. Or, select "Zones" on the touchscreen and then select the zones to be bypassed, then enter your security code. The keypad should beep once.
- Bypassing a zone disables it while armed. If a bypassed zone is tripped, the alarm system will simply ignore it. You have to bypass the zone every time you want to arm the security system, as bypassed zones are reset upon disarming the security system.
- Some systems only allow up to five zones to be bypassed.
-
2Bypass all zones. Enter in your security code, followed by BYPASS, followed by the "#" key. The keypad should beep for every bypassed zone.
Advertisement
Part 5
Part 5 of 8:
Sounding an Alarm Manually
-
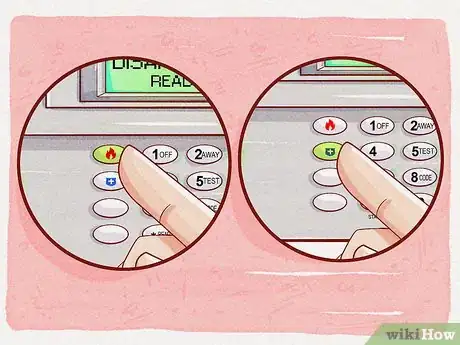
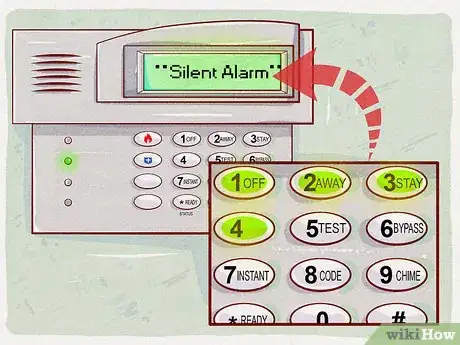
1Hold down the appropriate letter key. Alternatively, press the specific two buttons. On a touchscreen panel, these buttons may be hidden behind a "SOS" option on the panel's main screen.
- To sound a fire alarm, press the button with a pictogram of a fire for two seconds. Alternatively, press the two buttons with arrows from the fire symbol.
- To sound a security alarm, press the button with a pictogram of a police shield for two seconds. Alternatively, press the two buttons with arrows from the police symbol, or press the panic button on the keychain remote.
- To sound a medical alarm, use a medical pendant you are wearing or press the HELP button on the medical intercom. Alternatively, press the button with a pictogram of a medical cross for two seconds, or press the two buttons with arrows from the medical button.
-
2Enter your four-digit duress code in an emergency "duress" situation. If forced to disarm your security system, enter this code onto the security panel. The system will act normally, but the police will be notified Immediately.
- There will be no notification (phone call or text message) that the dispatch center has received the alarm. The police may take up to 5 minutes to arrive. Make sure that everyone knows this PIN, and make sure that it is only used in an emergency.
Advertisement
Part 6
Part 6 of 8:
Changing, Adding or Removing a Security Code
-
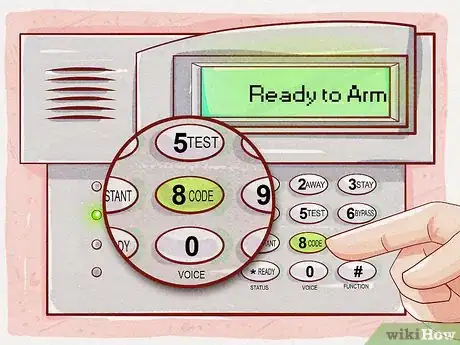
1Enter your four-digit security code. Next press CODE, then the user number. Or, go into code settings on your touchscreen panel, then enter your security code. The defaults are follows:
- 01 is reserved for the installer code.
- 02 is reserved for the master code.
- 03/33 is reserved for the partition code.
-
2Follow the appropriate step:
- To add/change a user code, enter their code. The security system beeps once.
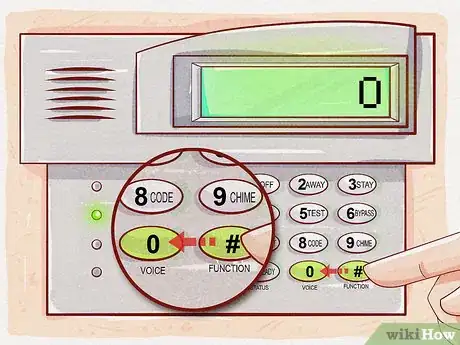
- To delete a user code, press # then 0.
- To change the permissions of that code, press # then 1 then any of the following: 0 is arm only. 1 is guest. 2 is duress code. 3 is master code. On a touchscreen panel, select the appropriate code type from the dropdown. Some panels have duress codes hardcoded into certain positions such as position 6.
Advertisement
Part 7
Part 7 of 8:
Clearing a False Alarm Signal
-
1Know which kind of false alarms can be cleared. For safety reasons, carbon monoxide and panic alarms cannot be cancelled, since the procedure is to notify emergency services immediately after receiving one of these types of alarms. If your alarm detects carbon monoxide, leave the premises immediately.
-
2Respond to any alert prompts or phone calls that you receive. If you do not receive any, contact your security company to cancel the alarm.
-
3Provide the address of the alarm and/or the account number, and the passphrase. The monitoring center cannot do anything without this information.
-
4Wait back for the response. If the alarm is cancelled, you will be notified on the phone call or in the text.
Advertisement
Part 8
Part 8 of 8:
Troubleshooting Common Problems
-
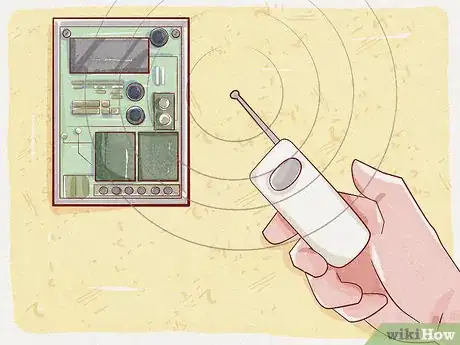
1Check to see if the sensor is within range of the RF receiver and charged (if the sensor is wireless) or if the wires to the sensor are not cut (if the sensor is wired).
-
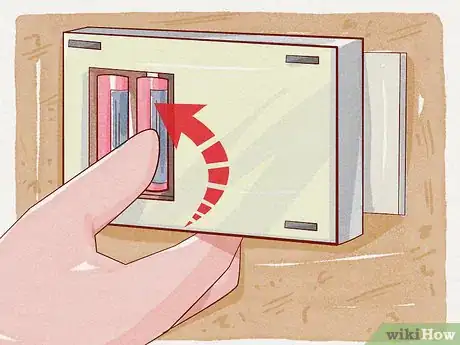
2Check that the security system is receiving power. If your security system is displaying "NO AC" or "AC LOSS" on the screen, then make sure that there is no blackout in the area and that the outlet for the security system is receiving power. If your security system is displaying "LOW BATTERY", then replace the battery on the security system (if no zones are displayed) or any zones displayed. The security system requires a lead-acid battery, and the sensors require alkaline batteries.
-
3Call the toll free number for your security company. The toll free number is usually written on any yard signs or on your security panel.
-
4Bypass any faulty zones. Until the security company provides you with the necessary resources to service your alarm, bypass them.
- When a service person does come to service your security system, check their credentials. You do not want them to break your security system even further.[3]
Advertisement
Community Q&A
-
QuestionWhat does an 05 fault mean?
 AasimTop AnswererThis means that zone 05 is either open or is having trouble. Check that the sensor for zone 5 is intact, and that the door is closed. If you are still getting a fault on the security panel, call your security company.
 -
QuestionHow do I change the volume of the keypad?
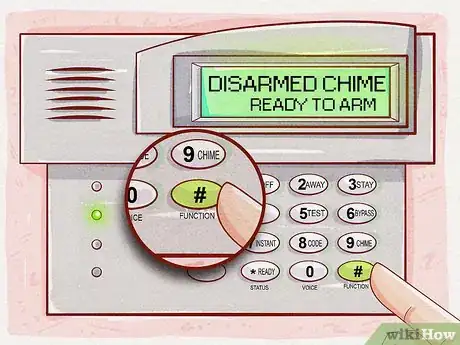
 AasimTop AnswererYou can only change the volume of the voice on the keypad. To do so, press #, then press "0", then press 3 to raise the volume or 6 to lower the volume. Repeat this process to adjust the volume.
 -
QuestionHow to reset the system when moving into a new home?
 AasimTop AnswererDon't worry about resetting the alarm for the next user. When the next user wants to activate the security system they can call the security company anytime to activate it.
Advertisement
Warnings
- Do not enter if an alarm is sounding. Instead, call your local emergency services. If the security system is monitored, police will be on their way.⧼thumbs_response⧽
- Always put your security system on test prior to servicing; failure to do so may trigger a tamper alarm and dispatch police.⧼thumbs_response⧽
- If upon entering you hear rapid beeping from the keypad, this indicates that an alarm previously sounded. Leave the premises immediately; the intruder can still be on site and potentially dangerous. Call your emergency services or wait for help to arrive.⧼thumbs_response⧽
- You are responsible for any fines incurred for false alarms by either your security company or law enforcement.⧼thumbs_response⧽
Advertisement
References
About This Article
Advertisement
