This article was co-authored by Stephen Cardone and by wikiHow staff writer, Nicole Levine, MFA. Stephen Cardone is the COO of NY Headshots, a New York City-based studio that specializes in shooting and producing headshots for individuals and businesses. Stephen has over four years of professional photography experience and over six years of documentary filmmaking experience. Stephen also works extensively as a photographer at NY Headshots. His work includes events, environmental photography, as well as headshots for actors, models, and corporate. He holds a BA in Non-fiction Writing from The New School.
The wikiHow Tech Team also followed the article's instructions and verified that they work.
This article has been viewed 615,179 times.
This wikiHow teaches you how to film your video using a green screen so you can easily add your own custom background. After filming with a green screen, you can use either Shotcut or LightWorks—both of which are free and available on Windows and Mac computers—to replace the green screen with your preferred background image or video.
Steps
Creating a Green Screen Video
-
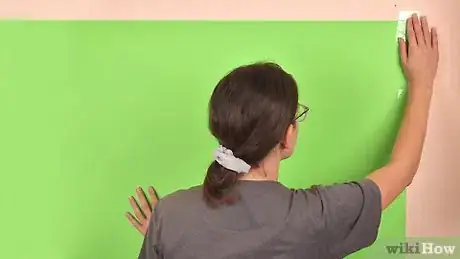
1Set up your green screen. You can buy an industry standard green screen online, or you can use a lime-green sheet or poster paper in a pinch.[1]
- Your green screen should have as few wrinkles as possible, and should be one uniform color throughout.
-
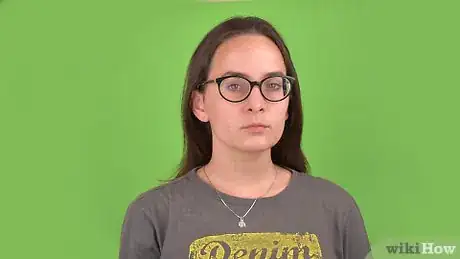
2Place the subject 3 to 15 feet in front of the green screen. You'll need at least 3 feet between the green screen and the subject to minimize shadows, which is important when phasing out the green screen later. For best results, aim for at least 10 to 15 feet between the subject and screen—this will help mimic the lighting in the background clip to make subject look natural.[2]Advertisement
-
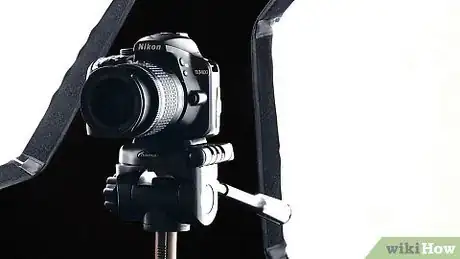
3Position your camera. You'll want your camera far enough away to capture all of your body (if applicable) in the frame, without being so far away that the green screen isn't centered in the frame.[3]
-
4Shoot your video. Record yourself or your subject in front of the green screen. Make sure that any movements or objects in the frame stay in front of the green screen, as anything shot outside of the green screen frame will end up being cut from the final video.
-
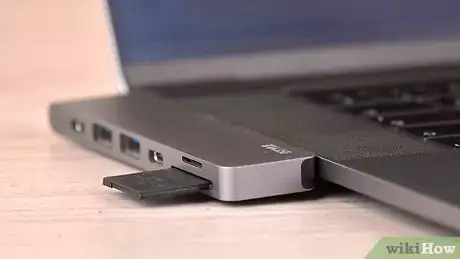
5Move the video onto your computer. Once you've finished recording the video, you'll need to put it on your computer so that you can edit it.
- If the video is on a phone, consider uploading it to a cloud service like Google Drive and then downloading it onto your computer from there.
- If the video is on an SD card, you can usually insert it directly into your computer (or a USB/SD card adapter that's plugged into your computer) to move the video.
Editing with LightWorks
-
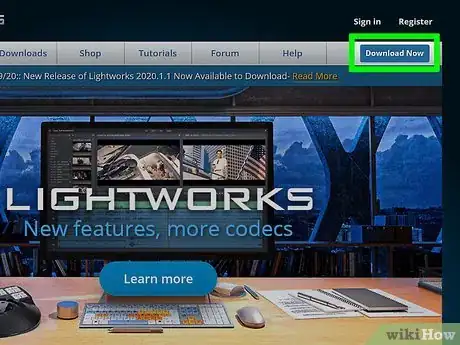
1Open the LightWorks download page. Go to https://www.lwks.com in your browser and click the blue Download Now button at the top-right corner of the page.
-
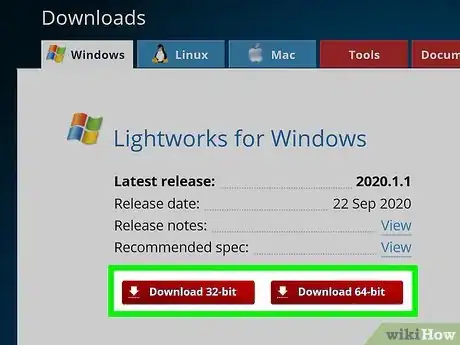
2Select your operating system. Click the Windows tab or the Mac tab depending on which type of computer you use.
-
3Click the Download link for your operating system. For a Windows computer, click Download 32-bit for a 32-bit operating system, or click Download 64-bit for a 64-bit operating system.
- On a Mac, click Download DMG here instead.
- Check your computer's bit number if you don't know whether your version of Windows is 64 bits or 32 bits.
-
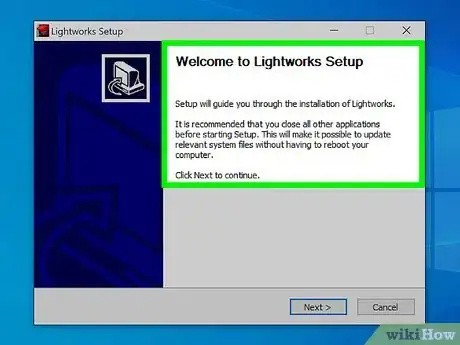
4Install LightWorks. Once the LightWorks setup file finishes downloading, do the following:
- Windows - Double-click the setup file, click Yes when prompted, select a language and click OK, click Next, check "I accept" and click Next, click Next three more times, enter a random number, and click Install. Click Next and then Finish when the installation completes.
- Mac - Open the LightWorks DMG file, click and drag the LightWorks icon onto the Applications folder shortcut, and verify the software if prompted. Follow any other on-screen instructions as they appear.
-
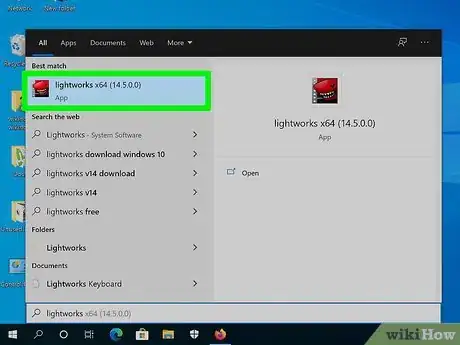
5
-
6Click Create a new project…. It's a link in the upper-left corner of the window.
-
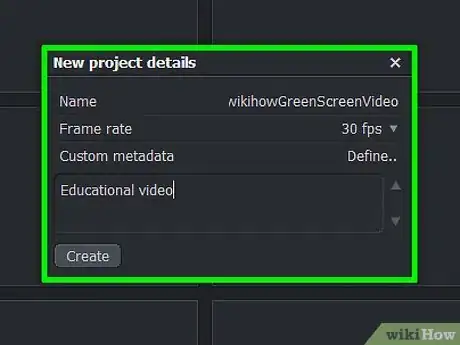
7Set up your project. In the pop-up window that appears, do the following:[4]
- Enter a name in the "Name" text field.
- Select Mixed rates from the "Frame rate" drop-down menu.
- Click Create.
-
8Click the Local Files tab. It's near the bottom-left corner of the window.
-
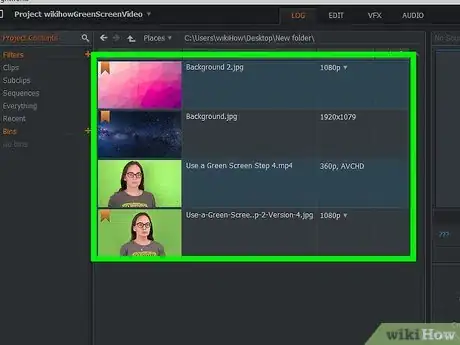
9Select your green screen and video files. Click the green screen video that you want to use, then hold down Ctrl (PC) or Command (Mac) while clicking the image or video that you want to use as the background.
- If you don't see the files that you want to use, click the Places button at the top, and then select the folder in which your files are stored.
-
10Click Import. It's in the lower-left corner of the window. This will import your files into LightWorks.
-
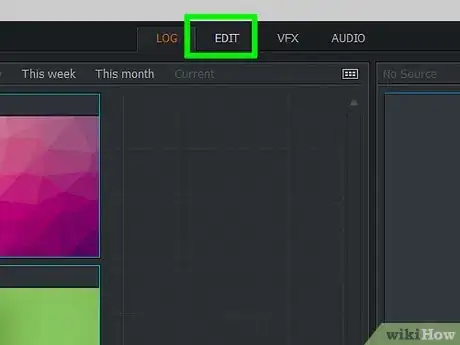
11Click the EDIT menu. This option is at the top of the LightWorks window, just right of the LOG tab.
-
12Create a second video track. Right-click the horizontal track section at the bottom of the window, click Tracks in the drop-down menu, and then click Add video in the pop-out menu. You will see a "V2" track category appear on the left side of the window.
-
13Add your files to the track area. Drag your green screen video into the "V1" section of the track area and drop it there, and then drag the background image or video file into the "V2" section.
- If you're using a background video, the video should be the same length as your green screen video.
- If you're using a background image, you'll need to click and drag the image's left or right edge to extend it to be the length of the video.
-
14Click the VFX tab. It's at the top of the LightWorks window.
-
15Add the green screen Chromakey effect. Right-click the "V1" track at the bottom of the window, click Add, click the Key category, and then click Chromakey in the menu.
-
16Click the eyedropper tool. It's in the Chromakey panel next to the word "Saturation."
-
17Click the green part of the green screen. This will select any matching color as the item to replace with your background image or video.
-
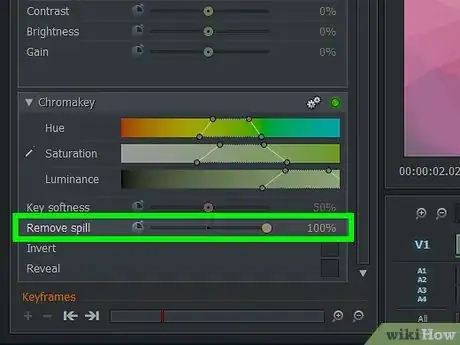
18Adjust the green screen. Click and drag the "Remove spill" slider that's on the left side of the page to the right. Doing so minimizes the amount of green that you'll see due to inconsistent color in your green screen.
-
19Click the Play button to preview the video. It's the triangle button below the video.
- If you need to adjust the green screen some more, do so on the left side of the window.
-
20Export your video. To do this, click the EDIT tab again, right-click the track section, and then select Export. Click YouTube, uncheck the "Upload to YouTube.com" box if it's checked, and then click Start in the bottom-left corner. This will convert the project into a playable video file.
- Exporting may take several minutes to several hours based on the video's size and resolution.
Editing with Shotcut
-
1Download Shotcut. Go to https://www.shotcut.org in your browser, click the Click to Download link at the top, and then click your operating system's download link to begin the download.
- Windows - Click either 64-bit Windows installer or 32-bit Windows installer depending on your computer's bit number. Check your computer's bit number if you don't know whether your version of Windows is 64 bits or 32 bits.
- Mac - Click macOS below the "macOS" heading.
-
2Install Shotcut. Once the setup file finishes downloading, do the following:
- Windows - Double-click the Shotcut setup file, click Yes if prompted, click I agree, click Next, click Install, and click Close when the installation finishes.
- Mac - Double-click the Shotcut DMG file, click and drag the Shotcut icon onto the Applications folder shortcut, and verify the software if prompted. Follow any other on-screen instructions as they appear.
-
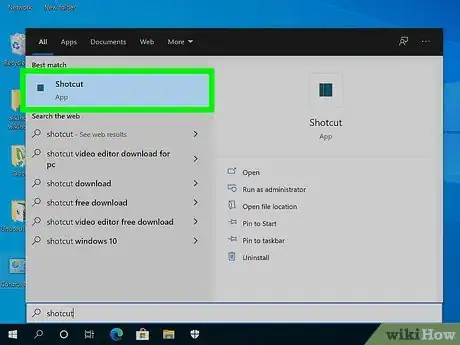
3Open Shotcut. You'll find it in the Windows Start menu, or your Mac's Applications folder.
-
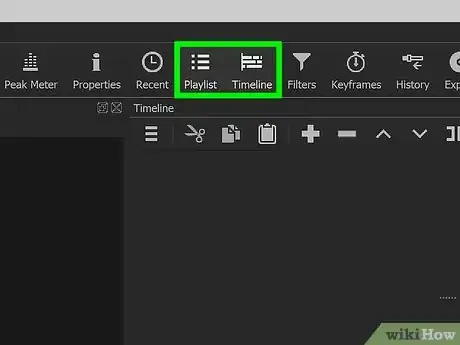
4Enable the "Playlist" and "Timeline" sections. Click the Playlist tab at the top of the window, then click the Timeline tab at the top of the window. You'll see a "Playlist" section appear on the left side of the Shotcut window, while the "Timeline" section will appear at the bottom of the window.[5]
-
5Import your green screen video and background. Click Open File in the upper-left side of the Shotcut window, select the green screen video and its background by clicking one file and then holding down Ctrl (PC) or Command (Mac) while clicking the second file, and then click Open in the bottom-right corner. The file names will appear in the Playlist section.
- You can use a video or an image as your green screen video's background.
-
6Create two video channels. In the Timeline section at the bottom of the window, click the three-line menu at its top-left corner, and then click Add Video Track. Then, repeat this process to add a second video channel.
-
7Insert your video in the first channel. Click and drag your green screen video from the Playlist window onto the top channel in the Timeline section, then drop it.
-
8Add your background to the second channel. Click and drag the background photo or video onto the second channel at the bottom of the Timeline section, then drop it.
- If you're using a background video, the video should be the same length as your green screen video.
- If you're using a background image, you'll need to click and drag the image's left or right edge in the timeline to extend to the length of the video.
-
9Select the green screen video channel. It should be at the top of the Timeline section.
-
10Click the Filters menu. This option is at the top of the window. A "Filters" menu will appear in the Playlist section.
-
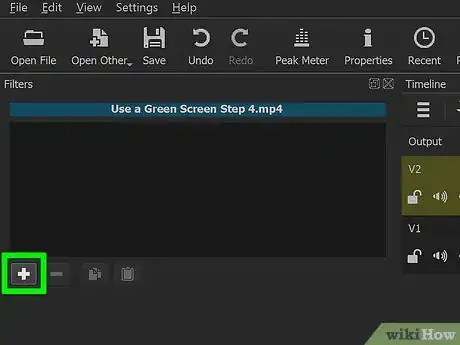
11Click +. You'll find this below the "Filters" menu. Doing so will open a list of available filters in the Playlist section.
-
12Click the "Video" icon. It's a computer monitor-shaped icon below the Playlist section. This will show all available video filters.
-
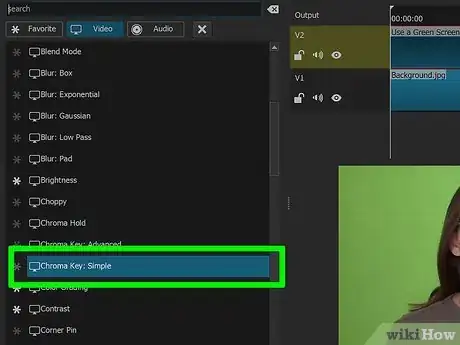
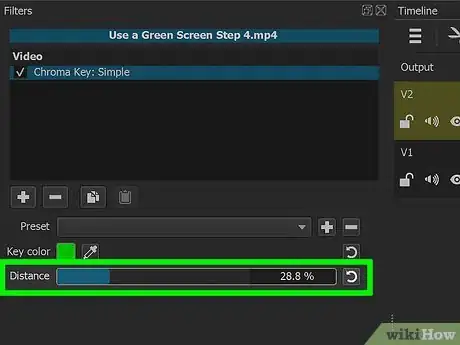
13Click Chromakey (Simple). You'll find this in the middle of the Playlist window. Doing so opens the green screen settings.
-
14Adjust the green screen distance. Click and drag the "Distance" slider to the right until your green screen replacement image or video appears in place of the green screen on the right side of the window.
- As a general rule, you want to avoid moving this slider over to the "100%" mark.
-
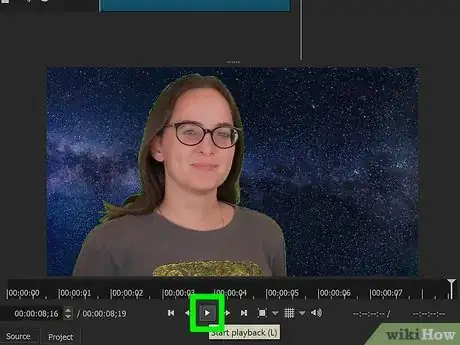
15Preview your movie. Click the "Play" triangle below the movie window on the right side of the window, then adjust your green screen as needed. If you can see a large amount of the green screen, drag the "Distance" slider to the right; if you can't see enough of the background, drag the slider left.
-
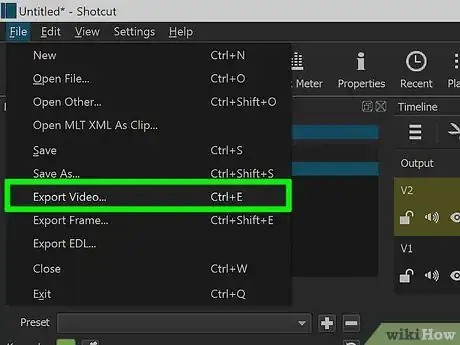
16Export your movie. Click the File menu, select Export Video..., and then click Export File at the bottom of the menu. Enter your desired file name into the "File name" (PC) or "Name" (Mac) field, and then click Save.
- Exporting may take several minutes to several hours based on the video's size and resolution.
Community Q&A
-
QuestionWhy does a green screen work?
 wikiHow Staff EditorThis answer was written by one of our trained team of researchers who validated it for accuracy and comprehensiveness.
Staff Answer wikiHow Staff EditorStaff AnswerThe bright green screen (or a bright blue screen can work too) allows the filmmaker to easily separate the human or animal actors from recorded video or film and replace the background with anything at all. It works because greens (or blues) differ so much from human skin tones or animal fur colors, making it easy to isolate all the greens/blues and superimpose the actors onto any desired background.
 -
QuestionIs there any software I can use when using a green screen?
 Community AnswerMost film/photo editing software has a chroma key feature. If you are on a tight budget, there are scripts you can download for Windows Movie Maker at no cost. If you are on a medium budget, software such as Wondershare Filmora would do. If you are recording a high end movie and have a lot of money to spend, you can invest in software such as Final Cut Pro, or Adobe Premiere Pro.
 -
QuestionCan I use a phone camera for this?
 Community AnswerYou can, but keep in mind that your phone will not capture the same quality as a camcorder. Of course, if this is for a low res YouTube video then it will not make much difference.
Warnings
- LightWorks is free to use, but several features (such as the ability to export to a file type like MP4) are locked if you don't own the paid Pro version.⧼thumbs_response⧽
References
- ↑ https://www.livescience.com/55814-how-do-green-screens-work.html
- ↑ https://www.adobe.com/creativecloud/video/discover/how-to-use-green-screen.html
- ↑ https://www.videomaker.com/article/c10/17026-how-does-green-screen-work
- ↑ https://www.lwks.com/index.php?option=com_lwks&view=download&Itemid=206
- ↑ https://www.youtube.com/watch?v=bpYBj9dByqU
About This Article
To use a green screen, set up the screen and make sure it has as few wrinkles as possible. When you're ready to film, stand at least 3 feet in front of the screen to avoid a shadow, and position the camera so that you can see your body and the screen is centered. Then, shoot the video, being careful to stay within the frame and in front of the screen. Upload the video onto your computer and edit the background with a green screen software, like Shotcut or LightWorks. For tips on using the editing software properly, read on!
