X
wikiHow is a “wiki,” similar to Wikipedia, which means that many of our articles are co-written by multiple authors. To create this article, volunteer authors worked to edit and improve it over time.
This article has been viewed 91,757 times.
Learn more...
Blender is a free open-source 3d modeling and animation software which can be downloaded at http://www.blender.org. One of the great features it has that is unknown to some beginners is the physics engine. This how-to will guide you (using Blender 2.53) in using this important feature.
Steps
-
1Open up Blender 2.5 if you have it. If not, then go to http://www.blender.org to download it.
-
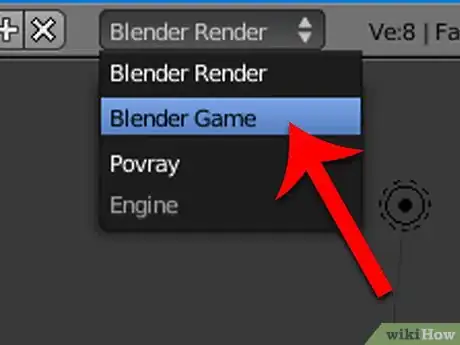
2In the top header, find a drop-down menu with "Blender Render" selected. Click on it, then choose "Blender Game". This is the Blender Game Engine. You can only use physics when you are in the BGE.Advertisement
-
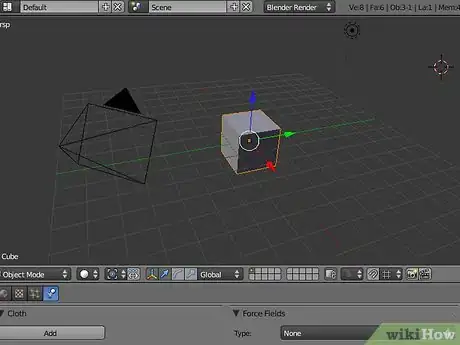
3On the right sidebar, find the bar with icons such as a Camera, 3d objects, and the Earth. Mouse over it and scroll with the scroll wheel all the way to the right of the bar. Click on the Bouncing Ball icon. This will open up the Physics options.
-
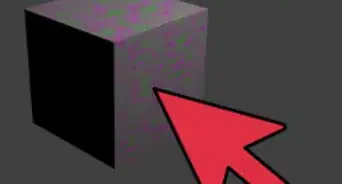
4Select the default cube in the 3d View by right-clicking on it. An orange outline will appear around it.
-
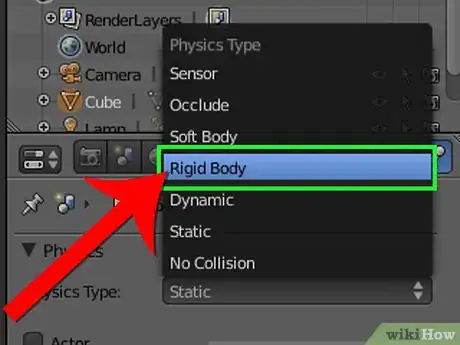
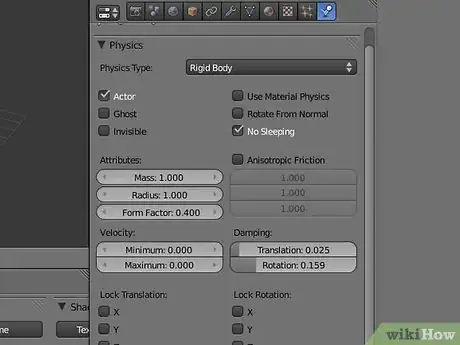
5In the Physics options in the right sidebar, click on the drop-down menu with "Static" currently selected. Choose Rigid Body. This will change the cube into a rigid object that is affected by physics.
-
6In the Physics Options, check "No Sleeping". This will disallow it from deactivating when it has stopped moving.
-
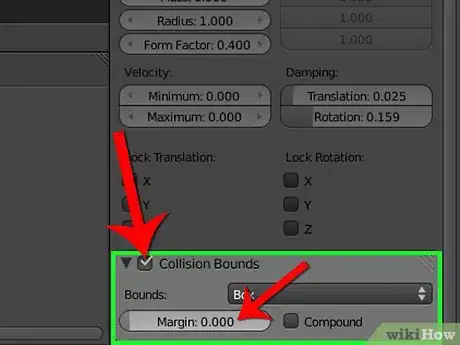
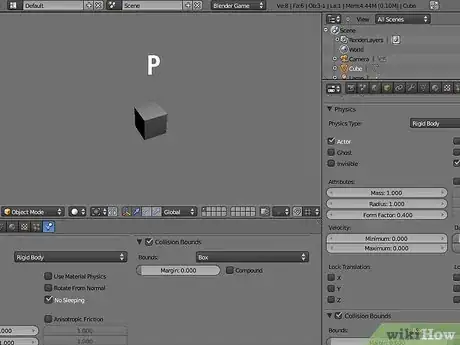
7Scroll down in the Physics Options and check "Collision Bounds". Then set the Margin to 0.000.
- You do not have to change the drop-down menu (which has "Box" currently selected) for the cube you are adding physics to is a box. If you are adding physics to a sphere, change it to "Sphere", and if a cylinder, then change it to "Cylinder" and so on.
-
8Making sure your cursor is over the 3d View, press P on your keyboard. The cube should begin falling, but will never stop. We want it to stop at some point. Press ESC to end the simulation. We are going to create a ramp below the cube so that it will hit it and slide down.
-
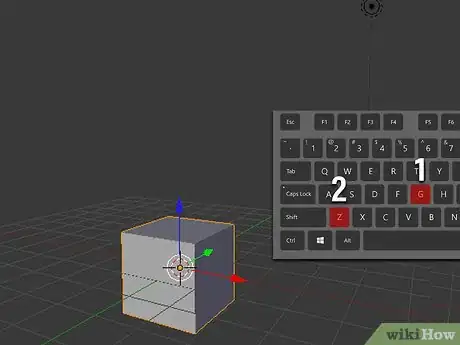
9Make sure that your cursor is over the 3d view (the space where you can see the 3d objects). Then with the cube selected, press G on your keyboard to be able to move it. Then press Z to lock the movement to the Z axis (going up or down).
-
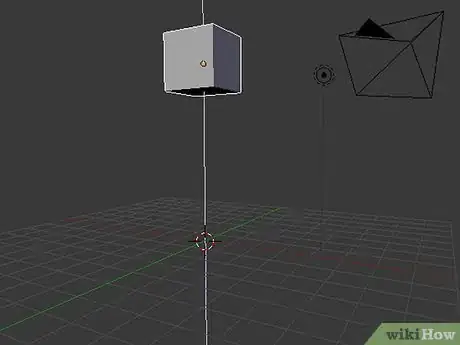
10Slowly move your mouse up until the cube is much higher than the 3d grid. Press the left-mouse button when you are done.
-
11In the top header, click on the Add menu. Many options and submenus will appear below it.
-
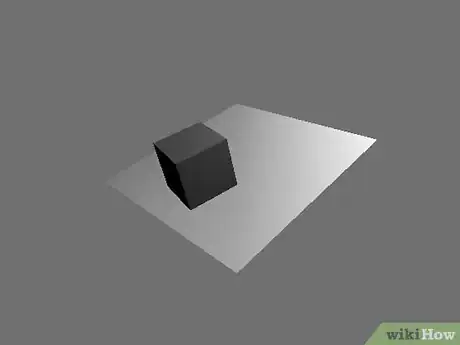
12Click on Mesh to open up meshes that you can add. Click on Plane. A plane is a flat surface with four vertices. For this mesh, you do not have to set the Physics options to Rigid Body, because if you do, it will move downwards like the cube, and the cube will never come in contact with it. Instead, leave it as Static, meaning it will stay in place.
-
13With the Plane selected, press S on your keyboard to scale it up. When you are happy, press the left-mouse button.
-
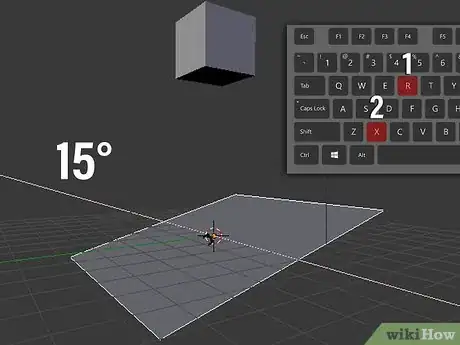
14Press R on your keyboard to rotate it, then press X to constrain the rotation to the X axis. We want the ramp to be at only a slight angle, so now type 15 on your keyboard to rotate it by 15°.
-
15Press P on your keyboard to begin the simulation. The cube should fall and collide with the plane, then slowly slide down and begin falling again. Press ESC to end the simulation.
-
16Experiment with the different settings of the physics options, and try to make your own physics creation.
Advertisement
About This Article
Advertisement

