X
wikiHow is a “wiki,” similar to Wikipedia, which means that many of our articles are co-written by multiple authors. To create this article, 19 people, some anonymous, worked to edit and improve it over time.
This article has been viewed 66,056 times.
Learn more...
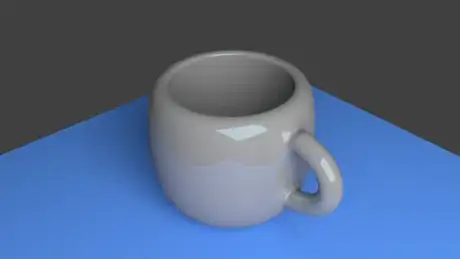
Want to make a cup type of image in Blender? Don't know where to start? Well, this article will take you from the beginning to the end of the process.
- Screenshots are from a Windows computer and Blender 2.68
Steps
-
1Be sure that you have the Cycles Render engine. If you have the current version of Blender, you have it. While checking that you have it, go ahead and select it.
-
2If you don't have the default cube on your screen, go to File >> New >> Reload Start-Up File (CTRL N).Advertisement
-
3Be sure the cube is selected (Right Click on it), and delete it.
Advertisement
Part 1
Part 1 of 8:
Making the Bowl of the Cup
-
1
-
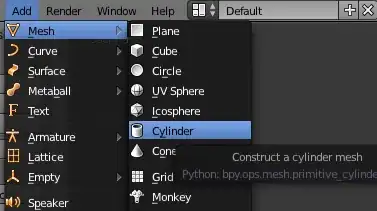
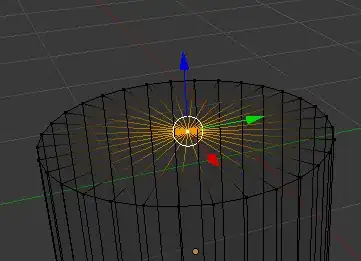
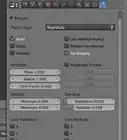
2In the lower left, go to the Add Cylinder options. It may appear differently depending on your version of Blender.
-
3
-
4
-
5
-
6
-
7
-
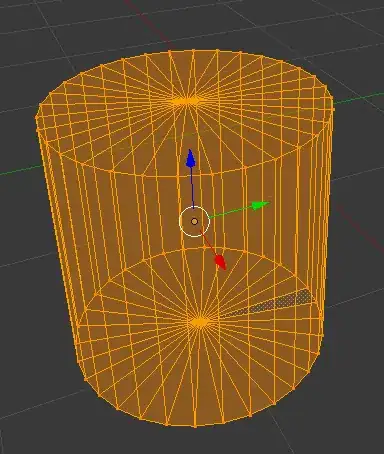
8Press 1 to change your view of the cylinder.
-
9Press 5 to change the perspective. Even thought it is still a cylinder, it will look like a square because of your perspective.
-
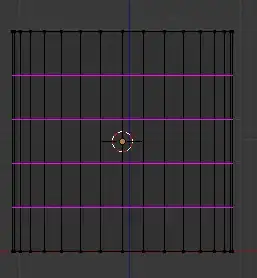
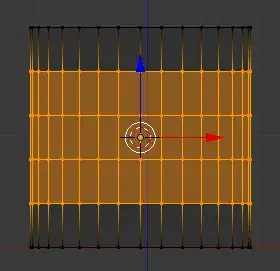
10Zoom in closer, be sure your mouse is over your object and then press CTRL R. Keeping your cursor over the object, use your scroll wheel and roll it up until there are 4 lines.
-
11
-
12Press A to deselect everything.
-
13
-
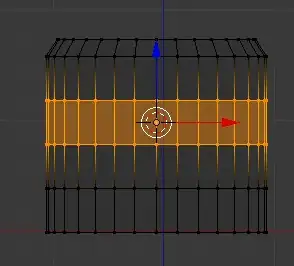
14Shorten the top section. Click on the blue arrow and move the selected vertices until they are shorter.
-
15With the selection still made, press S (Scale) and then type in .9 and then Enter.
-
16Deselect everything (the A key).
-
17
-
18Type S (Scale) and the 1.45 and Enter. This will slightly enlarge the center of the cup.
-
19Deselect everything.
-
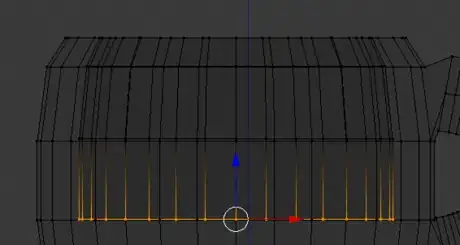
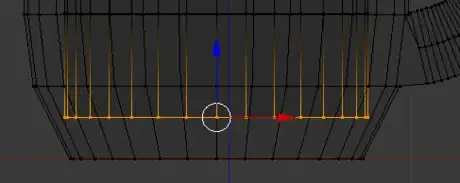
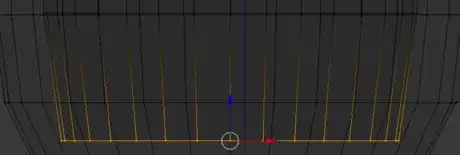
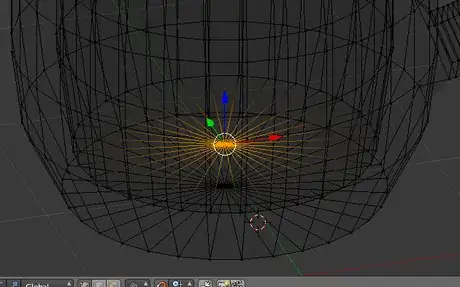
20Press B and select the bottom vertex.
-
21Type S, then .8 and then Enter.
-
22Deselect everything.
-
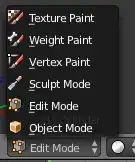
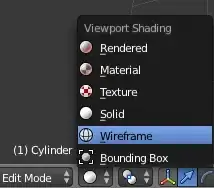
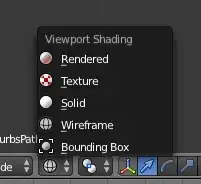
23Go to Edit Mode, switch back to Object Mode and change Wireframe to Solid
Advertisement
Part 2
Part 2 of 8:
Making the Coffee Cup Handle
-
1Move your coffee cup to the side so that you have room to work. To do this, hold down the Shift key and the middle mouse button and move your cup to the side; left in the video.
-
2
-
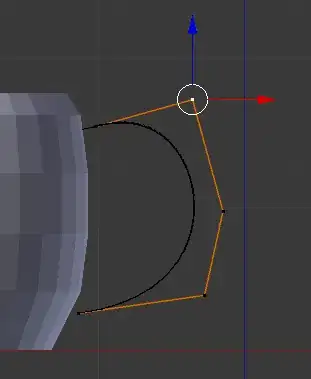
3With your most recent selection (the Path) still selected, change the Object Mode to Edit Mode. This will leave you with five nodes to edit.
-
4
-
5
-
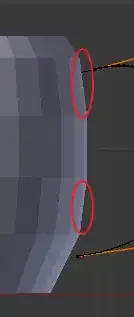
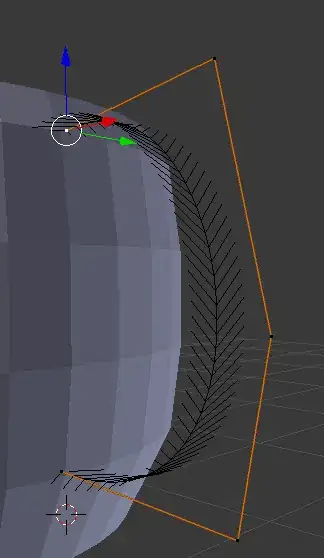
6Start fine-tuning the handle. You want it to connect about midpoint between the sections shown above. Get a good shape, but have it not quite touching the body of the cup.
-
7Switch from Edit Mode back to Object Mode.
-
8Deselect everything.
-
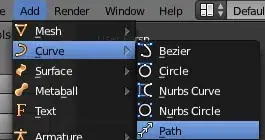
9Go to Add >> Curve >> Circle.
-
10Press S and then .2 and Enter. This will make it quite a bit smaller. You will be using it to give your handle its shape.
-
11Look at your upper right hand corner where the description of the scene should be. If you see Bezier Circle, then you are where you need to be. If not, backtrack your steps and determine what went wrong.
-
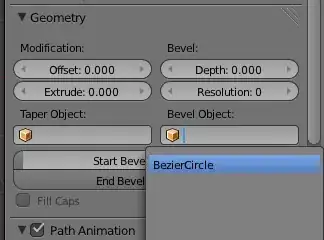
12To apply the shape to your handle, right click on the handle to select it.
-
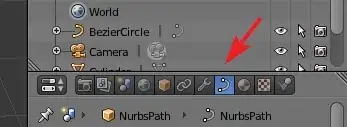
13
-
14
-
15Start making changes to the circle. Any changes that you make to the circle will change the handle.
- Don't be alarmed at the shape that the circle (and handle) becomes.
-
16
-
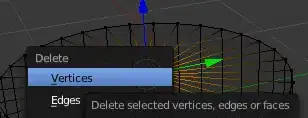
17Delete the circle/square. You no longer need it.
-
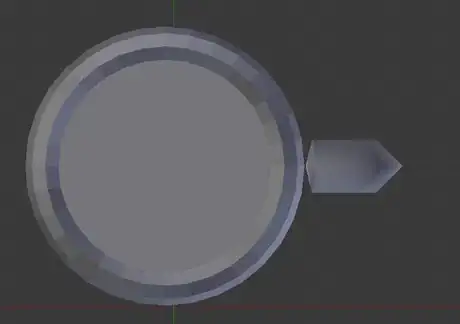
18Check to make sure that your handle placement is good. Move the cup over so that it is centered on your screen and press 7 (on the right hand keyboard). This will give you a viewpoint of looking straight down on the cup.
-
19If your cup and handle are too far apart, select the cup and move it so that it is closer to the handle. Use the arrow to move it laterally.
-
20Join the cup and the handle together so that they are one object.
- If your cup is selected, leave it selected. Hold down the shift key and right click on the handle.
- Press CTRL J. This will make them one object.
-
21Select Edit Mode. You are going to be connecting them together now.
-
22
-
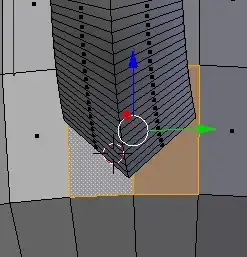
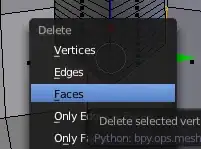
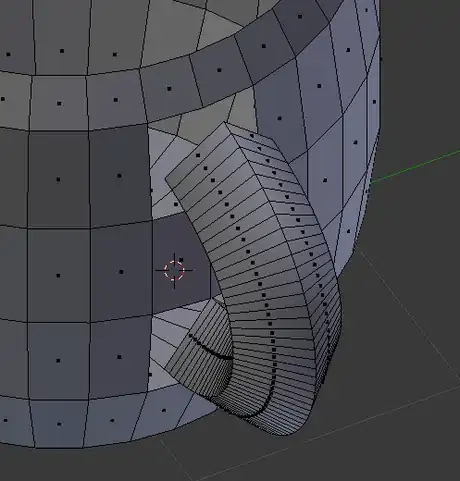
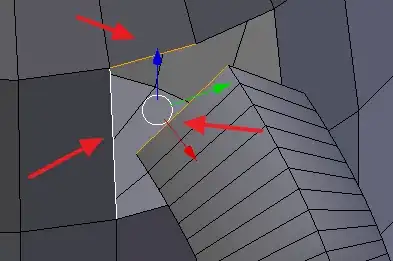
23Move your cup so that you are 'behind' the handle. You are doing to be deleting some faces before connecting the handle. Underneath the handle (from this angle), select one of the faces, as shown in the screen shot. Press the SHIFT key and right click on the other one.
-
24
-
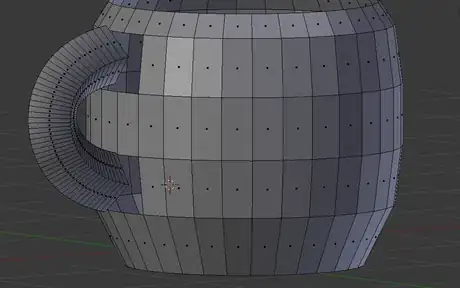
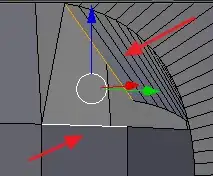
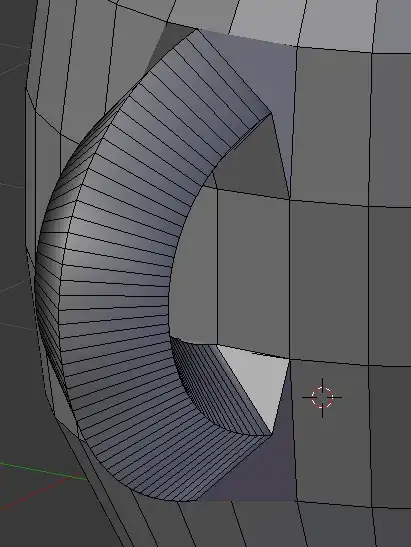
25Change your angle of view again and be looking 'down' into the handle, as seen in the screenshot.
Advertisement
Part 3
Part 3 of 8:
Connecting the Cup and the Handle
Part 4
Part 4 of 8:
Building the Inside of the Coffee Cup
-
1
-
2Press 1 to get a front view of your cup.
-
3
-
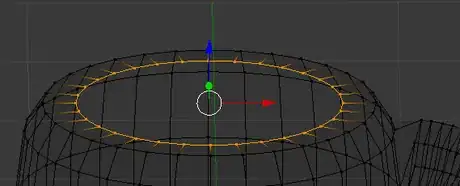
4Press B and then select the top vertices.
-
5Press E (Extrude) and then press Enter.
-
6
-
7Press the number 1 to get a front view.
-
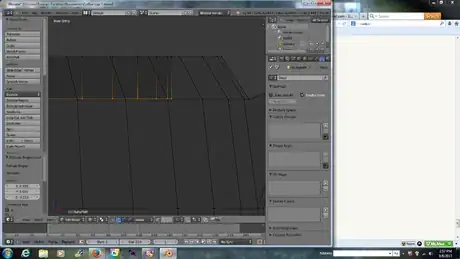
8With the top vertices still selected, press E. After you press E, press Z. This will keep it going straight up and down. Take it down to the next set of vertices and press Enter.
-
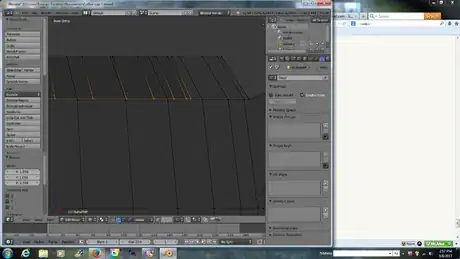
9Press S and scale the inside until it is parallel with the outside of the cup. Press Enter.
-
10Repeat this process until you get to the third vertices.
-
11Press E to extrude but this time don't stop at the vertex. Go down about half the distance again, as in the screenshot.
-
12Press S to scale the bottom and bring it in, but not as much as you have been. It will vary from project to project, but approximate what you see in the screenshot.
-
13Press E and then Enter.
-
14
-
15Change the Display method to Solid and Edit Mode to Object Mode.
Advertisement
Part 5
Part 5 of 8:
Touching Up Your Coffee Cup
-
1Smooth the edges of your cup by going to your left tool bar and go to Shading >> Smooth.
-
2Select the wrench on the right side.
- Add Modifier
- Subdivision Surface
- In the Subdivisions section, change both the views and renders to 3.
-
3Click on the World button to edit the material (the look of your cup).
-
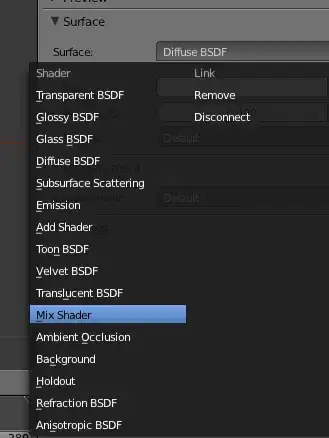
4Click on New and select Mix Shader.
- If your options don't look like this, then check to make sure Cycles Render has been chosen.
-
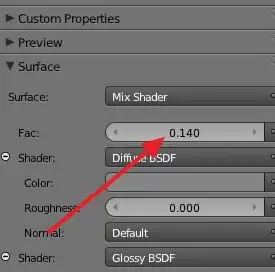
5Click on the first Shader drop box and select Diffuse BSDF.
-
6Change the color to a light gray.
-
7Click on the second Shader drop box and this time choose Glossy BSDF. is is the one that will determine the color of your cup.
- If you want to see what your cup will look like, go to the Viewport section and give it a similar color and your cup will become that color.
-
8Change the Roughness to 0 (zero).
-
9
-
10Save your work.
Advertisement
Part 6
Part 6 of 8:
Making a Tabletop
-
1Click to just below the coffee cup to give the table a good origination.
-
2Go to Add >> Mesh >> Plane and add a plane to just below your cup.
-
3Select S, 3, and then Enter. This will 'grow' the table three times its current size.
-
4Zoom in closer to the bottom of the cup and, by using the BLUE arrow, get the plane as close as possible to the cup.
-
5Go to the right toolbar; the World icon should still be selected.
-
6Click on New and then go with the default Diffuse BSDF option.
-
7Click in the white bar and change the color to whatever you want. Make sure it complements your coffee cup.
Advertisement
Part 7
Part 7 of 8:
Lighting the Scene
-
1Zoom out from your cup until you see the camera. Click behind it like you see in the screenshot. This will give you a point of origin for your light source.
-
2Go to Add >> Mesh >> Plane. Notice the angle of the plane. It won't provide any light to the cup in that position.
-
3Click on R (Rotate) and then press 45. That will give you the correct angle to light your cup. You could also turn it freehand if you wanted to.
-
4Increase the size by 5 times. Press S for scale, press 5 and then enter.
-
5Set the material for the light.
- Click on New and for the Surface, choose Emission. This will allow it to light the cup.
- Change the strength to 10.
-
6Press 0 and then 5. This will allow you to see it as the camera sees it.
-
7Change the scene around through the camera. This will enable you to get the best angle of your work. Otherwise, you are stuck with the one you get.
- Go to the View menu and then select Properties. Then select Lock Camera to View.
-
8After you lock camera to view, then go back to Properties and click it again.
-
9Move your cup around until it has the look you want.
Advertisement
Part 8
Part 8 of 8:
Rendering Your Coffee Cup
About This Article
Advertisement


