This article was co-authored by wikiHow staff writer, Jack Lloyd. Jack Lloyd is a Technology Writer and Editor for wikiHow. He has over two years of experience writing and editing technology-related articles. He is technology enthusiast and an English teacher.
The wikiHow Tech Team also followed the article's instructions and verified that they work.
This article has been viewed 410,503 times.
Learn more...
This wikiHow teaches you how to put online a website which you coded yourself. You can use an FTP program called FileZilla to do this, or you can use your website hosting service's control panel. Keep in mind that you will need to have both a website domain and website hosting before you can upload your website.
Things You Should Know
- You can create a new folder that links directly to your web server in both File Explorer (PC) and Finder (Mac).
- Once you create the folder, you can copy your web files to it to upload your site.
- If you prefer a standalone FTP application, FileZilla is a simple option for both Windows & macOS.
- If your web host offers uploads through their web-based control panel, you can upload changes to your website from anywhere.
Steps
Using a Network Folder (Windows)
-
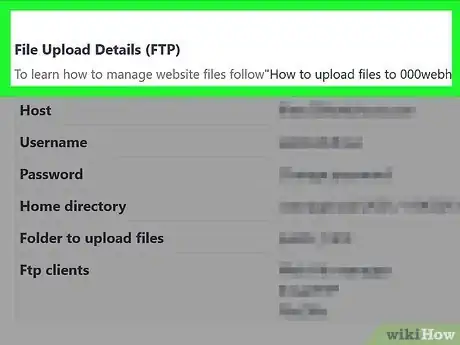
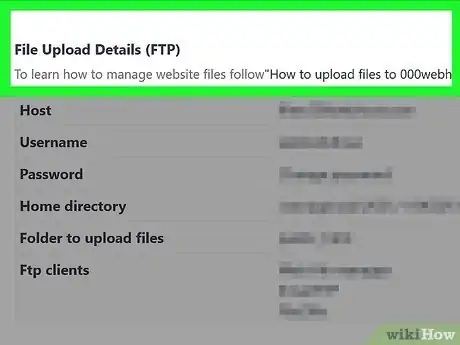
1Find your hosting service's FTP information. Before you can upload your website, you'll need to know your username, password, and website address for your hosting service's FTP server. This can usually be found in the "FTP" section of the hosting service's dashboard.
- Common examples of hosting services include GoDaddy and Hostinger. You must be logged in to see this information.
- If your website doesn't support FTP, you'll need to upload it directly to your hosting service's control panel instead.
-
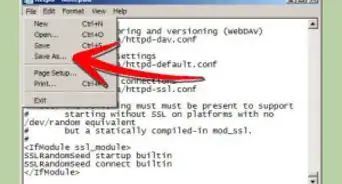
2Copy your website's files. Open the folder in which your website's files are stored, then click and drag your mouse across the files to highlight them and press Ctrl+C to copy them.
- The website's files typically include an index file, a cascading style sheet (CSS) file, and an images folder.
Advertisement -
3
-
4Create a new FTP network folder. You can connect to your website hosting service's FTP folder by doing the following:
- Click the Computer tab.
- Click Add a network location, then click Next twice.
- Enter your hosting service's FTP address, then click Next.
- Uncheck the "Log on anonymously" box, then enter your FTP username and click Next.
- Enter a name for the network, click Next, and click Finish.
-
5Enter your password when prompted. Once the FTP folder opens, you'll be prompted to type in the password which was listed on your hosting service's FTP page.
-
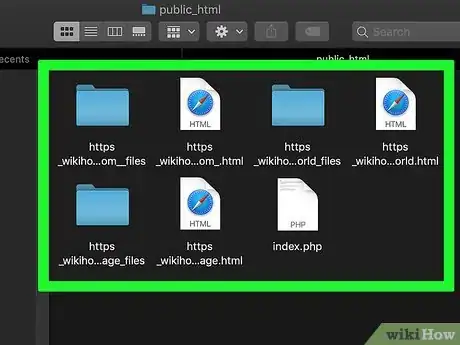
6Open the "public_html" folder. In the FTP folder, double-click the "public_html" (or "html", or "root") folder to open it.
-
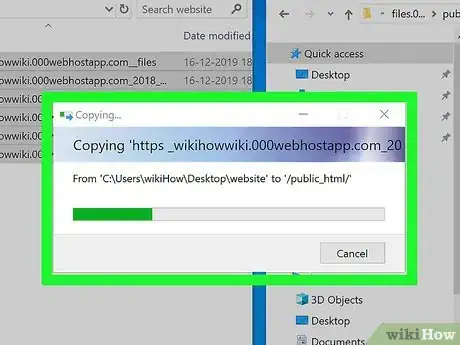
7Paste in your website's files. Click a blank space in the folder, then press Ctrl+V to paste the files into the folder.
-
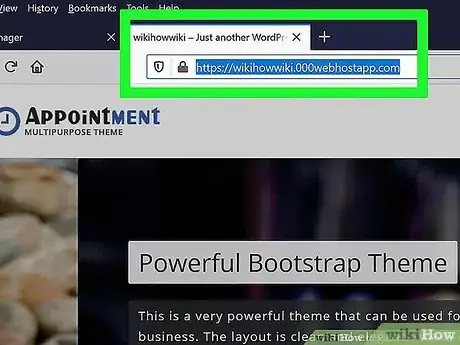
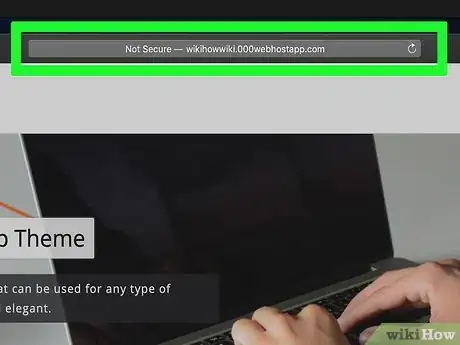
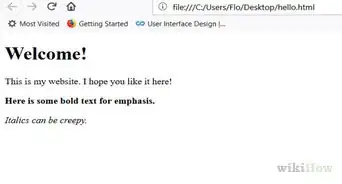
8Access your website. In your computer's web browser, go to your website's domain address. As long as your website's files have finished uploading to your website's FTP folder, your website should be live.
Using a Network Folder (Mac)
-
1Find your hosting service's FTP information. Before you can upload your website, you'll need to know your username, password, and website address for your hosting service's FTP server. This can usually be found in the "FTP" section of the hosting service's dashboard.
- Common examples of hosting services include GoDaddy and Hostinger. You must be logged in to see this information.
- If your website doesn't support FTP, you'll need to upload it directly to your hosting service's control panel instead.
-
2Copy your website's files. Open the folder in which your website's files are stored, then click and drag your mouse across the files to highlight them and press ⌘ Command+C to copy them.
- The website's files typically include an index file, a cascading style sheet (CSS) file, and an images folder.
-
3
-
4Create a new FTP network connection. You can connect to your website hosting service's FTP folder by doing the following:
- Click Go at the top of the screen.
- Click Connect to Server... in the drop-down menu.
- Type in your website's FTP address, then click Connect
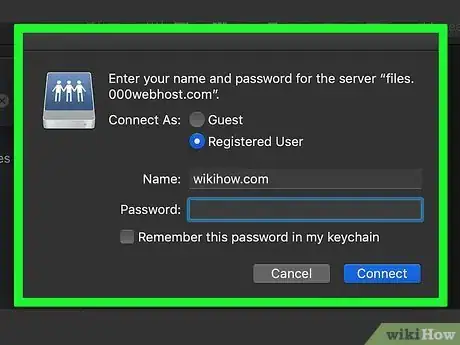
- Enter your website's FTP username and password when prompted.
-
5Open the "public_html" folder. In the FTP folder, double-click the "public_html" (or "html", or "root") folder to open it.
-
6Paste in your website's files. Click a blank space in the folder, then press ⌘ Command+V to paste the files into the folder.
-
7Access your website. In your computer's web browser, go to your website's domain address. As long as your website's files have finished uploading to your website's FTP folder, your website should be live.
Using FileZilla
-
1Find your hosting service's FTP information. Before you can upload your website via FileZilla, you'll need to know your username, password, and website address for your hosting service's FTP server. This can usually be found in the "FTP" section of the hosting service's dashboard.
- Common examples of hosting services include GoDaddy and Hostinger. You must be logged in to see this information.
- If your website doesn't support FTP, you'll need to upload it directly to your hosting service's control panel instead.
-
2Open FileZilla. Open Start (Windows) or Spotlight (Mac), then type in filezilla and click or double-click the FileZilla result. This will open the FileZilla window.
- If you don't yet have FileZilla installed, go to https://filezilla-project.org/ and click Download FileZilla Client, click Download FileZilla Client on the subsequent page, click Download, then double-click the downloaded installation file and follow the installation instructions.
-
3Click File. It's in the top-left corner of the FileZilla window (Windows) or the screen (Mac). A drop-down menu will appear.
-
4Click Site Manager…. You'll see this at the top of the drop-down menu. Doing so opens a new window.
-
5Click New Site. It's on the left side of the window. This will create a new site entry.
-
6Enter a name for your website. When you see the "New Site" tag appear on the left side of the window, type in the name you want to use for the site and then press ↵ Enter.
-
7Make sure you're using FTP. In the "Protocol" section at the top of the window, you should see "FTP - File Transfer Protocol" listed in the drop-down box. If not, click the drop-down box and then click FTP - File Transfer Protocol in the drop-down menu.
-
8Enter your website address. In the "Host" text field, type in the website address that was listed on your hosting service's FTP page.
-
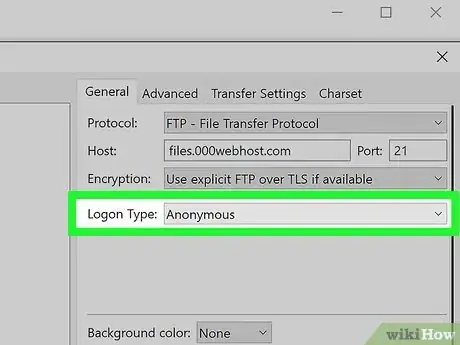
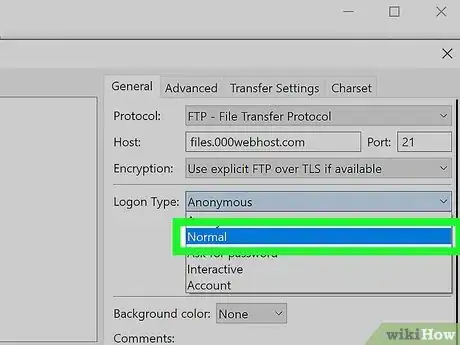
9Click the "Logon Type" drop-down box. It's in the middle of the window. A drop-down menu will appear.
-
10Click Normal. This option is in the drop-down menu. Selecting it prompts both a username text field and a password text field to appear.
-
11Enter your FTP login credentials. Type your website host's FTP username into the "User" text box, then type your website host's FTP password into the "Password" text box.
-
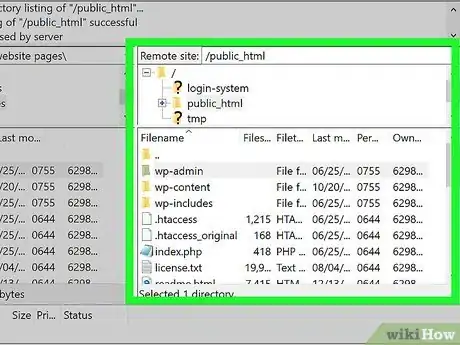
12Click Connect. It's at the bottom of the window. Doing so will prompt FileZilla to open your hosting service's FTP page.
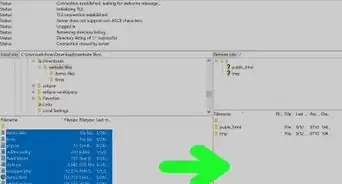
- You should see a list of the FTP page's files and folders appear in the lower-right pane of the FileZilla window.
-
13Go to your website's files' location. In the lower-left panel of the FileZilla window, navigate through the folders to find the folder in which your website's files are stored.
-
14Select your website's files. Click the top website file, then hold down ⇧ Shift while clicking the bottom website file.
- The website's files typically include an index file, a cascading style sheet (CSS) file, and an images folder.
-
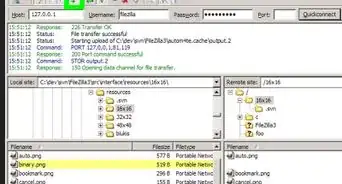
15Move your website's files into the website's "public_html" folder. Click and drag the selected files from the left pane into the blank space in the right pane to do so. Your files will begin uploading.
- Some websites may call their FTP folder something other than "public_html", so look for an "html" or "root" folder if you can't find the "public_html" one.
-
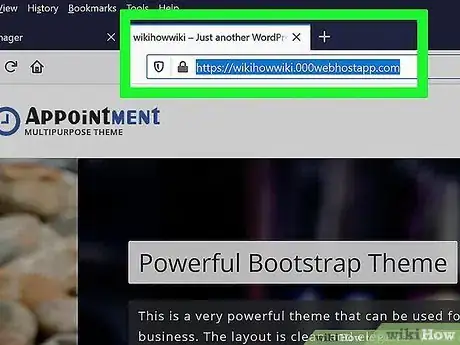
16Access your website. In your computer's web browser, go to the web address that you typed into the "Host" text field in FileZilla. As long as your website's files have finished uploading to your website's FTP folder, your website should be live.
Using the Control Panel
-
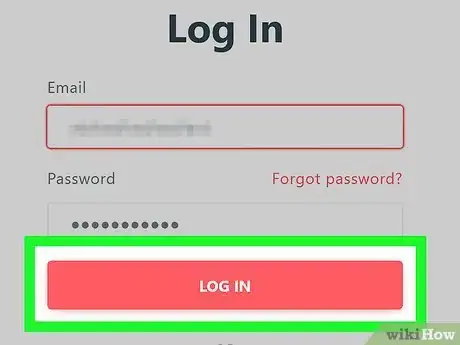
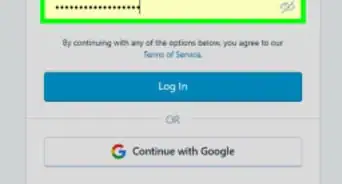
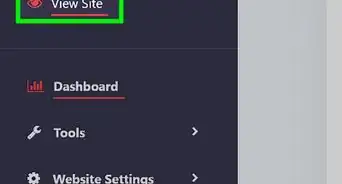
1Log into your hosting service's control panel. Open the dashboard for the hosting service you use, then enter your email address (or username) and password if prompted.
- Common examples of hosting services include GoDaddy and Hostinger.
-
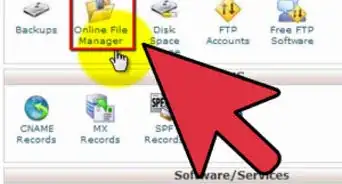
2Click the File Manager option. You'll usually find this option in the Dashboard section, though you may need to select your website's name first.[1]
-
3Open the "public_html" folder. In the File Manager window, double-click the "public_html" folder to open it. This is the folder in which you'll store all of your website's files.
- Some websites may call their FTP folder something other than "public_html", so look for an "html" or "root" folder if you can't find the "public_html" one.
-
4Click Upload. This button's location will vary, but is typically found at the top, bottom, or right side of the page.
-
5Go to your website's files' location. In your computer's file manager window, navigate to the folder in which your website's files are stored.
- Depending on your hosting service's control panel, you may have to click Select Files or similar before your computer's File Explorer (Windows) or Finder (Mac) will open.
-
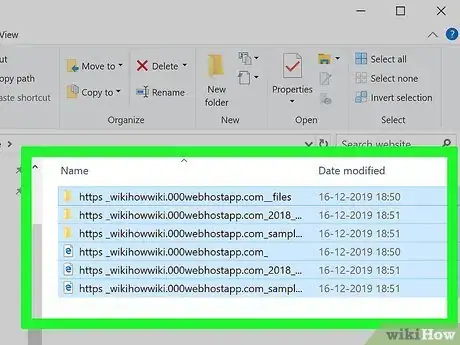
6Select your website's files. Click and drag your mouse across the files you want to upload.
- If you want to select all files from a specific location, click one file, then press either Ctrl+A (Windows) or ⌘ Command+A (Mac).
-
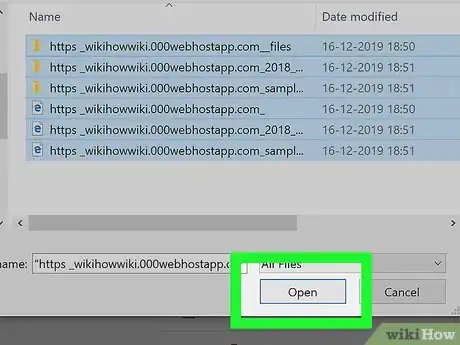
7Click Open. It's in the bottom-right corner of the window. Doing so will add your files to your hosting service's page.
-
8Click Upload again if necessary. If clicking Open adds the files to the upload queue but doesn't upload the files directly, click Upload below or above the files you uploaded to place them in the "public_html" folder.
-
9Follow any other on-screen instructions. Each hosting service will have a slightly different way of assimilating your uploaded files, so you may be prompted to click through a setup process before you can finish uploading your files.
- If your website's files are in a ZIP folder, you'll need to extract the ZIP folder inside of the "public_html" folder by selecting the ZIP folder and then right-clicking it and clicking the Extract or Unzip option in your hosting service's control panel.
-
10Access your website. In your computer's web browser, go to your website's domain address. As long as your website's files have finished uploading to your website's FTP folder, your website should be live.
Community Q&A
-
QuestionHow can I delete a test web page?
 Community AnswerDelete the source file from your preloaded FTP. If that doesn't work, then go to system 32 and move to the FTP file folder and search for the file you want to delete. Try to change the file type and then upload it. This will crash your older web page and you will get rid of it
 -
QuestionHow do I find a host for my webpage?
 Community AnswerYou can search for free website hosts online. There are many popular ones like GoDaddy, HostGator, or DreamHost.
 -
QuestionConnection attempt failed with "EAI_AGAIN - Temporary failure in name resolution." What happened?
 Community AnswerYour connection to your server was lost and you need to change something in the code and restart your router.
About This Article
1. Open FileZilla.
2. Go to File > Site Manager.
3. Create a new site.
4. Enter a name for your site.
5. Select FTP as the protocol.
6. Enter your web server details.
7. Click Connect.
8. Navigate to your "public_html" or "html" directory.
9. Drag your code from your computer to that directory.


