This article was co-authored by wikiHow Staff. Our trained team of editors and researchers validate articles for accuracy and comprehensiveness. wikiHow's Content Management Team carefully monitors the work from our editorial staff to ensure that each article is backed by trusted research and meets our high quality standards.
This article has been viewed 38,375 times.
Learn more...
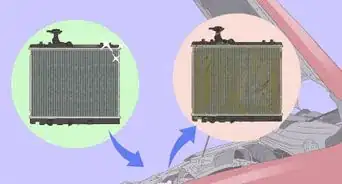
Over years of engine use, sediments build up inside of the cooling system and can clog your vehicle’s radiator and lead to your engine overheating. To unclog the radiator, you will need to drain out the old coolant, then force water through the radiator to flush out the sediments. Refill the radiator with fresh radiator coolant fluid that contains antifreeze, and your radiator will be good to go for another few years!
Steps
Draining the Radiator
-
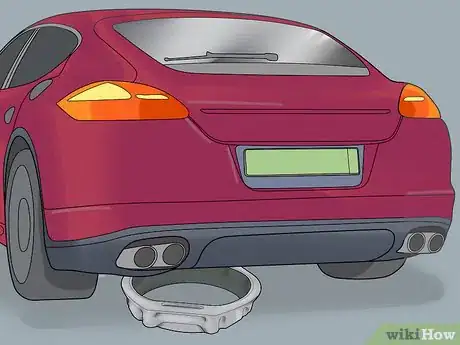
1Place a receptacle for the old radiator fluid below the radiator’s drain. Typical vehicle radiators hold 2-3 gallons (7.57-11.35 L) of liquid. Check your owner’s manual for your vehicle to see how much radiator fluid it holds so you use a container that is big enough.
- Use a sealable container, or have one handy to transfer the fluid into, so that you can safely dispose of the old radiator fluid later on. The coolant contains antifreeze and other chemicals which are toxic. Never pour it down a drain.
Warning
Only perform this procedure on an engine that is completely cool. Never try to unclog a hot radiator.
-
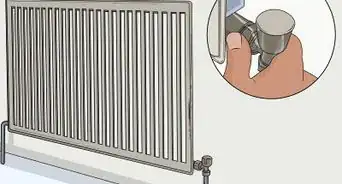
2Turn the radiator’s temperature control to the hottest setting. There will be a thermostat located near the radiator. Turn it up all the way to allow the most flow of liquid through the radiator.[1]
- Check your vehicle’s owner’s manual if you aren’t sure where the temperature control is or how to set it to the highest setting.
Advertisement -
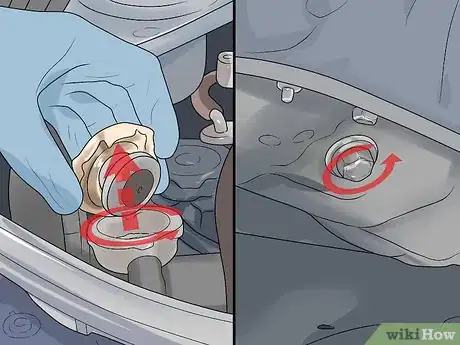
3Twist off and remove the pressure cap and the drain cap if there is one. The radiator’s pressure cap is located at the top of the radiator. The drain cap will be located at the bottom near the bottom hose, if there is one.[2]
- Use a rag to remove the pressure cap if it is hard to twist and pull off.
- If there is no drain cap on your radiator, then disconnect the bottom hose at this point to let the radiator fluid drain out that hole.
-
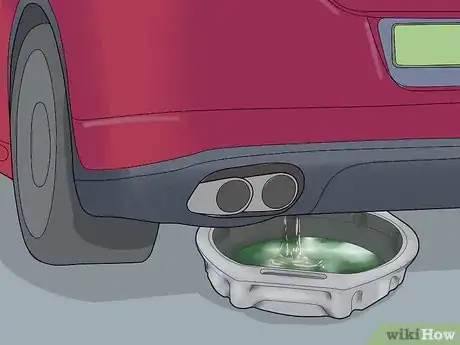
4Let all the old radiator fluid drain out into the receptacle. The radiator fluid will come out of the bottom drain if there is one. It will drain from where you disconnected the bottom hose if you disconnected that instead.[3]
- Poke a piece of wire or a wire brush into the hole and wiggle it around to clear it if the liquid does not start draining out right away on its own.
-
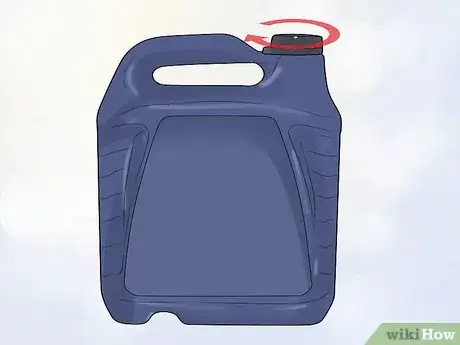
5Seal the receptacle for proper disposal later on. Seal up the container full of old coolant after the radiator stops draining. Set it aside so that you can safely dispose of it later on.
- Contact a local recycling center, hazardous waste disposal company, or mechanic to dispose safely of the old radiator fluid.
Flushing the Radiator
-
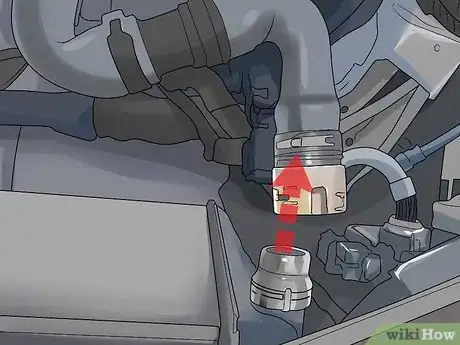
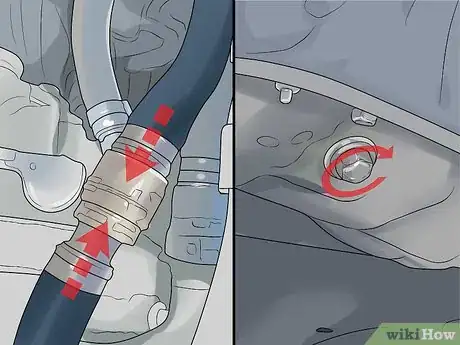
1Disconnect both radiator hoses from the radiator. There is 1 hose at the top and 1 hose at the bottom. They will both be connected by some kind of clamp to the radiator.
- If you see a screw on the clamps that connect the hoses, you need to loosen the screw to disconnect the hoses. If there is no screw, then the clamp is a tension clamp that you need to squeeze with pliers to loosen.
-
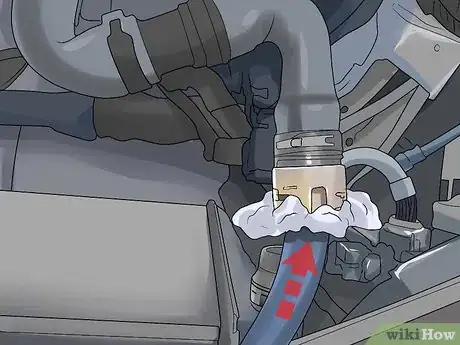
2Insert a garden hose into the top radiator hose hole and seal it with rags. Place the tip of the garden hose into the hole so that it is fully inserted. Wedge some clean rags around it to hold it in place and create a seal.
- Make sure that the hose is held really tightly in place in order to efficiently flush the radiator.
-
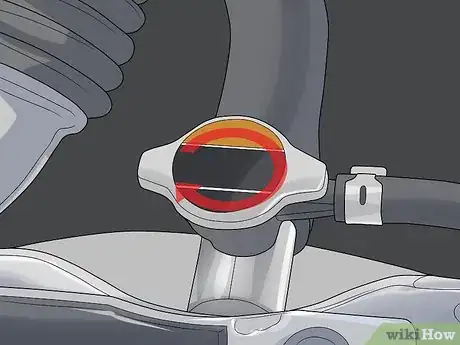
3Put the pressure cap back on the radiator. Make sure to screw it on tightly. This will complete the seal so that you can flush the radiator.[4]
- Use a rag to twist the cap back on tightly if it is hard to do with your bare hands.
-
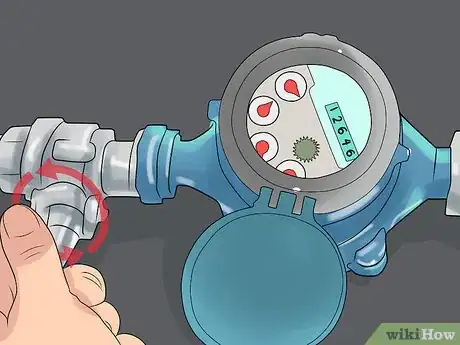
4Turn on the water supply to the garden hose. Open up the valve to the faucet all the way. Leave the water running until it runs clear out the bottom of the radiator.[5]
- You won’t be able to tell if the water is completely clear just by looking at it flowing out the bottom. There are small sediments that you can only see in still water.
-
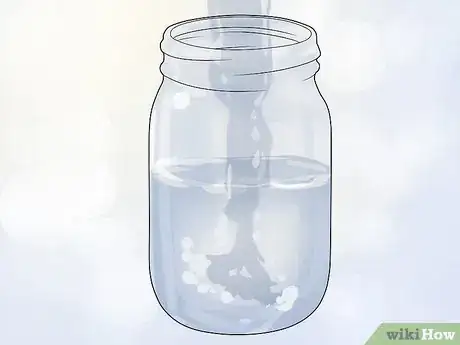
5Collect samples of the water that comes out with a glass jar until it runs clear. Hold a glass jar under the water that is draining out to collect a sample. Hold it up to the light and inspect it for sediments. Repeat this until you attain a clear sample, then turn off the hose.[6]
- In most cases, it will just take a few minutes for the water to run clear.
-
6Reconnect both of the radiator hoses and the drain cap if there is one. Put the hoses back on and secure them with the clamps. Reattach the radiator’s drain cap if you removed it earlier on.
- You can also replace the hoses at this point if either of them are damaged or worn out. You can get new hoses at an auto parts store.
-
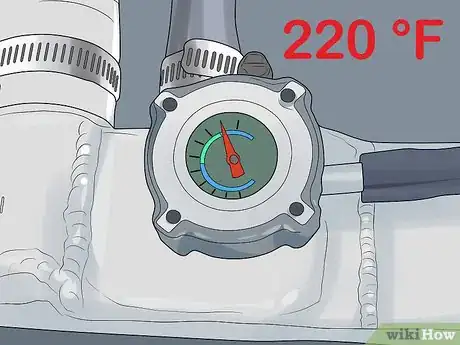
7Set the temperature gauge back to the normal temperature. Set the temperature control back to where it was when you started. Consult your owner's manual if you aren't sure what temperature to set it to.[7]
- The normal temperature is that an engine operates at is about 220 °F (104 °C).
-
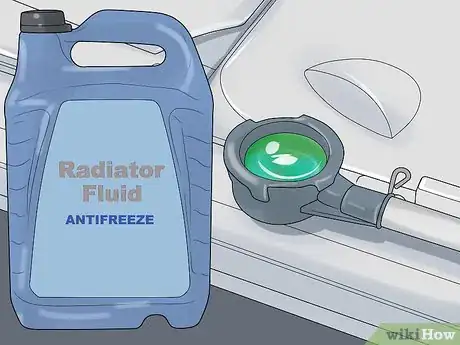
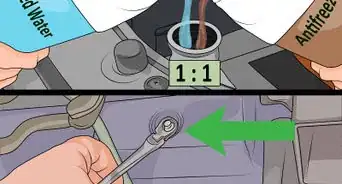
8Fill the radiator back up with radiator fluid that contains antifreeze. Twist off the pressure cap again and pour in radiator fluid until you can see it almost at the top. Twist the pressure cap back on securely and your radiator will now be unclogged and full of clean fluid.[8]
- The new coolant will usually be good for 2-3 years, after which you will need to replace it again.
Tip: It’s a good idea to always use radiator fluid that contains antifreeze, even in summer or hot areas, because it also has additives that help prevent corrosion.
Warnings
- Never try to unclog a hot radiator. Make sure the car is off and the engine is completely cool before attempting this procedure.⧼thumbs_response⧽
Things You’ll Need
- Sealable receptacle
- Clean rags
- Garden hose
- Screwdriver or pliers
- Glass jar
- Radiator fluid
References
- ↑ https://www.howacarworks.com/cooling-systems/how-to-flush-an-engine-radiator
- ↑ https://www.howacarworks.com/cooling-systems/how-to-flush-an-engine-radiator
- ↑ https://www.howacarworks.com/cooling-systems/how-to-flush-an-engine-radiator
- ↑ https://www.howacarworks.com/cooling-systems/how-to-flush-an-engine-radiator
- ↑ https://www.howacarworks.com/cooling-systems/how-to-flush-an-engine-radiator
- ↑ https://www.howacarworks.com/cooling-systems/how-to-flush-an-engine-radiator
- ↑ https://www.popularmechanics.com/cars/how-to/a251/1302791/
- ↑ https://www.howacarworks.com/cooling-systems/how-to-flush-an-engine-radiator
