X
This article was co-authored by Ed Beery. Ed Beery is an Automotive Specialist and the Owner of InTechgrity Automotive Excellence based in Denver, Colorado. With more than eight years of experience, he specializes in providing maintenance and repair services for both individuals and companies. Ed and the InTechgrity Automotive Excellence Team are approved by the American Automobile Association (AAA) for repairs and are Automotive Service Excellence (ASE) certified.
This article has been viewed 56,497 times.
Cars built before about 1980 usually have simple Kettering ignition systems that can be maintained by home mechanics. These steps will maximise power, reduce fuel consumption and reduce the chance of overheating.
Steps
-
1Obtain information about ignition point gaps, firing order, timing advance and spark plug gaps from the car manual or other reliable source.
-
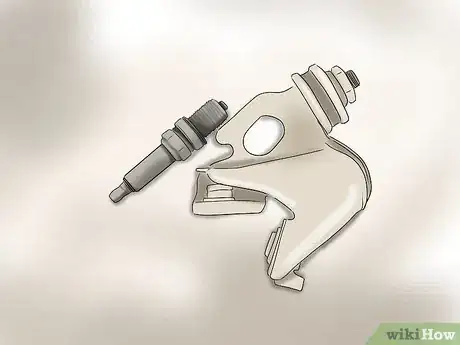
2Buy replacement spark plugs, ignition points, ignition leads, condensers as needed. Mostly these will not be required, though it is best to replace the ignition points.Advertisement
-
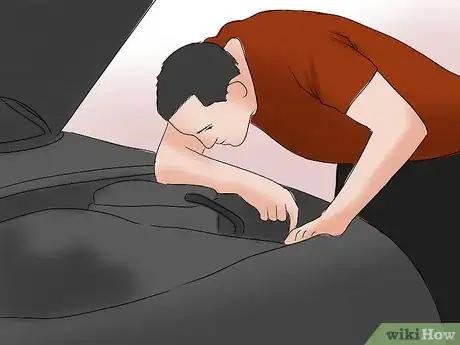
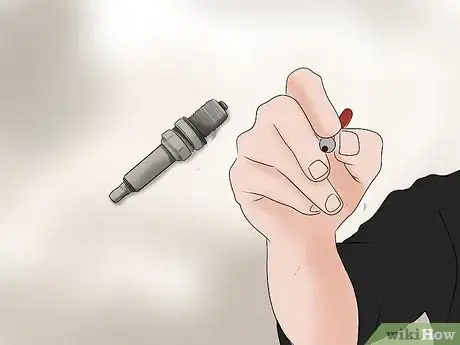
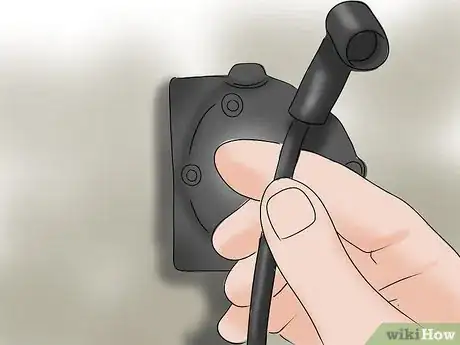
3Start with a clean engine. If the spark plug leads are not already numbered, use a marker to do so. This can be wiped off later if you like. No.1 cylinder is at the front of the car. With transverse motors No.1 cylinder is nearest the radiator.
-
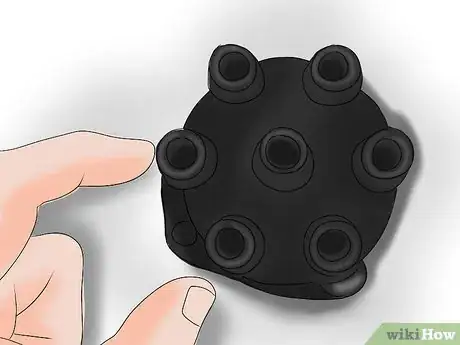
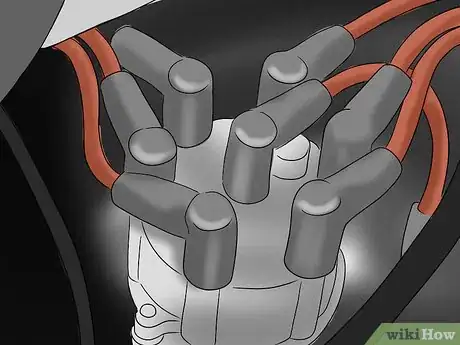
4Note where the No.1 lead enters the distributor cap.
-
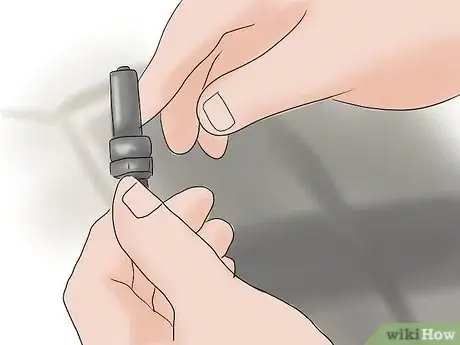
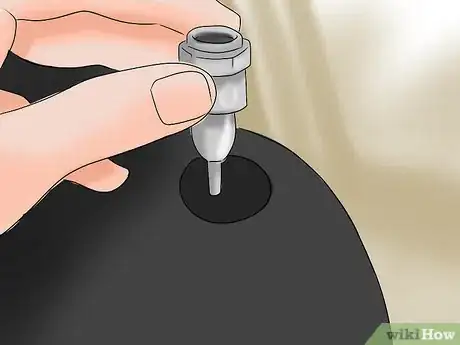
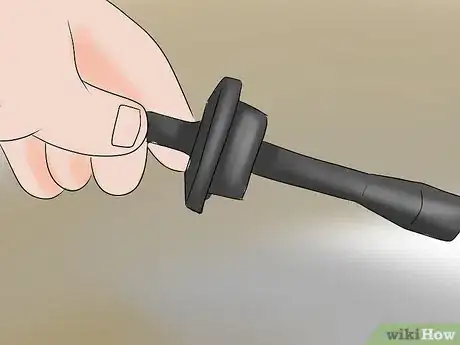
5Grasp each spark plug lead at the plug end as close to the motor as you can get and pull straight out. This prevents damage to the connector. Do not bend the leads sharply as this can wreck the carbon based inner conductor.
-
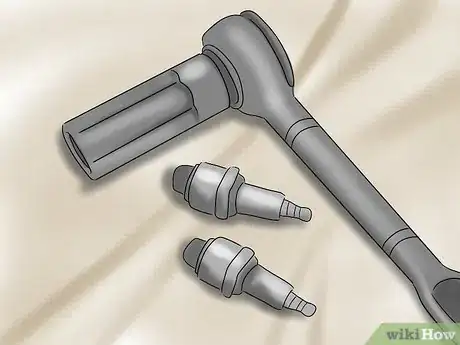
6Use a proper spark plug wrench to loosen every spark plug and remove them.
-
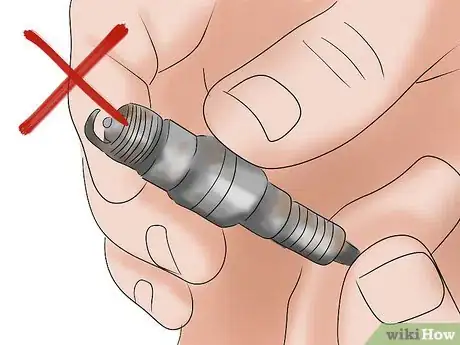
7Check the spark plugs. If the electrodes are severely rounded off or the insulators are damaged, do not re-use.
-
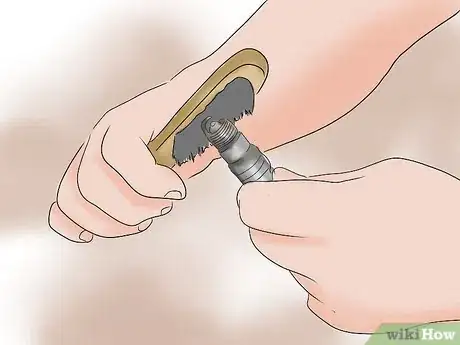
8Scrub the plugs with a wire brush and rinse with gasoline/petrol or kerosene and set to dry if you wish to re-use.
-
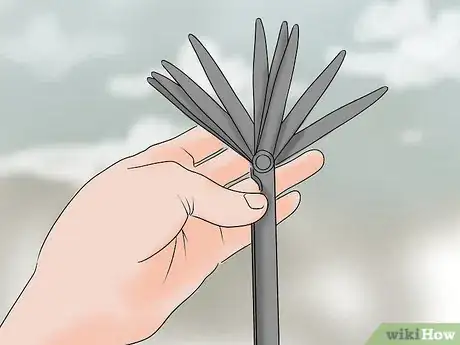
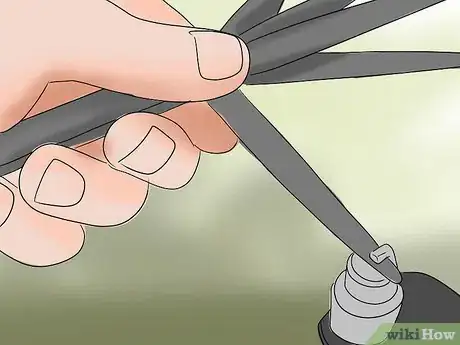
9Set a feeler gauge to the required gap and place between the centre electrode and the side one. Do not attempt to adjust the centre electrode. Bend the outside one with pliers to open, tap gently on a firm surface to close. A firm sliding fit with the gauge square to the plug shows the correct gap.
-
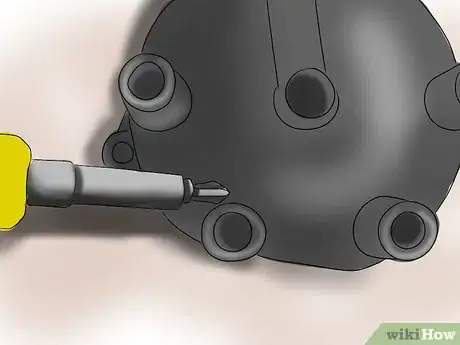
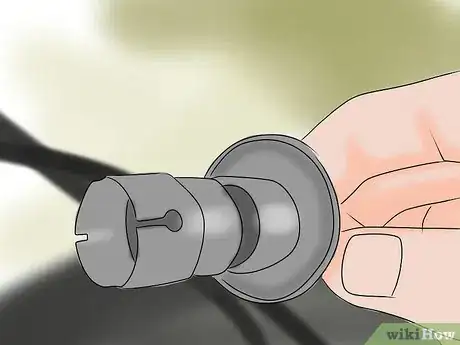
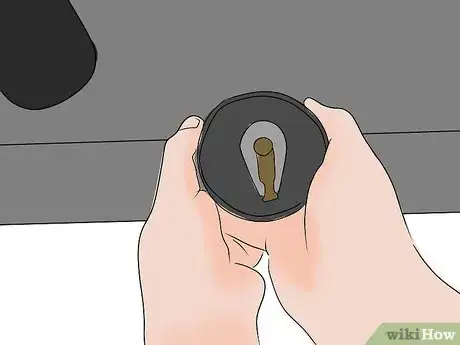
10Remove the distributor cap. You will see a central shaft with a Bakelite rotor above it. This rotor points to the appropriate contact on the inside of the cap as each spark plug fires. Lift the rotor off, be careful that small parts do not drop off. Wipe the contact areas of the rotor with a coarse rag or one stroke along the edge of a matchbox, no more.
-
11Inspect the interior of the distributor cap for dirt, cracks, moisture and carbon tracks. If there are carbon tracks or cracks, replace the cap. Otherwise wipe clean, remove deposits from the electrodes and set aside.
-
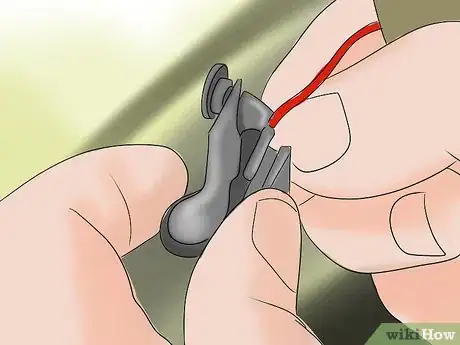
12The ignition points will be held in with two screws. Note that one can be used to set the gap, the other holds the points in place. A wire from the outside of the distributor connects to the condenser and the ignition switch.
-
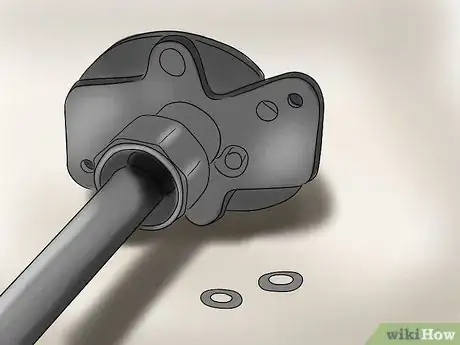
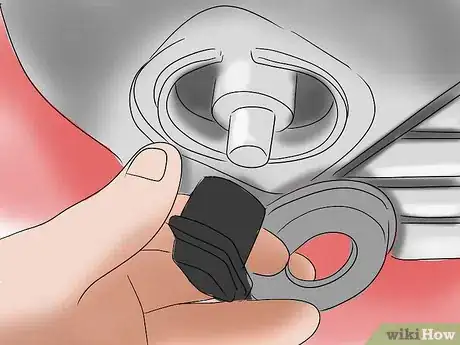
13Remove the ignition points, being careful to note the position and number of any insulating and other washers fitted.
-
14Inspect the points for pitting and deposits. Slight pitting is normal and may be dressed off square with a file. The points may then be re-used.
-
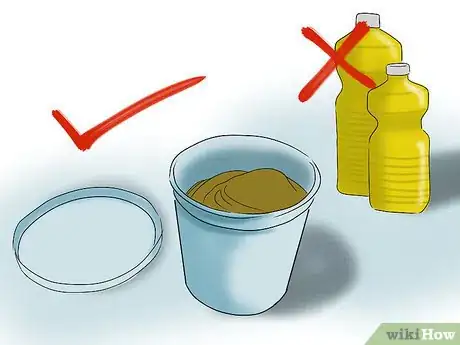
15Pack the angle where the points assembly slides over the cam on the distributor shaft (the follower) with a little blob of high temperature grease. This often comes with a new set of points. Wheel bearing grease may be used. Do not use oil, ordinary grease or petroleum jelly as the spinning shaft will throw the lubricant off and it can get between the points.
-
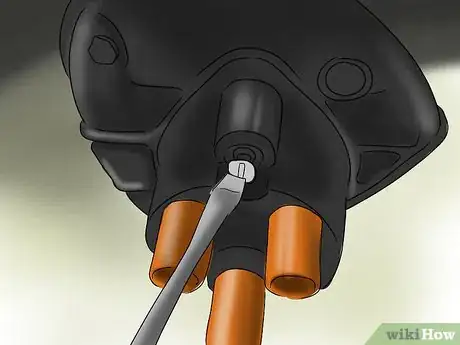
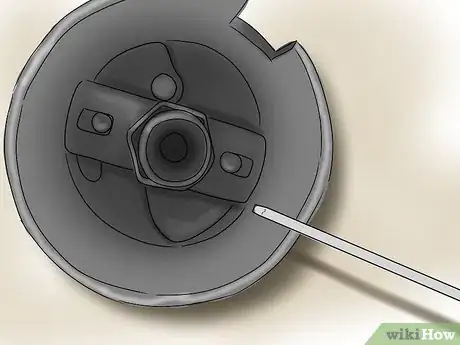
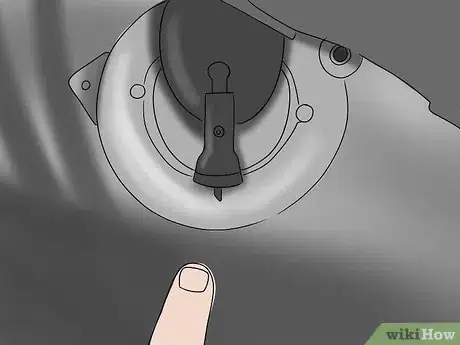
16Look for the centrifugal ignition advance weights which may be partially visible below the baseplate. Give them a gentle poke with a screwdriver to ensure they have not jammed up. There may be a hole marked "Oil" to lubricate them. Two drops of engine oil is enough. Wipe up any oil spillage.
-
17Replace the points on the baseplate with washers in the correct places. Put the screws in firmly but do not fully tighten them yet.
-
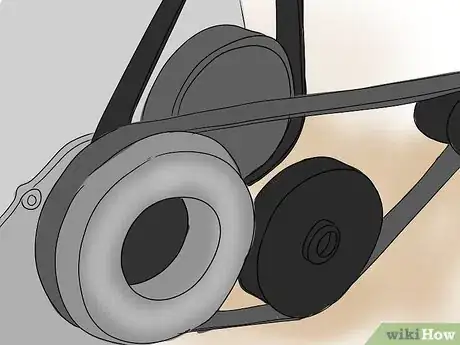
18Rotate the engine clockwise with the spark plugs out and the transmission in neutral (looking from the engine rear)so that the follower is at the top of a shaft cam lobe. Use a wrench/spanner on the hexagon at the bottom pulley.
-
19Set a feeler gauge to the correct points gap and wipe it so that it is free of dirt and oil. Place in the gap of the points and tighten the points screws. You will almost certainly not get the gap correct the first time so repeat until the gap is correct.
-
20Replace the rotor cap and rotate the engine clockwise until the timing marks on the bottom pulley are opposite the marks on the front of the engine. The rotor cap must be pointing to the position of the No. 1 plug lead. This may take more than one full rotation of the engine as the distributor shaft rotates at half the engine speed.
-
21The spark plug fires as the points just begin to open. This should be shortly before the piston reaches top dead centre. The advance is measured in degrees and is usually around 8 to 15. The bottom pulley may have two marks with a single mark on the motor front. The first of these marks is the correct one, the second corresponds to top dead centre. Match the mark on the pulley with that on the engine.
-
22Alternately there is one mark on the pulley and two or more marks on the engine. Select the correct mark on the engine and match it up with the mark on the pulley. From the front of the engine this will be clockwise of the mark for top dead centre.
-
23Loosen the distributor at the fitting on the shaft below the body. Alternately use the vernier adjustment if fitted.
-
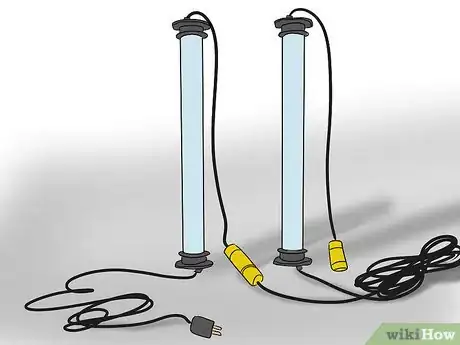
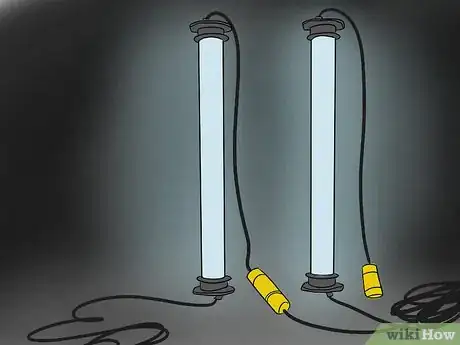
24Connect a 12 Volt trouble light to a good ground and to the terminal outside the distributor where the condenser connects. Be sure the spark plugs are out of the engine. Switch on the ignition but do not crank the engine.
-
25While the points are closed, the lamp will be out or glowing dimly. With the points open, it will glow brightly.
-
26With the rotor cap pointing to No.1 position, rotate the distributor slightly or use the vernier so that the lamp just lights. Switch off the ignition and tighten the distributor without moving it.
-
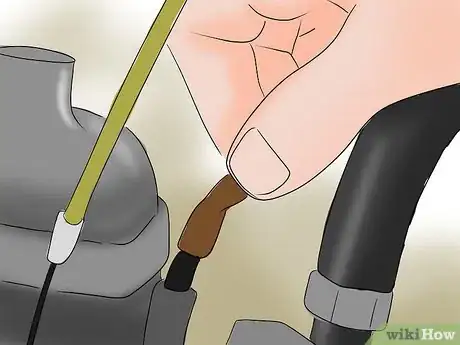
27Disconnect the tube to the vacuum advance diaphragm from the fuel system and suck on the tube. If the distributor baseplate moves, the vacuum advance is working adequately. Reconnect the tube. If the tube is holed, replace it.
-
28Inspect the spark plug leads. Burnt-looking connectors indicate loose connections. Replace the lead or take off the connector, clean, cut 2cm or 3/4 inch of lead away and replace the connector. Wipe the leads clean of dirt and oil.
-
29Replace the spark plugs, distributor cap and plug leads in the correct order. Carefully thread the spark plugs in, hand tighten then a twitch with a wrench is all that is needed.
- Make sure to replace the spark plugs one at a time to avoid backfiring.
-
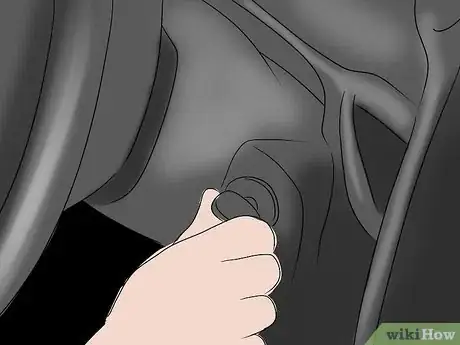
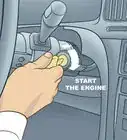
30Start the engine. If it does not start, have you replaced the rotor cap?
-
31Have you replaced the rotor?
Advertisement
Community Q&A
-
QuestionWhere is the fuel pump in a 1984 Nissan Sentra hatchback?
 Uglymug18Community AnswerIf it's fuel injected, it will be in the tank. If it has a carb, then it will be on the side of the engine block.
Advertisement
Warnings
- Don't leave the ignition on for long periods, this can flatten the car battery and overheat the ignition coil as the ignition ballast may be out of circuit while the engine is not running.⧼thumbs_response⧽
Advertisement
About This Article
Advertisement
