This article was co-authored by Amy Harrison, a trusted member of wikiHow's volunteer community. Amy Harrison has over five years of experience working directly with poultry. She has worked on a rural chicken farm built around marketing free-range eggs, where she managed the care for the poultry year-round. She has experience breeding chickens and quail, caring for newborn poultry, handling their health issues, and managing their dietary needs.
There are 16 references cited in this article, which can be found at the bottom of the page.
This article has been viewed 56,141 times.
Learn more...
Feather loss is a common problem among the poultry community and can be caused by an array of issues. Unfortunately, feather loss can be damaging to your bird's health and could even discourage their growth and egg production. To treat feather loss, you must first understand where it is coming from, and then find a way of preventing it from happening again.
Steps
Treating Feather Loss Caused by Breeding
-
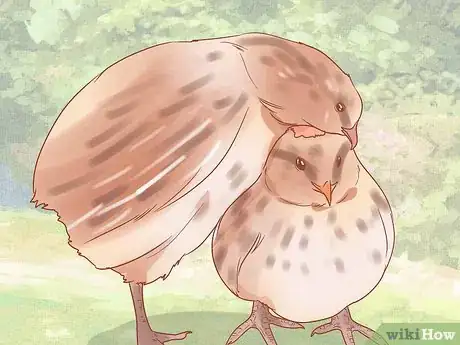
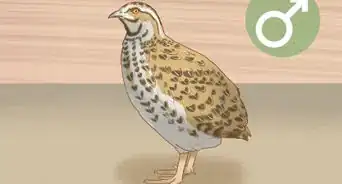
1Look for courtship behavior that is causing excessive head feather loss. When quail mate, the male grabs onto the feathers on the top of the female's head with his beak and hops onto her back. This activity causes feather loss mainly on the back of the hens head, but can also damage feather on her wings/back.[1]
- Generally, this should not cause excessive feather loss or damage, but under ideal circumstances, it can. If your male is excessively breeding with an individual hen, this will cause a decline in feathers on the back of her head. This commonly happens when there aren't enough females in the flock.
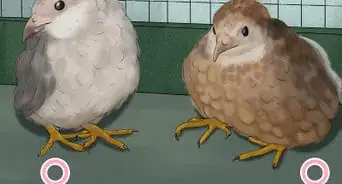
- To recognize if this is the cause, most of the female quail in your flock should exhibit balding on the back of their head.
-
2Determine if the level of feather loss is reasonable. Most quail breed when they mature, and as a result, the female hens may slightly bald. Generally, this is only a concern if the feather loss is excessive and the skin has a red or rash-like appearance.[2]Advertisement
-
3Introduce more females to the flock. Extreme feather loss caused by breeding occasionally happens when the one male is focusing on an individual female. This is more-so caused by the lack of females in the group. By adding more hens to the flock you can reduce the impact of feather loss by ensuring the roo can breed with more than one hen.[3]
- Be aware that some quail can become easily stressed if they do not have enough space, or if they are suddenly taken away from their home. Before introducing more quail to the flock, create more space for them to prevent stress from close confinement.
-
4Separate males from females. If your hens continue to exhibit excessive feather loss on the back of their heads, the most direct option would be to separate them. Surrounding a hen with fewer males will give her feathers time to heal and encourage regrowth.[4]
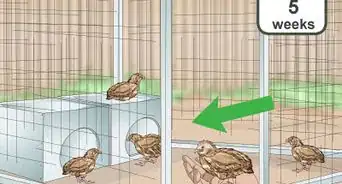
- Housing multiple males together might be difficult, since quail are naturally territorial birds. However, with enough space, food, and shelter given, it can be done efficiently.
- Always house quail in the minimum of pairs for company.
Preventing Feather Loss Caused by an Attack
-
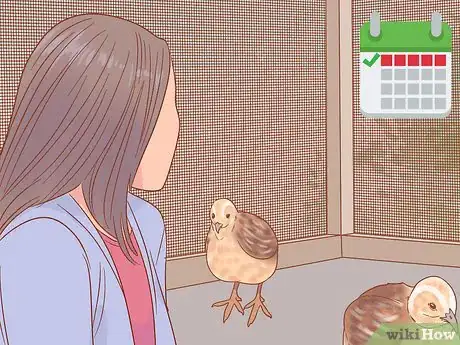
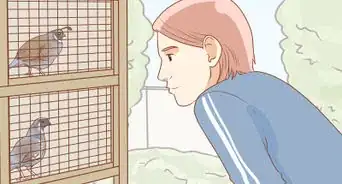
1Supervise your quail's behavior. Once you acknowledge the feather loss, watch how your birds interact with each other to determine if other birds in the cage are causing it or if it’s self-mutilation. This is a good place to start looking for the cause.
- This doesn’t need to be long-term observation. In most cases, it will take less than an hour to spot plucking behavior if you watch your flock at an active time of day.
-
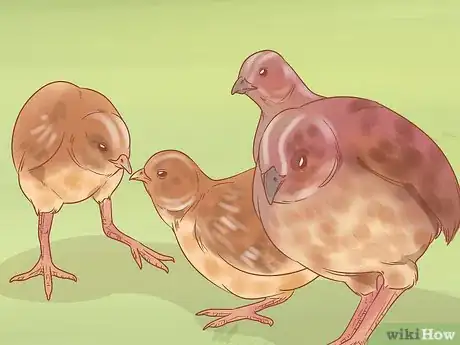
2Watch for quails that are attacking each other. When quail attack, they pull out each other's feathers. When determining who is the aggressor, remember that the bully will likely have a full coat of feather, while the victim will be suffering; unless the aggression is mutual.[5]
- Males commonly attack each other, as they are exceedingly territorial about their space and other female hens in the flock. However, this does not negate the exception of a female bully in the flock.
- Identify the aggressor. Generally, there is only one tormentor in the flock as quail exhibit a pecking order similar to chickens.
- There are a variety of reasons for this kind of behavior, which you will need to investigate further. However, stress caused by lack of space, disturbances, or prey often causes aggressive feather plucking.
-
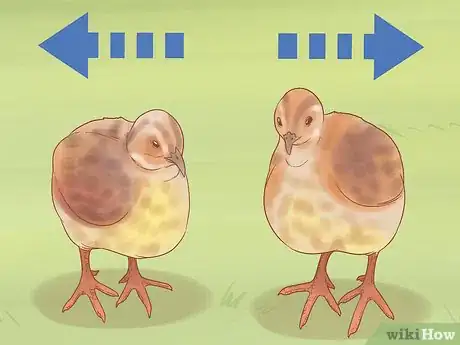
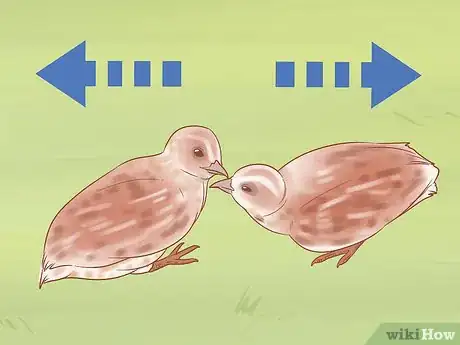
3Separate all male quail. Males will instinctively attack each other because they are aggressive and territorial towards each other in nature. This means it is best to avoid housing them together. If you have more than one male in a cage, this is most likely the cause of feather loss.[6]
- As a rule of thumb, quail should be kept in a ratio of one male to three or four females.
- Although male quail shouldn’t be housed together, there is a way if absolutely necessary. Give the quail plenty of space to roam around and provide hiding spots for the quail to retreat to if chased. This may be a possible way to house the males together and has been proven effective. The occasional chase is okay, as it acknowledges dominance in the flock.
-
4Separate the aggressor. If the quail still continues to attack others even if there is only 1 male in the cage, put it in another cage. However, be sure to provide it with a partner, as quail shouldn’t be housed alone.[7]
- This separation should be permanent.
-
5Remove any quail that show signs of bleeding. If any of the quail are wounded, you must remove them from the enclosure immediately. Otherwise, the bloody quail will get pecked at and attacked even more.
- Once the quail is removed, be sure to care for the wounded quail. This care should include cleaning its wounds so that they don’t get infected.
-
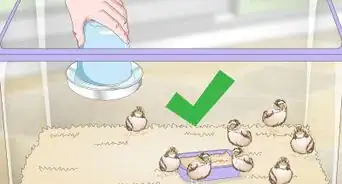
6Give the flock more space. Quail will attack if they don’t have much space, as it’s a territorial move. Give the quail at least 1 square foot (0.093 m2) of floor space per bird. However, more space is better. Quail love to have room to roam around and it keeps them happy and less violent towards each other.[8]
- This can be done by getting a bigger cage or getting a second cage and dividing the flock.
-
7Consider rehoming or culling a problem bird. Whether you are raising your quail for meat or eggs or both, it may be necessary to move the bird out of your flocks. You can either find another home for it or humanely kill an especially aggressive one to keep the flock happy and healthy. However, if your aggressive quail still continue to attack even after moving it to a bigger space away from other males and you don’t know anyone willing to take it, culling it may be your best option.
- Culling means selectively reducing your flock by harvesting some, or one, of your birds. You can either learn to do it yourself or hire someone experienced to do it for you.
- Even though you might be tempted to just keep a problem bird in a cage by itself, this is not a humane option. Quail are social birds and shouldn’t be caged alone.
Getting Rid of Mites That Are Causing Feather Loss
-
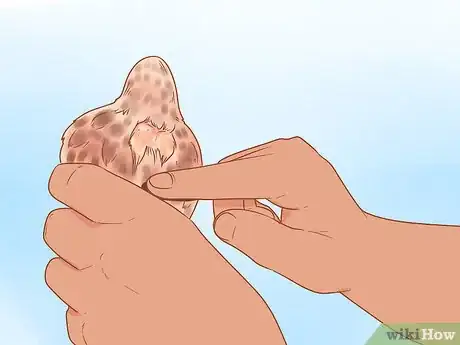
1Identify the quail with mites. Pick up each bird and look under its wings, where the wing attaches to the body. If your bird has mites, there are usually colonies of them in this location. They typically just look like small black dots on the surface of the skin.[9]
- If you keep your quail together it is most likely that they all have mites and that their cage is infested with mites. If this is the case, they will all need to be treated.
- Quail with mites will have a decrease in egg production, they will be less active, and they will be feather plucking as you should know already.
-
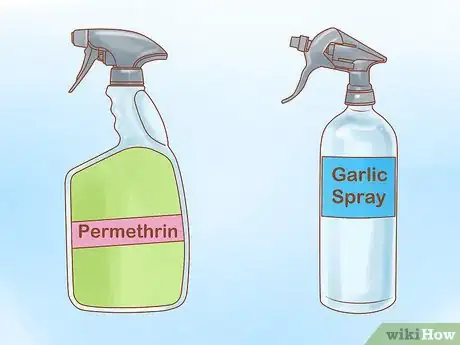
2Choose between a chemical or natural mite treatment. There are many treatments for mites and you can decide between chemical treatments to natural treatments. You can use products available in local stores such as mite spray or mite powder. Most pet shops and feed stores will supply poultry mite products and these can be the most effective.
- The most common and effective chemical treatment for mites is permethrin. Most mite sprays made for birds contains this chemical. Permethrin is a safe insect killer used by many poultry owners. It can safely be sprayed right on the bird and in the cage to get rid of mite infestations.[10]
- The most common natural remedies are diatomaceous earth and garlic spray. To make the garlic spray, combine 10 ounces of water, 1 ounce of garlic juice, and 1 teaspoon of an essential oil to mask the garlic smell, such as lavender oil.[11]
-
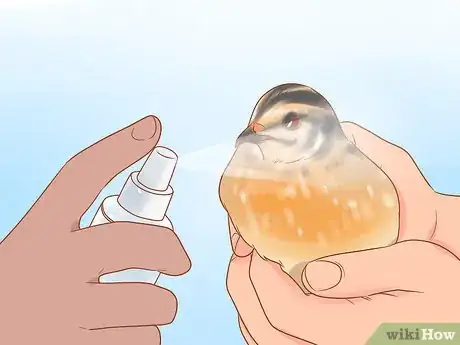
3Treat the mites as soon as possible. Once you choose your treatment, start it as soon as possible. Follow the directions on the treatment packaging. This usually includes dusting or spraying your birds with the treatment once or twice a day.
- Your mite treatment should be sprayed directly on the bird, including under the wings. Pay special attention to getting areas that have heavy populations of mites.
- Quick treatment will help minimize the chance of the mites spreading or impacting their health and egg production.
- Don’t expect the mite infection to go away on its own. It needs to be treated or it will spread to your whole flock.
-
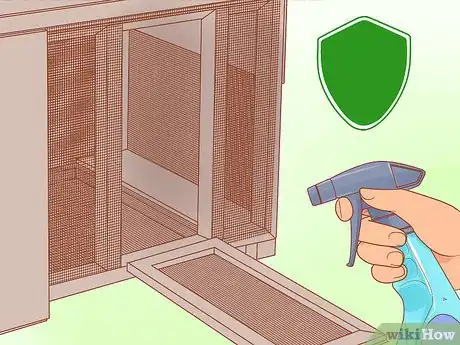
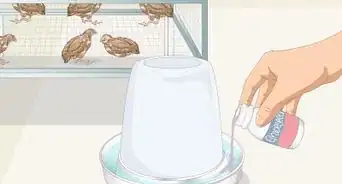
4Clean the infested quail cage. If even one of your birds has mites, it’s important to clean the whole cage. If the cage is infested with mites then all the quail will soon get mites. Dispose of all the bedding and clean the feeder and water container with soap and water. After that, scrub the cage with soap and water and then hose it down. Once the cage is clean, spray a mite killer that contains permethrin over all the surfaces.[12]
- Mites usually infest cracks, bedding, and feeders, so they all must be cleaned thoroughly.
-
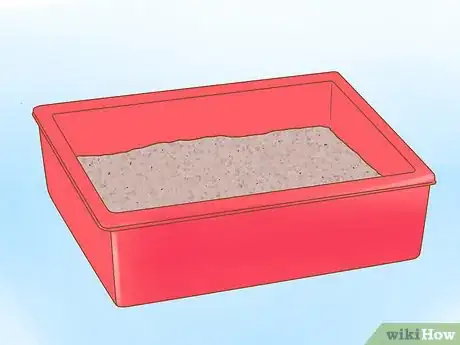
5Provide sand for the quail. Get a large tub and fill it to the brim with sand. Place the sand in the quail’s cage and make sure the quail have easy access to it. The quail should soon start to dust bathe.
- Dust bathing prevents mites, it’s the quail’s way of cleaning itself. If you provide clean sand daily the quail shouldn’t get any more mites.
Treating Feather Plucking Caused by Malnutrition
-
1Inspect the bird’s feathers regularly for signs of feather loss. It is best to identify a feather plucking problem as soon as possible, so keep an eye on your birds and look at all of their heads and bodies at least weekly. In most cases, identifying the problem early will make treating it easier.[13]
- It’s quick and easy to inspect your birds when you are doing other chores in their coop. For example, if you clean out the coop weekly, take a few minutes to look over your birds at that time too.
-
2Assess whether you are feeding your quail a well-balanced diet. Feather loss can be a sign that your quail are missing vital nutrients. Quail need a feed with at least 20% protein, limited treats, and extra calcium and grit. Verify that you are supplying all of these needs. If not, the diet needs to be adjusted.[14]
- Malnutrition can either cause their feathers to fall out or it can cause fighting and cannibalism between birds.
-
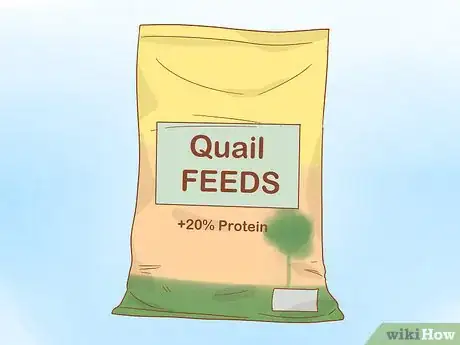
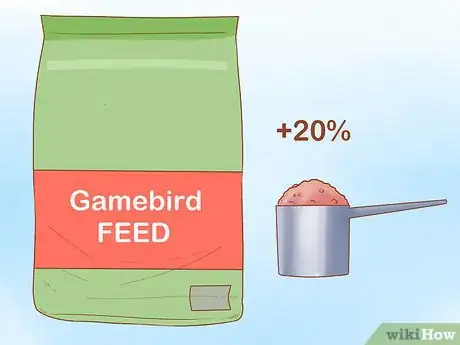
3Purchase a feed with at least 20% protein. If you are not feeding a seed feed that has a lot of protein, change their feed. A game bird feed or turkey mix should contain a high amount of protein. You can find these in feed stores, pet shops, and from online retailers.[15]
- Look at the package of a potential feed to ensure that it contains about 20% protein. It should state this on the package.
- The bird feed should make up most of your quail’s diet.
-
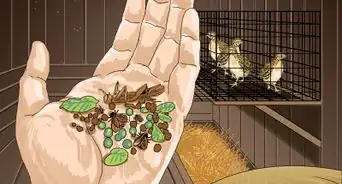
4Give your quail a limited amount of treats. You can give your quail vegetables, fruit, bugs, or table scraps to support their diet. However, these should not make up the majority of their diet. Aim to have these items make up only about 20% of your bird’s diet.[16]
- Do not feed them avocado, uncooked potato, uncooked egg, stems and leaves of tomato plants, lettuce, alcohol, or salty treats. These can be toxic to your quail.
-
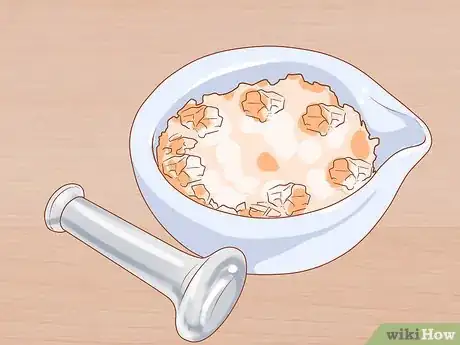
5Provide a source of calcium for your laying quail hens. Crushed oyster shells or egg shells are a great source of calcium. Provide the calcium in a separate bowl rather than in the same feed bowl so that the birds will only eat it occasionally.
-
6Observe the quail after a week. After a week or so of feeding your quail the correct food, observe them to see if they still pluck their feathers. If they do, the cause might be from something else.
Eliminating Stress or Fear Triggers That Lead to Feather Plucking
-
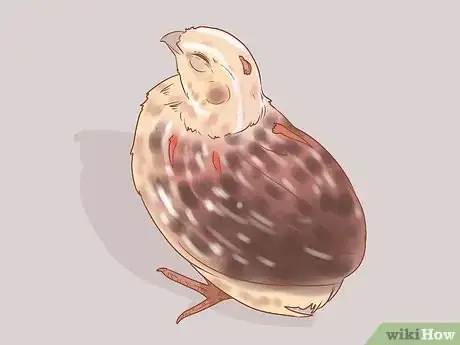
1Be on the lookout for self-mutilation. In some cases, quail will pluck their own feathers when they are stressed or unwell. Look for excessive and obsessive preening when watching your flock’s behavior. If you see this type of behavior, you will need to investigate further to determine why your birds are doing this.
- For example, malnutrition can cause quail to pluck their own feathers. If the quail are getting a bad diet or not enough to eat, they will pluck their own feathers.
- Mites are a common cause of self-mutilation. Mites are small black bugs that live in quail’s feathers and they can cause quail to peck at their own feathers.[19]
-
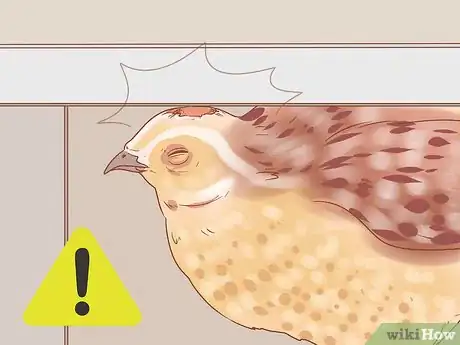
2Watch for quail hitting their heads on the top for their cage. When frightened, quail fly straight up to the roof, which causes damage to their heads. It can also cause baldness on their heads if it happens too enough.[20]
- If your flock is especially skittish or deals with a lot of disturbances, this is often the cause of feather loss on heads.
-
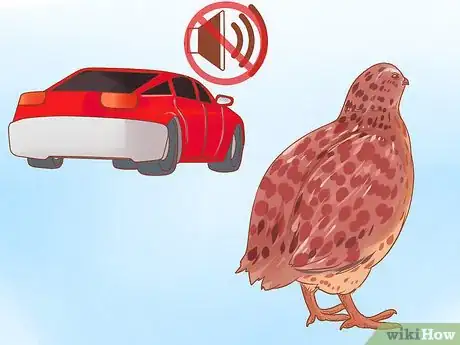
3Look for any obvious causes of stress and remove them. Many things cause quail to be stressed, including pets, predators, high traffic, disturbances, fast movements, things moving above them, too much light, or too much noise. Look at the position of your coop and what is going on directly around it so that you can eliminate any problems.[21]
- For example, make sure the housing has a roof. If the housing is in an area where birds can fly by (e.g. outdoors), the quail will get spooked easily by anything flying overhead. A flat, non-mesh roof will ensure that when birds fly over the housing the quail won’t be able to see them or get scared by them.
- In some cases, you may be able to make a small change, such as blocking the flock’s view of a high-traffic road, and that will fix the problem.
- In other cases, you may need to move the cage to a new location to eliminate stressors.
-
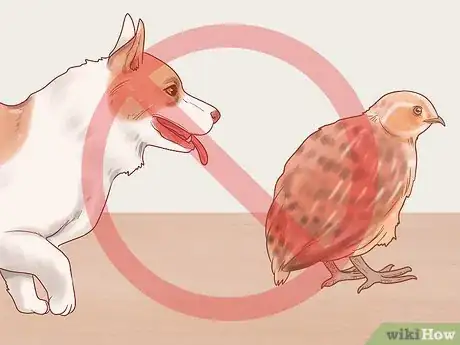
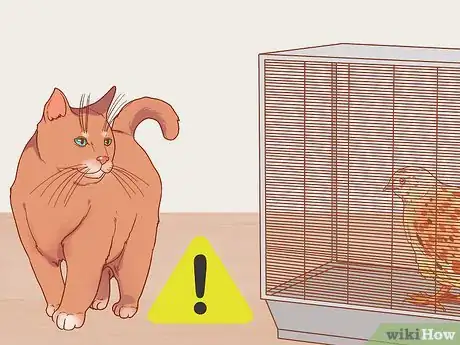
4Keep your pets away from the quail. Most pets will be seen as predators by quail, including dogs, cats, and birds. Remove these pets and make sure they can’t go near the quail housing.[22]
- Even pets that have no interest in the quail should be kept away. Just because they are not actively threatening the quail doesn’t mean that the quail don’t see them as a threat.
-
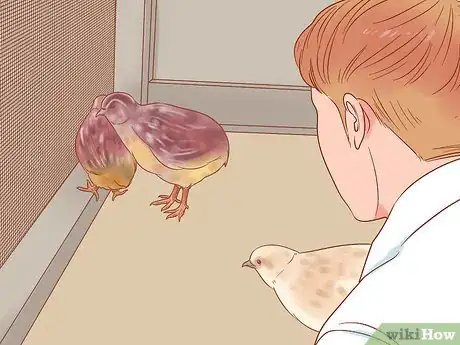
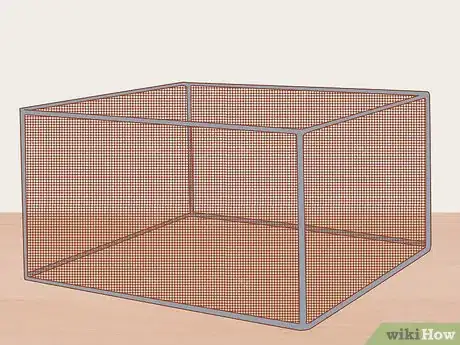
5Build or buy a cage that makes your quail feel secure. Quail are birds that like to hide a lot; they often feel threatened when exposed. Avoid open, mesh-sided cages. Cages that have mesh on all sides aren’t the best for your quail, as when frightened quail like a corner to hide in so that they feel safe.[23]
- Cages with several hard sides in them are also a lot safer than wire cages, as the quail have the corner to go to to avoid getting grabbed through wire sides.
-
6Make sure the housing is predator proof. Dogs, cats, raccoons, rats, snakes, and birds are all predators of quail. Make sure nothing can dig underneath the cage. Small animals can easily dig underneath an open bottom cage and get inside, so add wiring under the bottom of the cage or add wiring all around the cage and underground at least 12 inches (30 cm).[24]
- Make sure the wiring spacing isn’t too big. There should only be .25 to .5 inches (0.64 to 1.27 cm) openings. Raccoons can reach their hands through the wiring of the cage and grab hold of the quail. Snakes will also get through. If you get this problem, make sure the wire spacing isn’t too big.
- Seal any holes or cracks in the cage. Rats and snakes will slip through them and get hold of the quail.
-
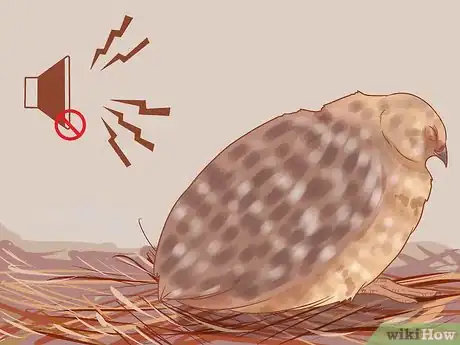
7Make sure the quail don’t get disturbed. Make sure they are in a low-traffic area and that you don’t disturb them unless necessary, such as only for feeding, cleaning, or collecting eggs. Also, make sure no young children are frequently going into their area and playing loudly or wildly around the quail.[25]
-
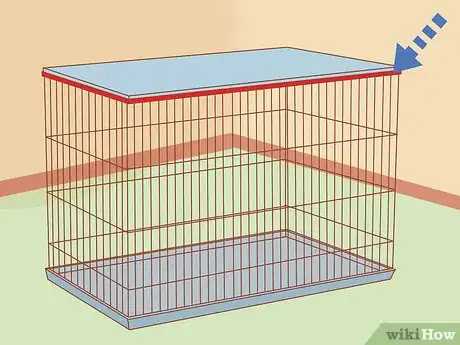
8Provide padding on the top of your quail’s cage. When quail are frightened they will fly upwards. This results in the quail hitting their head on the roof of their cage and causing harm to their head. If your quail continues to hit their head on the top of the cage they will form a bald head. Padding, such as 2 inches (5.1 cm) thick foam batting, will ensure that when your quail fly’s upwards, the padding will cushion its head resulting in no harm and no bald spots.
- If the quail is hitting their head it’s because something is frightening them. It could either be you, other people, pets, other animals, or predators. Even after putting up padding, find the whatever is scaring your birds and get rid of it to keep your quail stress-free.
References
- ↑ https://youtu.be/l194gUmELPE?t=99
- ↑ https://youtu.be/l194gUmELPE?t=115
- ↑ https://youtu.be/l194gUmELPE?t=99
- ↑ https://youtu.be/l194gUmELPE?t=99
- ↑ http://farmingfriends.com/feather-picking-in-quail/
- ↑ https://youtu.be/l194gUmELPE
- ↑ http://farmingfriends.com/feather-picking-in-quail/
- ↑ http://farmingfriends.com/feather-picking-in-quail/
- ↑ https://www.mypetchicken.com/backyard-chickens/chicken-help/What-are-the-signs-of-mites-or-lice-and-how-do-I-H79.aspx
- ↑ https://animals.mom.me/mite-lice-spray-birds-11026.html
- ↑ https://www.mypetchicken.com/backyard-chickens/chicken-help/What-are-the-signs-of-mites-or-lice-and-how-do-I-H79.aspx
- ↑ https://www.mypetchicken.com/backyard-chickens/chicken-help/What-are-the-signs-of-mites-or-lice-and-how-do-I-H79.aspx
- ↑ https://www.omlet.us/guide/quails/quail_health/healthy_quail/
- ↑ https://poultrykeeper.com/general-quail/feeding-quail/
- ↑ https://www.roysfarm.com/what-do-quails-eat/
- ↑ https://www.roysfarm.com/what-do-quails-eat/
- ↑ https://youtu.be/xGsJ9eUeyf0?t=45
- ↑ https://publications.cta.int/media/publications/downloads/1934_PDF.pdf
- ↑ https://www.omlet.us/guide/quails/quail_health/illness
- ↑ https://publications.cta.int/media/publications/downloads/1934_PDF.pdf
- ↑ http://farmingfriends.com/feather-picking-in-quail/
- ↑ https://poultrykeeper.com/general-quail/beginners-guide-to-keeping-quail/
- ↑ https://www.backyardchickens.com/articles/housing-and-feeding-your-quail.67371/
- ↑ https://www.backyardchickens.com/articles/housing-and-feeding-your-quail.67371/
- ↑ http://farmingfriends.com/feather-picking-in-quail/
