This article was medically reviewed by Luba Lee, FNP-BC, MS. Luba Lee, FNP-BC is a Board-Certified Family Nurse Practitioner (FNP) and educator in Tennessee with over a decade of clinical experience. Luba has certifications in Pediatric Advanced Life Support (PALS), Emergency Medicine, Advanced Cardiac Life Support (ACLS), Team Building, and Critical Care Nursing. She received her Master of Science in Nursing (MSN) from the University of Tennessee in 2006.
This article has been viewed 84,757 times.
Plantar fasciitis is a common cause of pain in the heel and the bottom of the foot. The plantar fascia, also called the arch tendon, is a thick band of tissue that connects the heel bone to the toes. It can be torn, stretched, or otherwise injured and become inflamed. Once inflamed, the condition is called plantar fasciitis.[1] Taping reduces the amount of further injury and inflammation and gives plantar fascia a chance to heal. Learn how to wrap or stretch your foot if you have plantar fasciitis so you can take advantage of this treatment option.
Steps
Using Sports Tape To Treat Plantar Fasciitis
-
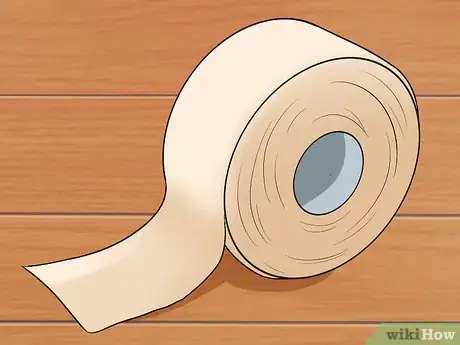
1Gather your materials. You need sports tape to tape your foot using this method. You can get rolls of sports tape at superstores, supermarkets, or drugstores. A roll of zinc oxide tape should last for three to five tapings.[2]
- Make sure that when you apply the tape that you keep all wrinkles out of the tape. This can cause blisters or other irritation.
- Tape should be wrapped lightly. You don't want the tape to be too tight on your foot.
-
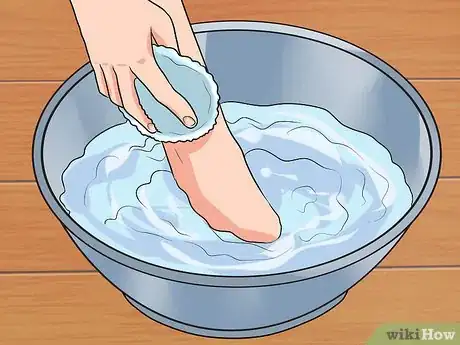
2Wash your foot. Before you tape your foot, make sure you wash your foot with non-moisturizing soap. This helps the tape stick to your foot when applied. Make sure your foot is completely dry before starting.[3]Advertisement
-
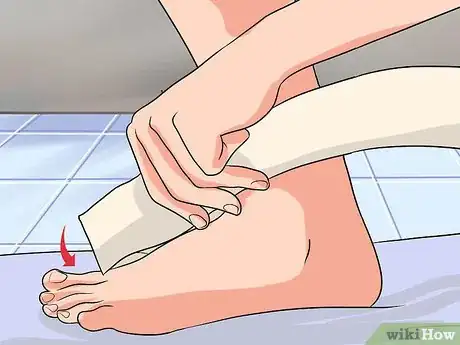
3Anchor the tape. To start the taping process, tape a piece of tape around the ball of your foot. This is the area just behind your toes on your foot. Make sure your foot is relaxed during the taping. Wrap the tape all the way around so it's on the top and bottom of your foot.[4]
- Next, wrap a piece of tape around the back of your ankle. The tape should run around the ankle and down both sides of your foot until it meets the tape around the ball of your foot. Stick the two sections of tape together.
- This should not be tight. The tape should be loose on your feet, and you should complete this step while your foot is relaxed.
- Smooth any wrinkles out of the tape as you go to prevent blisters.
-
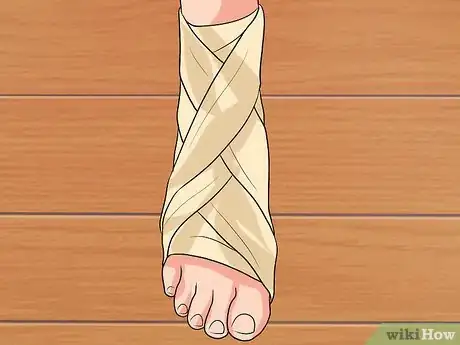
4Cross the foot with tape. Stick one end of the tape on your foot just below your big toe. Then tape diagonally across the bottom of your foot. Wrap the tape around the hell, then tape it diagonally the other way across the bottom of your foot. Take the end under your pinky toe.[5]
- At this point, you should have a large X across the bottom of your foot with tape. The center of the X should be in the middle of your foot.
- Repeat taping this X three more times. This provides support to the plantar fascia.
-
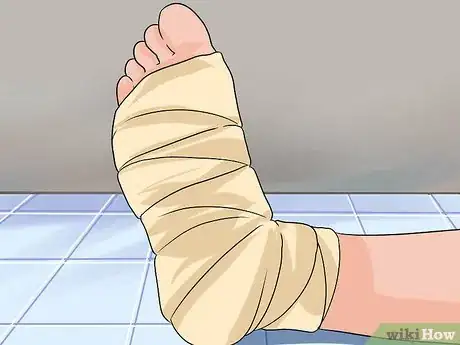
5Tape horizontally. The last step of the taping is to tape horizontal lines along the sole of your foot. These horizontal strips of tape will overlap so that you cannot see any of your foot. They will cover the entire bottom of your foot from the heel to the anchor going around the ball of your foot.
- At the end, wrap a piece of tape all the way around the ball of your foot again, including the top of your foot, to provide extra support. This should be the only piece of tape on the top of your foot.
- You don't have to wrap all the way around your foot. Instead, tear each piece of tape at the edge of your foot, making what looks like a tape shoe.
-
6Tape throughout the day. You should tape your feet whenever you are going to engage in a lot of physical activity, such as before exercising or before going to work.
- The kinesiology tape should be comfortable and should not be folded on the underside of your foot.
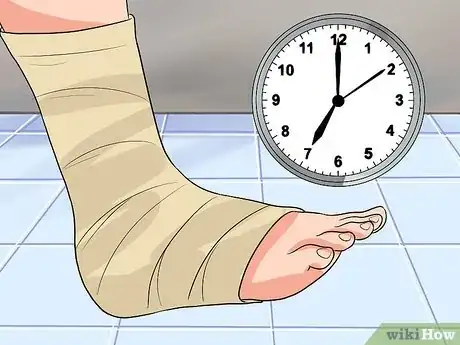
- It's okay to leave the tape on for three to five days, but it's better to change the tape every day.
- It's fine if the tape gets wet in the shower.
Using A Homemade Night Splint To Treat Plantar Fasciitis
-
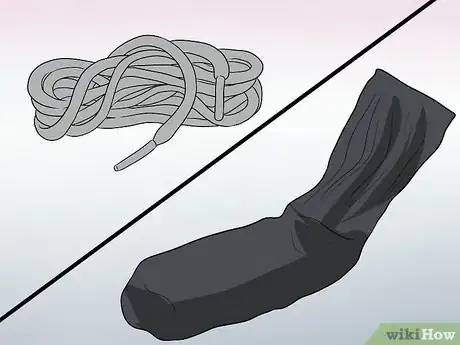
1Gather the materials. To stretch your foot, you will need a few items. You will need a long shoelace or ribbon. You also will need a tube sock you have modified.
- The tube sock needs a shoe lace or ribbon loop sewn into the toe of the sock and to the top of the sock. You can easily do this with needle and thread.
-
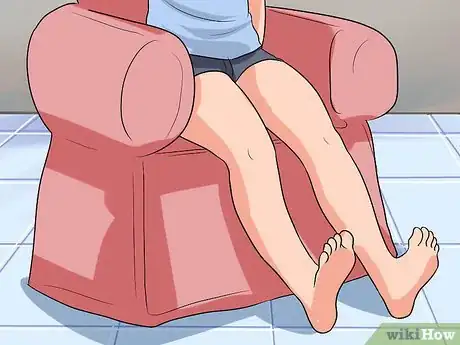
2Sit in a comfortable position. To begin stretching your foot, sit down in a comfortable position. You may want to place your ankle on your opposite knee. Put the sock on your affected foot.
- Make sure you keep your toes flexed during this so you get the best stretch. However, don't stretch it so far that it feels painful.
-
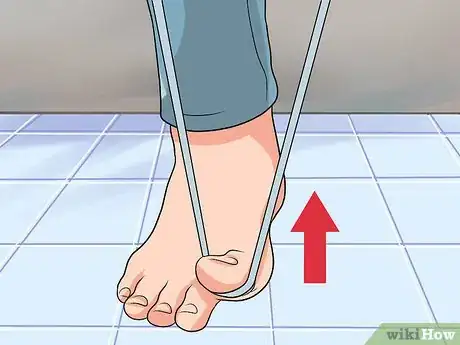
3Secure the stretch of your foot. Gently pull your toes up toward your head. Keep your toes stretched so you feel the extension in your foot. Thread the shoelace or piece of ribbon you have through each loop on the tube sock. You should feel a gentle stretch and shouldn't feel any pain.
- Tie the shoelace or ribbon so that your foot remains in the stretched position, your toes pointing toward your face. You should also feel some stretch in your calf.
- Be careful that you don't overstretch the tendon.
-
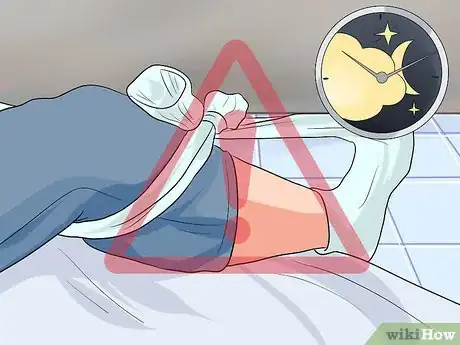
4Take caution during the night. Be careful when you get out of bed during the night for any reason. Also use caution when you wake in the morning. Before you get out of bed, untie or loosen the shoelace or ribbon. Re-tie it when you get back into bed.
- Stretching your foot at night helps to loosen or lengthen the shortened plantar fascia.
Understanding Plantar Fasciitis
-
1Understand the importance of taping or stretching your foot. Taping your foot to treat plantar fasciitis can reduce the pain associated with plantar fasciitis. It helps support your foot when you engage in physical activity to reduce strain.[6] It can also help minimize stress and inflammation.
- Keeping your foot stretched helps your foot loosen and heal in an elongated position so it doesn't shorten during the night. The main goal in taping your foot is to keep the foot flexed, with the toes pointing or pulled toward your head, until you feel a stretch in the bottom of your foot. Make sure you only feel a gentle stretch in your foot.
-
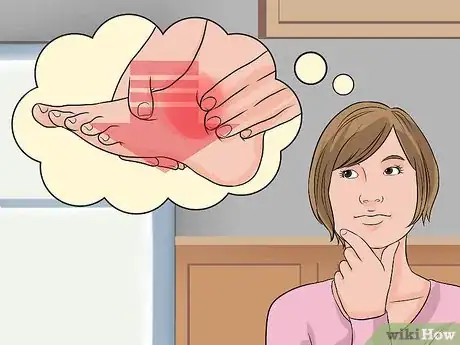
2Recognize the symptoms of plantar fasciitis. You may start seeing symptoms when you feel pain under your heel or in the arch of your foot. This often occurs when you stand up in the morning or after resting your feet for an extended period of time. After some time walking, the pain decreases.
- Pain may be felt after long periods of standing, physical activity, running, or sitting. Many times, the pain is felt while exercising.
- The pain is usually described as stabbing, but it can also be described as aching or burning.[7]
-
3Learn the causes of plantar fasciitis. The plantar fascia bears all our weight and has been described as a sort of bowstring supporting the arch of the foot. Anything that causes increased strain on this area of the foot can cause plantar fasciitis. Plantar fasciitis may occur when the plantar fascia tightens, shortens, or becomes inflamed. Causes include:[8]
- Obesity
- Footwear that does not support the arch adequately or fits improperly
- Overload because of physical activity, such as running, jumping, or jogging
- Arthritis
- Diabetes
- Existing foot problems, such as flat feet or high arches
- Abnormal gait and way of walking
- Walking barefoot on hard surfaces too much
- Deconditioning
- Overtraining
References
- ↑ http://www.mayoclinic.org/diseases-conditions/plantar-fasciitis/basics/definition/CON-20025664
- ↑ https://www.rdash.nhs.uk/wp-content/uploads/2016/12/Plantar-Fascitis-taping-leaflet.pdf
- ↑ https://heelthatpain.com/plantar-fasciitis/taping/plantar-fasciitis-taping/
- ↑ http://www.sportsinjuryclinic.net/sport-injuries/foot-heel-pain/plantar-fasciitis/taping-plantar-fasciitis
- ↑ https://heelthatpain.com/plantar-fasciitis/taping/plantar-fasciitis-taping/
- ↑ https://heelthatpain.com/plantar-fasciitis/taping/plantar-fasciitis-taping/
- ↑ http://www.mayoclinic.org/diseases-conditions/plantar-fasciitis/basics/definition/CON-20025664
- ↑ http://www.mayoclinic.org/diseases-conditions/plantar-fasciitis/basics/definition/CON-20025664
Expert Q&A
Did you know you can get expert answers for this article?
Unlock expert answers by supporting wikiHow
-
QuestionCan you tape both feet at the same time?
 Luba Lee, FNP-BC, MSLuba Lee, FNP-BC is a Board-Certified Family Nurse Practitioner (FNP) and educator in Tennessee with over a decade of clinical experience. Luba has certifications in Pediatric Advanced Life Support (PALS), Emergency Medicine, Advanced Cardiac Life Support (ACLS), Team Building, and Critical Care Nursing. She received her Master of Science in Nursing (MSN) from the University of Tennessee in 2006.
Board-Certified Family Nurse Practitioner
About This Article
To tape your foot for plantar fasciitis, start by loosely wrapping some sports tape around the ball of your foot, which sits just behind your toes. Then, bring the tape around the back of your ankle and back up toward your toes, sticking the end to the tape wrapped around the ball of your foot. Next, stick some tape under your big toe, wrap it diagonally across the bottom of your foot and around your heel, and bring it across the top of your foot to your pinky toe, repeating the process 3 times. Finally, cover the bottom of your foot with strips of horizontal tape. To learn how to prevent plantar fasciitis, scroll down!










Medical Disclaimer
The content of this article is not intended to be a substitute for professional medical advice, examination, diagnosis, or treatment. You should always contact your doctor or other qualified healthcare professional before starting, changing, or stopping any kind of health treatment.
Read More...