wikiHow is a “wiki,” similar to Wikipedia, which means that many of our articles are co-written by multiple authors. To create this article, 19 people, some anonymous, worked to edit and improve it over time.
wikiHow marks an article as reader-approved once it receives enough positive feedback. In this case, 92% of readers who voted found the article helpful, earning it our reader-approved status.
This article has been viewed 211,283 times.
Learn more...
Maple syrup is a sweet addition to many foods and desserts. Unfortunately though, it can be expensive to buy authentic maple syrup. If you happen to know where a maple tree is, you can follow these simple steps on how to make your own syrup and save some money.
Steps
Tapping the Tree
-
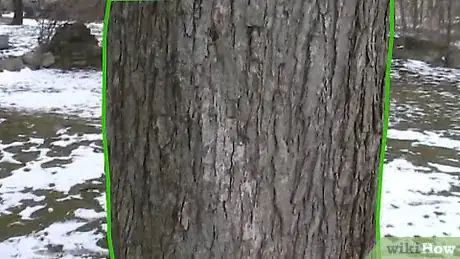
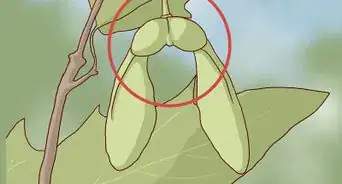
1Find a maple tree. The most important step in the process of tapping a tree for maple is finding just the right tree. Look for a maple tree that is at least 12 inches in diameter and has a lot of direct sunlight.
- Maple trees that give the most sap are of the sugar or black variety. Red and silver maple trees will also provide sap, but not as much as the other two species. One overlooked tree for sugary sap is the Black Walnut.
- Avoid unhealthy trees that have been damaged in the past. They will not provide as much sap as a big, strong, healthy tree.
- You can tap a single tree multiple times if it is large and healthy enough. For a tree 12-20 inches in diameter, a single tap is all that can be used. For a tree 21-27 inches wide, you can use up to two taps. A tree can have three taps if it is wider than 28 inches across.[1]
- Trees with a larger crown - all the branches and leaves - typically give more sap than trees with a smaller crown.[2]
-
2Know when to tap. The best time to tap your tree depends on your location, but it generally ranges from mid-February to mid-March. It should be above freezing (32 degrees Fahrenheit) during the day, and drop below freezing at night.[3]
- The fluctuating temperatures cause the sap to flow, moving it from the tree trunk and branches to the roots below the ground.[4]
- Sap flows for around 4-6 weeks, but this depends on the health of the tree and the environment.
- Generally, the best sap is gathered at the beginning of the flow.
Advertisement -
3Gather your supplies. To tap a maple tree, you will need a bucket with a cover (to keep things from falling in), a spile, and a drill. It may also be helpful to have a large clean trash can or similar vat to use as storage for all the sap you will tap.
- Thoroughly clean the spile, bucket, and cover with bleach and water. Make sure that they are completely dry before use.
- For your drill, you will need either a 7/16 or 5/16 drill bit.
-
4Decide where to tap. Find the ideal place on the tree to tap. You want it to be convenient to reach in healthy wood. Tap the side of the tree that gets the most sun throughout the day, ideally the south side.[5]
- If you can, it is best to tap above a large root or below a large branch.
- If the tree you are tapping has been tapped in the past, make sure that your new spile is inserted at least 6 inches away from the old hole.
- Place the tap in a healthy section of wood. If you drill and the shavings are light brown or tan, the wood is healthy. If you drill and the shavings are dark brown or chocolate-y colored, find a new place to tap.
- Drill on a sunny day when it is a bit warmer out to minimize the chance of splitting the wood.
-
5Drill your hole. Hold the drill as an angle going slightly upwards to make sap flow easier. Drill in about 2.5 inches.
- To know how far to drill, you can tape around your drill bit 2.5 inches from the end prior to drilling.
- Use a sharp drill bit to avoid creating a rough hole, which can decrease the amount of sap that is released.
- Remove all wood shavings from the hole once you’ve finished drilling.
-
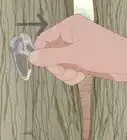
6Put the spile in the tree. Tap it in using a rubber mallet or hammer to ensure it is sturdy enough that it cannot be pulled out easily by hand.
- Don’t hit the spile into the tree too hard, or else you run the risk of splitting the wood.
- If you do not want to buy a spile, you can make your own using ⅜” aluminum piping. Avoid using copper, as it is toxic to the tree. Widen one end so that it can be used as a spout to pour the sap into your bucket.
-
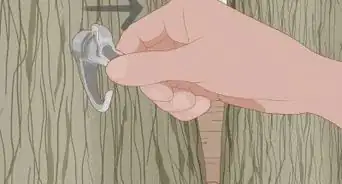
7Hang your bucket. Attach it to the end of the spile, or if you made your own use a bit of wire to hook it to your spout.
- Make sure that the bucket is secure, so that it cannot accidentally be knocked off or blown off by the wind.
- Put the cover over the top of the bucket to prevent debris from entering your sap store.
-
8Wait for your sap. Collect it daily in the afternoons when it is the warmest outside. If the weather is good, you will be able to collect sap for just over one month.
- A healthy tree can provide between 10–80 gallons (37.9–302.8 L) of sap, depending on environmental conditions.
- Sap will stop flowing if the daytime temperature does not rise above freezing, or if the nighttime temperature stays above freezing and becomes too warm.
- Collect all your sap into a large container, such as an empty (clean) trash can. Otherwise, you will have many full buckets taking up space.
- If the temperature rises above 45 °F (7 °C), the sap must be refrigerated. Otherwise, it will spoil and begin to grow bacteria.[6]
Making Maple Syrup
-
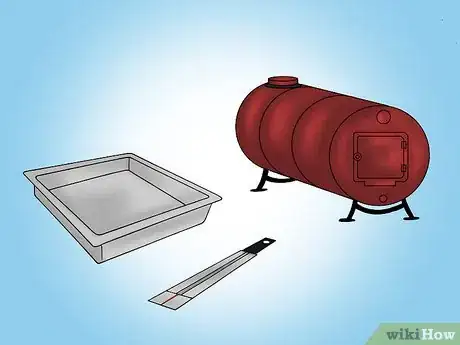
1Get your supplies ready. You will need to use a large pan and an outdoor gas range or wood stove. You will also need a cloth syrup filter and storage containers. Avoid boiling your sap indoors, as it creates a large amount of steam.
- You can use a dehumidifier to reduce the amount of steam that is produced, allowing you to boil the sap indoors.
- A candy or syrup thermometer is very helpful in getting the sap to the perfect temperature.
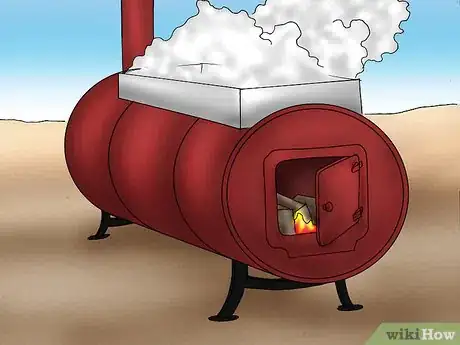
- Using a wood stove creates the best maple syrup, as it imbues the sap with a rich smoky flavor.
-
2Boil the sap. Keep the sap at least 11.5 inches deep to keep it from burning. Be prepared, as sap boils down very quickly and gives off a lot of steam.
- As the sap boils down, add more to keep it at the 11.5 inch level. You can add cold sap to the boiling sap, or pre-warm it.
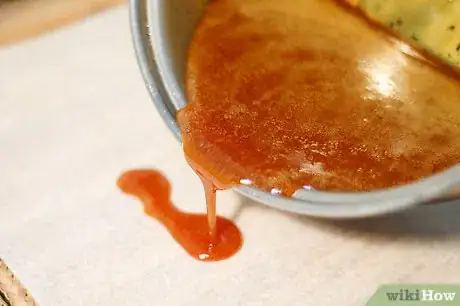
- Boil the sap until it reaches 219 °F (104 °C). This will give you pure maple syrup. If you want to make maple sugar, continue boiling until it has reached 234 °F (112 °C).
-
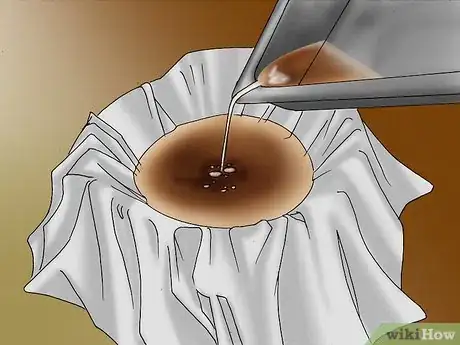
3Filter the syrup. Use a cloth maple syrup filter, available for purchase online, to separate out any “sugar sand” that formed during the boiling process. Always filter the syrup while it is hot, between 180–200 °F (82–93 °C).
- Heat the syrup filter in hot water for a few minutes before use. This will help the syrup to filter better, and also kill any bacteria that might have been attached to the filter.
- Store syrup that is waiting to be filtered in a closed container to help it to maintain its heat.
- If the syrup cools too much, reheat it to be within the 180-200 degree range. Be careful of overheating it though, as you could burn the syrup.
- If the syrup is pouring through the filter too quickly, the filter may be bad and need to be replaced. It should “ooze” more than it should pour.
-
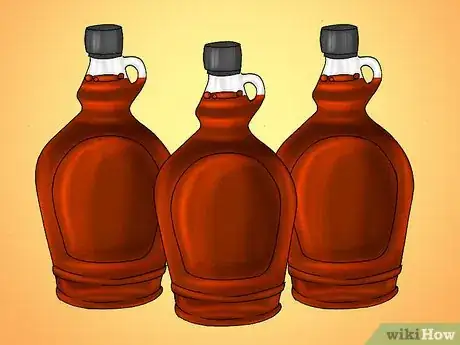
4Store your syrup in a covered container. To extend the life of your syrup, you can keep it refrigerated once you open its container. Use in recipes and on your foods for a delicious maple flavor.
Using Maple Syrup
-
1Make maple syrup candy. The most basic of all maple syrup recipes, boil your syrup again to a greater temperature to turn it into sugar. This can then be poured into molds and cooled for a delicious bit of maple flavor.[7]
-
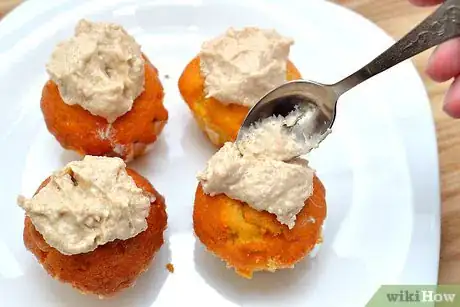
2Try maple frosting. This icing is the perfect addition to any cake or cupcake, and is super easy to make. Combine maple syrup with brown sugar, vanilla, butter, and powdered sugar to make a quick and easy frosting.
-
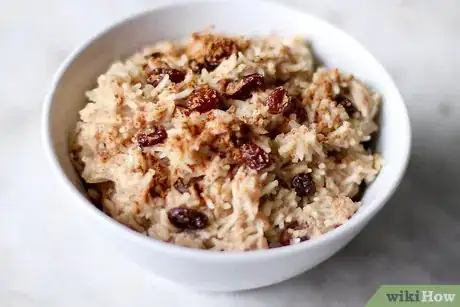
3Make maple rice pudding. Rice pudding is a sweet and savory dessert dish made of white rice and cream. Add maple syrup and cinnamon for a dish perfect for the fall.
-
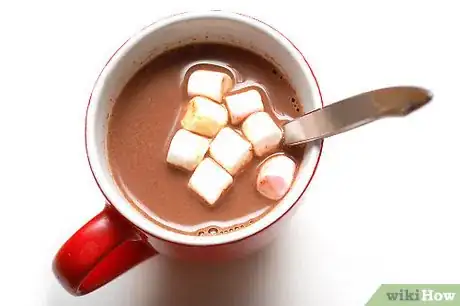
4Heat up a cup of maple hot chocolate. Using a delicious hot chocolate recipe, and add a few teaspoons of maple syrup to give it a twist. This is perfect for cold nights, staying away from the snow and frost.
-
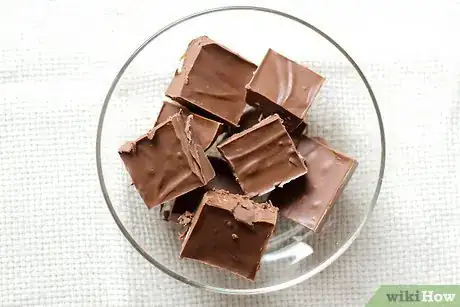
5Try maple walnut fudge. Combining the nutty flavors of walnuts and maple syrup with rich chocolate gives you a fudge that will have all your friends begging for the recipe! Try this easy method of making maple walnut fudge.
Community Q&A
-
QuestionShould the maple syrup be thin or thick?
 Community AnswerThe thicker the syrup, the higher concentrate of sugar. The thinner the syrup, the less concentrated amount.
 -
QuestionDoes the tap hole need to be plugged afterwards?
 Community AnswerNo. The tree seals the holes up itself over time. There will always be a little "scar" however. But there is no reason to plug the hole.
 -
QuestionIs maple syrup bad for your health?
 Community AnswerIf it is natural maple syrup, it isn't bad for you. However, if it is artificial, then it will cause you to gain weight and can cause cavities, as it's little more than flavored sugar syrup. Always prefer the authentic syrup.
Warnings
- If you tap a tree with a diameter of less than 25 cm or younger than 30 years, there is a possibility of stunting it's growth and even killing it by accident.⧼thumbs_response⧽
- Never leave boiling syrup unattended.⧼thumbs_response⧽
- When boiling your syrup, keep a keen eye to make sure that it does not boil over or burn.⧼thumbs_response⧽
References
- ↑ https://extension.umaine.edu/publications/7036e/
- ↑ https://extension.umaine.edu/publications/7036e/
- ↑ https://files.dnr.state.mn.us/destinations/state_parks/maplesyrup_how.pdf
- ↑ https://files.dnr.state.mn.us/destinations/state_parks/maplesyrup_how.pdf
- ↑ https://tapmytrees.com/tap-tree/
- ↑ https://theviewfromgreatisland.com/tap-maple-trees-make-maple-syrup-part-1/
- ↑ https://www.allrecipes.com/recipe/142723/pure-maple-candy/
- Videos provided by MIgardener
About This Article
To tap a tree for maple syrup, start by drilling a hole into the tree that's 2.5 inches deep. Drill the hole above a large root or below a large branch for the best results. Once you've drilled the hole, use a rubber mallet to tap a spile into the hole. Then, hang a bucket on the spile and wait for the sap to flow into it. After you've collected enough sap, store it in the fridge until you're ready to make maple syrup with it. To learn how to make maple syrup with your sap, scroll down!
