This article was written by Mitch Harris and by wikiHow staff writer, Nicole Levine, MFA. Mitch Harris is a Consumer Technology Expert based in the San Francisco Bay Area. Mitch runs his own IT Consulting company called Mitch the Geek, helping individuals and businesses with home office technology, data security, remote support, and cybersecurity compliance. Mitch earned a BS in Psychology, English, and Physics and graduated Cum Laude from Northern Arizona University.
The wikiHow Tech Team also followed the article's instructions and verified that they work.
This article has been viewed 67,750 times.
Scanning your Mac for malware should never require pulling out your credit card. Unfortunately, Mac malware can disguise itself as a removal tool, demand payment in exchange for protecting your computer. Don’t accidentally get tricked into sharing your information with a rogue company—learn how to do a safe (free!) scan on your Mac with a trusted application to isolate and remove potential malware.
Steps
Using Malwarebytes
-
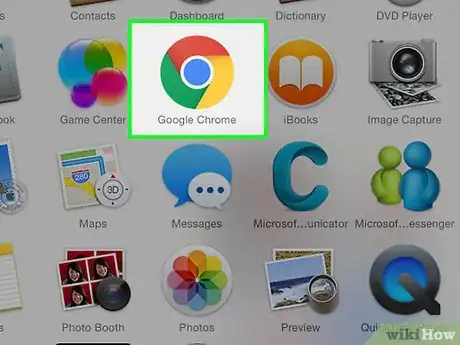
1Open a web browser. Download Malwarebytes for Mac, a free anti-malware app recommended by security experts.[1]
-
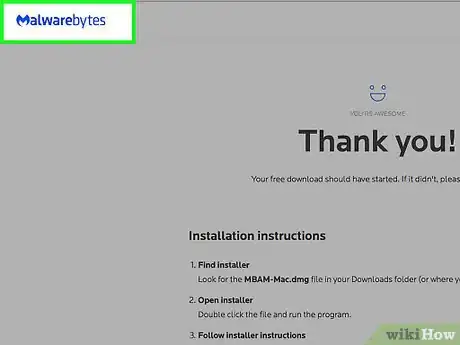
2Navigate to https://www.malwarebytes.com/mac-download/. The application will download automatically.Advertisement
-
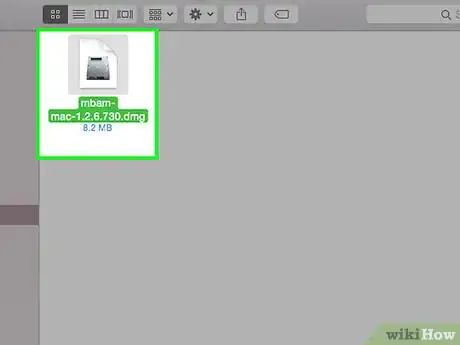
3Double-click the file that begins with “MBAM-Mac.” The entire file name should look like MBAM-Mac-1.2.5.dmg, though the number will vary based on the current software version.
-
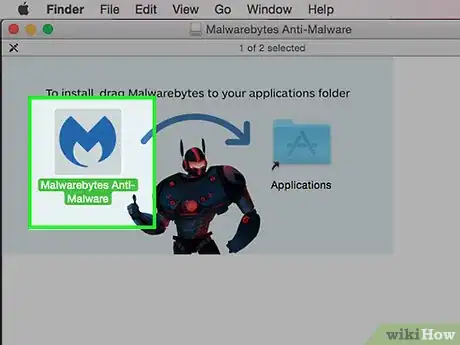
4Drag the Malwarebytes icon to the Applications folder.
-
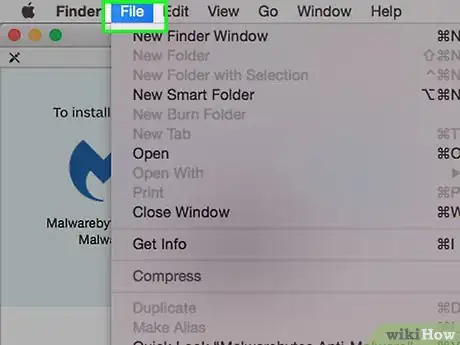
5Click the “File” menu.
-
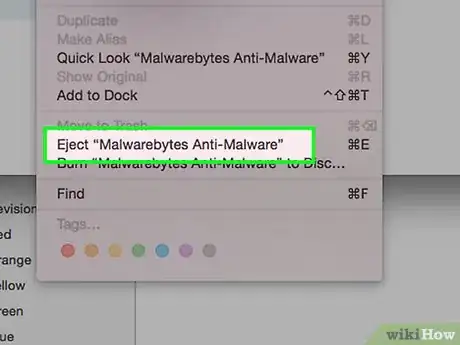
6Click “Eject Anti-Malware for Mac.”
-
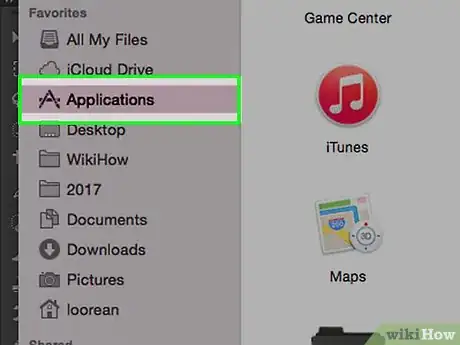
7Open the Applications folder.
-
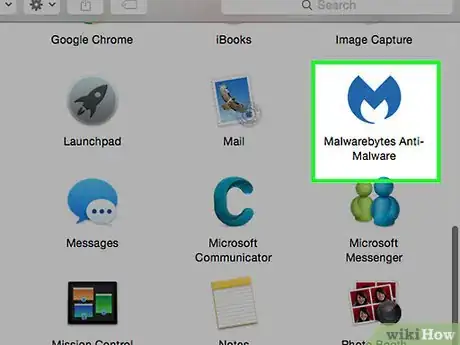
8Double-click “Malwarebytes Anti-Malware.”
-
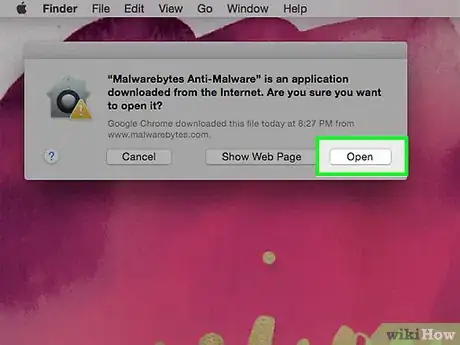
9Click Open. The app should open. If you see a message that says it can’t be opened because it wasn’t downloaded from the app store:[2]
- Open System Preferences.
- Select “Security & Privacy”.
- Click Open Anyway.
-
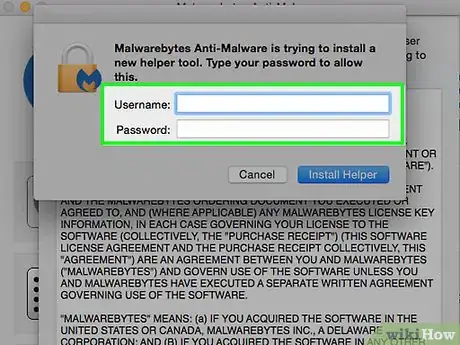
10Type your admin username and password.
-
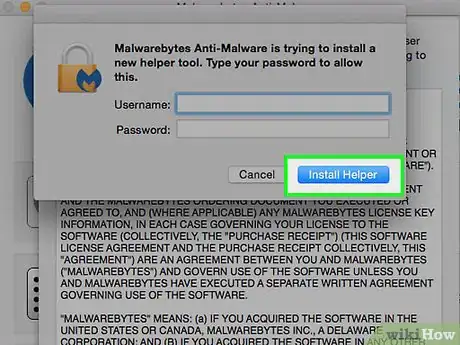
11Click Install Helper. This will install the tool that removes any malware discovered by Malwarebytes. When the tool is finished installing, you’ll arrive at the main Malwarebytes Anti-Malware screen.
-
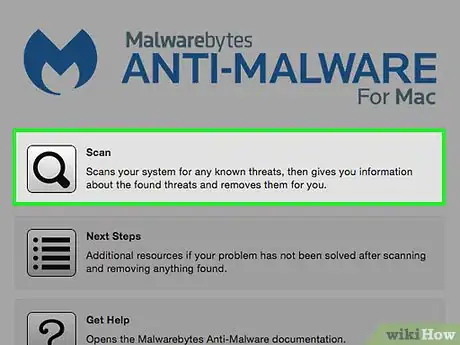
12Click Scan. The scan is fast, so don’t be alarmed if the results (or lack thereof) show up after only a few seconds.
-
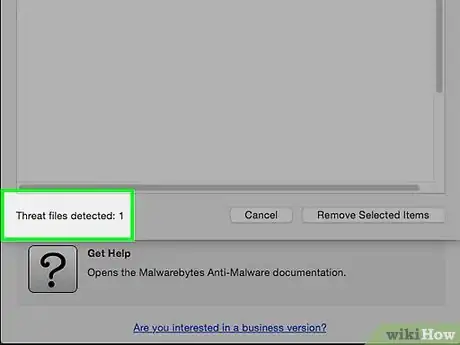
13Evaluate the results.
- If the system has no malware, you will see a message that says no threats were found.
- If threats were found, a list will appear in a pop-up window.
- Unless otherwise noted, you should remove all threats found by the application.
-
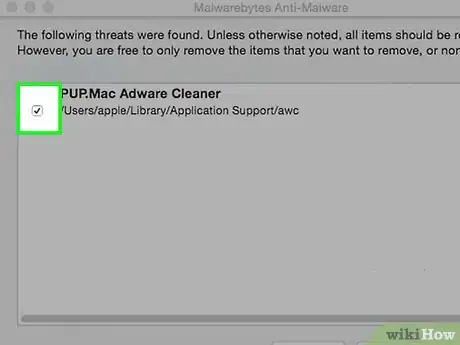
14Place a checkmark next to each threat you want to remove.
-
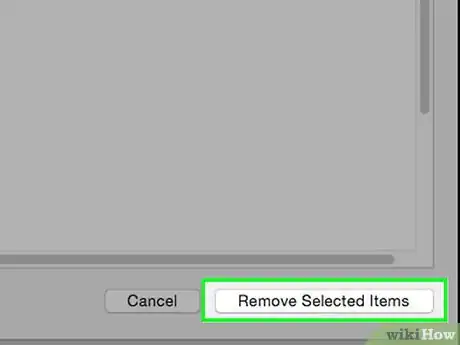
15Click Remove Selected Items. Your Mac is now free of malware.
Using ClamXav
-
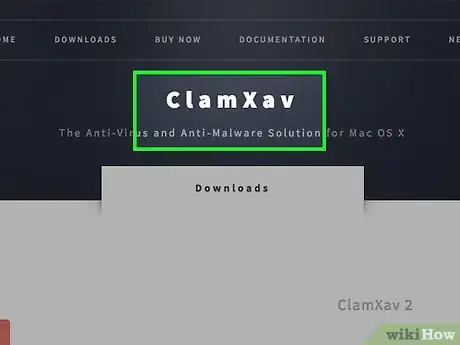
1Open a web browser. ClamXav has a fully-functional free trial version you can download to scan your Mac for malware. The software has been around for a long time and comes widely recommended by experts.[3]
-
2Navigate to https://www.clamxav.com/download.html.
-
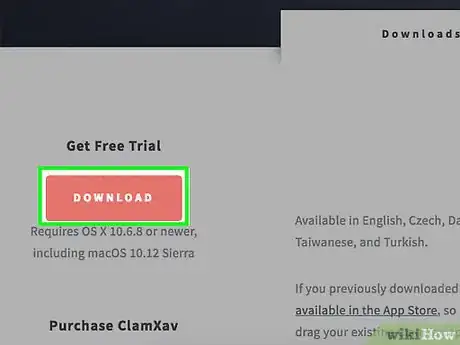
3Click DOWNLOAD beneath “Get Free Trial.”
-
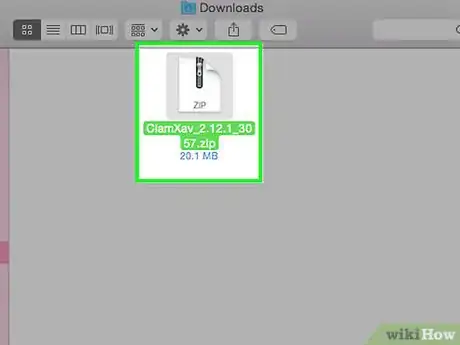
4Save the file when prompted. It will save to your computer with a name like “ClamXav_2.10_xxx.zip.”
-
5Double-click “ClamXav_2.10_xxx.zip".
-
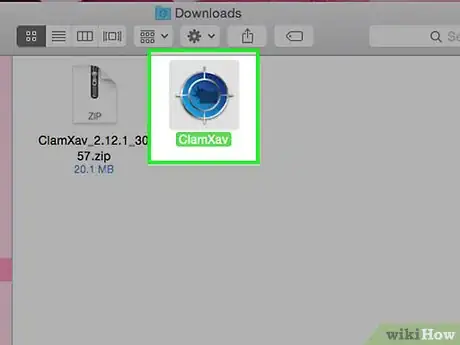
6Double-click “ClamXav.app”. This will start the installation of ClamXav.
-
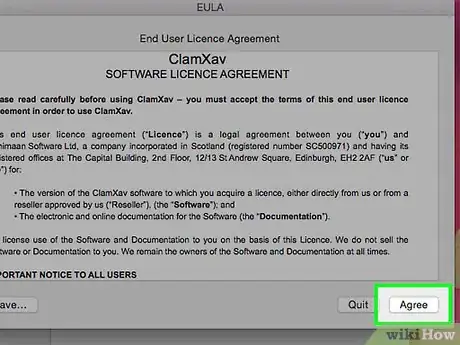
7Accept the license agreement.
-
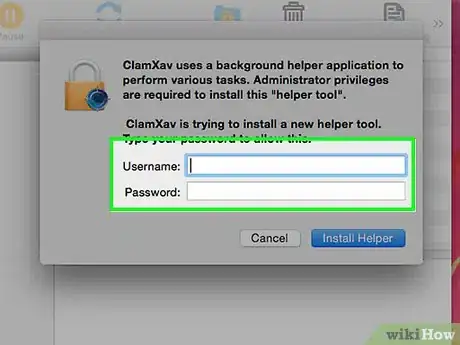
8Follow the prompts to complete the installation.
-
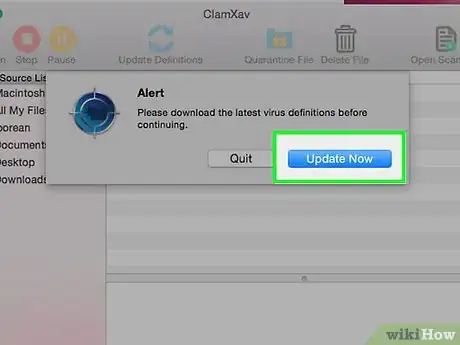
9Click Update Now. This not only downloads the latest definition files, but will also initiate a quick scan of your Mac. Let this scan complete and then go ahead with this method to do a deeper scan.
-
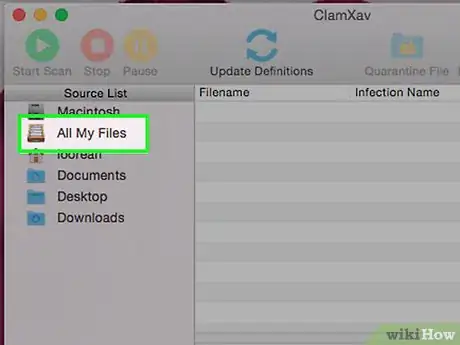
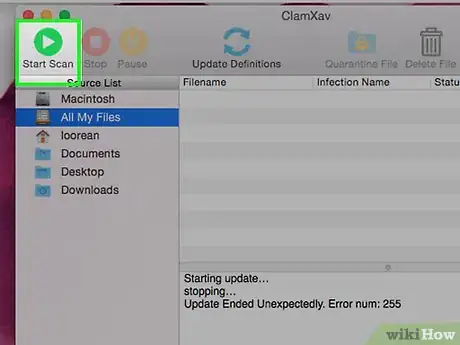
10Click “All My Files.” This is one of the options in the Source List in the left panel.
-
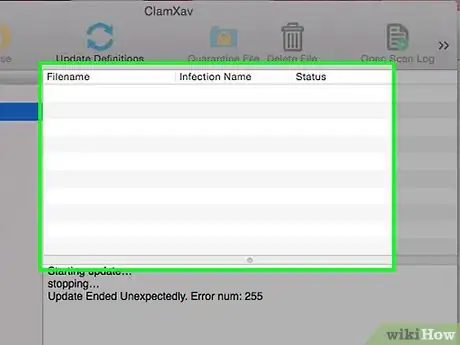
11Click the “Start Scan” icon. The deep scan will begin. When the scan is complete, all threats will be displayed in the top right panel, called the Infection List.
-
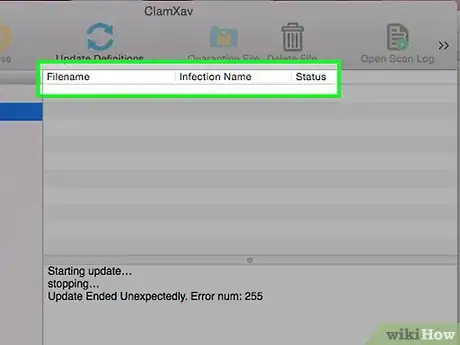
12Evaluate the results. ClamXav color-codes the results based on recommended actions, such as “quarantining” (isolating it to its own folder so it causes no harm) or deleting the file. Here’s what the colors mean:
- Blue: If you don’t recognize the file, quarantine it to avoid passing it on to others.
- Orange: You should definitely quarantine the file.
- Red: You should definitely delete this file.
- Green: The file has been neutralized. No action is necessary.
-
13Click a threat to select it.
-
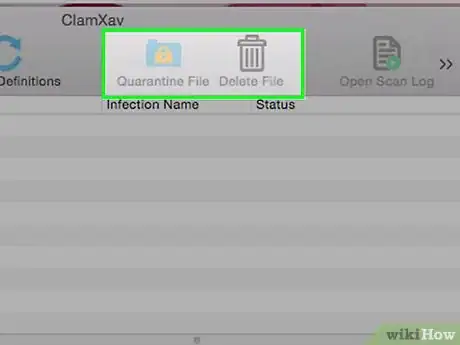
14Click “Quarantine File” or “Delete File” as recommended.
