This article was co-authored by Richard Engelbrecht. Richard Engelbrecht is a Professional Photographer and the Owner-Operator of Mr.E Photography of Conesus, New York. He specializes in nature photography of the Finger Lakes, Genesee Valley, and Southern-tier regions of New York State.
This article has been viewed 251,893 times.
Printed photographs are delicate items that capture valuable memories and moments in history. Oftentimes, older images are one-of-a-kind, so it can be particularly heartbreaking to discover that they have been damaged. Photographs can incur a lot of damage through years of exposure to humidity, water, sunlight, and dirt. Sometimes even storing new photographs incorrectly can result in damage. Knowing your options for restoring photographs, learning how to repair them at home, and properly storing photos afterwards can help ensure the longevity of your photographs for generations to come.
Things You Should Know
- Use a high-quality scanner and photo editing software to touch up photos digitally with color correction and filters.
- Manually restore old photos by using a soft brush and lukewarm water to remove dirt and dust.
- Fix any tears with acid-free tape, and fix curled edges by creating a DIY humidification chamber with a plastic bin and some water.
Steps
Fixing Minor Photo Damage Digitally
-
1Get the right equipment for digital restoration. Purchasing a high-quality scanner and photo editing software for your home computer can help make digital restoration at home possible. Invest in a photo editing program like Photoshop and a high-quality scanner that can scan images at a high dpi, or dots per square inch. The greater the dpi, the more detail the scanner will be able to capture. A dpi of 300 is recommended for most photographs.
- Make sure the glass on your scanner is as clean as possible to ensure the photo comes out clear.[1]
-
2Scan the photograph. Gently place the photograph in the scanner, and scan in the image at the highest resolution to capture as much detail as possible.[2] When prompted, save the image as a TIFF instead of a JPEG. A TIFF is a larger file, but it will retain the detail and quality of the photograph. Once you have saved the image, open it in your photo editing software.Advertisement
-
3Crop the image. Use the cropping tool to remove any evidence of damage around the edges of the photograph. Edges of old photographs often curl when exposed to water or humidity. If your photograph has damage around the perimeter, cropping the image will quickly correct this problem.
-
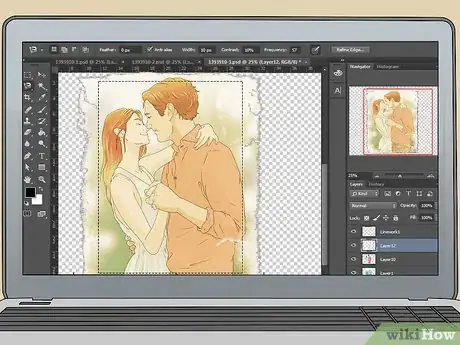
4Correct the photograph's tone. Repair the color, brightness, and contrast issues before attempting to change any other imperfections or signs of damage. These can be adjusted by opening editing tools in Photoshop or another photo editing software. These levels can be altered by sliding your cursor along a scale until you produce your desired effects.
- Increasing the brightness level can help brighten up a dark photo, or intensifying the contrast can bring out a washed-out, faded photo.
- Play with the color sliders to help remove unwanted tints.
- Save each version you create under a different file name so you can compare each version later and select the best restoration.
- Some photo editing programs have automatic settings you can use to fix the photos, while others require manual adjustments.[3]
-
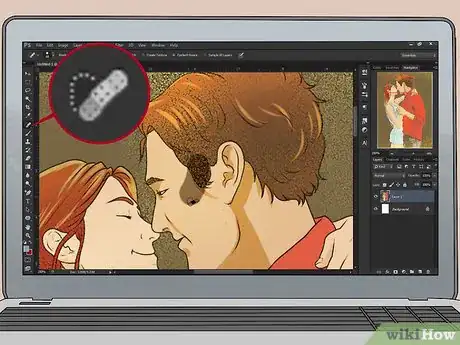
5Fix scratches and dust marks. Using the Dust and Scratches filter or the Spot Healing Brush in Photoshop or a similar tool in other photo editing programs makes removing imperfections straightforward and simple.[4] Magnify the photograph, and use the cursor to touch up the damaged marks. Work slowly and be sure to zoom out to check your progress as you work. This filter works by removing some of the details, so you will want to be sure that you are not overusing this feature.
- Keep a window open of the whole photo so you can observe the changes as you make them.
-
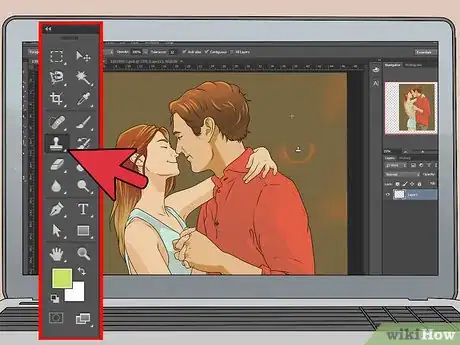
6Fill in tears or missing portions. If there are tears, rips, or missing sections of the photograph, you can use the Clone Stamp tool to recreate a portion of the image and fill in the damaged sections. After opening the tool, select the potion of the photo that you would like to clone or recreate and click it once. Move the cursor to the area you would like to repair with the material you just copied.
-
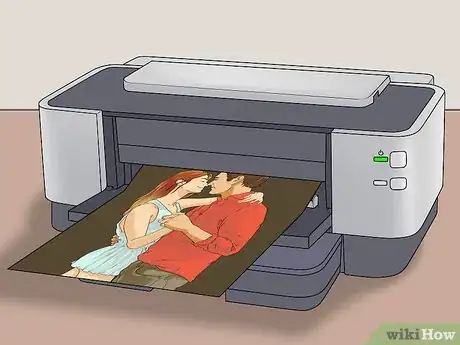
7Print the image. After you have restored the photograph, use an inkjet printer or a special photo printer with glossy paper to print out your restored photograph.
Manually Restoring Old Photographs
-
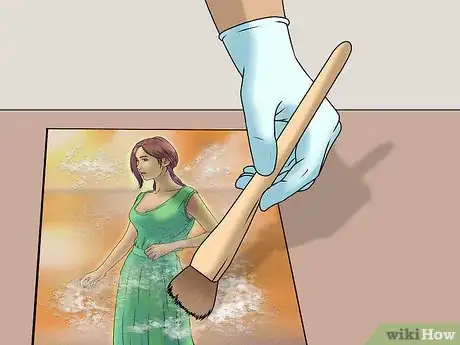
1Clean your photographs. If your old photograph has dirt, sand, or residue on it, you may be able to clean the image by hand. Wear rubber gloves, and gently remove the dirt with a soft brush or soft-bristled toothbrush. If there is a large amount of dirt, the photograph can be gently rinsed under lukewarm running water. Use your finger to softly wipe away dirt, but take care not scratch the photo. Let the photograph dry in a dark place where it will not be disturbed. You can clip the image on a wire with a clothespin to dry, or you can place the image face-up on a newspaper or towel.[5]
- If the photo turns red, yellow, or white while cleaning, this could be an indication that professional care is needed. The image may be too badly damaged to fix at home.
-
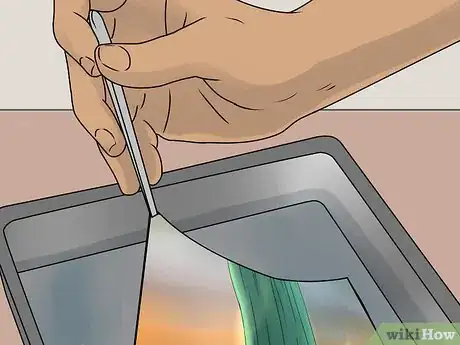
2Use water to separate photographs that are stuck together. If you find a stack of photographs that have stuck together, do not pull them apart. Instead, soak them in distilled water. Photographs are coated with gelatin. When they are placed in water, the gelatin softens and the photographs can be separated more easily.
- Purchase a bottle of distilled water from your local grocery store or pharmacy. Keep the water at room temperature, and pour it into a container that is large enough to submerge your photos. Place them with the image facing upward and let them soak in the water for 20 to 30 minutes. Use your fingers to gently slide the photographs apart, or use a rubber spatula to separate the images. Let them dry on a towel image-side up. Place a book or magazine along the edges so they do not curl as they dry.
-
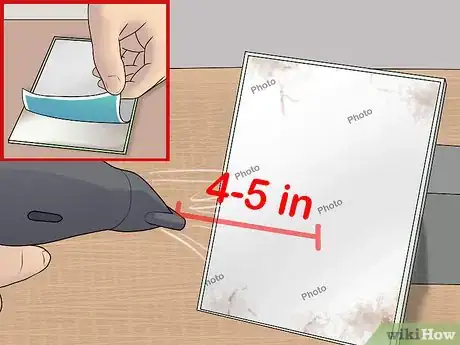
3Remove photos that are stuck to glass with heat. Before trying to remove the glass, be sure you make a copy of the image. You can remove the glass by heating up the image. Hold a hair dryer 4 to 5 inches away from the back of a print. After a few minutes, try to lift up one of the corners of the image, and slowly peel back the image.[6]
-
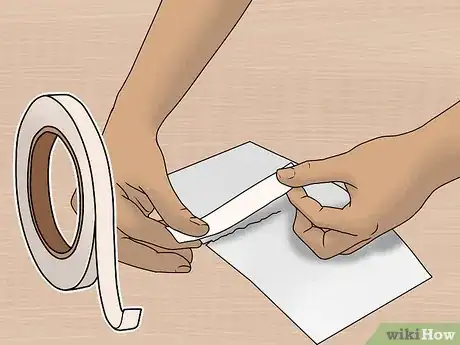
4Fix a tear with acid-free tape. You can secure a tear or fix a torn photograph by using an acid-free tape. Regular tape with an acidic adhesive can damage the photograph over time. Look for an archival tape or tape with an acrylic adhesive at an office supply or stationery store to repair and protect your photographs. Cut small pieces of tape and secure the tear on the back of the photograph.
-
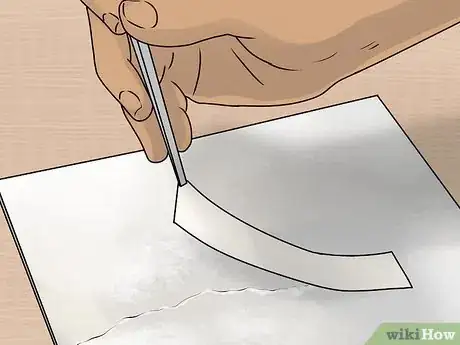
5Use a mending strip to fix a torn photograph. A torn photograph can also be repaired by using a strip of acid-free paper that is secured with acid-free glue. These can be purchased at an arts and crafts store or an office supply shop. Apply a small amount of the glue to the strip of paper, and press the strip over the tear on the back of the photograph. Remove any excessive glue with a cotton swab. Let the image dry face down on a towel, and place a weight, like a small book, on top of the image to prevent the edges from curling.
-
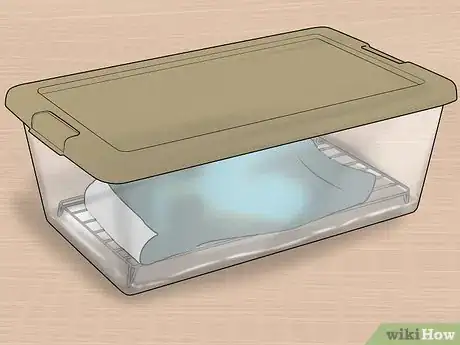
6Create a humidification chamber for photographs with curled edges. If you have an old photograph that was rolled up or if the edges are curling, you can release the curls by placing the photo in a homemade humidification chamber. This chamber will reintroduce water into the dry, brittle photograph which will allow the curled edges to relax and release.
- Fill a plastic storage bin with a couple of inches of room temperature water. Place a wire rack in the container, making sure that the top is not submerged. Place the photo on top of the rack, and close the chamber with the lid. Let it sit for several hours. Check on the photograph periodically and wipe away any beads of water on the photo. After a few hours, if the curls have relaxed, remove the photograph and let it dry face-up on a towel. Cover the image with blotting paper or parchment paper, and weigh the photograph down with a book as it dries.
-
7Seek the help of a professional. If the photograph is heavily damaged, very old, or extremely delicate, consider having the photo professionally restored. Professionals can not only restore photographs that have been ripped, stained, or damaged by water or sunlight, but they can also digitally enhance the photo's overall quality and color. Many services are available online. A professional will assess your photo and offer you a quote depending on the damage and the amount of work required.
- Most professional services will work from a digital copy of the photograph, leaving the original untouched and safe. The restored photo and the original image will be returned to you.
Storing Your Photographs
-
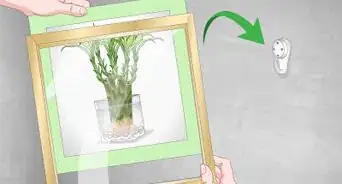
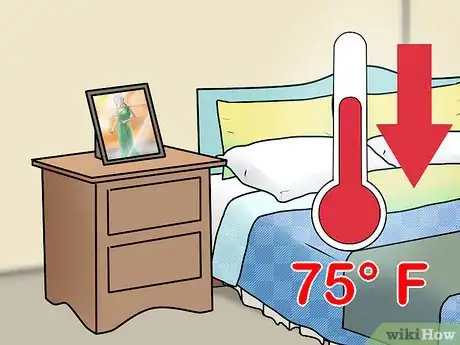
1Store photos in a climate-controlled environment. Photographs can be damaged from exposure to water, sunlight, heat, and moisture in the air. Humidity can cause photographs to stick together, while high temperatures cause photographs to become very brittle. Store your photographs in an environment that has low humidity, is not exposed to direct sunlight, and does not experience extreme temperature fluctuations. Ideally, the temperature should be below 75° Fahrenheit.[7]
- Do not store photos in a hot attic or in a garage or basement where the images may come into contact with water. Keep your photographs in a temperature-controlled section of the house, like a bedroom or hallway closet.
-
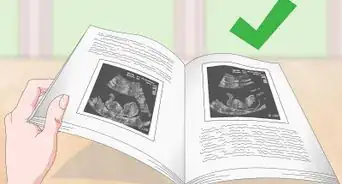
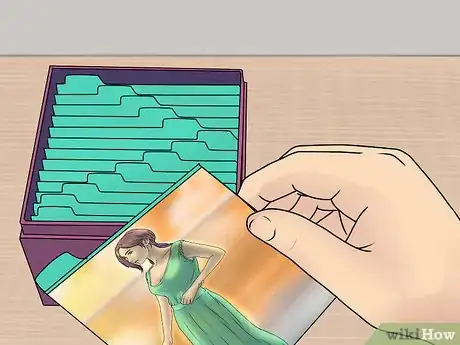
2Keep photos in archival boxes and albums. Archival boxes and albums provide a safe environment for your photographs that keep out humidity, pests, and dust. You can find these items from online vendors and from a stationery or office supply shop. When browsing for archival boxes or albums, be sure that they are intended for photo storage and are free from acid and PVC, or polyvinyl chloride.[8]
- Place a silica gel packet in the box to help offset any excess moisture.
-
3Properly store the photographs in a bin or album. If an album or storage box is packed to the brim with photos, it may not close properly, leaving the photos susceptible to environmental damage. A box that is not filled enough may also cause damage to the photographs. When there are only a few items in the container, the images may slide around, causing damage to the edges. Be sure that the photographs are secure and that the storage bin can properly close.[9]
Expert Q&A
Did you know you can get expert answers for this article?
Unlock expert answers by supporting wikiHow
-
QuestionHow can I restore old photographs?
 Richard EngelbrechtRichard Engelbrecht is a Professional Photographer and the Owner-Operator of Mr.E Photography of Conesus, New York. He specializes in nature photography of the Finger Lakes, Genesee Valley, and Southern-tier regions of New York State.
Professional Photographer First, make sure the glass on your scanner is completely clean, then scan in your image at the highest resolution possible. This will create a large file, so you have to have the computer resources to be able to manage it. Then, use Photoshop or another photo editing software to correct any damage in the pictures.
 -
QuestionWhat if the pictures are attached to glass?
 Community AnswerBefore trying to remove the glass, be sure you make a copy of the image. You can remove the glass by heating up the image. Hold a hair dyer 4 to 5 inches away from the back of a print. After a few minutes, try to lift up one of the corners of the image. Slowly peel back the image.
 -
QuestionWhere can I restore my pictures at reasonable cost?
 Community AnswerThere are many online restoration professionals across the globe that restore photos from all over the world. To find a reasonable cost, research some online professionals and ask if they will give you a quote. The price can depend on the amount of damage and how long it will take to mend.
References
- ↑ Richard Engelbrecht. Professional Photographer. Expert Interview. 1 October 2020.
- ↑ Richard Engelbrecht. Professional Photographer. Expert Interview. 1 October 2020.
- ↑ Richard Engelbrecht. Professional Photographer. Expert Interview. 1 October 2020.
- ↑ http://digital-photography-school.com/how-to-restore-old-damaged-photos/
- ↑ http://www.fujifilm.com/support/photo_cleaning/silver_halide/case_1.html
- ↑ http://www.scanmyphotos.com/blog/2016/05/remove-photo-stuck-glass-ideas.html
- ↑ http://www.home-storage-solutions-101.com/storing-pictures.html
- ↑ http://www.home-storage-solutions-101.com/storing-pictures.html
- ↑ http://www.home-storage-solutions-101.com/storing-pictures.html
About This Article
To restore an old photograph, use a soft brush to remove any dirt or residue from its surface. If it’s really dirty, gently rinse it under lukewarm water, then leave it to dry in a dark place. For any tears, apply a strip of acid-free tape on the back. Avoid regular tape, since this can damage the photograph over time. To restore your photograph using technology, you’ll need a scanner and photo editing software. You'll just need to scan your photo, then use software to adjust its color, brightness, and contrast until it looks better. You can also fix any scratches and dust marks with a dust and scratches filter or use a spot healing brush. When you’re happy with your photo’s quality, print it out using an inkjet printer and glossy paper. For more tips, including how to store your photographs to maintain their condition, read on!









-Step-53.webp)

