This article was co-authored by wikiHow staff writer, Nicole Levine, MFA. Nicole Levine is a Technology Writer and Editor for wikiHow. She has more than 20 years of experience creating technical documentation and leading support teams at major web hosting and software companies. Nicole also holds an MFA in Creative Writing from Portland State University and teaches composition, fiction-writing, and zine-making at various institutions.
This article has been viewed 150,300 times.
Learn more...
This wikiHow teaches you how to reset the settings of your HP Photosmart printer. Since there are dozens of Photosmart models with different types of control panels, the process varies slightly by model. Resetting the printer may resolve certain printing issues related to ink cartridges and printing jobs. You can reset your Photosmart printer either by disconnecting it completely from its power source, or by restoring the printer to its original factory settings.
Things You Should Know
- If you don't want to erase your settings, do a simple reset by unplugging all cables and removing the ink cartridges.
- For a full reset, use "Restore Defaults" or "Restore Factory Defaults" option in your printer's Tools or Preferences menu.
- On some Photosmart models, you'll need to enter the Support menu and select "Reset," followed by "Full Reset."
Steps
Doing a Basic Reset
-
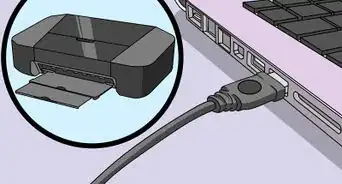
1Disconnect the USB and/or ethernet cable(s) from the back of the printer. Make sure the printer is turned on when you do this.
- Use this method if you're experiencing ink cartridge, paper, and quality issues, such as incorrectly-displayed ink levels, slow printing, and odd printing behaviors.
-
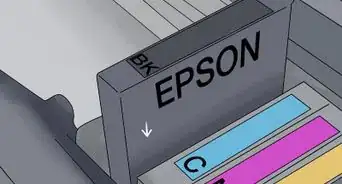
2Open the cover of your printer and remove the ink cartridges.Advertisement
-
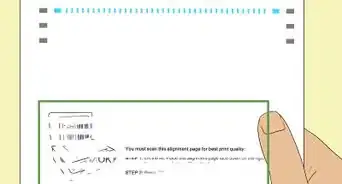
3Close the cover of your printer and wait for the “Insert Ink Cartridges" message. The actual wording of this message varies by printer.
-
4
-
5Plug the printer back in and turn it back on after one minute. Press the power button once the printer is plugged back in.
- Don't plug the USB or ethernet cable(s) back in yet.
-
6Open the cover and reinsert the ink cartridges.
-
7Close the cover and reconnect USB and ethernet cables. This completes the reset of your HP Photosmart printer.


Restoring to Factory Settings
-
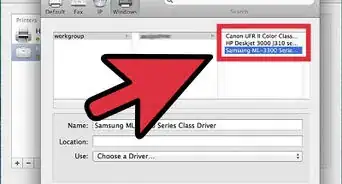
1Open the Setup or Support menu. On most Photosmart models, you'll need to select the Setup or Support menu or icon on the screen. Other models have a Menu that you can press.
- Use this method if you were unable to do a basic reset.
- If you don't have a Menu button or option, use the arrow keys on your printer to navigate to the Reset All Menu Settings option, and then press OK to restore your factory default settings.
-
2
-
3Select Restore Defaults or Restore Factory Defaults. Depending on your printer, this option may also have a different but similar name, like Factory Reset. Once you confirm the restore, the process will begin. When the restore is complete, your printer will be set to its original factory settings.
- If you aren't able to restore your printer using these methods, try pressing the back button four times until you see the Support menu, select the Reset menu, and select Full reset.[4]
- Another thing to try is to hold down the Help and OK buttons as you remove the power cord from the printer. Then, lift your fingers,


Community Q&A
-
QuestionI have WiFi connection on my HP Photosmart 7520 printer, but I'm not connected to the internet. Why?
 Community AnswerThis WiFi connection is created by the printer to allow your wireless devices to connect to it for wireless printing. This is not a standard internet WiFi connection and therefore you will not have internet access by connecting to your printer's WiFi.

References
- ↑ https://h30434.www3.hp.com/t5/Printing-Errors-or-Lights-Stuck-Print-Jobs/After-the-Full-Reset-it-shows-the-estimated-ink-levels-badly/td-p/7092160
- ↑ https://www.helpowl.com/q/Hewlett-Packard/Photosmart5520/Cancellation/reset-factory-settings/301420
- ↑ http://h30434.www3.hp.com/t5/Printer-All-in-One-Install-Setup/How-do-I-reset-my-HP-Photosmart-6520-to-it-s-original/td-p/4147050
- ↑ https://h30434.www3.hp.com/t5/Printing-Errors-or-Lights-Stuck-Print-Jobs/How-to-do-a-full-factory-reset/td-p/6036673
About This Article

1. Disconnect the USB and ethernet cable(s).
2. Remove both ink cartridges.
3. Disconnect the power cord for at least one full minute.
4. Plug the power back in and restart the printer.
5. Reinsert the cartridges.
6. Reconnect the ethernet and USB cable(s).