X
wikiHow is a “wiki,” similar to Wikipedia, which means that many of our articles are co-written by multiple authors. To create this article, volunteer authors worked to edit and improve it over time.
This article has been viewed 87,197 times.
Learn more...
Sometimes the handle of a bathroom faucet is put on incorrectly so it doesn't rest in the correct position when the faucet is off. Other times the faucet handle may crack, discolor or otherwise look old, while still functioning. In either of these cases, the faucet handle can be replaced with a new one, without replacing the rest of the faucet.
Steps
-
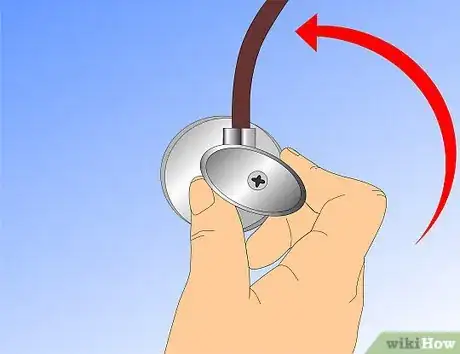
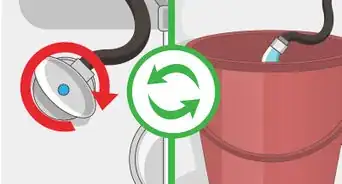
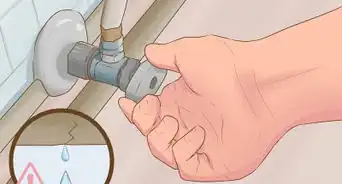
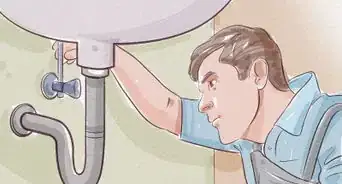
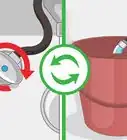
1Turn off the water supply to the faucet. Look beneath the sink for a valve close to the wall on the same side as the handle you are replacing. If this is a single handle faucet, turn off both supplies. When you locate them, twist the water supply valve or valves tightly to the right.[1]
-
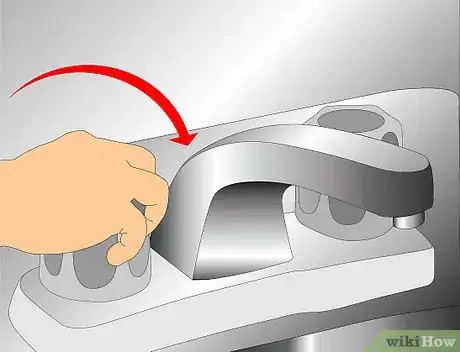
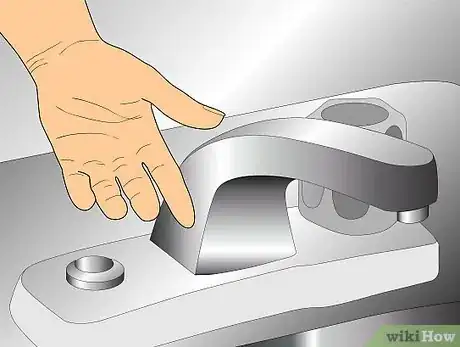
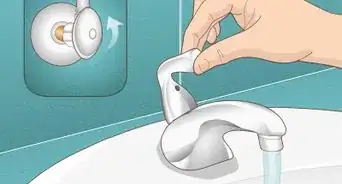
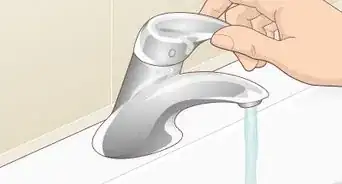
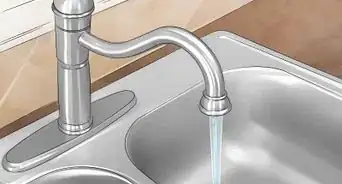
2Test the faucet to ensure no water comes out when the handle to be replaced is turned.Advertisement
-
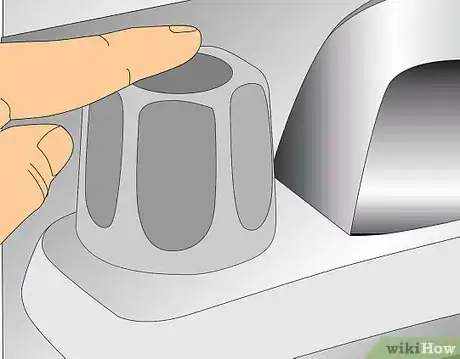
3Examine the cap or top of the handle. Typically faucet handles have a false top or cap. This may be a porcelain cap that reads "hot" or "cold," or it may be a metal cap in the same finish as the rest of the handle.
-
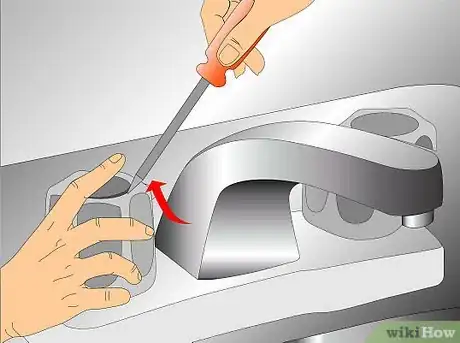
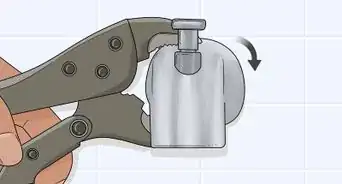
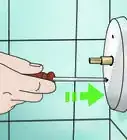
4Use a flat head screwdriver to loosen the cap and pry it up.[2]
-
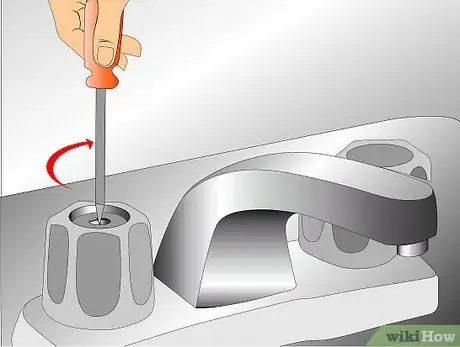
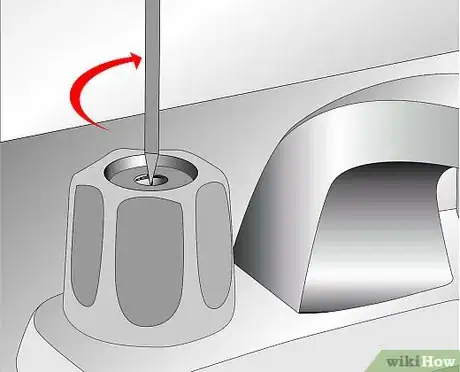
5Look at the area hidden beneath the cap for a screw.
-
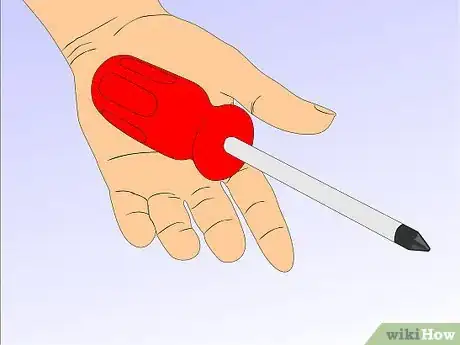
6Use the appropriate screwdriver to loosen and remove this screw.[3]
-
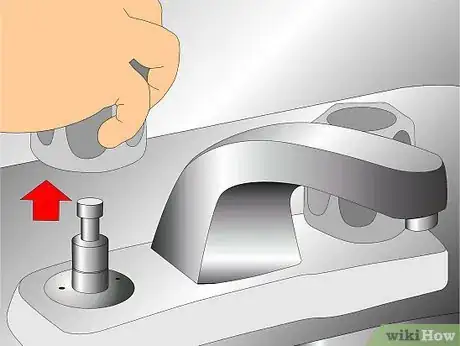
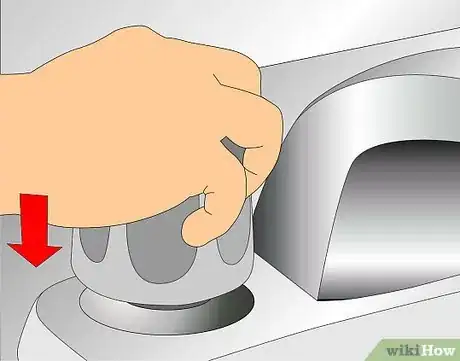
7Lift off the handle of the faucet from its stem.
-
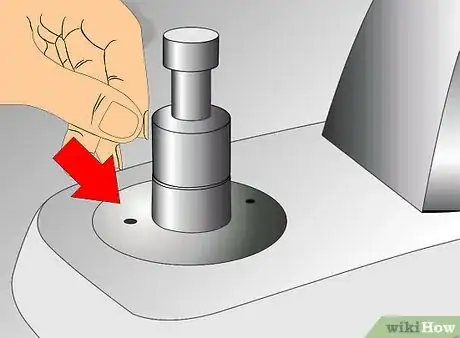
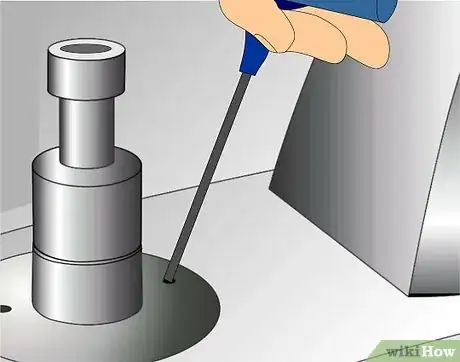
8Look at the back of the escutcheon or decorative cover at the bottom of the handle. There should be a very small hole with an Allen key screw in the back.
-
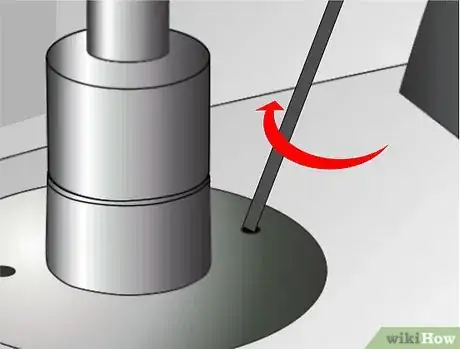
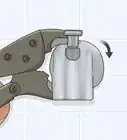
9Use an Allen key to loosen and remove this screw.
-
10Lift the escutcheon off of the counter. The interior valve of the faucet should now be visible.
-
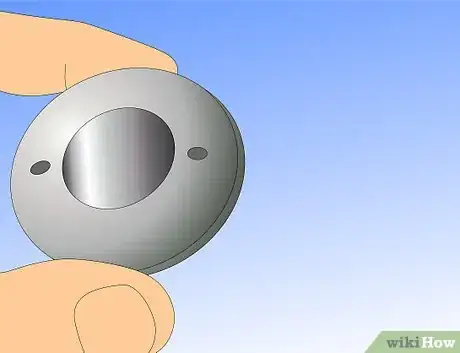
11Place a new escutcheon over the valve.
-
12Line up the screw at the back and tighten it down so the escutcheon does not move.
-
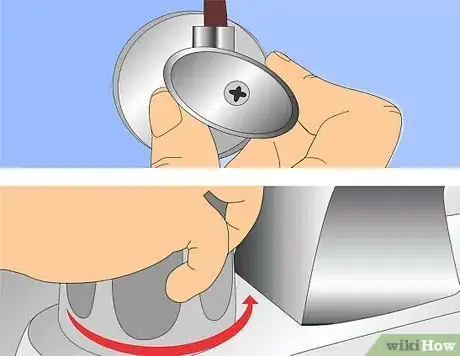
13Place the handle over the top of the valve so it sits on the escutcheon.
-
14Twist it completely to the "on" position and back off to make sure it is positioned properly.
-
15Insert a screw into the top of the handle and tighten it down.[4]
-
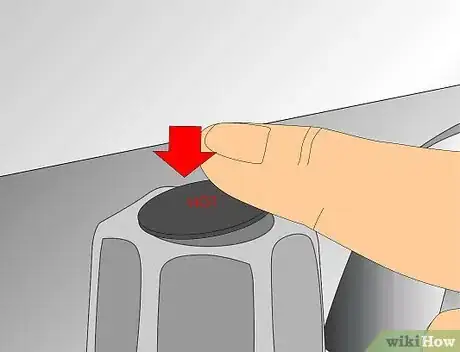
16Place the cover or cap into the top of the handle. If the cap reads "hot", "color" or another word, line this up to face you.
-
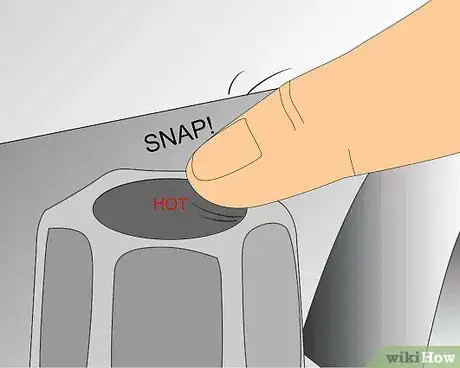
17Snap the cap down into the cap of the faucet.
-
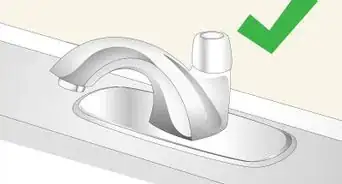
18Turn on the water supply and test the handle.
Advertisement
Community Q&A
-
QuestionWhat if the handle turns the wrong direction (clockwise)?
 Community AnswerIt sounds like you have the wrong stem installed. Hot stems generally turn counterclockwise as the threads are made in an inverted manner. As long as there are no leaks this should be OK, but if you want to correct the problem, you will most likely need to replace the stem.
 -
QuestionI put the new handle on and turned the water supply back on, but no water comes out of faucet. What is wrong?
 Community AnswerIt is not clear what your problem is. If no water comes out of only one faucet, see if you can remove the aerator from the end of the spout. If there is still nothing, there could be another blockage or a bad valve that will not open back up.
 -
QuestionWhat do I do if it is a single faucet?
 Community AnswerLook in your local hardware store for a representative and ask for the single faucet handles and plumbing.
Advertisement
Warnings
- Do not loosen the handle from below the sink or counter. This will cause the cartridge or valve to come loose, not the handle itself. Always remove the handle from above the sink or counter.⧼thumbs_response⧽
Advertisement
Things You'll Need
- Screwdrivers
- Allen key
References
- ↑ https://www.wsscwater.com/customer-service/residential-tips/locating-and-operating-your-main.html
- ↑ https://youtu.be/y98rhyS_7bw?t=39
- ↑ https://www.youtube.com/watch?v=-FQCmfsBnOw
- ↑ https://youtu.be/y98rhyS_7bw?t=105
- https://www.thisoldhouse.com/how-to/how-to-repair-dripping-two-handled-stem-faucet
- https://www.popularmechanics.com/home/how-to/a3968/4303977/
About This Article
Advertisement
