This article was co-authored by Ryaan Tuttle and by wikiHow staff writer, Eric McClure. Ryaan Tuttle is a Home Improvement Specialist and the CEO of Best Handyman, Inc. in Boston, Massachusetts. With over 17 years of experience, he specializes in building home service businesses, focusing on creating scalable and efficient brands. With the help of his global team, the companies have achieved over 10+ million in sales and received recognition through magazine features, and enjoy partnerships with wikiHow and Jobber field service software. Boston Magazine and LocalBest.com have named Best Handyman Boston the Best Handyman in Boston. Ryaan holds Construction Supervisor and Home Improvement Contractor Licenses.
This article has been viewed 85,816 times.
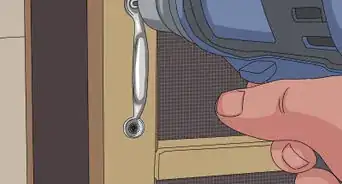
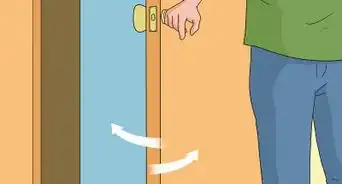
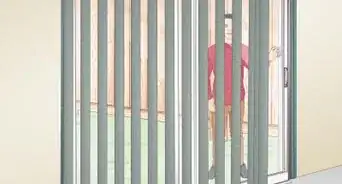
Every sliding door is set up slightly differently, but almost all of them can be removed by following a few simple steps. First, loosen the brackets at the top of each door with a flathead or Philips-head screwdriver. Then, try lifting it up a little and pulling it towards you. Most of the time, the door will pop right off. If there are brackets at the bottom, remove the screws that secure the door to the brackets before lifting the door out. Be careful when pulling a door out of the track, as many of the sliding doors can be quite heavy. This process shouldn’t take more than 5-15 minutes depending on the size and style of your doors.
Steps
Unscrewing the Brackets
-
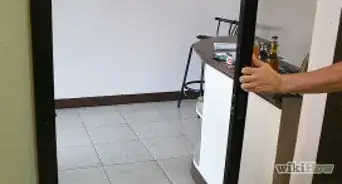
1Go inside your closet and look at the back of your doors. Open your closet doors and go inside the closet. Look at the top and bottom of your door for brackets. Check the screws on those brackets to determine whether you need a Philips or flathead screwdriver to remove them. Get the corresponding screwdriver and go back into your closet.[1]
- Most sliding closet doors only have brackets at the top. The bottom is usually just a wheel that follows along a track.
-
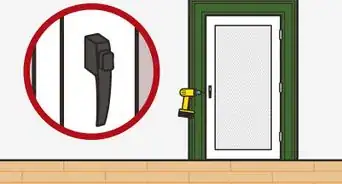
2Unscrew the brackets on the top of your doors to loosen them. To take the door out, you’ll lift it out from the bottom track. To make space to maneuver it, you will loosen the brackets on the back. Use the Philips or flathead screwdriver to loosen each screw on the brackets at the top of your door. Do not remove the screws all the way.[2]
- Loosen the screws at the top of both doors. Loosen every single screw to ensure that you don’t miss one and crack your door when you try to remove it.
- Even if you have brackets on the bottom of your door, they’re probably just connected to your wheels. Removing them may create unnecessary work for you. Only loosen the brackets on the bottom if the door won’t raise up after loosening the brackets on top.
Warning: If you take the screws totally off, the door may come down immediately with the bottom track still attached, snapping the wheels at the bottom or breaking the track at the bottom.
Advertisement -
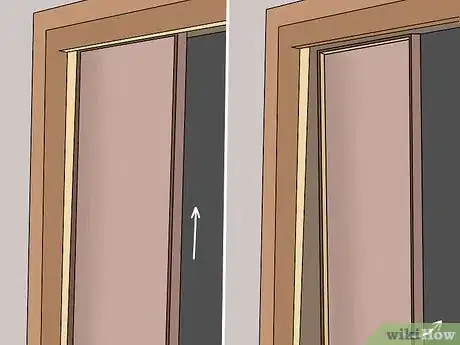
3Try lifting each door to see if it moves 1–2 in (2.5–5.1 cm). Hold a door with both hands by gripping around each side of the door. Try to lift the door straight up a little. If it freely moves up and down at least 1 in (2.5 cm), you’ll have enough room to lift the bottom track off.[3]
- Depending on the style of your door, the wheels at the top may fall off of the track when you lift it. If they do, pull the bottom of the door towards you to remove it fully. You don’t need to do anything else. Repeat this on the next door and you’re done.
-
4Remove any brackets locking the door on the bottom track. Before trying to lift the door out of the frame, look on the bottom to see if there are actually wheels under the doors, or a set of sliding brackets that guide it along the line. If you don’t see any brackets connecting the frame to the track, it probably has wheels and you don’t need to remove anything. Unscrew any locking brackets on the tracks to remove them if they’re keeping the door on the track.[4]
- If there are wheels, ignore them. They’ll lift right out with the door when you lift it out.
- Most rolling closet doors have wheels. It’s usually closet doors with glass that have the extra brackets you must remove.
- Repeat this process for both doors to get all the necessary brackets and screws loosened on both doors.
- If there are brackets connecting the door to the track, they are usually on the side of the door where it sits in the track’s groove.
Removing the Doors and the Track
-
1Move to the other side of the doors so that you’re facing your closet. You may require more room to maneuver, so go to the other side of the doors so that you’re facing the closet from the room it’s in. If you have a massive, walk-in closet, you can probably get away with removing them from the inside of the closet if you prefer.[5]
- You’re going to lift the door out from the bottom track and pull it toward you. To keep yourself from falling, move all screws and tools off of the floor around you.
-
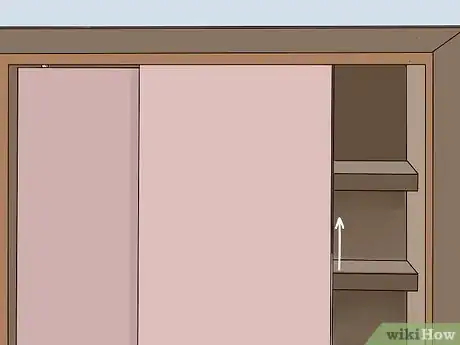
2Lift the front door up so that it’s elevated a little off of the ground. Hold the sides of the front door with each of your hands by wrapping around the sides in the middle of the door. Grip the door firmly and raise it as high as you can into the top track.[6]
- Hold the door steady as you’re raising it up.
-
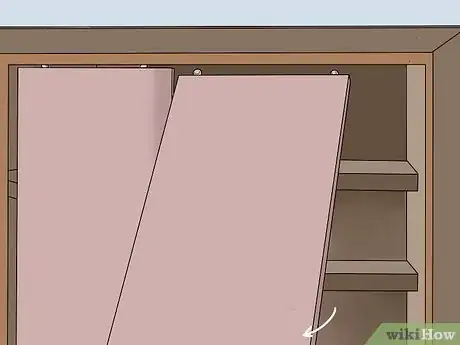
3Pull the bottom of the door out towards you and set it down off of the track. While holding the door up, pull it 4–8 in (10–20 cm) towards you and then lower the door to the floor. Once it reaches the floor, check the bottom track to make sure that it’s completely off.[7]
- The door may come completely off when you go to lower it. On some sliding doors, the brackets are only used to adjust the height of the door and the wheels are just hanging on the track.
Tip: If the bottom of the door won’t come off of the track, unscrew all of the brackets off of the bottom and then try it again.
-
4Remove the door completely by fully unscrewing the brackets on top. With the bottom of the door totally off of the track, fully unscrew the brackets at the top. The top of the door will fall down when you remove the last screw, so be prepared to catch it when the last screw comes out by bracing it.[8]
- You may notice the top of the door simply pop out before you get a chance to unscrew the brackets. If this happens, don’t worry about unscrewing the brackets.
-
5Repeat this process for the second sliding door. With your first door completely removed, lift the second door a little bit. Pull the bottom out 4–8 in (10–20 cm) in your direction and then rest the door on the floor. Fully remove the screws on the top brackets and then slide it out of the slot to set it down.[9]
- You may need to raise the second door a little higher than the first one when raising it up if there’s a raised threshold in between the 2 doors.
-
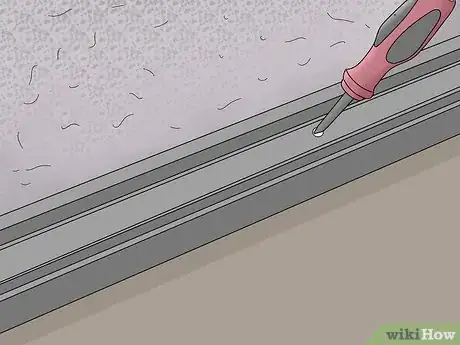
6Remove the screws in the middle of the tracks to remove them. Once both doors are off, you’ll see 3-5 screws in the middle of the tracks at the top and bottom. Use a Philips or flathead screwdriver to fully remove all of the screws inside the tracks. The tracks may stick a little after removing the screws, but they should come right off with a light pull.[10]
Expert Q&A
-
QuestionHow do you take a sliding door off its track?
 Ryaan TuttleRyaan Tuttle is a Home Improvement Specialist and the CEO of Best Handyman, Inc. in Boston, Massachusetts. With over 17 years of experience, he specializes in building home service businesses, focusing on creating scalable and efficient brands. With the help of his global team, the companies have achieved over 10+ million in sales and received recognition through magazine features, and enjoy partnerships with wikiHow and Jobber field service software. Boston Magazine and LocalBest.com have named Best Handyman Boston the Best Handyman in Boston. Ryaan holds Construction Supervisor and Home Improvement Contractor Licenses.
Home Improvement Specialist If you're having trouble removing the sliding door, try looking for door stops. It's possible that they're keeping you from removing the door. Then you just need to lift the door up as high as you can before pulling it out through the bottom. It should come out easily.
References
- ↑ https://youtu.be/EvRm1yw8yFI?t=15
- ↑ https://youtu.be/EvRm1yw8yFI?t=35
- ↑ https://www.thisoldhouse.com/how-to/how-to-fix-sliding-door
- ↑ https://youtu.be/bZeeqJvs4Mg?t=90
- ↑ https://youtu.be/EvRm1yw8yFI?t=94
- ↑ https://www.thisoldhouse.com/how-to/how-to-fix-sliding-door
- ↑ https://www.thisoldhouse.com/how-to/how-to-fix-sliding-door
- ↑ https://www.thisoldhouse.com/how-to/how-to-fix-sliding-door
- ↑ https://www.thisoldhouse.com/how-to/how-to-fix-sliding-door


