This article was co-authored by Kristin Pulaski. Kristin Pulaski is a Professional Nail Artist and the Founder of Paintbucket, a self-owned and operated nail salon based in Williamsburg, Brooklyn. She has over five years of experience running Paintbucket and is licensed as a nail technician. Paintbucket offers nail art manicures, pedicures, and soft gel extensions along with customized packages for wedding and bridal parties. She holds a BA in Managerial Science from Manhattan College.
This article has been viewed 300,847 times.
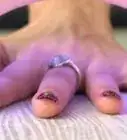
Painting your nails is a skill that takes a lot of practice. When you’re first starting out, it is very common to get nail polish on fingers surrounding your nails. Even once you think you’ve mastered painting your nails, you may still get polish on your fingers. Luckily, there are a few tricks to help get the nail polish off of your fingers while keeping it on your nails.
Steps
Removing Polish While It’s Wet
-
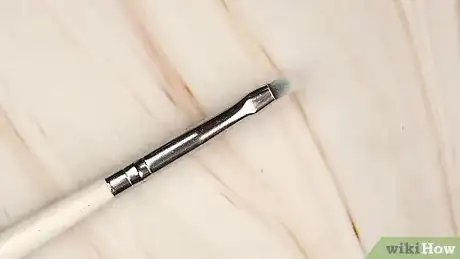
1Have a brush ready. A new, clean eyeshadow brush or an old nail polish brush that you’ve cleaned and sanitized will work perfectly for this. In order to clean a nail polish brush, swirl it around in 2 or 3 drops of nail polish thinner on a plastic plate. Wipe the brush on a piece of cardboard. Repeat this until the brush wipes clean.
- Nail polish thinner is different than remover. It is most commonly used to restore old bottles of nail polish to their old consistency.
- Cardboard is recommended because other materials, like paper towels, will leave lint on the brush.
-
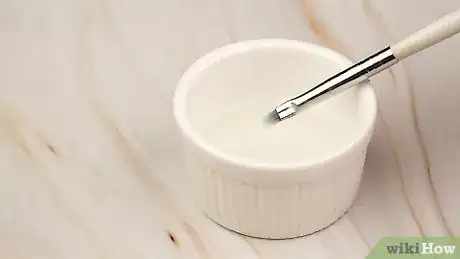
2Pour nail polish remover into a small dish. You can use an acetone-based nail polish remover, or another type of remover. Acetone-based ones might damage your brush, so be careful when using them.[1]
- If you don't have any nail polish remover handy, you can use rubbing alcohol instead.[2]
Advertisement -
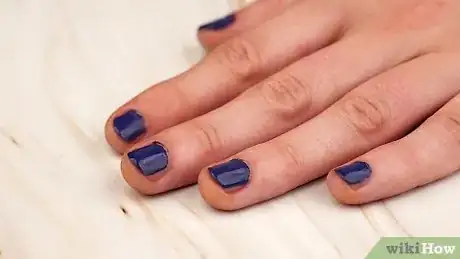
3Paint your nails. Choose your desired color. Paint with your basecoat and color. Use as many coats of your colored polish as you need to get the desired color.
-
4Cover your brush. Dip the tip of your brush into the polish remover. You only want to dip the tip because the remover will damage the glue and metal crimp over time. Get rid of excess remover by sweeping the bristles of your brush over the rim of the bottle.[3]
- If you don’t wipe the excess remover off of your brush, you’ll end up taking your manicure off along with the polish around your nails.
-
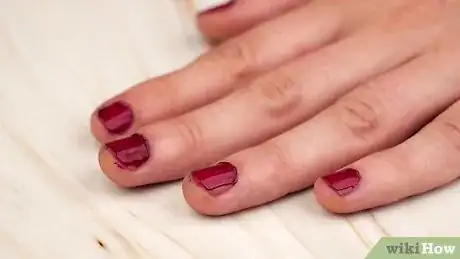
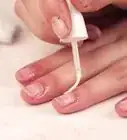
5Outline your nails. Carefully trace the outside of your nails with the brush. Be very careful not to run the brush over your nail, because it will ruin your manicure. Once you’ve done this for every nail, touch up any polish on your nails that you need to. Let dry and apply your top coat.[4]
-
6Finish your manicure. Once the top coat has dried, you can take a paper towel that you’ve dampened with warm water and folded. Use the folded corner to wipe around the nails to take off any remaining nail polish remover. Don’t forget to wash your brushes to have them ready for next time!
Using Warm Water
-
1Apply your nail polish. Using the nail polish of your choice, apply your basecoat, color, and topcoat. Two layers of your color typically works best. Check the bottle to see how many coats are recommended.
-
2Allow your nails to completely dry. You must let them completely dry before trying to remove any nail polish that happened to get onto your fingers. If you don’t you’ll smudge the color on your nails.
-
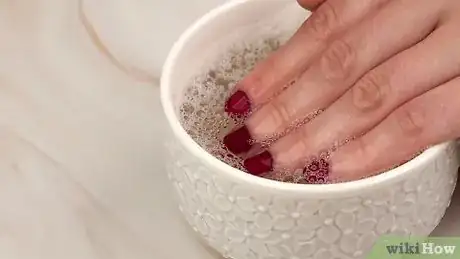
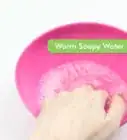
3Soak your hands. Fill a sink with warm, soapy water. Use a moisturizing soap for an added bonus for your hands. Once you’ve let your nails completely dry, dip your fingers into the sink. Let your nails soak for 2-3 minutes. Feel free to swish them around or simply leave them still.
- If you polish is water based, letting them soak for 5 or more minutes will peel the color off of your nails.
- If you don’t have time to soak your nails, this can easily be done in your shower.
-
4Gently rub around your nails. Use a facecloth or your other hand to gently scrub the polish off of your skin. If it’s not coming off easily, try soaking your fingers for another minute and try again. Once you’ve successfully removed all of the polish from around your nails, dry your hands properly. Add another layer of top coat for some extra shine if desired.
Using Elmer’s Glue
-
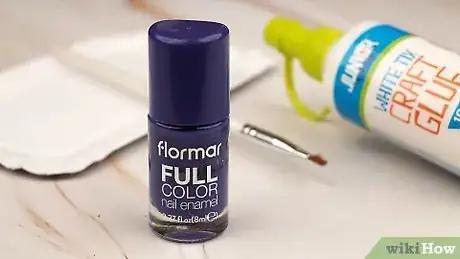
1Gather your materials. Elmer’s glue works best, but any white “school” glue will do. Along with your glue, you’ll need a paintbrush and the nail polish of your choice. Also, you want a small paper plate or something else to pour your glue onto.[5]
-
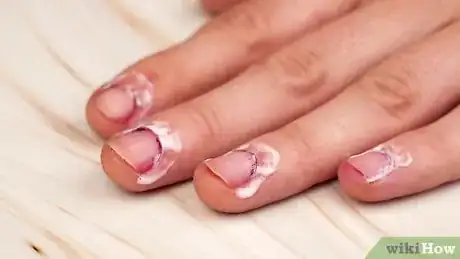
2Paint the glue around your nails. Pour some glue onto your dish and dip your brush in it. Generously apply the glue around your nails, getting as close to the nail as possible. Paint the glue around the bottom, sides, and top of your nail. If you do happen to get it on your nails, simply use a paper towel to wipe it away before it dries.
- Go as wide as you deem necessary. If you’re typically a very messy painter, make a wide ring around your nail with glue.
-
3Let the glue dry. Examine your nails to make sure there isn’t any glue on your nails. If you’re sure there isn’t, give the glue 10-20 minutes to dry. When it has dried completely, you’ll see no more white around your nails because the glue turns clear when it dries.
-
4Paint your nails. Be as messy as you wish around your nails. Don’t be afraid to get as close to the edge of your nails as possible; focus on painting your entire nail. The paint around your nails will land on the glue, which is exactly what you want.[6]
- Don’t purposely make more of a mess than you normally would; you’ll just end up wasting nail polish.
-
5Let your nails dry. Give your nails sufficient time to dry. This takes anywhere from 2-15 minutes, depending on the polish that you chose. It is very important that you let your nails completely dry.
-
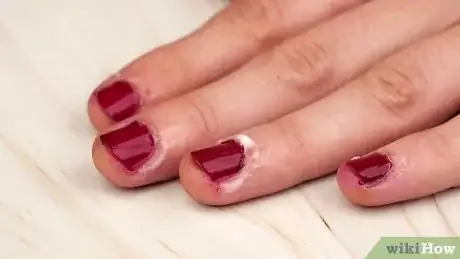
6Peel away the glue. Carefully begin peeling the glue off of your fingers. Do so slowly to be sure that you don’t pull off any polish from your nails along with the glue. Take notes on anywhere you could’ve been more careful with your glue so that you can focus on that area next time.[7]
Expert Q&A
Did you know you can get expert answers for this article?
Unlock expert answers by supporting wikiHow
-
QuestionHow do you paint your nails neatly?
 Kristin PulaskiKristin Pulaski is a Professional Nail Artist and the Founder of Paintbucket, a self-owned and operated nail salon based in Williamsburg, Brooklyn. She has over five years of experience running Paintbucket and is licensed as a nail technician. Paintbucket offers nail art manicures, pedicures, and soft gel extensions along with customized packages for wedding and bridal parties. She holds a BA in Managerial Science from Manhattan College.
Salon Owner & Nail Specialist
-
QuestionCan I use liquid latex?
 Community AnswerYes. Liquid latex is what professionals use and you can find it sold by the bottle specifically for nail art.
 -
QuestionCan I use non-white glue?
 Community AnswerYes.
References
- ↑ Kristin Pulaski. Salon Owner & Nail Specialist. Expert Interview. 19 May 2020.
- ↑ Kristin Pulaski. Salon Owner & Nail Specialist. Expert Interview. 19 May 2020.
- ↑ Kristin Pulaski. Salon Owner & Nail Specialist. Expert Interview. 19 May 2020.
- ↑ Kristin Pulaski. Salon Owner & Nail Specialist. Expert Interview. 19 May 2020.
- ↑ http://www.cosmopolitan.com/style-beauty/beauty/advice/a6317/nail-art-hacks/
- ↑ http://www.xovain.com/nails/elmers-glue-nail-polish-trick
- ↑ http://www.xovain.com/nails/elmers-glue-nail-polish-trick
- Videos provided by Meliney
About This Article
You can easily remove nail polish from around your nails by getting it off while it’s wet or soaking your nails in warm water to remove the excess polish. While you’re painting your nails, keep a small dish of nail polish remover and a clean eyeshadow brush or nail polish brush nearby. If you get any nail polish on the skin around your nails, quickly dip the brush in the polish remover and trace the outside edges of your nails with your brush to remove it while it’s still wet. If your nail polish has already dried, soak your hands in a sink of warm, soapy water for 2-3 minutes. Then, use a cloth to gently scrub the polish from the skin around your nails. To learn how to use Elmer’s glue to remove nail polish, keep reading!
