This article was co-authored by Stephanie Anders. Stephanie Anders is the Owner and Head Piercer at Royal Heritage Tattoo and Piercing, a tattoo and piercing studio located in Los Angeles, California. Stephanie has over 10 years of piercing experience and her client list includes such stars as Jennifer Aniston, Jessica Alba, Cameron Diaz, Nicole Richie, Gwyneth Paltrow, and Sharon Osbourne.
This article has been viewed 407,717 times.
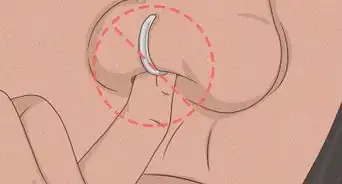
Make sure to take care when placing a nose ring back onto your nose. Clean your hands thoroughly before touching your jewelry, clean your jewelry with the proper solution, and keep your jewellery properly maintained to avoid irritation or infection. Generally, nose rings can be put back in the same way but corkscrew nose rings are the most complicated.
Steps
Inserting a Corkscrew Nose Ring
-
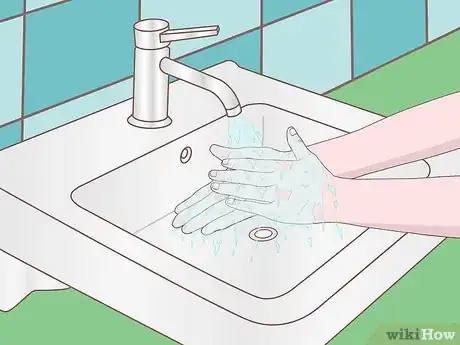
1Wash your hands and nose. A corkscrew nose ring is more complicated to insert compared to the other nose rings but still requires similar procedures. Use antibacterial soap to clean and disinfect both the area and your hands before handling the jewellery and the piercing. Make sure to wash thoroughly with warm water.[1]
-
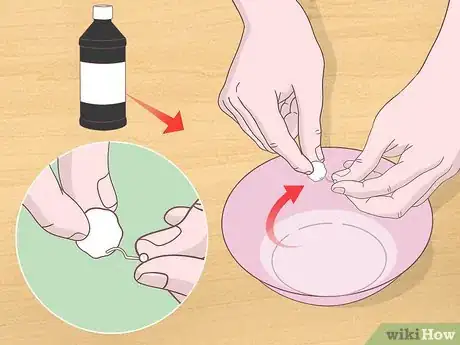
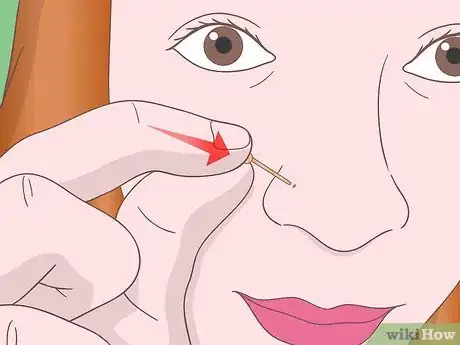
2Clean and disinfect your nose ring. Use a cotton ball soaked with hydrogen peroxide or rubbing alcohol to clean your jewellery thoroughly. Use antibiotic ointments like Neosporin to disinfect the corkscrew metal wire part of your nose ring or the part that will be placed inside your nose.[2]
- Make sure that the upper part of the corkscrew, the part that will show, does not touch the ointment. This part needs to be clean and dry to ensure a tight grip.
- A corkscrew nose ring is made of a metal wire that is twisted into an odd shape, unlike normal nose studs or rings. The combination of straight and circular wire needs specific care to insert it without getting hurt.
Advertisement -
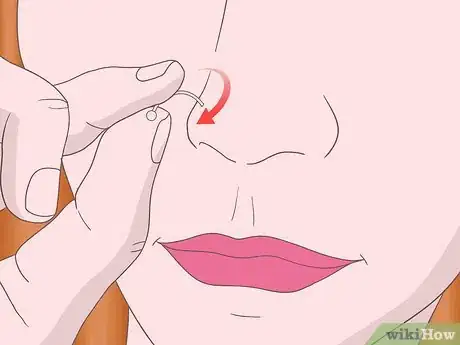
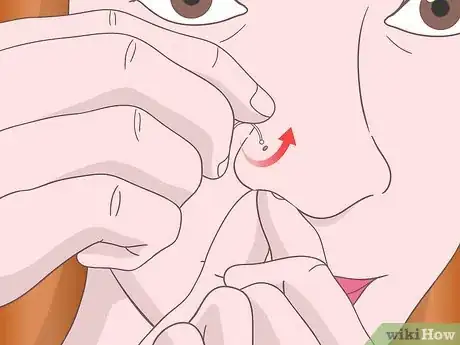
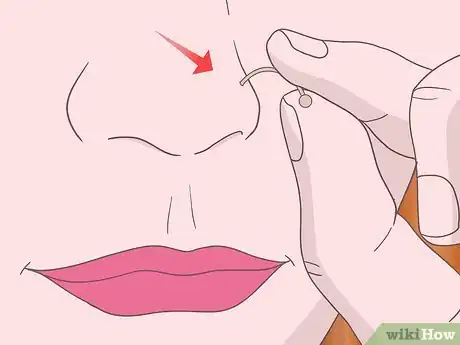
3Insert the end of your jewelry. In a clockwise motion, twist your ring into your piercing hole gently. Continue twisting until the entire metal part is inserted into your piercing. Push inward as you tilt the ring slightly upward. Keep slowly twisting it clockwise until the metal part is over.[3]
- Try twisting counter clockwise if clockwise doesn’t work.
-
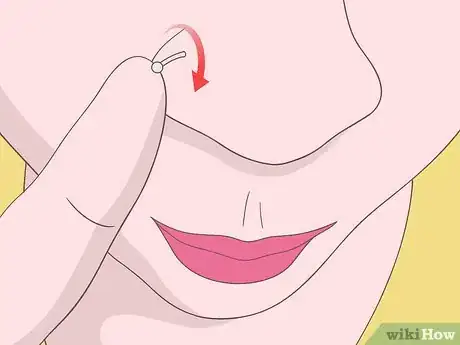
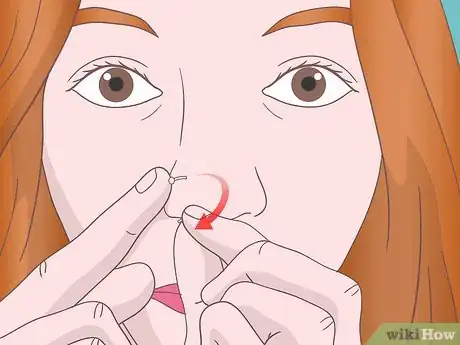
4Twist in the remainder of your nose ring. Twist in the remainder of the straight wire that follows the corkscrew shape. If there is bleeding when inserting the corkscrew, stop and clean your piercing. Use hydrogen peroxide or rubbing alcohol.[4]
- Wait a minimum of two months before changing a nose ring if your piercing is new. You must wait until your piercing completely heals before changing jewellery.
- Contact a healthcare professional if there is excessive bleeding or painful irritation.
Inserting a General Nose Piercing
-
1Insert a straight post nose. Point the straight end downward and insert it into the nose ring piercing hole. You may leave the backing off or tighten it at the point of inserting.
- For aesthetic reasons, many people do not keep the backing on.
-
2Twist a nose ring with a ball. A ball creates more stability but may cause some pain if the hole of your nose piercing isn’t big enough to accommodate the ball. Start by putting the ball through your nose ring piercing. Gently twist it into the hold while using the finger of your other hand to support it and guide it through.
- Use lubricant if you find it difficult to place the ball through your piercing hole but don’t apply too much force or you may open a larger wound.
-
3Twist a screw hook nose ring. First insert the pointed end through your piercing hole but twist down gently as you insert it until it is through completely. It may take time to get use to but this is the most secure piercing.
Caring for a Nose Piercing
-
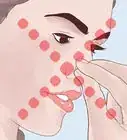
1Remember that a piercing is a wound. Your nose piercing will need time to heal like any wound. There will be some initial swelling that should disappear within a few days with the proper care. Pain may be minimal depending on your pain threshold but consult a healthcare professional if it is unbearable.
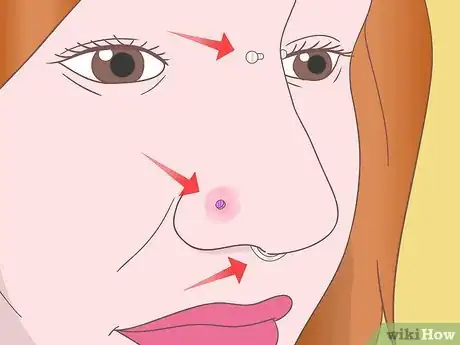
- There are several nose piercing types including nostril piercings, bridge piercings, and septum piercings but the guidelines for cleaning your piercings are the same.
-
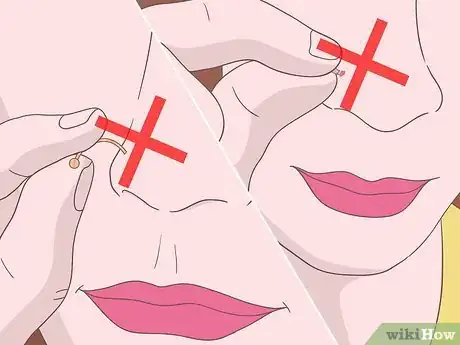
2Don’t touch a fresh nose piercing. If you must touch your nose piercing, wash your hands thoroughly. Make sure to keep your hands and the area of the piercing clean before moving your stud, barbell, or nose ring. Do not let anyone touch your piercing especially if they haven’t cleaned their hands thoroughly.
-
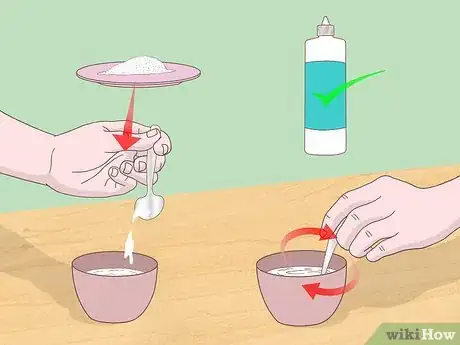
3Clean your piercing with a saline solution.[5] Remember to clean your piercing two to three times every day. Purchase a saline cleaning solution at your local drugstore or create one by diluting four teaspoons of non-iodized sea salt into a gallon of boiling water. Use the liquid cleaning solution once it has cooled.
-
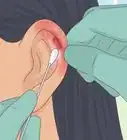
4Use fresh cotton swabs to clean your piercing. Avoid cross contamination by using fresh cotton swabs for the outside and inside of your piercing. Wipe off excess moisture from a fresh nose piercing with a new dry cotton swab.
-
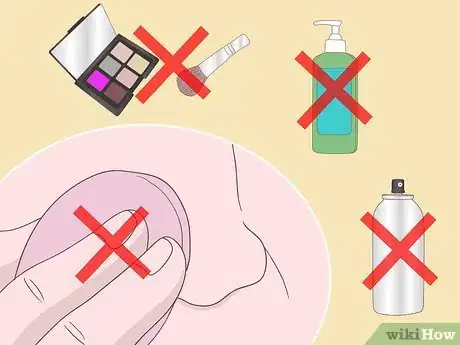
5Do not apply makeup onto a fresh nose piercing. Carefully apply makeup to your fresh so as not to get anything on your fresh piercing. Bridge and nostril piercing are especially easy to cover in makeup if in a hurry. try not to apply any concealer or any other makeup that may irritate or infect the wound.
- Septum piercings are less likely to get covered in makeup but still take care not to apply anything that may infect the area.
-
6Let the piercing heal. Don’t insert a nose ring if your piercing has not healed yet. There is fresh skin in your nose that is very tender and damages very easily. Wait until the skin in your nose is not red, swollen, or tender.
- It may take about four to six weeks for a nostril piercing to heal, one to three months for a septum piercing to heal, and up to a year for a bridge piercing to heal.
-
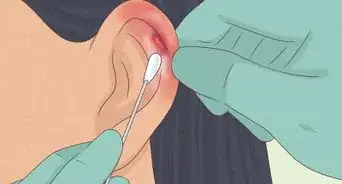
7Contact a healthcare professional if there is any discharge. Go back to the studio that did your piercing and contact a healthcare professional if you experience any discharge or feel severe pain or discomfort. If your piercing is oozing yellow or green substances, or is extremely swollen, it may be infected.
- There should be minimal redness with only a small amount of discharge for a nose piercing that will come from inside your nose. Commonly knocking or tearing a nose ring or taking it out before you have fully healed results in a delayed healing process. Usually a small lump will result because of this and is called a granuloma.
- Use a hot compress twice a day to heal granulomas. Soak a paper towel with hot water and apply it to your wound. Make sure that it is not hot enough to burn you and don’t apply too much pressure so that you break the wound. Leave the compress on until the heat is gone. Continue to apply a hot compress until the granuloma is gone.
Caring for Jewellery
-
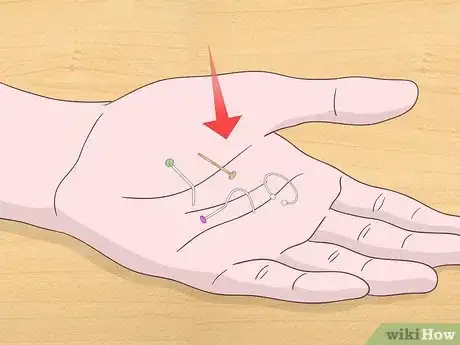
1Experiment with your jewelry. Depending on the shape of your face and the look you are trying to achieve, there are many types of jewelry that may be suited to you. Nostril screws stay in better than other forms of jewelry but they can take practice to insert.
- Consult your piercer if you are having problems inserting new jewelry.
-
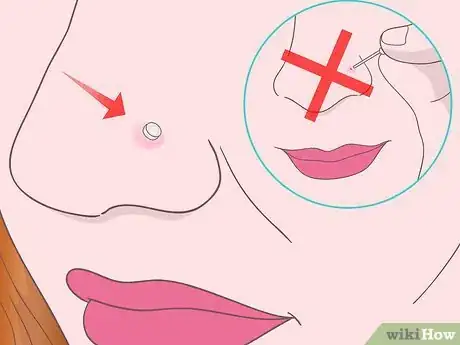
2Be mindful of your jewelry choices. You get what you pay for so cheaper pieces may cause irritation to your skin or infect your wound. Cheap jewelry made of nickel and lead can cause irritation or lead to reactions that can become infections.
- At your point of purchase, make sure you know what your jewelry is made of and whether or not it will cause a reaction to your skin before proceeding with a transaction.
-
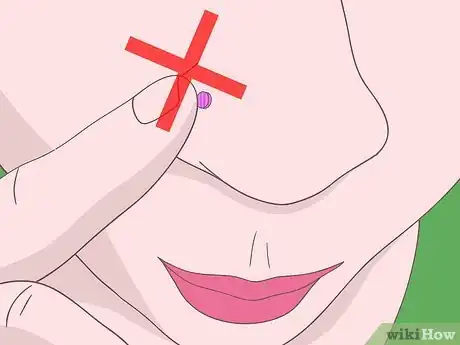
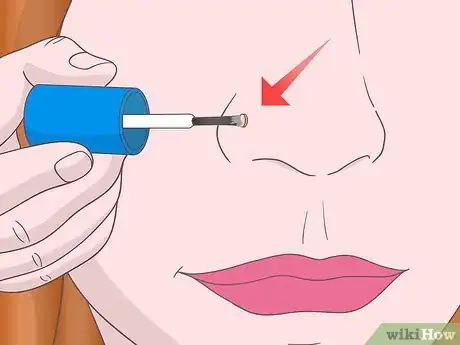
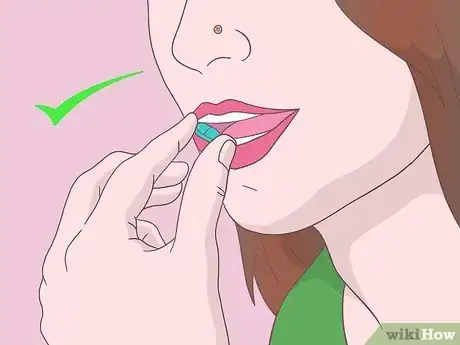
3Paint clear nail polish over jewelry. Prevent nose studs and other jewelry from coming out by painting clear nail polish over it. Don’t let any polish come into contact with your piercing as it may irritate or infect your wound. Only paint the top surface of your jewelry.
-
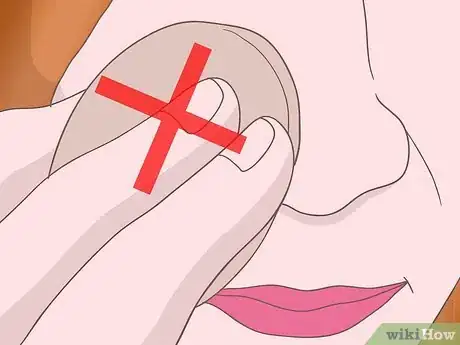
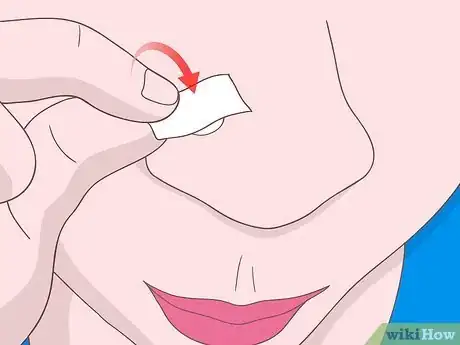
4Use tape over your piercing when playing sports. Place a pad over your nose stud and then cover it with a tape so that it doesn’t get ripped off when playing sports. The pad will prevent the adhesive from damaging your jewelry when removing your tape.
- Taking your jewelry in and out too many times can lead to infection and delay healing so tape may be the better option if you are very active.
-
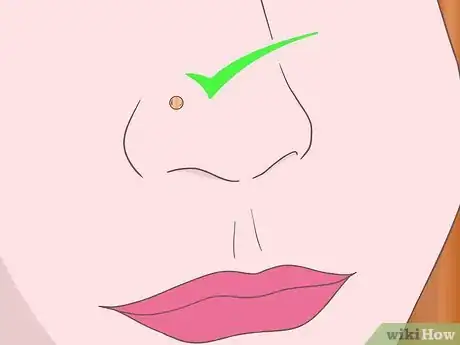
5Use an invisible stud to hide a piercing. If you are attending a professional function that doesn’t allow piercings or simply don’t want to draw attention to it, use an invisible stud. These are regular studs that are painted flesh colour.
- You may create your own by using nail polish. You may look online or consult a piercing studio for other options.
Avoiding Infection
-
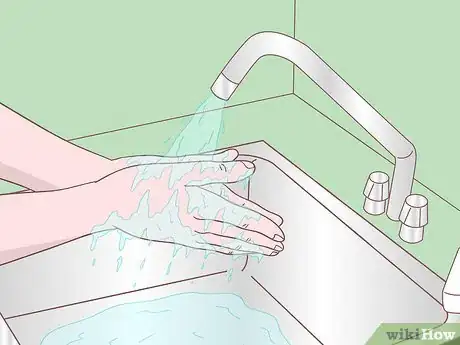
1Clean your hands.[6] Use germicidal soap to wash your hands before touching your piercing. Only touch your piercing when you have cleaned your hands thoroughly. Don’t use speciality soaps with unknown chemicals.
-
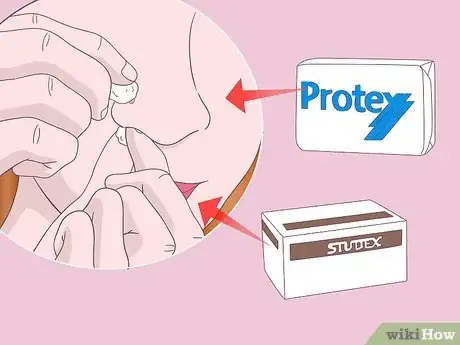
2Clean the piercing with correct solutions. Use Protex soap or Studex to clean the piercing. Use Studex twice a day, in the morning and at night, with a cotton ball to clean the surface of your skin and inside your nose.
- Don’t use mentholated spirits, alcohol swabs, peroxide, or alcohol-based cleaners to clean the piercing.
-
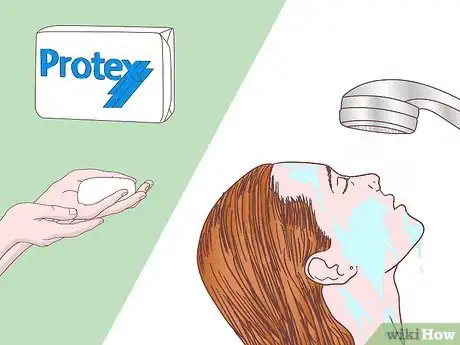
3Clean the piercing every day in the shower. Make sure to rinse off all the soap and shampoo that comes in contact with your piercing. Use Protex soap to clean your piercing. Do not apply force to the piercing.
-
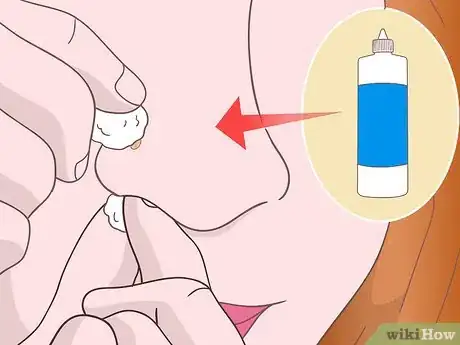
4Remove crusting. Use a cotton ball or tissue soaked in a saline solution once a day. Remove your nose jewelry and place the cotton ball on the piercing for about four minutes. Create the saline solution by dissolving a quarter teaspoon of salt in a cup of warm water.
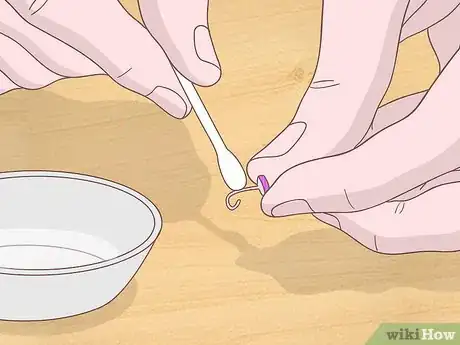
- Remove crusting from the inside of a stud or ring with the same process. Use cotton bud soaked in a saline solution and clean the stud or ring. Be gentle to avoid damaging or losing the stud. Remove crusting from the ring before replacing it back into the piercing or it may cause the hole to become inflamed.
-
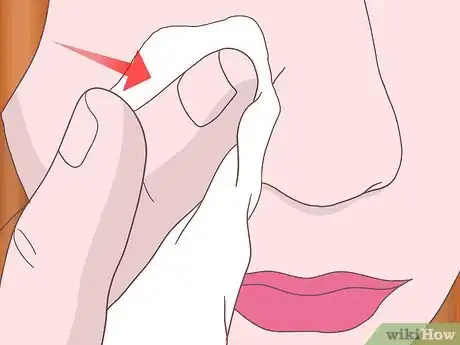
5Pat your piercing dry. Do not rub your piercing or it may push dirt into the wound. Carefully use a paper towel, toilet paper, or clean tissue to pat your piercing dry. Make sure that whatever you use it is clean.
- Don’t use a dry towel to dry your piercing as they harbour bacteria. Also, rubbing your face with a towel may dislodge your jewelry.
-
6Use B-vitamins and zinc. These supplements promote healing and will help with general health. You want to ensure a healthy immune system to fight any infection and encourage the healthy process.
-
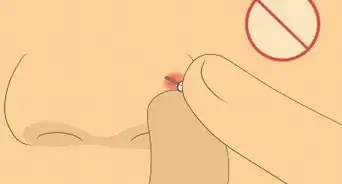
7Avoid picking at scabs and removing jewelry too early. Pulling scabs can form lumps and cause infections If you remove jewellery before your piercing has had a chance to heal, your healing process will be delayed and it may also cause lumps to form.
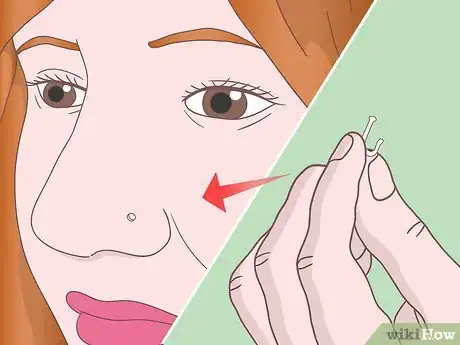
- Don’t remove jewellery for over 10 minutes in the first six months of your piercing, otherwise it may close up. Your hole may close up in less than 10 minutes within the first three to six months of having it done. If your jewellery comes out and you can’t find it, place an earring or something sterile in its place until you can get a new piece of jewelry.
- Carry a spare nose stud in your wallet in case your jewelry gets knocked loose or falls out.
-
8Avoid make-up, lotion, hairspray, or cleanser. Cover your piercing with your hand if you are applying hair spray. Do not apply sun tan lotion, moisturizing lotion, cleanser, or make-up directly onto your piercing.
-
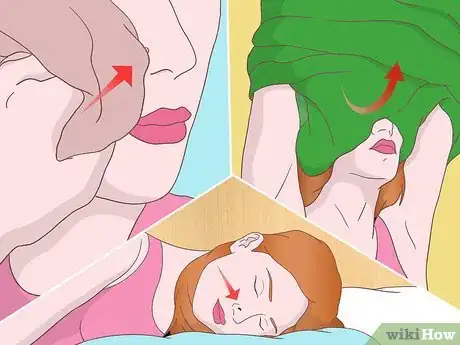
9Take care when removing clothes. If you are pulling a sweater or top over your head, be careful not to knock off or pull on your jewellery. If you are using a towel to dry your face, avoid putting any pressure on your piercing.
- Tape your jewellery before bed but be sure to place a pad between the jewellery and tape so that it doesn’t get damage. You don’t want to dislodge your jewelry while asleep.
-
10Use PTFE or bioflex if you must remove your jewellery. If you are asked to remove your jewelry for an xray, surgery, or professional reasons, use PTFE or bioflex with plastic balls to keep your piercing open. They are safe to scan and can be purchased at your piercing studio.
Community Q&A
-
QuestionI found a nosering on the internet which is made of surgical steel, is this good or not?
 C12H22O11 HIGHCommunity AnswerYes, surgical steel is designed to not harbor bacteria. It's the same material scalpels and other surgical equipment is made from.
Warnings
- A piercing hole can close within 10 minutes in the first six months of a new piercing.⧼thumbs_response⧽
- Avoid using cheap jewellery that may irritate or infect your skin.⧼thumbs_response⧽
- Fresh piercings can easily become infected without proper care.⧼thumbs_response⧽
References
- ↑ http://bodypiercing.ygoy.com/2010/10/10/how-to-put-in-a-corkscrew-nose-ring/
- ↑ http://bodypiercing.ygoy.com/2010/10/10/how-to-put-in-a-corkscrew-nose-ring/
- ↑ http://bodypiercing.ygoy.com/2010/10/10/how-to-put-in-a-corkscrew-nose-ring/
- ↑ http://bodypiercing.ygoy.com/2010/10/10/how-to-put-in-a-corkscrew-nose-ring/
- ↑ Stephanie Anders. Piercing Specialist. Expert Interview. 4 December 2019.
- ↑ Stephanie Anders. Piercing Specialist. Expert Interview. 4 December 2019.
