X
wikiHow is a “wiki,” similar to Wikipedia, which means that many of our articles are co-written by multiple authors. To create this article, 34 people, some anonymous, worked to edit and improve it over time.
This article has been viewed 265,879 times.
Learn more...
Though CPR (cardiopulmonary resuscitation) should be administered by individuals trained at a certified first aid course, ordinary bystanders can also make a significant difference in the survival of children undergoing cardiac arrest. Follow these steps, updated to reflect 2010 American Health Association guidelines, to learn how to perform CPR on children. For children older than age 1, follow child CPR protocol and for adults, follow adult protocol.
Steps
Method 1
Method 1 of 2:
Assessing the Situation
-
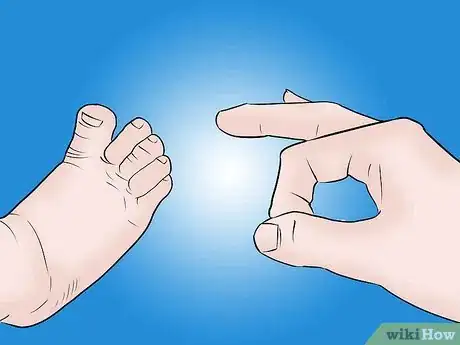
1Check if the baby is conscious. It's best to flick your fingers against the feet. If the baby doesn't respond, ask someone to call for emergency help while you go on to the next step. If you are alone with the baby, follow the steps below for 2 minutes (to provide immediate first aid) before calling emergency services.[1]
-
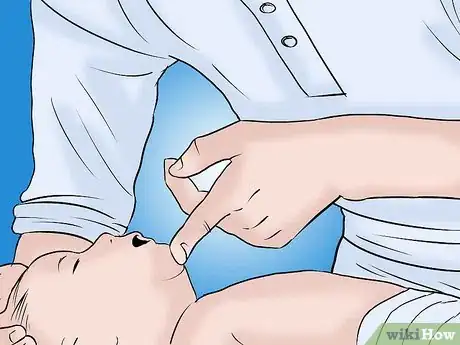
2If the baby is conscious but choking, administer first aid before attempting CPR. Whether the baby is breathing should determine your course of action:
- If the baby is coughing or gagging while choking, let her continue to cough and gag on her own. Coughing and gagging — a good sign — means that her airways are only partially blocked.[2]
- If the baby is not coughing then you'll need to be prepared to perform back blows and chest thrusts to dislodge whatever is blocking her airways.
Advertisement -
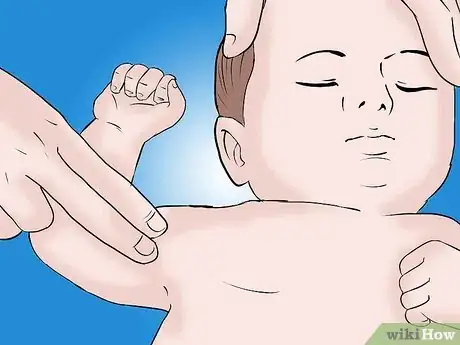
3Check the baby's pulse. Check for breathing again, and this time place your index and middle fingers on the inside of the baby's arm, between the elbow and the shoulder.
- If the baby has a pulse and is breathing, put the body in the recovery position. See How to Put Someone in Recovery Position for more detailed information.
- If there is no pulse and no breathing, continue with the next steps to perform CPR, which is a combination of compressions and breaths.
Advertisement
Method 2
Method 2 of 2:
Performing CPR
-
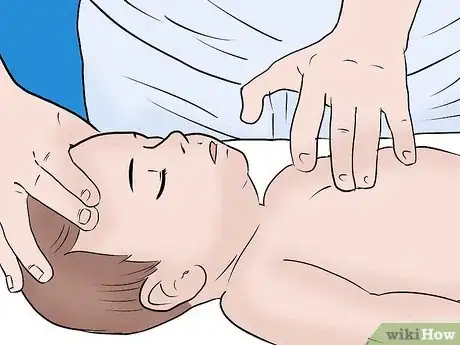
1Open the airway. Gently lift the baby's head back and chin up to open the child's airway. The airway is small, so this won't be a drastic movement. Again, check for breathing during this time, but for no longer than 10 seconds.
-
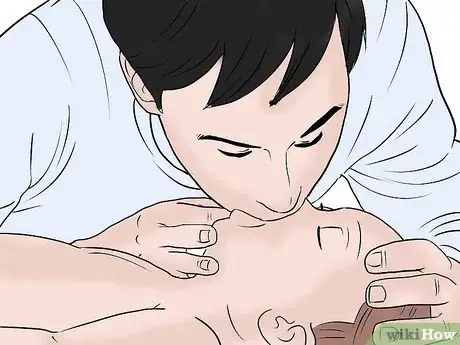
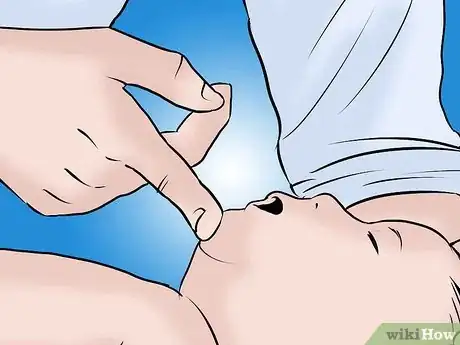
2Give the baby two rescue breaths. If you have one, put a face shield on the baby to prevent the exchange of bodily fluids. Pinch the nose shut, tilt the head back, push up the chin, and give two breaths, each lasting about one second. Exhale gently until the chest rises; exhaling too forcefully can cause injury.[3]
- Remember to pause in between breaths to let the air out.
- If you feel that the breaths did not go in (the chest doesn't rise at all) the airway is obstructed, and the child may be choking. See this article for more information on helping an infant that is choking.
-
3Check for the brachial pulse after doing the first two rescue breaths. If there is no pulse, begin CPR on the baby.
-
4Compress the chest 30 times with several fingers. Take two or three fingers held together and place them in the middle of the baby's chest right below the nipples. Gently, fluidly compress the baby's chest 30 times.
- If you need to brace your fingers because they are getting tired, use your second hand to help assist the process. Otherwise, keep your second hand cradling the baby's head.
- Try to perform your chest compressions at a rate of about 100 compressions per minute.[4] That may seem like a lot, but it's actually only a little over one chest compression a second. Still, try to maintain a fluid push and release when performing compressions.
- Press down 1/3 to 1/2 the depth of the baby's chest. This usually works out to about 1 and 1/2 inches.[5]
-
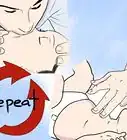
5Perform the same series of two rescue breaths and 30 chest compressions until you are relieved or see signs of life. At the right speed, you should do about five sets of rescue breaths and compressions within approximately two minutes. Once you start CPR, don't stop unless:
- You see signs of life (baby moves, coughs, breathes noticeably, or vocalizes). Vomiting is not a sign of life.
- Another trained person takes over
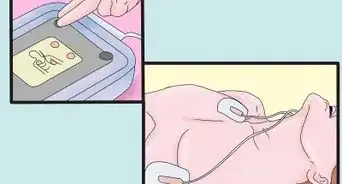
- A defibrillator is ready to be used
- The scene becomes suddenly unsafe
-
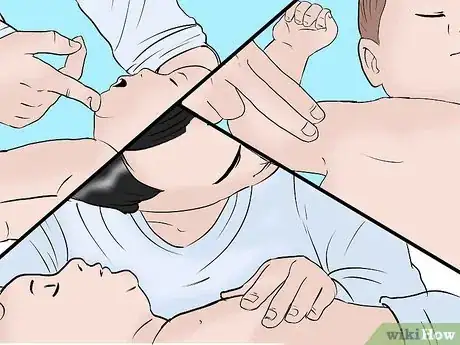
6To remember the stages of CPR, remember "ABC." Keep this useful mnemonic handy to remember the process of delivering CPR.
- A is for airway. Open or check that the airway is open.
- B is for breathing. Pinch the nose, tilt the head back, and give two rescue breaths.
- C is for circulation. Check if the baby has a pulse. If not, perform 30 chest compressions.
Advertisement
Warnings
- Do not press too hard on its chest - you might damage its internal organs.⧼thumbs_response⧽
- Breathe only deep enough to obtain chest rise - otherwise you may puncture a baby's lungs.⧼thumbs_response⧽
Advertisement
References
- ↑ http://www.babycenter.com/0_infant-first-aid-for-choking-and-cpr-an-illustrated-guide_9298.bc
- ↑ http://www.babycenter.com/0_infant-first-aid-for-choking-and-cpr-an-illustrated-guide_9298.bc
- ↑ http://www.babycenter.com/0_infant-first-aid-for-choking-and-cpr-an-illustrated-guide_9298.bc?page=2
- ↑ http://www.mayoclinic.com/health/first-aid-cpr/FA00061
- ↑ http://www.mayoclinic.com/health/first-aid-cpr/FA00061
About This Article
Advertisement
