This article was co-authored by Ikaika Cox. Ikaika Cox is the Shop Director at the Salt Lake City branch Bicycle Collective in Salt Lake City, Utah. He has been a bike mechanic since 2012, beginning as a volunteer with the Provo Bicycle Collective, and growing and honing his skills as a bicycle mechanic and educator in multiple Bicycle Collective locations over the years. He now leads the Salt Lake City branch of the Bicycle Collective.
There are 8 references cited in this article, which can be found at the bottom of the page.
This article has been viewed 243,598 times.
Picture this: you're seven miles into a 15-mile bike trek through the wilderness when you hit an old, rusty nail and blow your front tire. What do you do — walk all the way back to the start of the trail and head home or fix your puncture and finish like a champion? If you know how to identify and patch holes in your bike's inner tube and you take the precaution of carrying a simple patch kit with you any time you take a serious bike trip, you have the luxury of being able to make this choice (rather than having it made for you).
Steps
Finding the Puncture
-
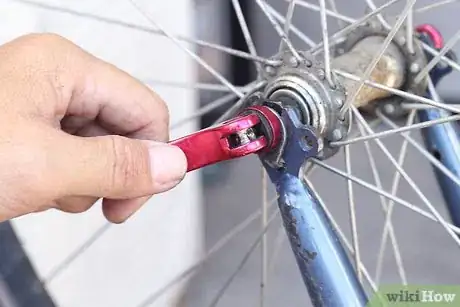
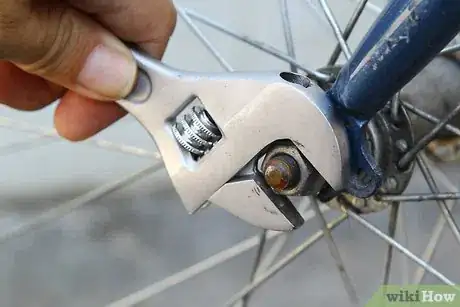
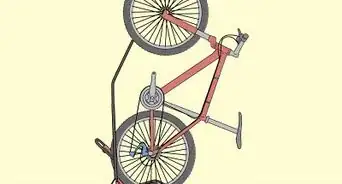
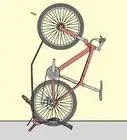
1Remove the wheel from the bike. The first thing you should do for any flat is to remove the affected wheel. Check the side of the wheel at the center of the spokes. If you have a quick release (which looks like a small lever), flip it over and spin it counterclockwise to loosen. If, on the other hand, you see a nut, you will need a wrench to loosen it. After this, disconnect the brakes, move the brake pads out of the way, and remove the wheel.
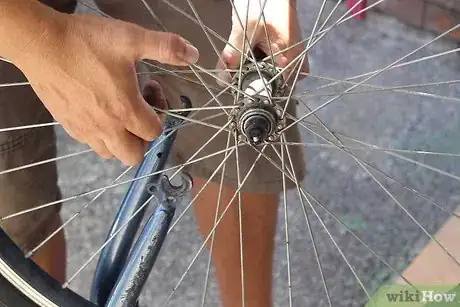
- If you're dealing with the rear flat, you'll also have the chain and gears to deal with. Put slack in the chain by shifting into the smallest set of gears. Loosen the quick release or unscrew the nut holding the wheel in place as normal. If necessary, use your hands to pull back on the rear derailleur (the "arm" that the chain passes through containing the small pulleys) and/or maneuver the chain out of the way as you remove the wheel.
-
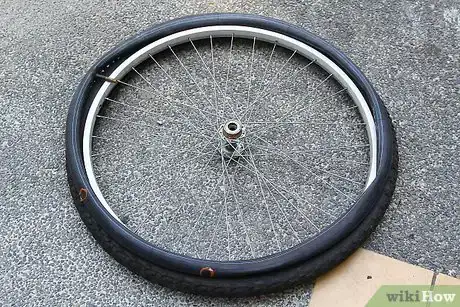
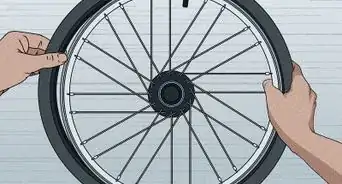
2Use tire levers to remove the tire. When you've successfully removed the flat wheel, take the outer tire off. To do this, it can be helpful to use a sturdy, non-metal prying tool. Bike shops sell small, specially-designed tools called tire levers for this purpose. Whether you use a tire lever or another tool, be careful not to pinch the tube and cause further damage as you work the tire away from the wheel. You can leave one lip of the tire over the wheel rim when you're done to make re-installation easier.[1]
- Avoid using screwdrivers and butter knives to remove a tire. These are likely to damage the rim and may even puncture the tire.
Advertisement -
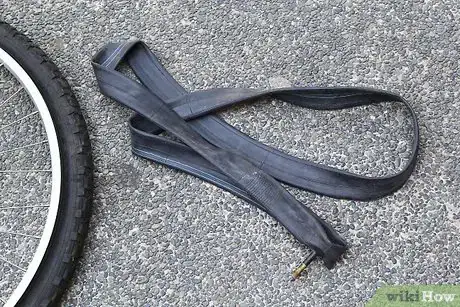
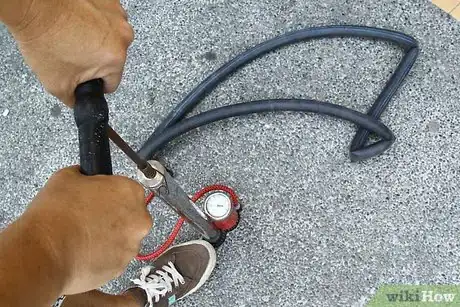
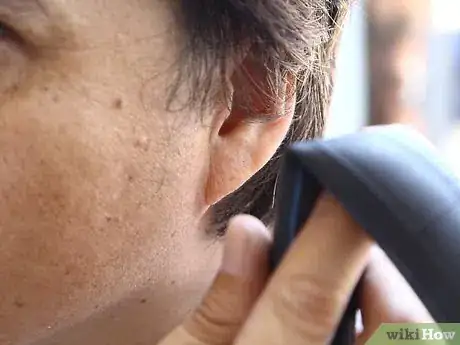
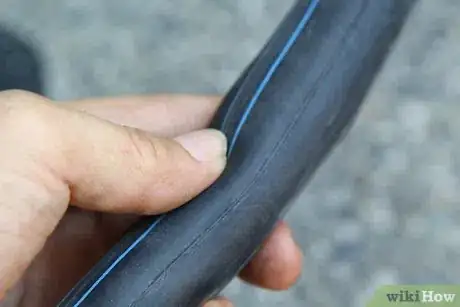
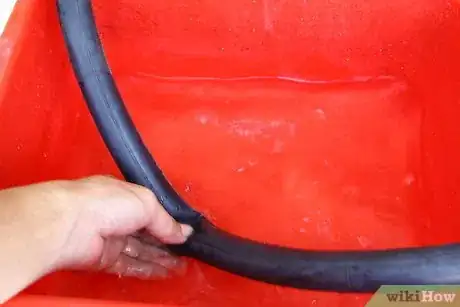
3Locate the hole that's causing the leak. When the tire has been removed, pull the flat tube out from the tire and pinpoint the site of the puncture. This can be done in several ways — a few are listed below:[2]
- Inflating the tube 3 to 4 times its normal size and visually checking the surface of the rubber for holes
- Listening for any hissing noises
- Feeling for streams of air
- Plunging the tube in a container of water and looking for bubbles
-
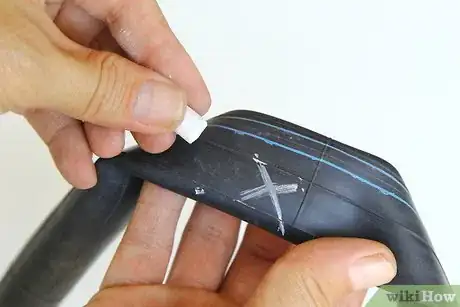
4Mark the hole in the tube. Flat-causing tire punctures can be surprisingly small. Once you've found one, you don't want to lose it! Use a piece of chalk to make a "+" or "x" that intersects at the point of the puncture. If you're using a glue-on patch, make your mark large so that you can still see it after you've smeared on the glue.
- If you don't have chalk in your patch kit, a ballpoint pen or any other sort of writing utensil will do. However, chalk or a silver sharpie is preferable because it's easier to see on black rubber than blue or black pen.
Patching the Hole
-
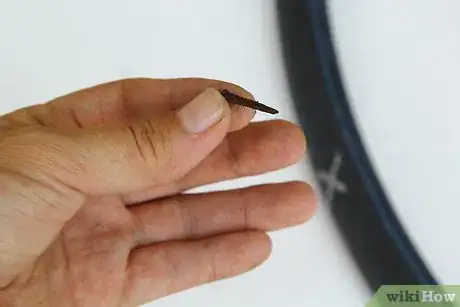
1Remove any foreign objects from the hole. Once you find the hole, carefully check to see if it was caused by a foreign object (like, for instance, a piece of broken glass, a sharp rock, etc.) or if it was a pinch flat (which will cause a puncture that looks like a snake bite but won't leave any foreign objects).[3] Carefully check the inside rim of the tire for any protruding foreign objects and remove them if you find them. You don't want the same object that caused the flat in the first place to re-puncture your tire because you didn't see it.
-
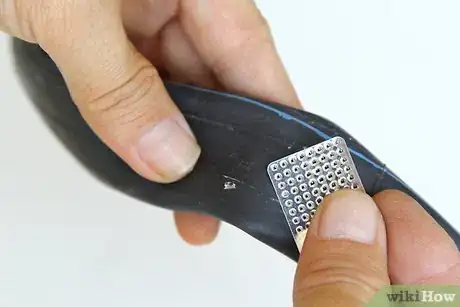
2Sand around the hole if necessary. Different types of patches work in different ways — some require glue, while others do not, and some require sanding, while others can stick to the smooth rubber of the inner tube with no trouble. Consult the directions included with your patch kit. If you're directed to sand, use a small square of sandpaper to rough up the area around the hole about as wide as the patch to be used. Making the rubber a little less smooth can improve the sticking power of certain types of adhesives.
- If you're unsure about whether or not to sand, lightly sanding is unlikely to hurt most patches' ability to stick to the tube, so you may want to sand just in case.
-
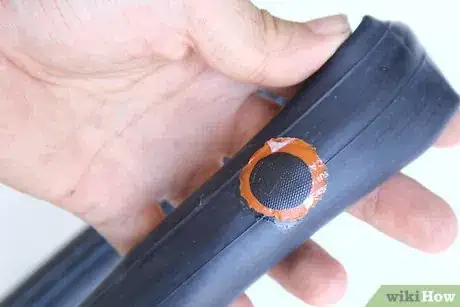
3Apply the patch. Next, stick your patch over the puncture hole according to any included directions. Some patches require glue, while others can stick to the tire on their own — while the latter are more convenient, they can sometimes be less reliable. General directions for both types of patches are below. If the directions included with your patch differ from these, follow your instructions, rather than these directions.
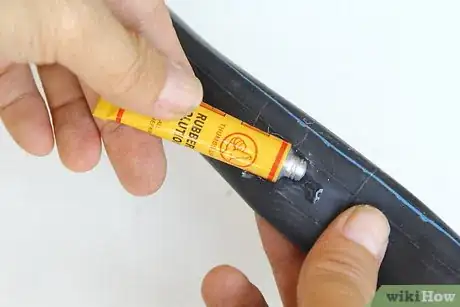
- Glue patches: Apply the glue or rubber cement to the tube around the puncture hole, wait for the glue to set (many glues must dry until they are no longer tacky — consult any included directions for more information). Finally, place the patch on the mostly-dry glue and hold firmly in place for a few minutes until it has sealed the leak. It may take about 24 hours to for the glue to dry completely, but it may be dry enough to use the bike in about 5 minutes.
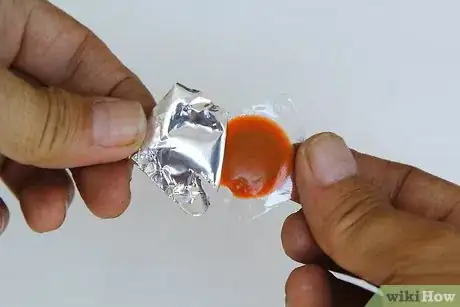
- Non-glue patches (sometimes called "self-adhesive" patches): Simply remove the patch from its wrapper and lay the patch over the sanded puncture like a sticker. Press down firmly to secure and, if necessary, wait until dry before riding. Keep in mind that these patches might not work as well as the glue type.
-
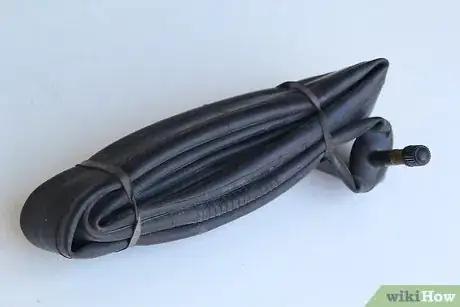
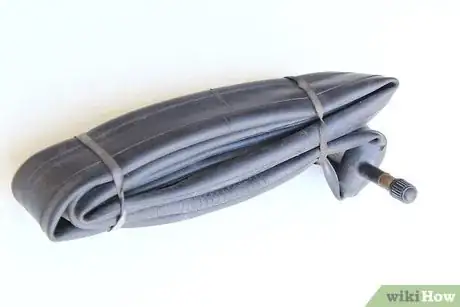
4Know when replacing the tube is a smarter choice. In situations where you have a severely damaged tube, you may want to avoid wasting your patch by opting to simply replace the entire tube instead. Tubes that have serious damage may not stay inflated long enough with the patch to make using it worth it, making full-on replacement a better choice.[4] Luckily, if you can get your hands on a new tube, the process of replacing the old one isn't hard. Below are certain types of tube damage which may signal that it's better to forego a patch:
- Multiple holes, especially along the rim, such as snakebite holes
- Large tears (if the hole is 1⁄4 in (0.64 cm) or larger it cannot be patched)
- Air leaking even after patch is applied, such as from a valve stem (valve stems cannot be patched, so this would require a new tube)
Putting the Wheel Back Together
-
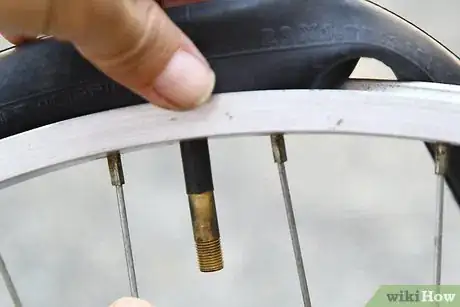
1Replace the tube in the tire. After your patch has had an opportunity to set, carefully feel around the inside of the tire for any protruding foreign objects, such as metal wire, which may have caused the puncture. Take your repaired tube and carefully lay it in the hollow inside portion of the tire. This is usually easiest if you inflate the tube slightly and slide one side in first, then work the rest in as necessary. When you're done, double-check to make sure none of the tube is hanging out of the tire.
- Make sure the inflation valve is pointing inward (away from the tire) when you lay the tube in the tire so that you can eventually inflate the tube.
-
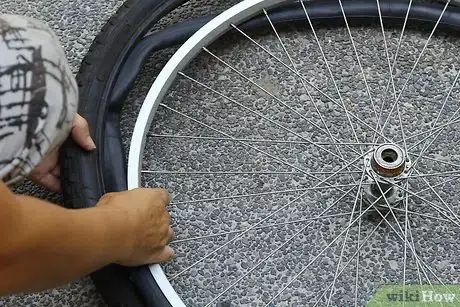
2Work the tire and tube back onto the wheel. Next, use your thumbs to slide the tire (which contains the partly-inflated tube) back onto the wheel. Press the outer lips of the tire over the metal lip of the wheel so that they "lock" securely in place, being careful not to pinch the tube between the tire and the rim. You may need to use your tire lever or prying tool to help you with the very last part of the tire, which can often be tricky to get over the lip of the wheel.
- Note that some high-end bike tires are meant to only turn in one direction. In this case, the intended direction of rotation will usually be indicated by small arrows on the walls of the tires. Don't install the tire backwards! This can reduce the bike's performance and cause the tire to wear improperly.
- Don’t forget to take the valve lid off when replacing the tube in the wheel. The lidless inflation valve should slide through a circle-shaped hole in the wheel so that it can be easily accessed for pumping.
-
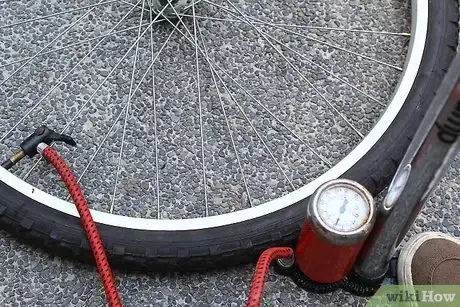
3Inspect the bead and pump up the tube gradually to let the tube and tire settle. Make sure the tube is not sticking out between the tire and the rim before you start to pump, or the tube might explode. Next, grab an automatic or hand-operated pump and start putting some air in your tire. Go gradually to allow the tube to shift and settle within the tire as it expands. When fully-inflated, give the tire a squeeze, let the bike sit for a few minutes, then squeeze the tire again. If it feels about as firm the second time as it did the first time, you're ready to ride!
- If you're worried about the tube settling improperly within the tube, feel free to inflate it before re-installing the tire on the wheel. Note, however, that this can make the tire trickier to get back on.
-
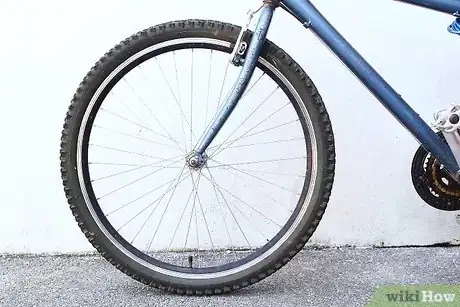
4Replace the wheel on the bike. You're nearly done — all you've got to do now is slide the wheel back on the bike, secure the quick release or screw on the wheel nut, re-connect the brakes, and you're good to go (unless you've been working with your rear wheel, in which case you'll also need to carefully loop the chain around the gears again). Peddle cautiously until you feel confident that the patch won't immediately burst, then resume riding as you normally would!
-
5Consider buying a new tube when you can. Inner tube patches, while handy, aren't necessarily meant to last you forever. These patches are great for getting you out of the woods when your tire blows and you have no replacement, but they don't offer a good long-term solution for a punctured inner tube. While good-quality patches can approach the reliability of a brand-new inner tube, others can leak for a time immediately after patching or may offer only temporary protection.[5] There's no substitute for an actual replacement, so you may want to at least shop for a new inner tube when you get the chance so that you can have one handy if you suffer another flat in the near future.
Expert Q&A
Did you know you can get expert answers for this article?
Unlock expert answers by supporting wikiHow
-
QuestionWhich side of a Supercycle tube patch is up?
 Ikaika CoxIkaika Cox is the Shop Director at the Salt Lake City branch Bicycle Collective in Salt Lake City, Utah. He has been a bike mechanic since 2012, beginning as a volunteer with the Provo Bicycle Collective, and growing and honing his skills as a bicycle mechanic and educator in multiple Bicycle Collective locations over the years. He now leads the Salt Lake City branch of the Bicycle Collective.
Bicycle Mechanic
-
QuestionCan I use Tippex (the white correction fluid for paper) instead of chalk or a sticker?
 Ikaika CoxIkaika Cox is the Shop Director at the Salt Lake City branch Bicycle Collective in Salt Lake City, Utah. He has been a bike mechanic since 2012, beginning as a volunteer with the Provo Bicycle Collective, and growing and honing his skills as a bicycle mechanic and educator in multiple Bicycle Collective locations over the years. He now leads the Salt Lake City branch of the Bicycle Collective.
Bicycle Mechanic
-
QuestionCan there ever be a problem with the valve or valve stem? My new tube went flat fast.
 Community AnswerYes, the valve or valve stem could have a problem. You also might have bad tires in need of replacement.
Warnings
- Whatever pierced your tube was probably sharp. In case it's still in the tire, use caution when feeling around for it.⧼thumbs_response⧽
Things You'll Need
- A patch kit
- A pump
- Wrench or quick release wheels
- Tire levers
References
- ↑ https://www.youtube.com/watch?v=T0F_hibWHlU&feature=youtu.be&t=22
- ↑ https://www.youtube.com/watch?v=T0F_hibWHlU&feature=youtu.be&t=70
- ↑ http://sheldonbrown.com/flats.html
- ↑ https://www.youtube.com/watch?v=T0F_hibWHlU&feature=youtu.be&t=35
- ↑ http://sheldonbrown.com/brandt/patching.html
- http://sheldonbrown.com/flats.html
- http://www.rei.com/learn/expert-advice/flat-tire.html
- http://sheldonbrown.com/brandt/patching.html
About This Article
Before you patch a bicycle tube, you'll want to remove the tube from the tire and locate the puncture, which you can do by inflating the tube and checking for holes. Once you've found a hole, mark it so it's easy to locate. Next, apply glue around the hole, let it nearly dry, and press the patch into place. Alternatively, you can simply lay the patch over the hole if it's a non-glue patch. After the patch has set, feed the tube back into the tire and put the tire back on the wheel. For tips on when you should replace the tube and how to remove a wheel from the bike, read on!
