wikiHow is a “wiki,” similar to Wikipedia, which means that many of our articles are co-written by multiple authors. To create this article, 31 people, some anonymous, worked to edit and improve it over time.
This article has been viewed 465,993 times.
Learn more...
Vaporizers are used in place of traditional smoking devices to inhale the natural vapors of your smokables, rather than scorching them and breathing in smoke loaded with carcinogens. Supposedly more "healthy," vaporizers are understandably expensive and often out of reach to the average smoker. Fortunately, you can learn how to make your own out of common household supplies after the jump.
Things You Should Know
- Line the insides of two paper towel tubes with aluminium foil, use foil to secure the funnel on one end of the tube, cinch a bag around the funnel, hold it in place with twist ties, put the paper towel tube over a face-up heat gun, and you're all set.
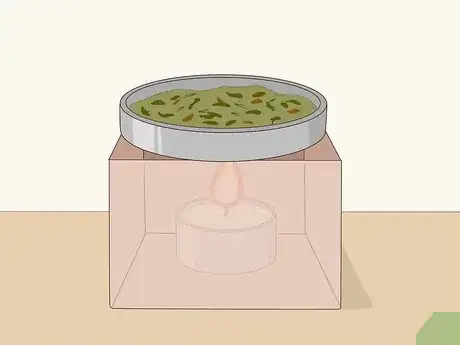
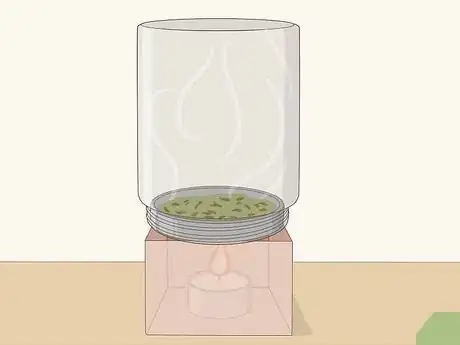
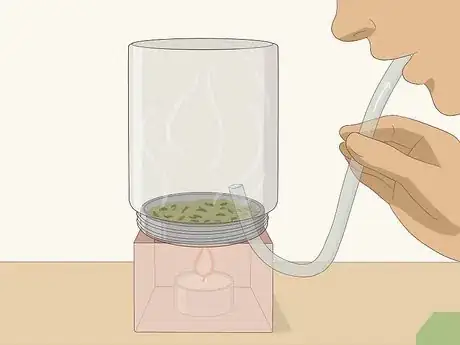
- Light a candle placed inside of a box, rest a tray on top of the box and over the candle, place a glass over the tin, and snake your tube into the glass.
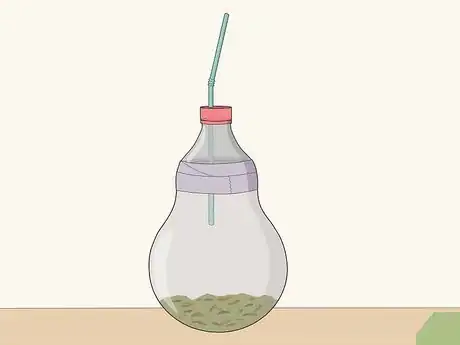
- Cut two holes in a bottle cap, push a straw through one hole, cut the top off of a bottle, very carefully cut the bottom off of a lightbulb, attach the bulb and the bottle's neck with tape, screw on your bottle cap, and breathe through the straw.
Steps
Using a Heatgun
-
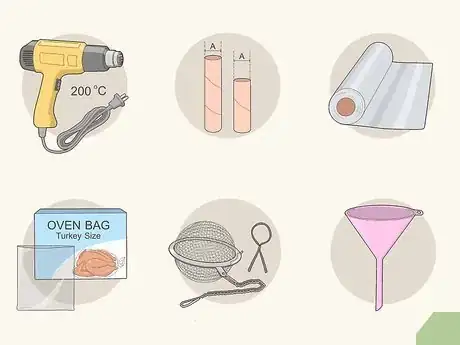
1Collect your supplies. While you may have to buy a heat gun to complete this method, it's still more cost effective than buying a $100-$200 vaporizer. A heat gun like this costs around $40 and the rest of the supplies you probably have around your house, or can get at the grocery store for less than 5 bucks. For this method, you'll need:
- a heat gun that heats to at least 200 degrees C
- paper towel and toilet paper tubes of the same diameter
- aluminum foil
- an oven bag, also known as a turkey bag
- a tea ball
- twist ties
- a funnel or coffee percolator small enough to nest in the paper towel tube
-
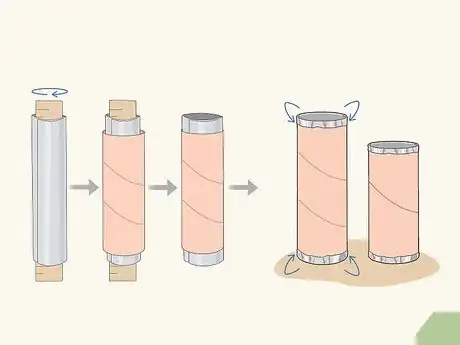
2Line the inside of both tubes with aluminum foil. It might help to roll the foil around a pen or a ruler, insert it into the tube, and then unroll the foil when it's on the inside. Leave enough of a lip on the foil (about an inch or so) to wrap around the outside edge of the tube and secure it.
- Opinions vary among smokers regarding whether or not heated aluminum foil is actually safe, or whether it gives off harmful vapors of its own. Some studies suggest that aluminum poisoning contributes to Alzheimer's disease, though this method typically won't scorch and melt any aluminum. If you want to vaporize for health reasons, keep this in mind.
-
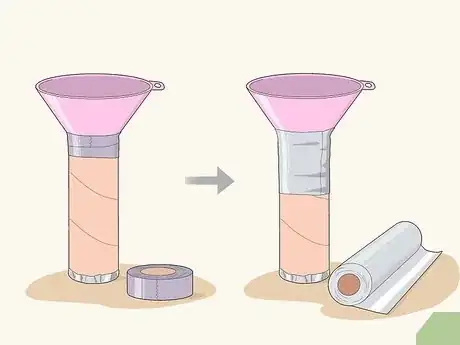
3Using foil, secure the funnel to one end of the paper towel tube. You'll want the funnel to point outward. To make sure it creates a tight seal, you might consider using some duct tape or glue before securing it with foil.
-
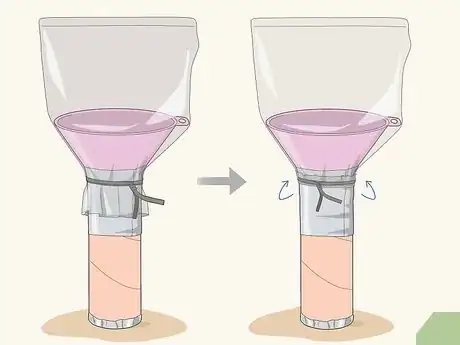
4Cinch the bag around the funnel nozzle and set it with twist ties. Fix the open mouth of the oven bag over the nozzle and wrap some twist ties around it securely. Then, fold the edges of the bag up over the ties and secure them again with another tie. Here, you're just creating a folded edge to make sure the bag nestles snugly against the nozzle.
- The bag will collect the vapor as you heat it. You can pass the bag around, so it might also be smart to have something to plug the hole in the bag with. Or you can just use your thumb.
-
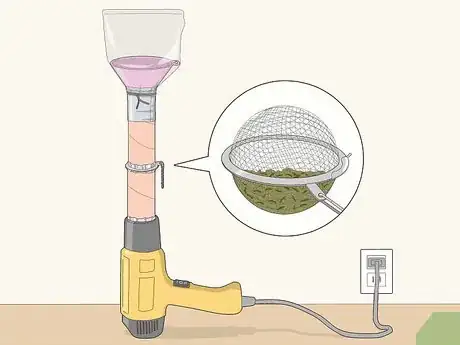
5Assemble the vaporizer. Now you've got a bunch of strange-looking devices covered with tinfoil, but it'll come together very easily. Aiming the heat gun straight up in the air, put the toilet paper tube over the heat nozzle. Put what you want to smoke into the tea ball and rest it on the top of that tube.[1]
- Next, fix the other paper towel tube over that, with the percolator or funnel pointing up. You might fit them together with some extra foil to make sure they fit together snugly. Fix the bag on top of the funnel, and you're ready to go.
-
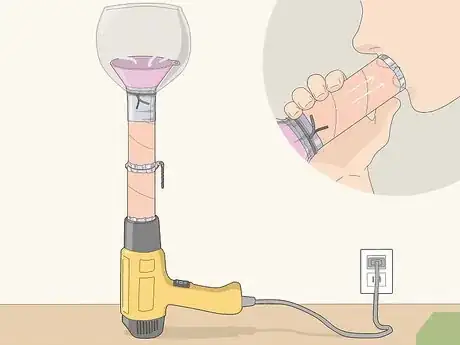
6Get vaporizing. Switch the heat gun on and watch the bag slowly inflate with vapor. It may be somewhat difficult to see, but you can trust that it'll be there. When the bag fully inflates, switch off the heatgun and inhale any vapor remaining in the long tube (there may be a considerable amount--don't waste it). Take turns inhaling the vapor from the oven bag.
Making a Box Vaporizer
-
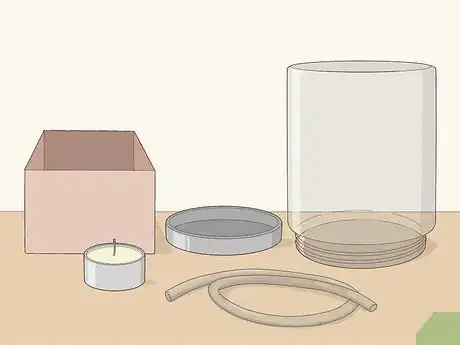
1Collect your supplies. This is the easiest and most primitive method, requiring the fewest and most common supplies. You'll need:[2]
- a small box
- a small tea candle that fits inside the box
- a small metal tray that can rest on top of the box, possibly the lid from a candle or the top to a tin of hand cream
- a glass big enough to cover the metal tray
- a small rubber tube or bendy straw
-
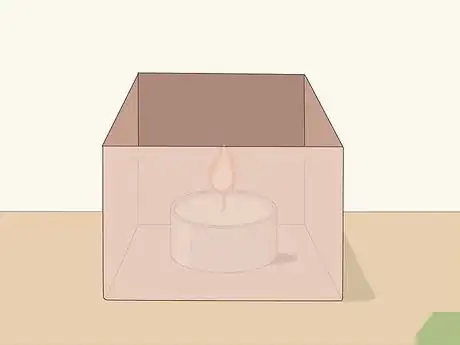
2Light the candle and place it inside the box. Light it. Make sure it's spaced in the middle of the box to avoid catching anything on fire.
- Basically, you're going to heat what you're planning on smoking on the tray with the candle and use the glass to collect the vapor, which you'll inhale through the tube. It's a simple method.
-
3Place the tray on top of the flame, resting on the edges of the box. It helps to have the flame low enough so that it won't scorch the tin too badly. Put whatever you plan on smoking on top of the tin lid.
-
4Put the glass over the tin. Find a good-sized glass big enough to fit over your tin and small enough to rest on the edges of your box. Wait for the glass to fill with vapor.
-
5Snake your tube up into the glass and inhale. When you see the glass begin to fill with vapor, you can start inhaling through the rubber tube. When you're finished, you can take this apart easily and no one will know the difference.
Using a Lightbulb
-
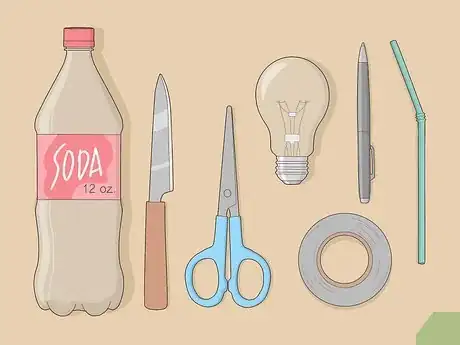
1Collect your supplies. For this method, you'll need:[3]
- a lightbulb
- a plastic straw
- a plastic soda bottle, 12 oz
- a knife or scissors
- a pen
- some tape or glue
-
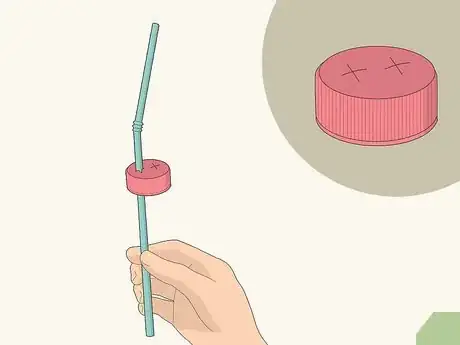
2Put two holes into the bottle cap, and put the straw through one of them. Think of them less as "holes" and more as slits big enough to push the straw through. You need to make sure the hole will be air-tight. If it´s not, roll some tape around the sides of the straw. Leave the other hole open.
-
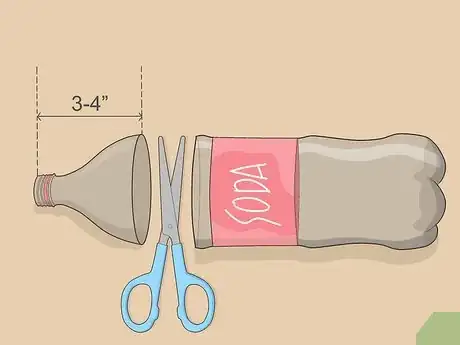
3Cut off the neck off the bottle using your scissors. Leave yourself at least 3 or 4 inches (7.6 or 10.2 cm) of the neck of the bottle. You'll use this to attach to the light bulb, which will act as the vaporization chamber.
- If you're concerned about BPA-related issues with smoking out of plastic, you can substitute any type of non-plastic tube into the bulb that fits. The stem of a small metal flashlight might work nicely.
-
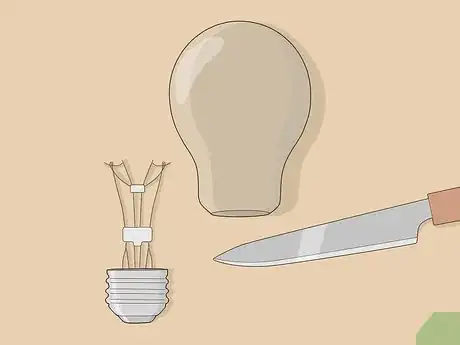
4Remove the bottom of the lightbulb. You'll need a sharp knife to carefully work around the "screw-in" end of the light bulb. Usually the groove used to screw in the bulb is a good place to cut. Be very careful.[4]
- When you've removed the end, you might need to pull the rest of the metal off using pliers. It's soft metal and should tear easily. When you've removed the metal, extract the filament and interior components of the lightbulb, leaving you with an empty glass chamber.
-
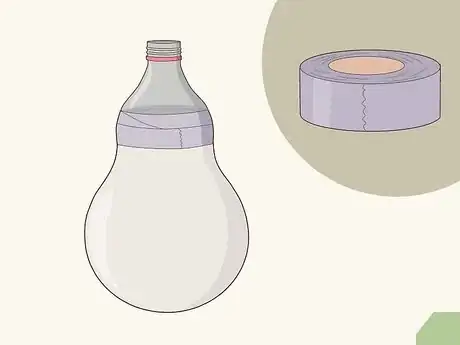
5Tape or glue the bottle neck to the hole in the bulb. A typical soda bottle and a regular household lightbulb should have roughly the same size of stem, so it should fit almost perfectly. Using plenty of duct or masking tape, fix them together so that they create an airtight seal.
-
6Screw the cap on the bottle end. After you've put whatever you plan on smoking into the lightbulb, screw your cap on. Feel around to make sure all the contact points are well sealed. Add some tape or a dab of glue if necessary.
-
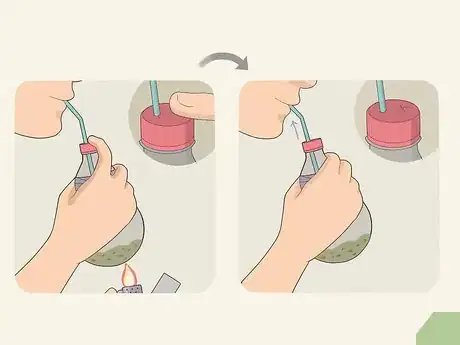
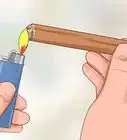
7Smoke. To smoke, cover the empty hole in the cap with one finger and suck through the straw as you gently heat the lightbulb with a torch lighter, rotating it to avoid scorching.
- When the heat starts to release the vapors, you'll see not smoke exactly, but a kind of misty haze start to form in the bulb. Uncover the hole on the cap with your finger and breathe in through the straw.
- Opinions vary about whether or not heating lightbulbs in this way is safe. Some bulbs have plastic liners the vapors of which would be dangerous to breathe, more dangerous than the carcinogens related to smoking plant matter. If you're going to use a lightbulb, make sure it's clean, clear glass, and change it out regularly.
Warnings
- If you want to vaporize for specific health reasons, it's safer to purchase a vaporizer. Cheap glass pipes that operate under the same principle are available for around $40.⧼thumbs_response⧽
- Vaporizers are only called "healthy" because they heat to a temperature at which the active ingredients steam off without combusting the actual organic material, which means there is no "smoke" and carcinogens related to smoke. This is very difficult to control with a candle or a lighter, and you may be abandoning the supposed health benefits with any of these techniques.[5]⧼thumbs_response⧽
Things You'll Need
- Plastic Bottle neck (with cap)
- Clear regular light bulb
- Tape
- Straw
- Lighter, torch lighters work better
References
- ↑ http://beyondchronic.com/tag/how-to-make-homemade-vaporizer-for-weed/
- ↑ https://www.marijuanabreak.com/the-complete-guide-to-making-a-homemade-marijuana-vaporizer
- ↑ https://forum.grasscity.com/threads/jman1050-saying-hi-how-to-light-bulb-vaporizer-very-easy-and-quick.209869/
- ↑ http://pharamceuticals.wonderhowto.com/how-to/make-homemade-vaporizer-with-light-bulb-198380/
- ↑ https://www.webmd.com/smoking-cessation/features/vape-debate-electronic-cigarettes#1
About This Article
To make a vaporizer from household supplies, you’ll need a small box, a tea candle, a small metal tray, a glass, and a bendy straw. Start by lighting the candle. Then, place it in the middle of the box so it doesn’t catch on fire. Rest your metal tray on top of the box and put your smoking material on it. Cover your tray with an upside-down glass to collect the smoke from your material. Once the glass has filled with smoke, put the small end of your straw between the glass and tray and inhale through the other end. For more tips, including how to make a vaporizer using a heatgun, read on!
