This article was co-authored by wikiHow Staff. Our trained team of editors and researchers validate articles for accuracy and comprehensiveness. wikiHow's Content Management Team carefully monitors the work from our editorial staff to ensure that each article is backed by trusted research and meets our high quality standards.
This article has been viewed 100,642 times.
Learn more...
Tennis ball mortars – homemade cannons that can launch tennis balls dozens of feet in the air – are fun, inexpensive, and easy to make. These mortars propel tennis balls when gas inside expands rapidly, making them not only entertaining but also educational as well. Best of all, the main ingredients are empty aluminum potato chip cans. So get snacking in order to build your very own tennis ball mortar.
Steps
Building the Mortar
-
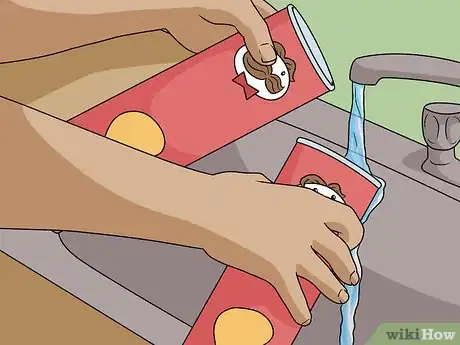
1Empty 3 aluminum cans and clean them out thoroughly. Use cans that are 10.5 in (27 cm) tall with a 3 in (7.6 cm) radius. These cans will serve as the blast tube for the tennis ball mortars. Dump any potato chip crumbs into the trash, wash each can out thoroughly with dishwashing liquid and water, then dry each can thoroughly.[1]
- Excess fluid or debris can impair the appropriate functioning of the blast tube, so make sure to clean and dry each can completely.
-
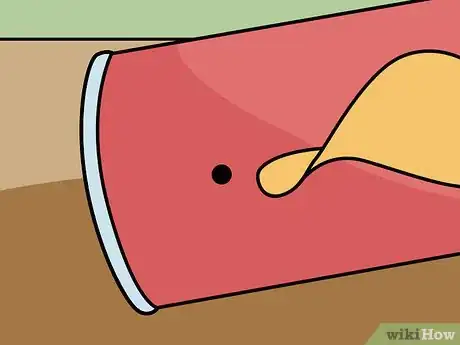
2Drill a 0.25 in (0.64 cm) hole near the bottom of 1 can. This hole is known as the firing hole and is what you will use to light the mortar. Wear safety goggles and gloves before using an electric drill. Puncture the can approximately 1.2 in (30 mm) from the bottom of 1 side of 1 can. Use sandpaper to sand down any rough edges around the opening of the hole.[2]
- You may also be able to puncture the can with scissors or tin snips and make a hole approximately this size. But for best results, use a drill.
Advertisement -
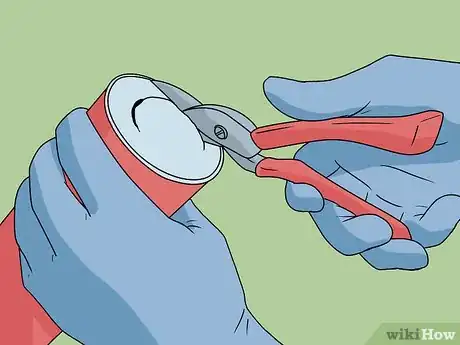
3Cut 1.55 in (3.9 cm) holes in the bottom center of the other 2 cans. Puncture the center of the bottom of 1 can with a pair of tin snips. Make an incision 0.775 in (1.97 cm), then turn the scissors 90 degrees and cut a circle out of the bottom of the can with a diameter of 1.55 in (3.9 cm). Repeat this step for the other can.[3]
- These holes you cut are also known as baffles.
- Keep gloves on your hands to minimize the risk of injury when cutting the holes.
-
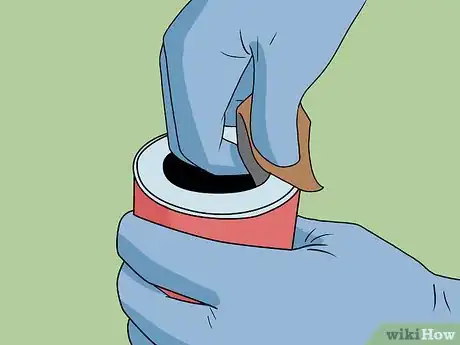
4Sand the newly cut baffles so they are nice and round. Place a piece of sandpaper on the edge of a baffle, then sand its edges using a circular motion. Sand until there are no jagged or upturned edges around the perimeter of the baffle. Repeat this step with the other can.[4]
- The smoother and rounder the baffles are, the further the ball will fly!
-
5Stack all 3 cans on top of each other, then duct tape them together. Place the can with the firing hole on it at the bottom on a table right-side-up. Then place 1 of the other 2 cans on the top of this can right side up. Position the baffle of the second can so it's over the top of the first can. Peel a piece of duct tape, approximately 3.5 in (8.9 cm) long, off a roll and wrap it around the top rim of the bottom can and the bottom rim of the top can to secure them together.
- Peel off at least 2 other pieces of tape at least 3.5 in (8.9 cm) long, and wrap them along the first to secure the 2 cans tightly together.
- Stack the third can on top of the other 2 so the baffle of the third can is facing the top of the second can. Then secure it to the top of the third with at least 3 strips of duct tape.
-
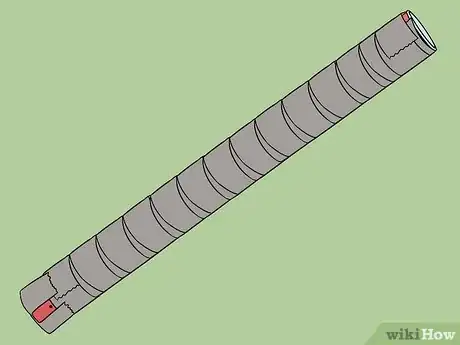
6Wrap all 3 cans entirely in duct tape, except the firing hole. Completely cover the uncovered surfaces in at least 3 layers of duct tape, making sure to keep the firing hole completely uncovered. Cover the bottom of the mortar with 3 layers of duct tape as well, not just the sides.
- The more secure the cans are, the more reuse you'll get out of your mortar.
-
7Encase the cans in 3 in (7.6 cm) PVC tubing. Take a piece of PVC tubing 12.6 in (32 cm) long and 3 in (7.6 cm) in diameter, and mark an X approximately 1.2 in (30 mm) from the bottom of 1 side of the tubing with a marker. Drill a 5mm hole in the tube where the X is. Then encase the cans in the tubing so that the hole you just drilled is aligned with the hole you drilled earlier in the bottom can.[5]
- The PVC tube will help you from the possibility of the cans blowing out from the force of the compressed gasses.
Firing the Mortar
-
1Take the mortar to a large, open outdoor area. Use a backyard or other area of private property where you can be reasonably sure that people will not accidentally enter your field of fire unexpectedly. Also, make sure to practice firing your tennis ball mortar during moderate or warm weather conditions, as snow or rain can reduce its effectiveness.
- If it is cold outside, heat up the tube by placing in a warm room for about 2 minutes.
-
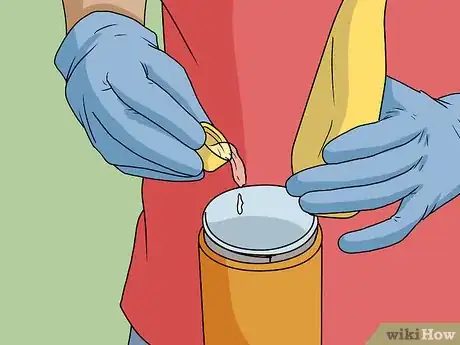
2Drop 0.085 fl oz (2.5 mL) of lighter fluid down the mortar. Put on some safety gloves and goggles, then pour lighter fluid into a teaspoon. Stick the teaspoon into the opening of the mortar and dump it in, aiming for the very bottom of the mortar. Repeat this with another teaspoon of lighter fluid.[6]
- For best results, make sure some reaches the area of the very bottom can, near the firing hole.
- Tilt the spoon and mortar away from your face so that you don’t inhale any of the lighter fluid.
- If you get any of the lighter fluid on your hands, wash them immediately.
-
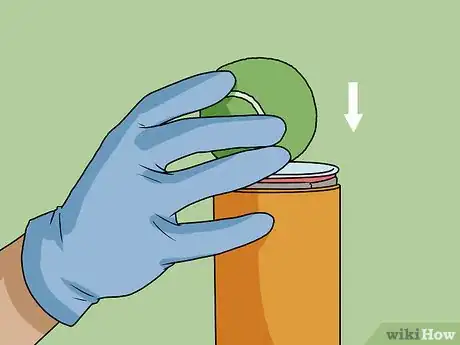
3Insert 1 tennis ball quickly into the top of the mortar. Use a stick to hold it firmly in place in the bottom can then cover the firing hole with a rag to make sure that lighter fluid doesn't leak out the firing hole. Shake the mortar for 30 seconds to help the gas from the lighter fluid expand throughout the length of the mortar.[7]
- If some fluid does leak out, replace it with a tablespoon full of additional fluid. Try to put just enough back in to replace what leaked out. You don’t want much more in your mortar than 0.085 fl oz (2.5 mL) or your mortar could misfire.
-
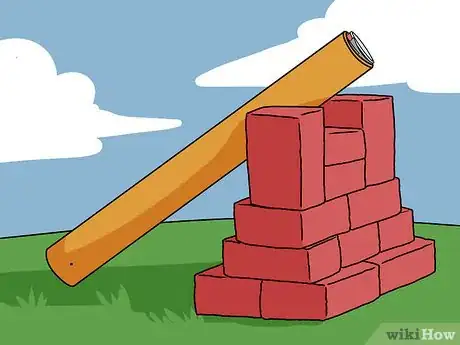
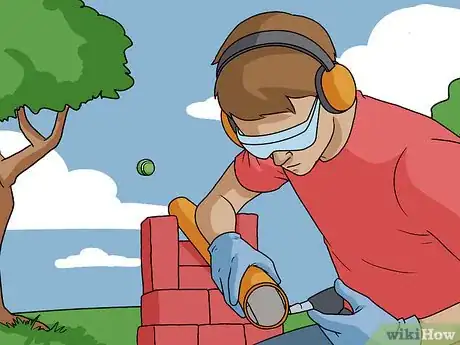
4Prop your mortar up against a stack of bricks. Build a rectangular pile of bricks approximately 2.5 ft (0.76 m) high and 2 bricks wide. Stack each brick side by side so that there is no space between them in the area you wish to fire your mortar from. Prop the mortar along 1 side of the bricks so that it is nearly perpendicular to the stack of bricks.[8]
- Raise or lower the height of the bricks to change the angle at which you can prop the mortar.
-
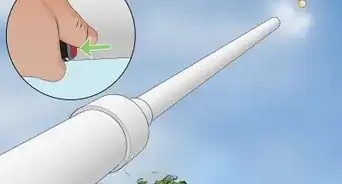
5Put on earmuffs, then light a match near the firing hole. Make sure there is no lighter fluid on your hands, and that no one is in front of the mortar before lighting the match. As soon as you bring the lit flame near the hole, you will hear a loud bang and see the ball launch high into the air.[9]
- Wait until the mortar has cooled to the touch before reloading with additional lighter fluid and trying to fire again.
Community Q&A
-
QuestionI want to teach my little sister. Do you have any tips?
 RYAN CHANCommunity AnswerFirst of all, she must be older than 10. Second, try to simplify the words you are going to tell your little sister. Third, you must be supervising your little sister at ALL times. And do any of the dangerous parts of the procedure yourself if your little sister is not a teenager or adult already.
 -
QuestionPlease can you just give one lawn tennis ball for free?
 RYAN CHANCommunity AnswerWant a free tennis ball? Just borrow one. No one would really mind if you can guarantee you would give it back in time and they might even just let you keep it.
 -
QuestionIn step two of the firing procedure it is unclear whether they intend for people to use one or two teaspoons of lighter fluid in total. In step 3 I am pretty sure they did not mean to say "tablespoon"?
 RYAN CHANCommunity AnswerIn step 2 of the firing procedure, they were saying: pour 2.5 ml of fluid into a teaspoon and repeat/put the fluid into a teaspoon 2 times.
Things You’ll Need
- 3 empty aluminum cans 10.5 in (27 cm) tall with a 3 in (7.6 cm) radius
- Safety gloves
- Safety goggles
- Electric drill with a 0.25 in (0.64 cm) drill bit
- Sandpaper
- Duct tape
- One PVC Tube approximately 3 ft (0.91 m) long with a 3 in (7.6 cm) diameter
- Lighter fluid
- Bricks
- Earmuffs
- Tennis ball
- Matches
Warnings
- Your tennis ball will fly fast – and hard. Triple check to make sure no one is in the path of the mortar before lighting the match.⧼thumbs_response⧽
- Adding too much lighter fluid can cause the mortar to explode. Make your measurements of lighter fluid precise.⧼thumbs_response⧽
- Wash your hands thoroughly with soap and water if you get any lighter fluid on them. Remove any clothes that you spill lighter fluid on immediately.⧼thumbs_response⧽
References
- ↑ http://www.gardenballistics.com/projects/tennis-ball-mortar/
- ↑ http://www.gardenballistics.com/projects/tennis-ball-mortar/
- ↑ http://www.gardenballistics.com/projects/tennis-ball-mortar/
- ↑ http://www.gardenballistics.com/projects/tennis-ball-mortar/
- ↑ http://www.gardenballistics.com/projects/tennis-ball-mortar/
- ↑ http://www.gardenballistics.com/projects/tennis-ball-mortar/
- ↑ https://web2.ph.utexas.edu/~phy-demo/demo-txt/1h11-20.html
- ↑ http://www.gardenballistics.com/projects/tennis-ball-mortar/
- ↑ https://web2.ph.utexas.edu/~phy-demo/demo-txt/1h11-20.html
