wikiHow is a “wiki,” similar to Wikipedia, which means that many of our articles are co-written by multiple authors. To create this article, 17 people, some anonymous, worked to edit and improve it over time.
This article has been viewed 105,089 times.
Learn more...
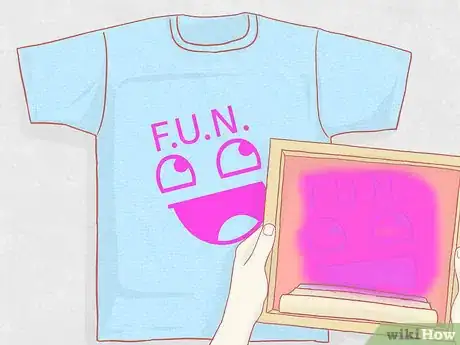
Making T-shirts is a fun and easy way to start making your own clothes unique and expressing yourself. Witty quotes, obscure bands, political statements, and your own artwork are all fair game when you design your own shirts. Handmade T-shirts also make great gifts for friends and family, and if you can mass produce them you may be able to make some extra cash.
Steps
Decorating T-Shirts
-
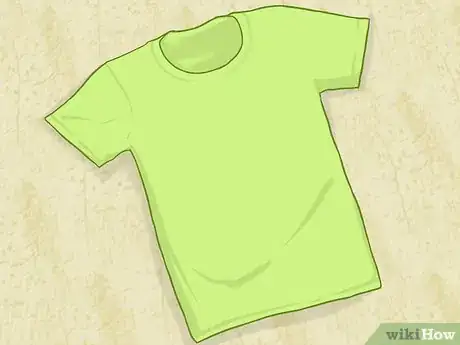
1Get t-shirts. Sports stores or bulk sellers like Target or Walmart are great for getting good-quality t-shirts in bulk. Cotton is the easiest fabric to work with, but try polyester and blends as well.
-
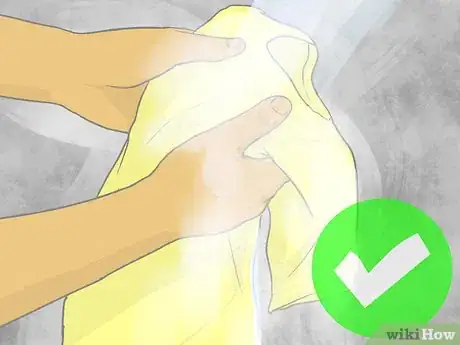
2Wash and dry your shirts before you start. Cotton shirts will shrink in the wash, and it may ruin your design when it gets smaller, so pre-wash your shirts to make sure you get the design you want.Advertisement
-
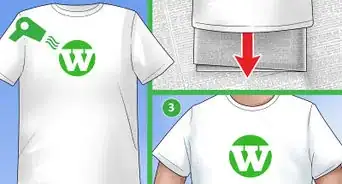
3Put a sheet of cardboard between the layers of the shirt. This will prevent ink, paint, or dye from bleeding through to the back of the shirt.
-
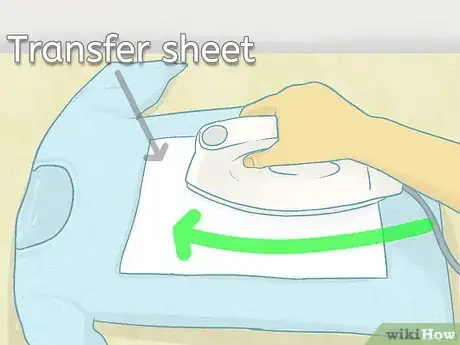
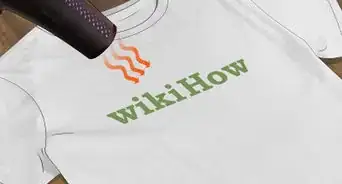
4Use iron-on paper to transfer images from your computer to a shirt. Transfer sheets are sold for both white and dark colored tees, and you can buy specialty paper at your local art store to make iron-ons. Simply print your image on the special paper using a home printer and iron the image onto your shirt.
- Try on your shirt and mark lightly where you want the image to fall. After that, pin your tee to an ironing board or a sturdy surface so that the image goes exactly where you want it. [1]
-
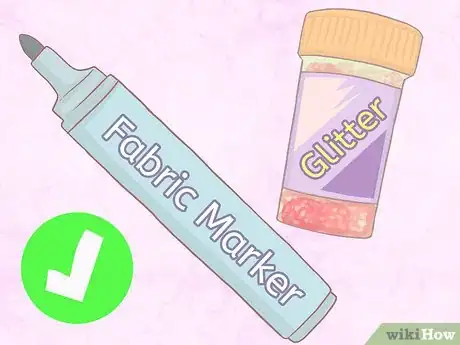
5Use fabric markers, dyes, and glitter for accents and decoration. If you want to draw or write on your t-shirt, sharpies are fine too. Craft stores sell fabric paint and fabric markers, and you can also buy t-shirt dyes, decorative patches, studs, and rhinestones to add to your shirt.
- If you use sharpie, wash the shirt separately the first time to prevent ink stains on your other clothes. [2]
-
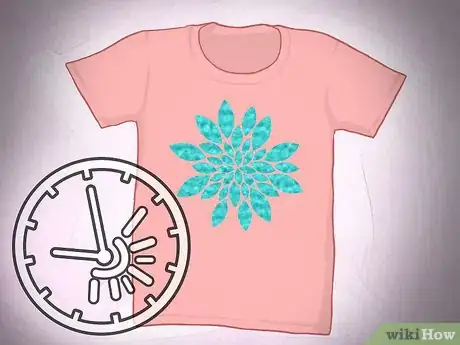
6Let the t-shirt dry overnight. No matter what you use to decorate the shirt, resist the temptation to wear the shirt immediately. If you are using fabric glue and glitter, don't shake the glitter off the shirt until it's dry. Leaving a shirt in the sun or carefully hanging it may speed up the process.
- Not all glitters are created equal—use glitters specifically made for fabric.
-
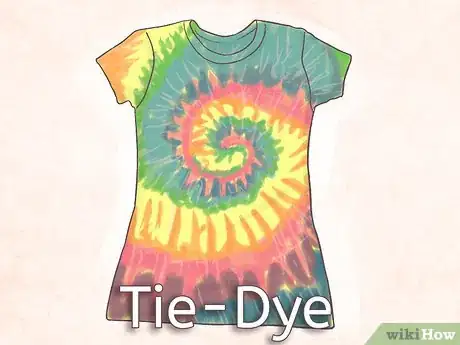
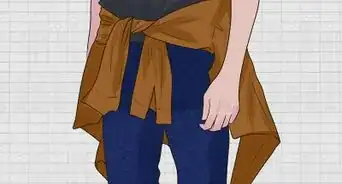
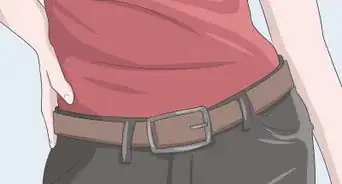
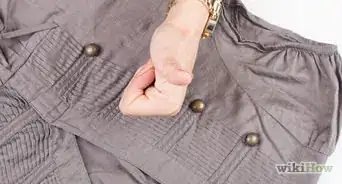
7Try out other design techniques. There are a lot of different ways to make you own t-shirt unique. Try out new ways to design your shirt, including:
-
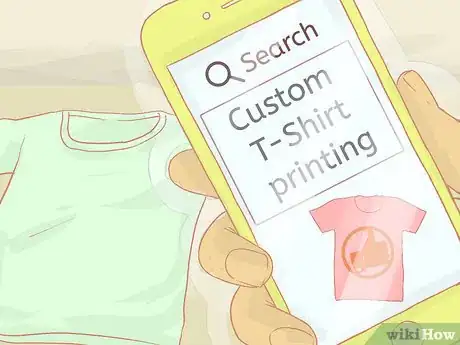
8Design your t-shirt online for a professional look. There are many websites that will take an image or picture file and print your a custom t-shirt, for a price. Perform an internet search for "Custom T-Shirt printing" and check prices and options, including the ability to design your own shirt through the website.
- The more t-shirts you order, the cheaper each shirt will be.
- Usually, you'll have to pay per color of ink.
- Most of the sites have design capabilities: allowing you to add colors, words, or simple designs to your shirt.
Making a Stencil
-
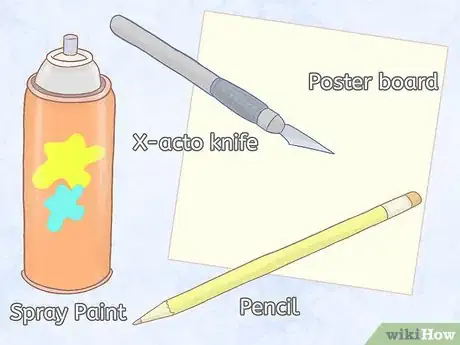
1Use stencils to create more accurate drawings. Stencils are cut outs that allow you to apply spray paint, ink, or marker specific areas of the shirt. The stencil is a guide for where to draw, and it prevents you from making mistakes with complex shapes. To make one, you will need:
- Poster board or thin cardboard.
- Pencil
- X-acto knife or other precision knife
- Spray Paint
-
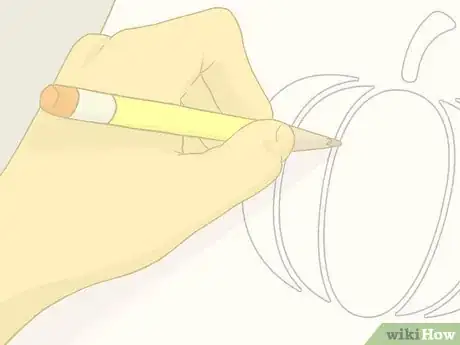
2Draw your design on the poster board. The parts that you want to color will be cut out of the board, revealing the shirt underneath.
- It can help to color in the stencil lightly. All of the parts you color in will be the design you paint on the shirt eventually.
- Think of a stencil like carving a pumpkin -- all the parts you cut away make up the "shape" of the pumpkin.
-
3Cut out your design. Precision knives, like x-acto blades can make fine cuts easily, allowing you to cut out detailed shapes. Cut away all of the parts you do not want covered in ink and discard them, but make sure you leave 4-5 inches of stencil on every side of your design.
- Advanced Tip:Remember to leave shapes attached if they are surrounded. For example, if I want to cut out an uppercase "A." but want to save the triangle at the top, I need to keep a think line of poster board attached to the triangle so that I don't cut it out.
-
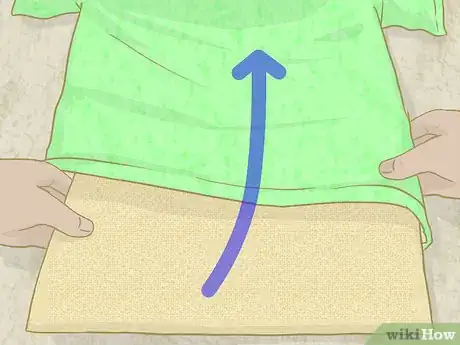
4Put a sheet of cardboard between the layers of the shirt. This will prevent ink, paint, or dye from bleeding through to the back of the shirt.
-
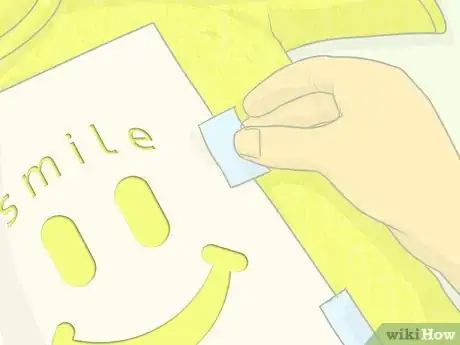
5Tape your stencil securely to the shirt. Make sure the tape does not cover over any part of the shirt you want colored in.
-
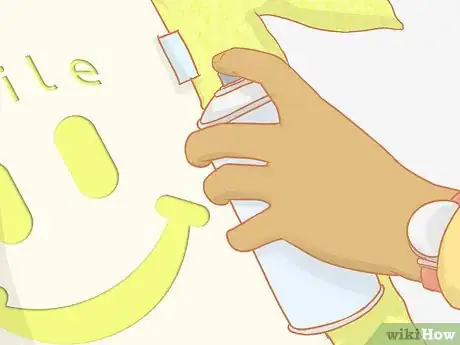
6Spray paint your shirt. The stencil will prevent the paint from getting on any parts of the shirt you don't want colored in. Following the instructions on the canister, spray your shirt thoroughly.
- For a more vintage look, spray from a distance to create little patches without ink.
-
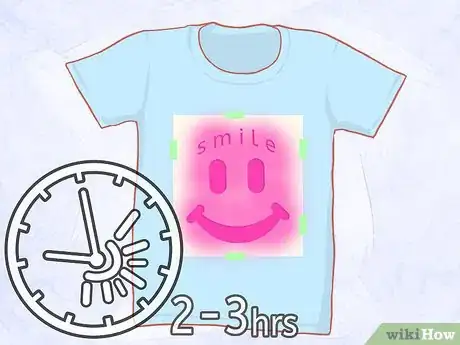
7Let your shirt dry for 2-3 hours. Do not disturb the shirt or the paint could drip and ruin the design.
-
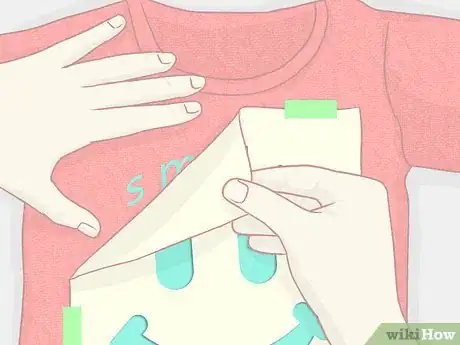
8Carefully remove the stencil when the shirt is dry. You can even use this stencil again for another shirt if you'd like.
-
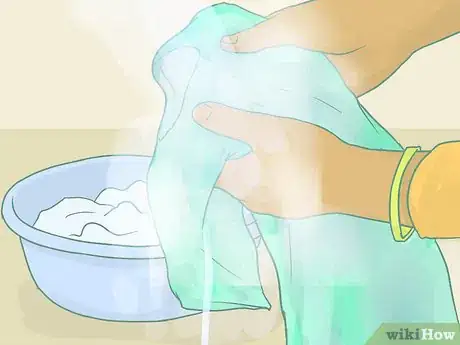
9Wash the shirt separately to prevent paint from bleeding into your other clothes. The first 2-3 times you wash the shirt excess spray paint will leak off. Make sure to wash the shirt alone, on cool, to prevent it from ruining your other clothes.
Making Multiple Shirts with a Silk Screen
-
1Know that silk screens are the best way to produce identical shirts quickly. Silk screening uses a pre-made design to apply ink onto a shirt quickly. You can then remove the shirt, put another one under the screen, and apply the same design to that shirt.
-
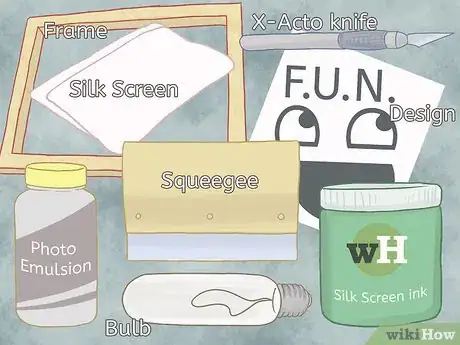
2Get supplies. To silk-screen shirts you will need some supplies, most of which should be available at your local art store or online:
- Silk Screen ink (make sure it matches your shirt fabric)
- Photo emulsion
- Silk Screen and frame.
- Squeegee
- Bright light (minimum 150 Watts)
- Large black, flat surface (chalkboard, poster, etc)
- Poster board
- Scissors or X-Acto knife
- A design
- A t-shirt, any fabric.[3]
-
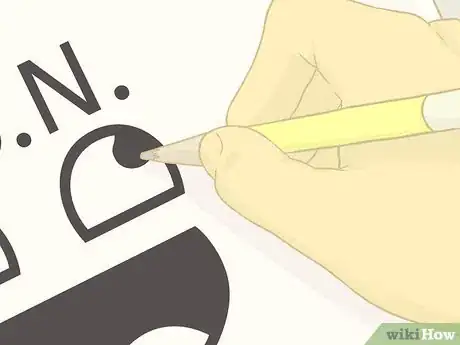
3Create a stencil of your design. Silk screens can only apply one color at a time, so create a simple shape or outline to begin learning. Your design will be what is eventually colored onto your shirt. Draw your design on piece of poster board and then cut it out. [4]
- Think of your stencil as the ink on the shirt. Place your finished stencil on the shirt -- whatever part of the shirt the stencil covers will be inked over eventually.
- NOTE: This is the opposite type of stencil from the one discussed earlier. Here, what you cut away makes your design.
-
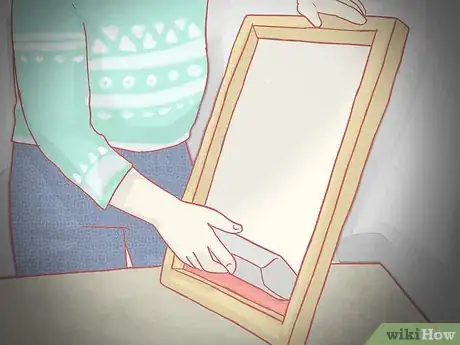
4Coat your silk screen with photo emulsion. Photo emulsion is a special substance which reacts to light. When it does, it hardens. We will use this to make a shape in the emulsion for our design-- everything not covered in emulsion will be our design. Pour a line of emulsion along a side of the screen and use the squeegee to spread a thin line along the entire screen.
- Apply emulsion to the side that is not surrounded by the frame on all four sides.
- Do this in as dark a room as possible.[5]
-
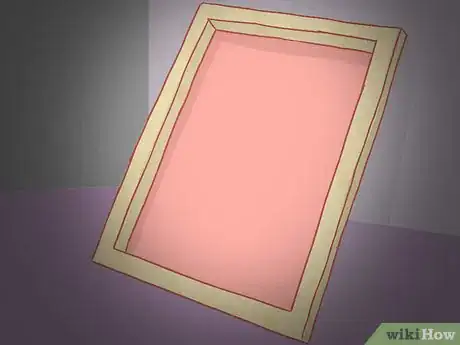
5Let the emulsion dry in a dark space. Try to expose it to as little light as possible -- a closet or bathroom will work fine if you can close some blinds or curtains
-
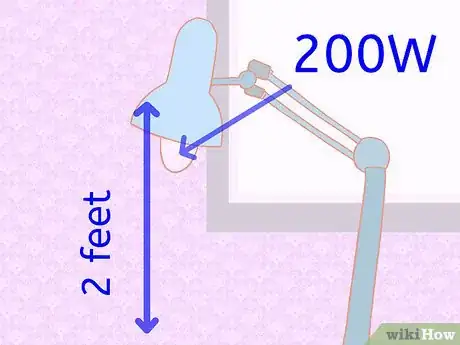
6Set up your exposure area while the emulsion dries. This is where you will expose the screen to light. Following the specification on the photo emulsion bottle, set up a light above your flat black surface. Each emulsion has different times, watts, and distances needed for proper exposure, so read the bottle carefully.
- For example, if the emulsion calls for 30 minutes at 200 watts, set up a lamp with a 200W bulb 1-2 feet above a table. You will put the screen underneath the light.
-
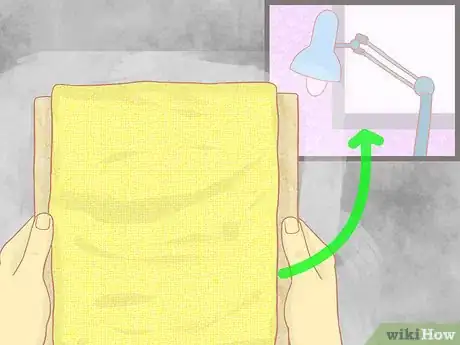
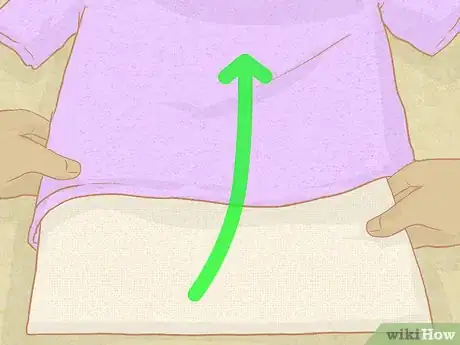
7Move your dry screen to the exposure area. Cover it with a towel so it does not react to light as you transfer it to your exposure area. [6]
-
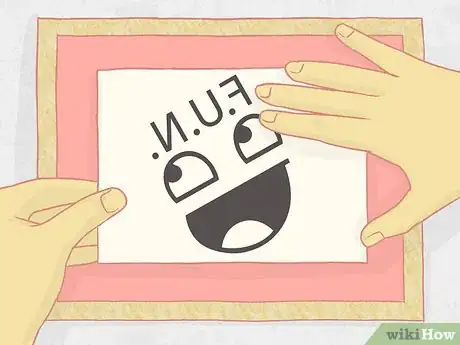
8Put your stencil on the middle of the screen. The screen should be emulsion side up so that it is resting on the frame and the screen is raised a few inches above the table. Place your stencil in the middle of the screen.
- Put your stencil down in reverse to get the right image. Look at your stencil the way you want it, then flip it over before you put it down.
- If there is a breeze, or your stencil is very light, place a clear piece of glass on top of it to keep it from moving.
- Do not push, prod, or move your screen, light, or stencil. [7]
-
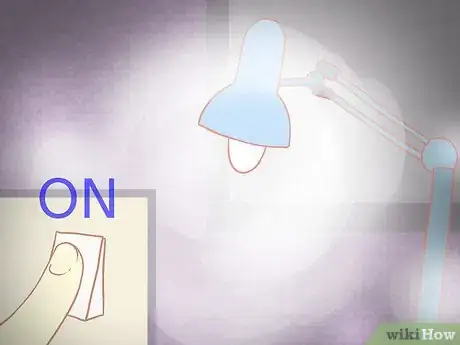
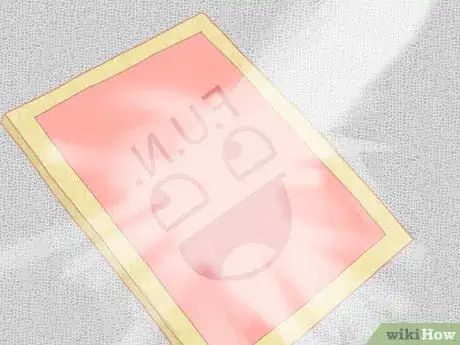
9Turn on the light. Check the emulsion bottle again to see how long you need the light for. If you smell anything burning, be sure to turn off the light immediately. When it is done, remove the stencil.
- If you prepared the emulsion correctly, you should see the faint outline of your stencil in the emulsion.
-
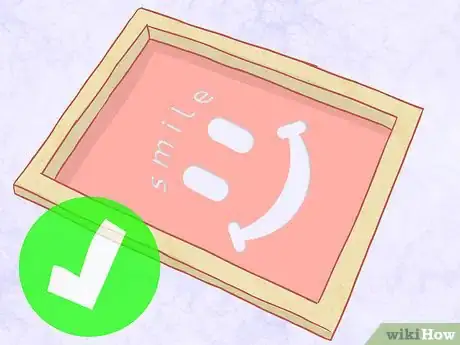
10Wash off the emulsion with cold water. Take any high-powered water source (shower, faucet, hose) and wash off the screen, focusing the water on your image. You should see the outline of your stencil appear. Keep spraying until you see your image clearly. [8]
- Don't forget to let the screen dry before moving on.
-
11Place cardboard or poster board between the layers of the shirt. This prevents ink from dripping through to the other side of the shirt.
-
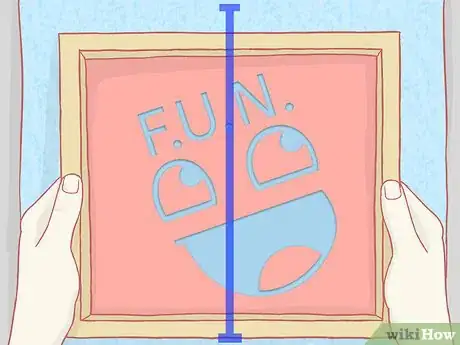
12Line up your screen. Place the screen on your t-shirt with the frame side up, centering your design where you want it on the shirt.
-
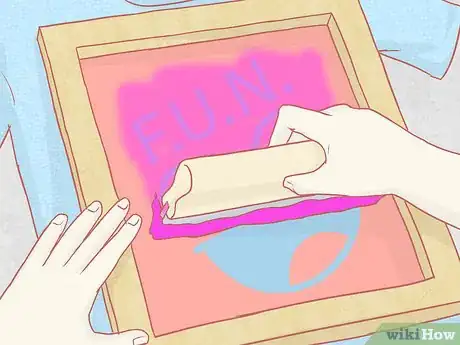
13Squeegee the ink over your design. Put a thin line of ink above your design. Firmly drag the squeegee over your design so that ink covers the entire stencil.
- Higher pressure will result in a darker image. [9]
-
14Slowly remove your silk screen. Pull the screen off the t-shirt with even pressure then hang the shirt up to dry. The stencil should be the only part colored in.
-
15Repeat with as many shirts as you want. You can use your silk screen again with another t-shirt if you want, adding more ink as necessary.
Community Q&A
-
QuestionHow do i "set" writing on a t shirt?
 Community AnswerIf you can't screen print it, use a marker made especially for shirts and follow the instructions.
Warnings
- Always read the instructions for how to use design products. T-shirt quality is compromised when you don't do so.⧼thumbs_response⧽
References
- ↑ http://www.instructables.com/id/Make-Your-Own-T-Shirt-Art-1/
- ↑ http://www.marthastewart.com/892787/sharpie-tie-dye-t-shirt
- ↑ http://www.theartofdoingstuff.com/how-to-screen-printsilkscreening-at-home/
- ↑ http://www.instructables.com/id/How-to-make-and-print-with-reusable-silk-screens/?ALLSTEPS
- ↑ http://lifehacker.com/5886483/simple-guide-to-screen-printing-your-own-shirts
- ↑ http://gizmodo.com/how-to-silkscreen-t-shirts-in-your-bathroom-1345277885
- ↑ http://www.theartofdoingstuff.com/how-to-screen-printsilkscreening-at-home/
- ↑ http://lifehacker.com/5886483/simple-guide-to-screen-printing-your-own-shirts
- ↑ http://lifehacker.com/5886483/simple-guide-to-screen-printing-your-own-shirts
About This Article
To design your own t-shirt, start by printing a design onto a piece of transfer paper, which you can find at your local art store. Then, take a clean, plain t-shirt, and slip a piece of cardboard inside of it so the ink from your design doesn't bleed onto the back of it. Next, place the paper with your design on it face down on the t-shirt so the design is over the section of the shirt you want it on. Finally, iron the back of the paper to transfer the design to your shirt. To learn how to design a t-shirt using stencils, scroll down!
