A step-by-step guide to using the cutout filter to make stencils in Photoshop
X
wikiHow is a “wiki,” similar to Wikipedia, which means that many of our articles are co-written by multiple authors. To create this article, volunteer authors worked to edit and improve it over time.
This article has been viewed 206,075 times.
Learn more...
Photoshop is a very powerful image editor, and you can use it to create all kinds of images. By using the "Cutout" filter, you can quickly turn any photo into a stencil. You can then print this stencil onto thick paper and cut it out to use it however you'd like.
Steps
-
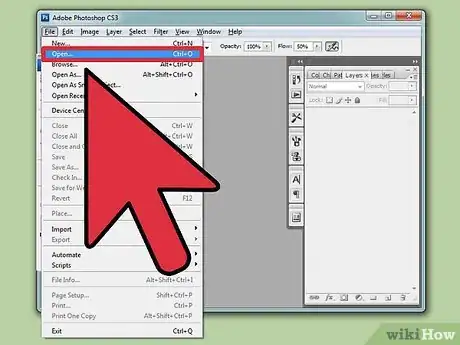
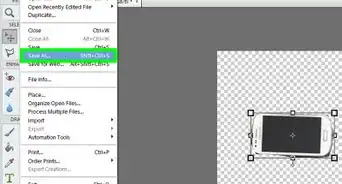
1Open the image that you want to turn into a stencil. Open Photoshop and load the image that you want to create a stencil out of.
-
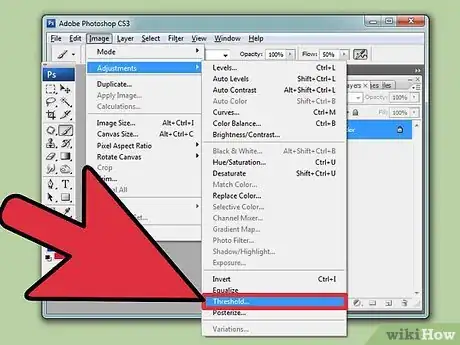
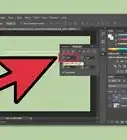
2Open the Threshold tool. Click "Image" → "Adjustment" → "Threshold" to open this tool. Your image will turn black and white.Advertisement
-
3Drag the Threshold slider to adjust the level of detail. As you drag the slider left and right, you'll see more or less detail. Play with the slider until you find a level that gives you strong lines without sacrificing too much detail.
-
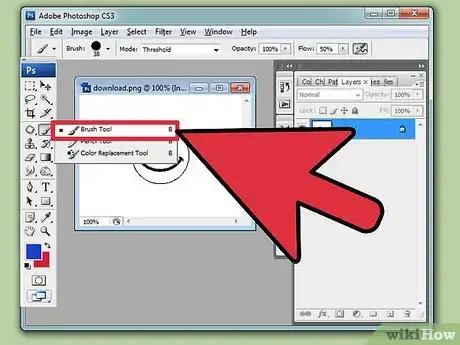
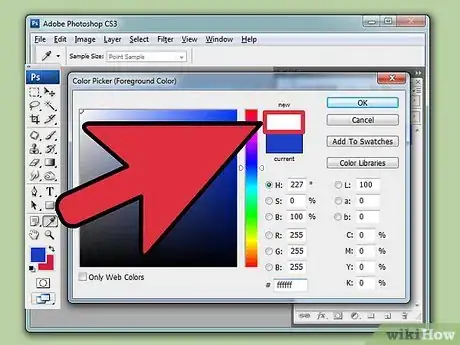
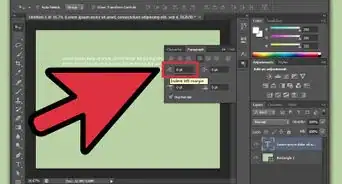
4Clear up any background details you don't want. There's a good chance that your photo will have some background detail that muddies up the image. Use a large white Paintbrush to quickly erase any details that you don't want to see. Use a black Paintbrush to fill in areas of white to make solid black spaces.
- You can use the Crop tool to quickly cut out large chunks of the image that you don't want to use.
-
5Link any islands of white space. When you cut and print the stencil, you will be cutting away the black spaces to paint through. This means that if there are isolated details in white, they will need to be connected to the rest of the white space so that you can cut it properly. Use the white Paintbrush to quickly connect your islands to the rest of the white space.[1]
- Keep the strength of your finished stencil in mind and create any additional links to maintain its structure when using it.
-
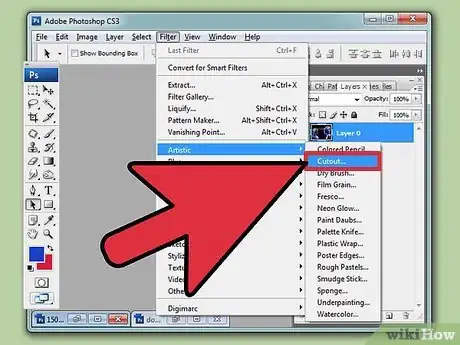
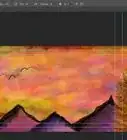
6Open the Cutout filter. Once you've created all of your links, click "Filter" → "Artistic" → "Cutout". This will convert the image to straighter lines to make it easier to cut out.
- If you are using newer versions of Photoshop (CS6+), you'll need to select "Preferences" → "Plug-ins" → "Show All Filter Gallery Groups and Names" before you can see the Artistic filters.
-
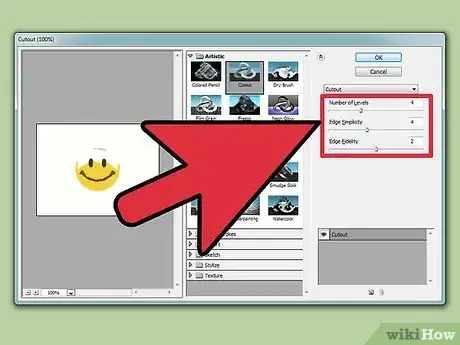
7Adjust the Cutout filter settings. The different sliders will allow you to adjust the amount of flattening that the filter applies to the image. The "Edge Simplicity" slider will make your edges straighter, which will make the image more stencil-like. You'll notice a large reduction in detail, which will make cutting your stencil easier.
-
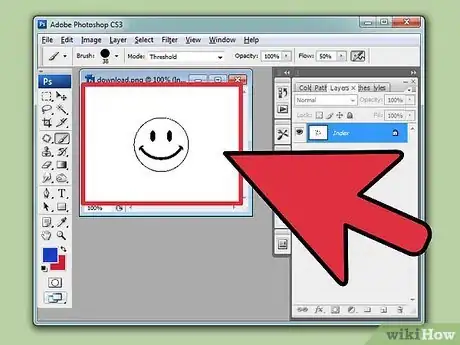
8Review your stencil before printing. Look over the whole stencil and check for any unconnected islands or extraneous details. Don't worry too much about stray lines, as you can just ignore them as you cut the stencil out.
-
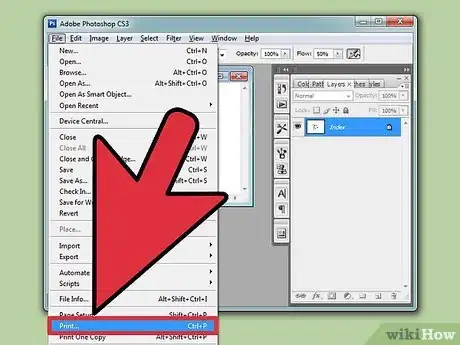
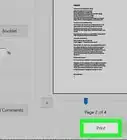
9Print your stencil. Once you're satisfied with your stencil, you can print it out. Make sure you print it on thick paper so that the stencil is sturdy. You can set the printing color to gray if you want to save some ink.
-
10Cut out your stencil. After printing your stencil, all that's left is to cut it out and use it. Take a pair of scissors and cut away all of the black sections of the image. Make sure to pay attention to your links between island so that you don't lose any detail. When you're finished, all that should be left are the white parts of the image, with empty space where the black parts were.
Advertisement
Community Q&A
-
QuestionIs there a printer/cutter that makes stencils with Photoshop?
 Lydia IsaacCommunity AnswerMost stencil makers require images in .svg format. Photoshop CC allows you to save files in this format.
Advertisement
About This Article
Advertisement
