X
wikiHow is a “wiki,” similar to Wikipedia, which means that many of our articles are co-written by multiple authors. To create this article, volunteer authors worked to edit and improve it over time.
This article has been viewed 163,679 times.
Learn more...
Ever see text or fonts on the Internet that you were interested in using for your own work? This article is here to show you how to install downloaded fonts into any program, including Adobe and Microsoft ones!
Steps
-
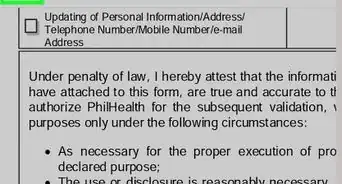
1Search the internet for fonts to download. Free fonts are recommended, but if you find some that you need to pay for, it's usually cheap. www.Dafont.com has both free and paid fonts, but there are so many different styles that you're bound to find free ones.
-
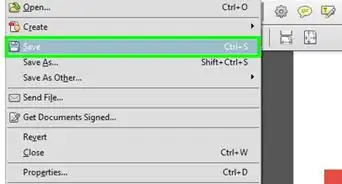
2Usually when you download a font, it comes in a zipped file. You need to open this.Advertisement
-
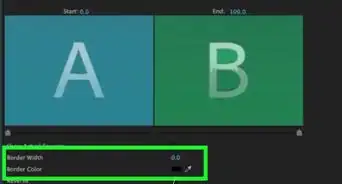
3Unzip this to a specific location. The easiest way is to unzip it to the desktop. You can either take the .ttf file alone to the desktop, or the entire folder.
- The location to where you unzip can change, and you can even unzip it directly to the Fonts folder.
- When you unzip the file to your desktop, a .ttf file appears on your desktop.
-
4Now that you have the font unzipped to the desktop, you need to move it into the Fonts folder for your computer. This location, for my PC at least, is: C:>Windows>Fonts.
-
5Just drag the file from the desktop over to the open Fonts window.
- The font will install on its own.
- After installation, you see the new font file in your Fonts folder.
-
6After restarting any programs that use Fonts, you can open them back up to see the newly installed font.


Advertisement


About This Article
Advertisement