wikiHow is a “wiki,” similar to Wikipedia, which means that many of our articles are co-written by multiple authors. To create this article, 30 people, some anonymous, worked to edit and improve it over time.
This article has been viewed 189,669 times.
Learn more...
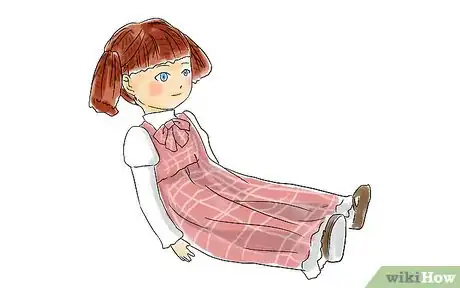
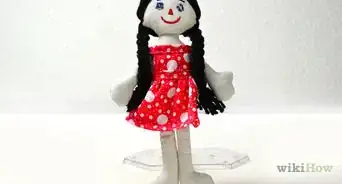
Homemade toys are cost-effective, fun to create, and may end up being keepsakes. They also make great gifts. Read the steps below to learn a few different ways to make one of the most iconic children's toys, the doll, in the comfort of your own home.
Steps
Assembling a Doll From Parts
-
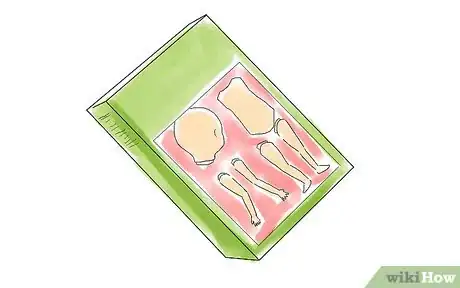
1Buy supplies. Go to a hobby shop and buy a doll head, body, arms, and legs. Be sure everything is roughly matched size-wise. Some hobby shops may sell kits that take care of such considerations for you. You'll also need paint and thinner, a small paintbrush, and some doll clothes.
- Doll heads range from pre-painted vinyl heads with synthetic hair to simple base elements that can be combined as you see fit. Be aware that if you buy a doll head, eyes, and a wig all separately, you'll need to do a bit more work to put the doll together.
- Wigs can be made from any type of fabric you like. Specialty yarns like alpaca, mohair, and bouclé make great-looking hair, but Raggedy Ann-style colored yarn is fine, too.
-
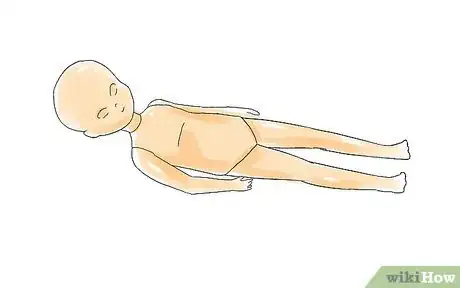
2Assemble the doll. Softer plastic doll parts can usually be pressed into pre-fitted holes on the body to make a doll with moving joints. Alternatively, use an appropriate type of glue (plastic cement or wood glue) to fix the doll's limbs in position, or to make a doll from simpler or harder parts.
- If you use glue, wipe away excess glue from around the joint when you're finished.
Advertisement -
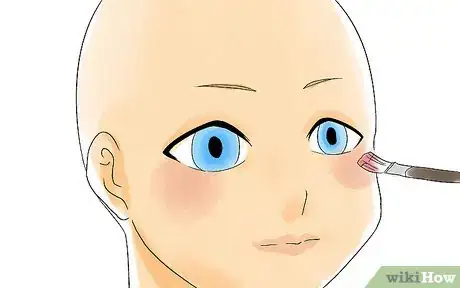
3Paint a face on the doll. If your doll's head doesn't come pre-painted, it's time to paint makeup (and eyes, if needed) onto it. Acrylic paint should work for most materials. Use a small brush when painting, and start with the base colors first (for instance, white, then color, then a black pupil for the eyes). Let each layer dry before starting the next, and let the doll dry for a few more hours once you're finished.
- Consider adding blush to your doll's cheeks by using pink paint thinned with some paint thinner.
- If your doll's face is featureless, you may want to paint a nose onto it, in addition to the eyes and mouth. Use a U or sideways U shape to make one easily.
-
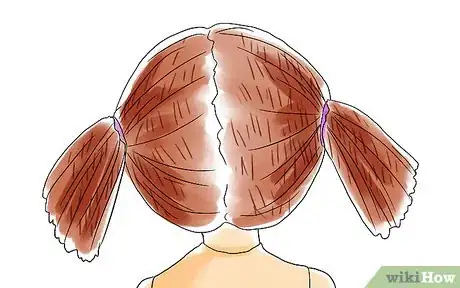
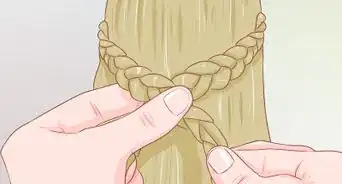
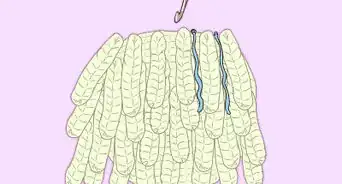
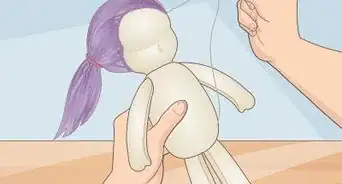
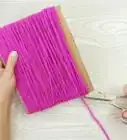
4Add the wig. If your doll requires a wig, now is the time to add it. You can make a simple and permanent wig by gluing pieces of yarn densely to the top of the doll's head with a strong adhesive, or you can make a switchable one by embroidering yarn into a piece of cloth cut to sit on the doll's head. Pre-made doll wigs are also available to purchase.
-
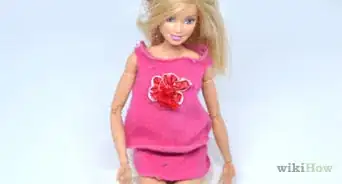
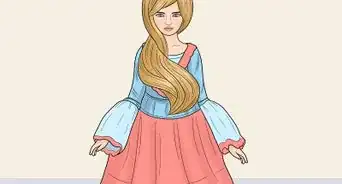
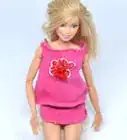
5Dress the doll. Using whatever doll clothes you purchased, dress the doll however you like. If you weren't able to find any good doll clothes, set the doll aside for now and make it a project to find some. Once your doll is assembled, painted, and sitting in an outfit, it's done!
Make a Corn Husk Doll
-
1Gather supplies. To make this rustic American-style doll, you'll need corn husks with the silk still on them. Around a dozen corn husks (one or two ears of corn at most) should be enough to make one doll. You'll also need a large bowl of water, scissors to cut the husks, and pins and twine to bind them into shape.
-
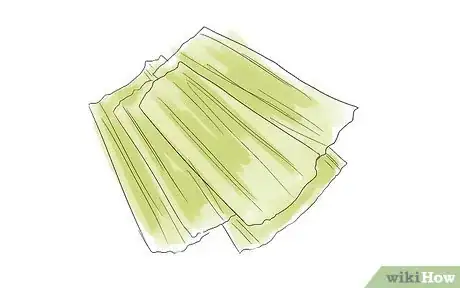
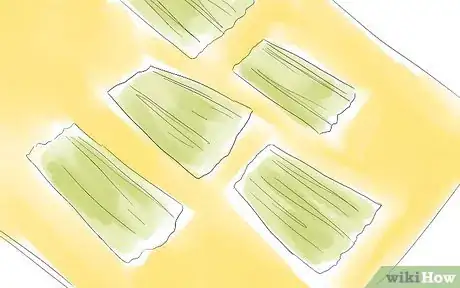
2Dry the husks. Corn husk dolls are made with dried husks. Use a food drier, or set the husks out in the sun for a few days until they become dry and are no longer green. Sun drying the husks is the preferred method because it's more traditional (and corn husk dolls are steeped in both American Indian and colonial tradition), but as long as they're well-dried, the result will be more or less the same.
-
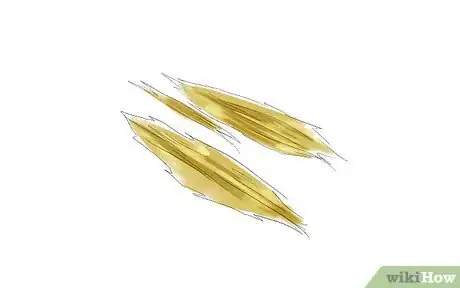
3Remove the silk. Before the next step, pull the dried silk off of the husks and set it aside. You'll be using it soon, but it needs to stay dry while you soak the husks to keep it from getting soggy. Lay all the silk in generally the same direction rather than heaping or tangling it.
-
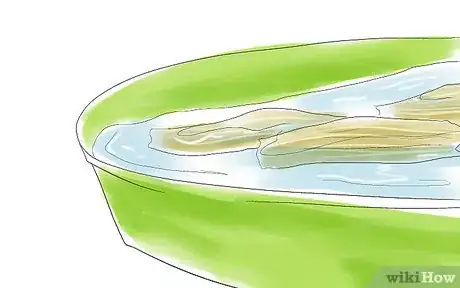
4Wet the husks. When you're ready to make your doll, soak the dried husks in a bowl of water for about 10 minutes. Though it sounds counterintuitive, this won't actually rehydrate the husks you so carefully dried; rather, it will make them temporarily more flexible, so that you can bend them into shape without breaking them. Once the husks have soaked, blot them dry with paper towels and set them aside.
- If the husks are significantly different in size from one another, now is a good time to tear or clip the largest ones so that they're all roughly the same size. This will help prevent a lopsided doll.
-
5Prepare the head. Take a corn husk and lay it in front of you with the pointed end out, then lay a bunch of corn silk along its length. Next, lay two husks on top of the first husk and silk, also with their points away from you, and add more silk. Repeat everything one more time (for a total of six husks and hour sections of silk), and then tie the whole stack together about 1 ½ inches from the flat ends of the husks. Use scissors to round the flat ends of the husks.
-
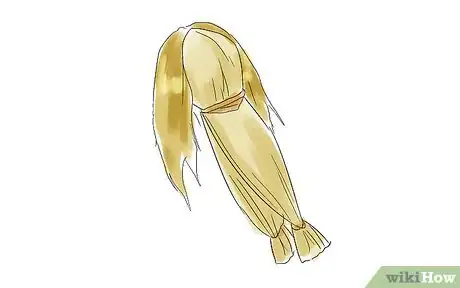
6Make the head. Pick up the husk and silk bundle and hold it firmly by the twined end, so that the pointed ends of the husks are pointing up. Peel back each husk in turn, pulling it in a different direction from the others so that each husk comes down on a different side. Once all the husks have been peeled, you'll have a shock of silk “hair” coming up from the center of a rounded shape. Tie twine snugly around the husks again to create a “head” roughly an inch high.
-
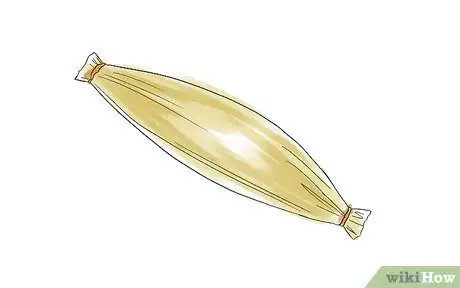
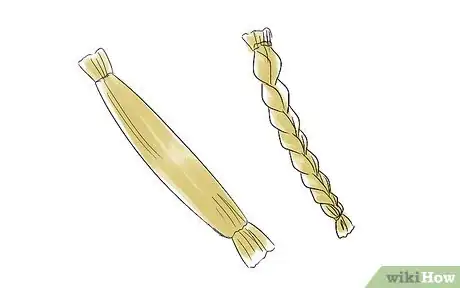
7Make arms. There are two basic styles you can choose: braided or tube. To make tube arms, cut a 6 inch (15.2 cm) piece of husk and roll it lengthwise into a tube, then tie it off with twine near both ends. To make braided arms, cut 6 inches (15.2 cm) of husk into 3 strips (lengthwise) instead, and braid them together before tying them off. Make just one tube or braid, and then insert it through the husks below the head so that an equal length of arm sticks out either side.
-
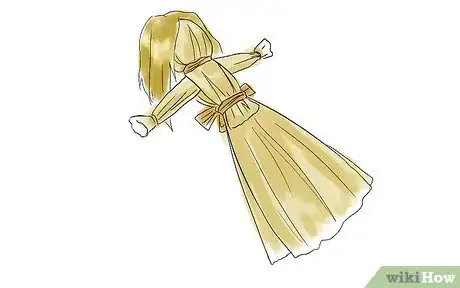
8Tie off the waist. Using twine, wrap around the husks below the arms and cinch them in to create a waist. Double check to ensure that the arms are positioned at an appropriate height before you finish tying, so you can readjust them if necessary; the arms should typically be around 1 to 1 ½ inches from the waist. Once you're satisfied, Wrap a slender piece of husk over the twine on the doll's waist to create a belt or sash and hide the twine. Tie it in the back with a bow.
Make a Fabric Doll
-
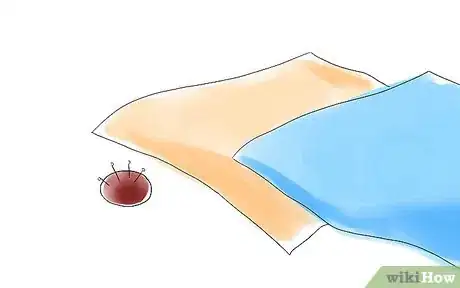
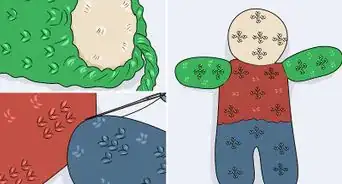
1Gather supplies. The most important component for making a fabric doll is the pattern. There are many fabric doll patterns available for free online, as well as purchasable patterns at fabric and craft stores. Look at the image of the finished doll and choose one you like. Along with the pattern, purchase whatever cloth and/or fill, such as cotton batting, you might need.
- A typical fabric doll will require a rectangular piece of natural-colored cloth (plus more for clothes), batting, colored thread, a sewing needle, and pins to hold pieces in place while you work. Read the pattern directions for specifics.
-
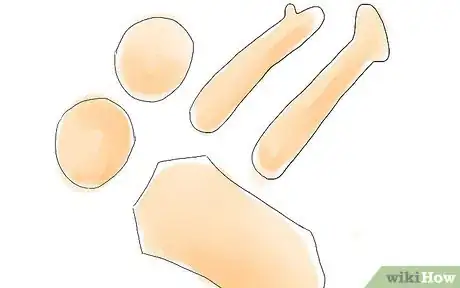
2Cut the fabric. Following the pattern you bought, cut out each piece of fabric with a pair of fabric scissors and set it aside, taking care not to fold or crumple any piece. Remember to allow a bit of extra fabric, generally about 1/8 of an inch, around each piece to account for seams.
- Most doll patterns should provide clothing in a contrasting color, either in the form of a differently-colored body or a simple outfit; don't forget to cut those parts out, too.
-
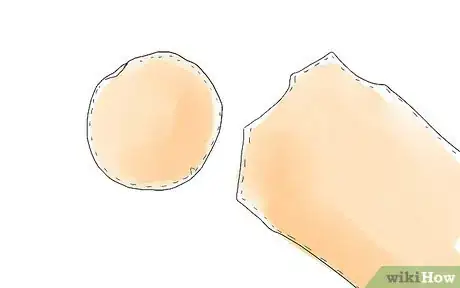
3Stitch the pieces. To allow your doll to fill out properly with the batting, you'll generally need to make stitches to help define curves. Again, follow the specific instructions on your pattern.
-
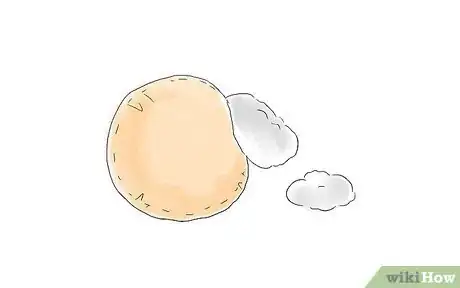
4Add batting. Ball up your batting and insert it into each part of the doll that needs to be stuffed. Use thread that's the same color as the natural cloth you chose for the doll's body to tie off the open ends and prevent batting from escaping. Once every piece has been stuffed, stitch them together per the instructions on your pattern.
- Batting tends to pull out from the bag in clumps or strips, but you can ball it evenly by laying out smaller pieces in a star or triangle pattern and rolling up each one in turn until you have the size you want.
- Stuff the head most tightly, so it's firm. Stuff the body more loosely.
-
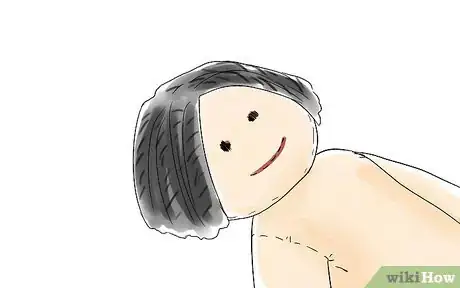
5Add hair and facial features. All this requires is colored thread and a bit of patience. Use black, brown, blue, or green thread for the eyes, and red or black thread for the mouth. Sew each feature into the doll's face by using a needle threaded with a length of embroidery floss to help pull the colors through. Yarn hair can simply be stitched on.
- To be sure your eyes and mouth are placed evenly, mark where you intend to stitch them with pins first. Take each pin out as you begin to work on that part.
- If you looped the yarn when you stitched in the doll's hair, simply clip the loops to give it a full, messy head of hair.
Make a Clothespin Doll
-
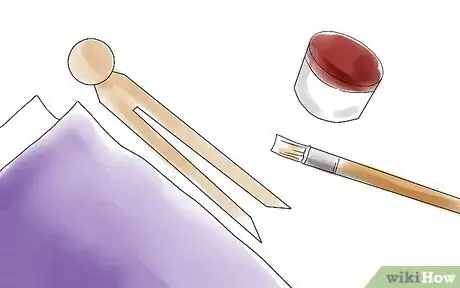
1Gather supplies. To make this simple wooden doll, you'll need large craft clothespins (the kind with a rounded knob on the grip end), which can usually be found at craft stores. You'll also need acrylic paints, a fine-tipped felt marker, and some materials for making an outfit, such as felt, ribbons, or scrap cloth.
-
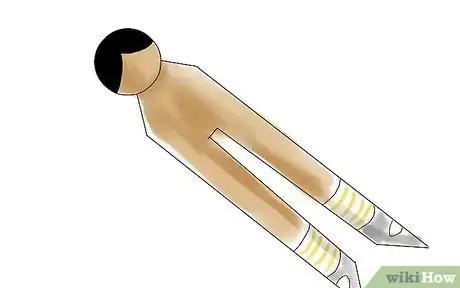
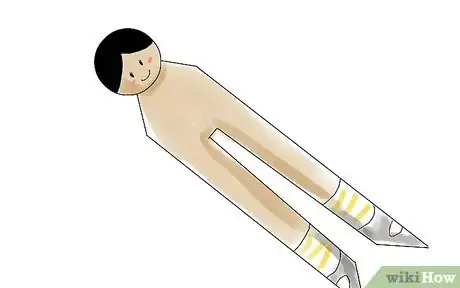
2Paint the clothespin. The knob at the grip of the pin will serve as the head, and the split at the bottom will become the feet. Use acrylic paint to paint on whatever features you want, including shoes, which can be easily approximated by painting one color about ¼ of an inch up both “feet,” letting it dry, and then painting black or brown over that color up to about halfway. The black or brown becomes the shoe color; the first color is the sock color.
- You can paint the clothespin with skin-colored paint if you want, but it's not strictly necessary. If you do, be sure to let it dry first before adding other details.
- Paint the face so that it makes sense with the way the feet are split. Your doll will look very odd otherwise.
-
3Add details. Using your fine-tipped marker, draw any extra details you want to on the doll, such as pupils for the eyes or a smiling mouth.
-
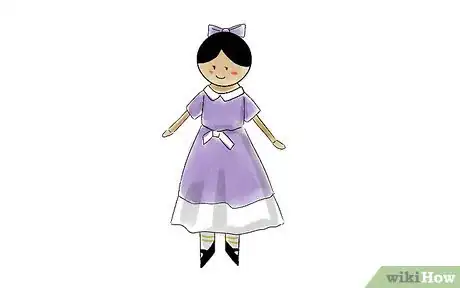
4Dress your doll. Using your scrap materials, scissors, and some craft glue, think of a fun outfit for your doll. Remember to pin things in place before you cut, to be sure they'll fit properly. Consider making a hat or wig of some type for your doll's bald head. Once you're satisfied, glue each item into place with a bit of craft glue.
- Your clothespin doll won't hold up a lot under sustained play, but it does make a great family project or childhood keepsake. Don't worry if it falls apart just fix it.
Community Q&A
-
QuestionHow do I make arms for a clothes pin doll?
 Community AnswerTake two toothpicks, and cut them accordingly to the clothes pin in the position you want the arms to be. Glue the arms fittingly to the clothes pin. For hands, cut the ends of popsicle sticks, and glue them on the end of the toothpick.
 -
QuestionWhere can I get clothespins online?
 Community AnswerYou can buy them on eBay or Amazon, or just about any superstore's website, Walmart, Target, etc.
 -
QuestionHow do you make the first doll fully articulated?
 Community AnswerInsert wires inside the arms and feet or other parts of the body.
About This Article
One of the easiest ways to make your own doll is by purchasing a doll making kit. Once you have the kit, assemble it according to the directions. Then, add your own touch to the doll by carefully painting features on the face of the doll. If your doll doesn’t have hair, you can make a wig out of yarn or synthetic hair, and attach it to the doll’s head. Dress it with clothes that you’ve purchased or made, and enjoy your custom doll! For more tips, including how to make a doll from fabric or a clothespin, scroll down!
