This article was co-authored by Sarah Fogle. Sarah Fogle is a DIY Home Improvement Specialist and the creator of Ugly Duckling House. With over a decade of experience, Sarah specializes in beginner-friendly home remodeling projects. Sarah holds an MBA from Georgia State University. She has been featured in multiple publications including Better Homes and Gardens and Make Magazine. She has also partnered with brands such as Lowe's, Home Depot, and Martha Stewart Crafts.
This article has been viewed 185,357 times.
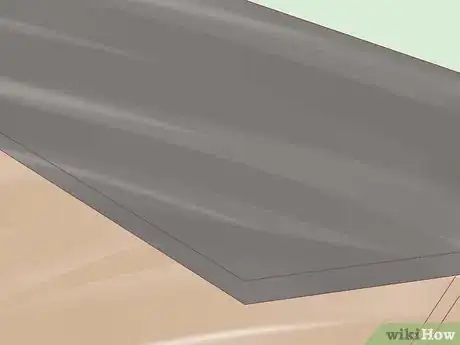
Wood countertops can add a classic finish to any type of kitchen décor. However, you do not need to invest a large amount of money to create a beautiful look; you can visit a hardware store and make it yourself. Creating a countertop requires some basic home improvement skills, such as accurate measuring, sawing, gluing and sanding. You can choose between using flooring, reclaimed wood or wooden boards for your countertop, depending upon the look and availability of the wood. Learn how to make a DIY wood countertop.
Steps
-
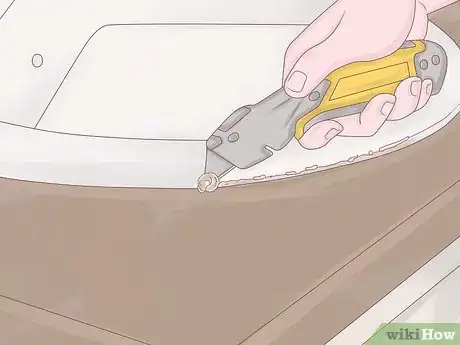
1Remove your old countertop. Work slowly and carefully to ensure that you do not wreck the cabinetry. The following are essential steps in effectively removing an old countertop:[1]
- Disconnect your plumbing. If your countertop is located in a kitchen, bathroom or utility area, you must ensure that you cannot have water leakage. Stop the water from its source.
- Loosen the sink and other plumbing. You can use a putty knife and the help of a few friends. Remove these items when they are loosened.
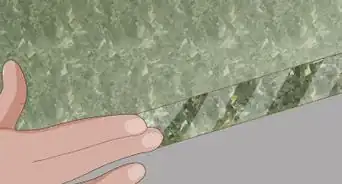
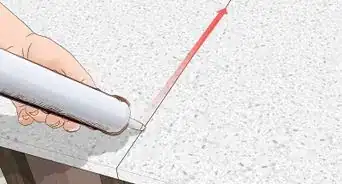
- Cut the caulk around the backsplash, if you have it. Use a utility knife to cleanly cut and strip away the caulk holding the backsplash in place. Place a putty knife next to the wall and use a crowbar to pry away the backsplash until it is removed.
- Unscrew your countertop from the top, sides or underneath. Again, use a putty knife and crowbar (if necessary) to pry the countertop from the cabinetry. It is a good idea to have a number of people helping you so that you can do it gently and pull it away without dropping the counter or digging into the cabinets.
-
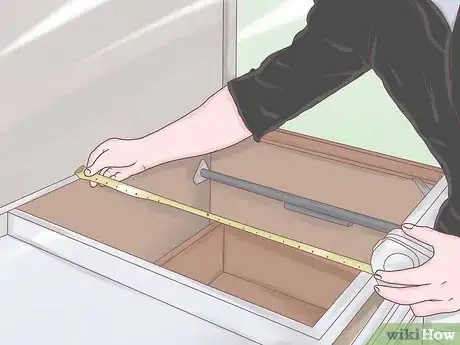
2Measure the counter with a measuring tape once it is removed. It will be far easier to take the dimensions once it is no longer connected to the cabinets. Take measurements of the width, length and depth before going to the hardware store.Advertisement
-
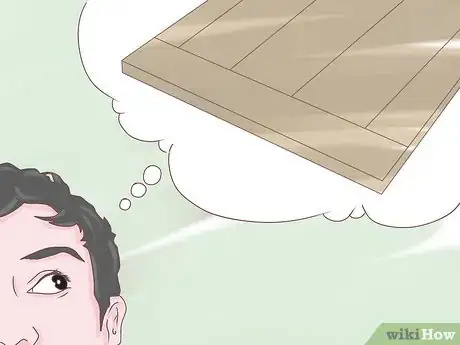
3Decide what wood you would like to use. There are quite a few inexpensive options, but what makes sense for your home may be determined by the availability in your area.
- Find reclaimed wood from a construction site or a construction recycling business. An old door will work as well. Find a piece of wood that is larger than your measurements, so that you can cut it down to size. You can also use several pieces and glue them together, as long as they are the same depth. Remember, if there are some imperfections, these can add to the charm of the wood, or it can be re-sanded in the refinishing process.
- Find tongue and groove flooring from your local home improvement store. Many of these stores have sales every few months on wood that is overstocked. Buying enough tongue and groove flooring for a counter will be fairly inexpensive. If you choose to do this option, have the clerk calculate how much you will need based on your measurements. Also, you may want to leave your existing countertop in place and glue over the top, or install MDF or a thick plywood countertop in exact measurements before you use the flooring.
- Order a piece of wood board from a hardware store. You can have a piece of wood in any type cut to the size you need at most home improvement stores. You will have the most control over what type of wood you want with this option, but it is likely to be more expensive if you choose a rare wood.
- Choose a hard wood for this project. Soft wood will mark easily and be less durable over time. Ash, hard maple, cherry, mahogany, oak, walnut and teak are all hardwoods. Oak is the most common material for making furniture. Pine is a soft wood that is commonly used with furniture, but you may want to choose yellow pine over white pine if you are opting to use a softer wood.
- Get 10% extra material to account for any waste that you need to trim or cut off.
-
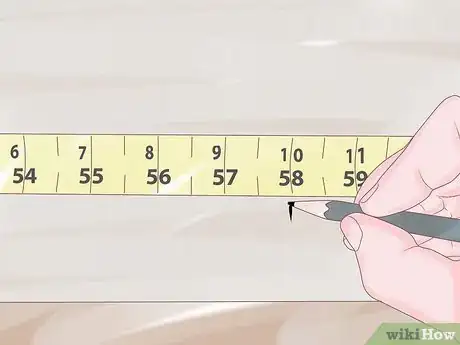
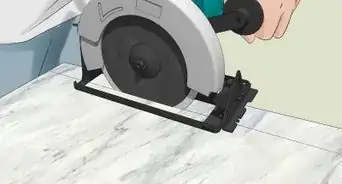
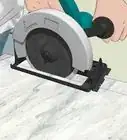
4Measure and mark your wood. Cut it to size with a circular saw, if this has not already been done at the home improvement store. If you are using tongue and groove flooring, you will need to cut the boards to desired lengths, taking into account how they fit together.
- With flooring, 1 of your boards may need to be cut lengthwise in order to achieve your desired counter width. You may choose to use this board at the back of the counter to hide the unfinished cut.
-
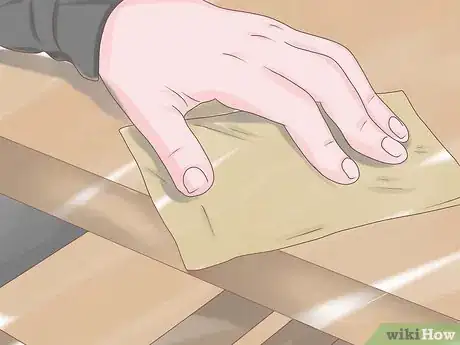
5Sand your countertops with medium-grit sandpaper, if you want to remove imperfections. Finish it with fine-grit sandpaper. This is also not necessary with the tongue and groove option.
-
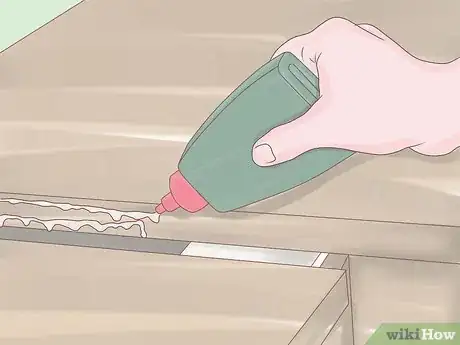
6Glue your wood pieces together with a very strong wood glue. Liquid nails will work well for tongue and groove flooring and gluing together separate pieces of panel. It is important to glue the separate pieces of wood together, rather than gluing the board directly to the cabinets.[2]
-
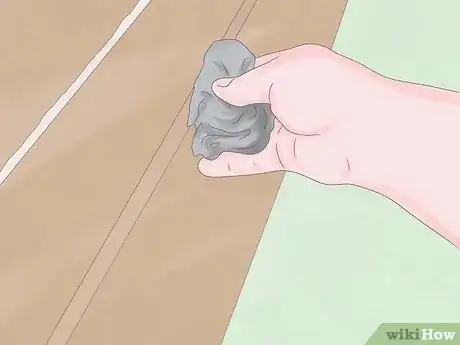
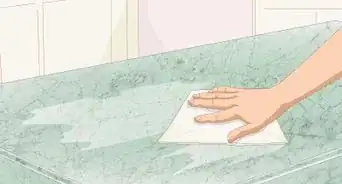
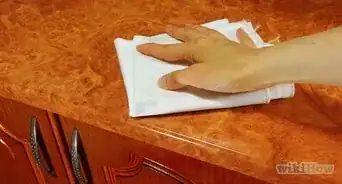
7Continue gluing each piece of wood together, until it is perfectly fitted. Wipe away excess glue throughout the process with a clean cloth.
-
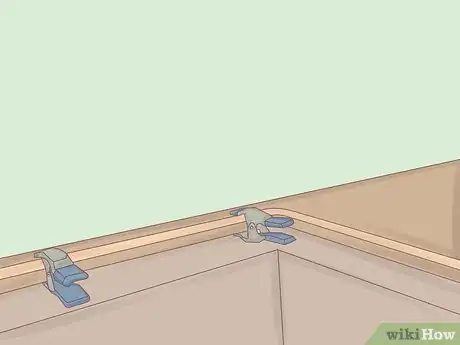
8Place large clamps across panels to hold them together. Place heavy objects on top of the wood so that they do not bow while drying. Allow them to dry according to glue bottle directions.[3]
- Try to space your clamps out evenly. This will create an even hold in all areas.
-
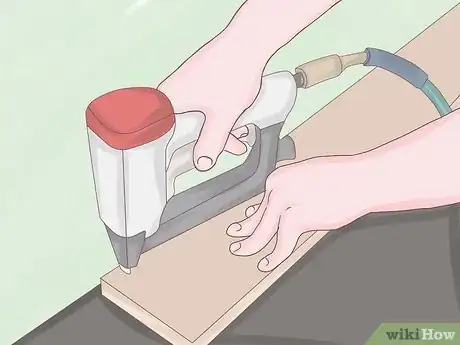
9Attach the homemade countertop to the cabinetry with finish nails. These small nails are usually applied with a hammer, but a nail gun can be used for larger projects. Make sure to space them at regular intervals, approximately 1/8 to 1/4 inch (0.3 to 0.6cm) from the edge of the counter.
-
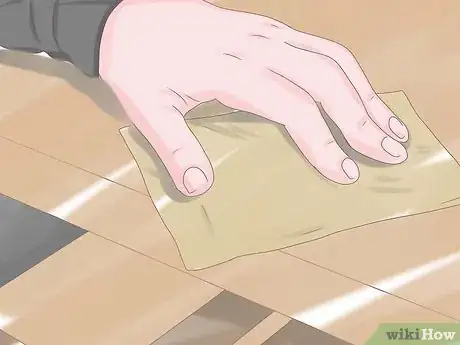
10Re-sand any areas that are uneven with fine grit sandpaper. This will also help to affix the stain. Wipe the surface with a tack cloth before staining.[4]
-
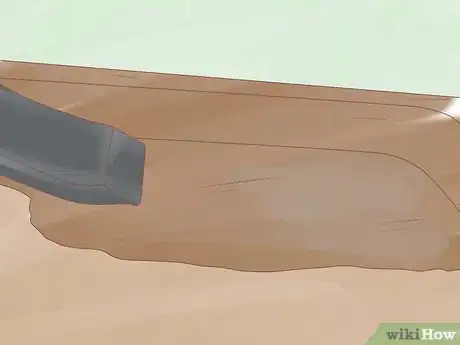
11Apply wood pre-stain. This is a water-based product sometimes called "conditioner." You will want to take extra time when finishing the countertop to ensure it is ready for use.
-
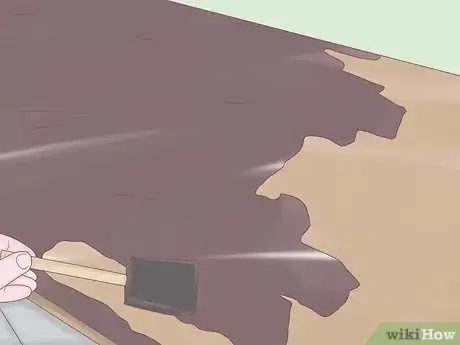
12Apply a wood stain in the color of your choice. You can apply it with a foam brush or a cloth. Repeat another coat once dry to achieve a darker color.[5]
-
13Apply a polyurethane topcoat. Use between 2 and 5 coats, allowing it to dry according to the package directions.[6]
Community Q&A
-
QuestionHow do I cut the sink hole in laminate countertop?
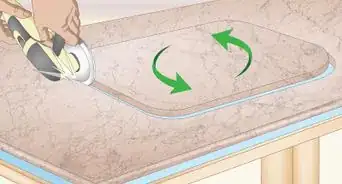
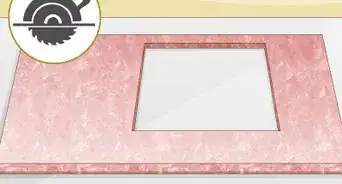
 Community AnswerDraw the outline of the opening on the countertop. Use a drill with a 10-13mm drill bit to make a hole near the line. Insert your jigsaw blade and cut around the outline.
 -
QuestionIs it necessary to remove the laminate on my counter before installing wood planks on the surface?
 Community AnswerYes, it is. It will make the wood planks more even and easier to apply to the surface.
 -
QuestionWhat is a good overhang for kitchen cabinets?
 Community AnswerAt minimum, an inch. Standard is 24 inches and, for some, 25 inches. The island would be at least 40 inches wide.
Things You'll Need
- Flooring/wood board/reclaimed wood
- Wood glue/liquid nails
- Sandpaper
- Large clamps
- Measuring tape
- Utility knife
- Putty knife
- crowbar
- Screwdriver
- Circular saw
- Clean cloth
- Nail gun/hammer
- Finishing nails
- Tack cloth
- Paint brushes
- Foam brushes
- Wood conditioner
- Wood stain
- Polyurethane
- Rags
- Protective clothing
- Wood molding (optional)
References
- ↑ https://www.dumpsters.com/blog/how-to-remove-countertops
- ↑ https://cleverlyinspired.com/2012/02/10-diy-wood-countertop-2/
- ↑ https://www.bybrittanygoldwyn.com/tips-for-edge-gluing-wood-boards-together/
- ↑ https://cleverlyinspired.com/2012/02/10-diy-wood-countertop-2/
- ↑ https://www.artsychicksrule.com/how-to-make-a-diy-wood-countertop/
- ↑ https://www.artsychicksrule.com/how-to-make-a-diy-wood-countertop/
- http://thehappyhousewife.com/home-management/easy-diy-wood-counters/
- http://cleverlyinspired.com/2012/02/06/10-diy-wood-countertop-2/
