This article was co-authored by wikiHow Staff. Our trained team of editors and researchers validate articles for accuracy and comprehensiveness. wikiHow's Content Management Team carefully monitors the work from our editorial staff to ensure that each article is backed by trusted research and meets our high quality standards.
There are 7 references cited in this article, which can be found at the bottom of the page.
This article has been viewed 114,842 times.
Learn more...
The Cheshire Cat is a perplexing fictitious character from Lewis Carroll’s Alice in Wonderland. You can create a Cheshire Cat costume using a handful of supplies. Be the hit of the party, or go in with a couple of friends in the theme of Alice in Wonderland.
Steps
Gathering the Supplies for the Costume
-
1Consider your color scheme. The Cheshire Cat from the 1951 cartoon movie is striped in purple and pink. In a later cinematic version, the cat is striped in teal and purple. Consider what color scheme is most accessible and which you prefer.[1]
- When choosing a color scheme, attempt to use the most accessible colors available.
-
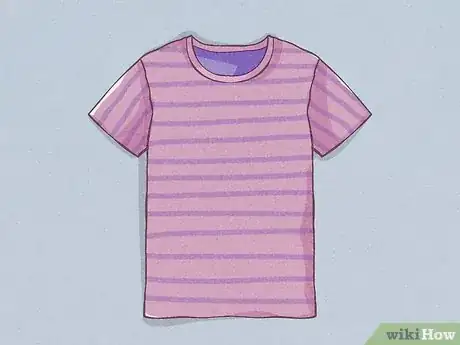
2Get a striped shirt. Search through thrift stores, clothing stores, or online for a stripped shirt of the desired colors. It’s important to keep the color scheme in mind throughout the creation of the Cheshire Cat.
- Costume stores will probably have what you are looking for. Costume stores are also good at having multiple items in the same color scheme.
Advertisement -
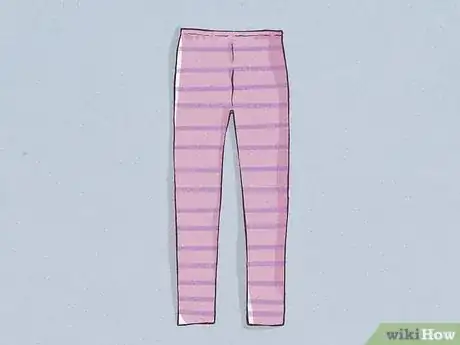
3Find striped leggings or tights. The goal is to find the exact color of stripes in pant form. This is not always realistic for some people’s funds. If you do go to a costume store, they should offer a selection in matching tops and bottoms. You could also look online for something with similar colors.
- If you can’t find anything, you can wear black pants (skinny) or leggings/tights. The bulk of the costume is from the waist up, so you can still have make an effective Cheshire Cat without a matching bottom.
-
4Use a onesuit. You can order a custom onesuit from certain online stores and retailers. There are also onesuit options available that are marketed as a Cheshire Cat costume. Do a quick google search if you were unable to find a matching top and pants.[2]
-
5Create your own stripes. If you're having a hard time finding the right striped colors, you can make your own. You will need a shirt or pair of tights/leggings that is plain and one of your colors. You'll also need tape and fabric paint. Create stripes out of the tape. Once you have the tape setup the way you want it, you can paint onto the shirt.[3]
- Follow the directions of the fabric paint for mixing with water or any other liquid. Use a brush to paint stripes between the taped stripes.
- Let the paint dry for about an hour before removing the tape.
-
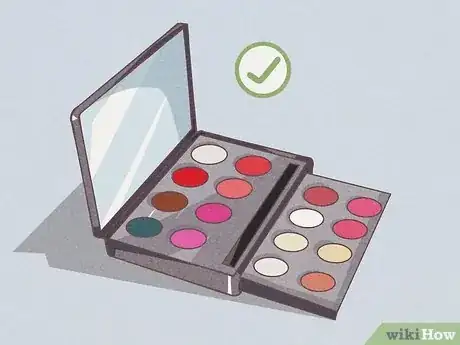
6Acquire face makeup. There are several options you can take with face makeup. You can go for a simple design that can be effective if done right, or do a full paint job with multiple layers. Depending on what style you want to take, you can either go to a costume store for a multiple color face paint set, or find something similar in a general store.
- Consider the quality of the face makeup and strive for higher quality paint. It will look better and it will be better for your skin.
-
7Get a tail. There are several options for a cat tail. Any costume shop will have these pre-made and offer them at a reasonable price. You can alternatively gather the following supplies and create a tail on your own:
- A pair of old black tights or fluffy fabric
- Needle and thread
- Wire and wire cutters (coat hanger will work)
- Strip of fabric (to use as the belt)[4]
-
8Use cat ears. Cat ears are very common to buy premade. A simple black cat is a very popular (last minute) costume. For this reason, you can get a cat ear headband for a decent price. If you’d rather do it yourself, you’ll need the following supplies:
- 2 colors of fabric
- Fabric wire
- Pliers
- Scissors
- Headband
Applying Makeup
-
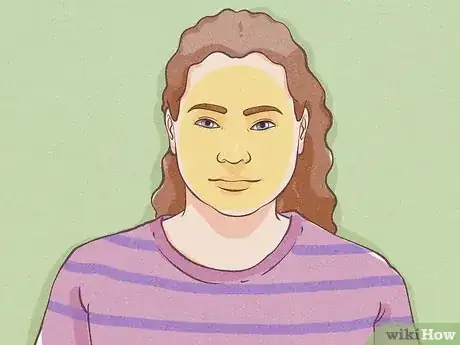
1Apply the base layer. You can either use face paint or makeup. Put a base paint of yellow all over your face. This is the iconic foundation for the Cheshire Cat from the 1951 cartoon.
-
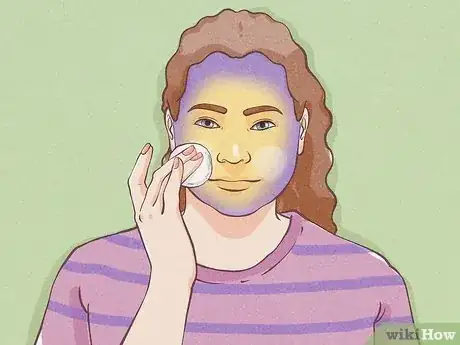
2Apply a layer of purple. Sponge purple around the outside of your face so that the the yellow fades in. You can use a house sponge if you do not own any makeup accessories. Be sure to cover all the areas that are on the outside of your face like: the top of your forehead, neck, ears, etc.[5]
-
3Lighten your cheeks. Dab your cheeks with white to lighten your cheeks. It might help you to look at a picture of the Cheshire Cat and apply the paint in relation to the image.
-
4Add additional details. Use yellow or white eyeliner along your waterline. Draw whiskers in black around your nose. Color in your nose with black face paint. You can use black eyeliner for the whiskers.[6]
-
5Create the Cheshire’s smile. You don’t have to create a mouth out of make up over your mouth, but instead could wear purple lipstick. There are a few ways you can create the smiling mouth out of makeup. Depending on your makeup skills, you can make the classic smiling face, or create a scarier face with sharper teeth.[7]
- For the classic smile: use white makeup to create a wide smiling face around your mouth. Imagine a crescent moon when designing the smile. Once the white has dried, use a fine tipped brush or eyeliner to create teeth. The classic smile, from the cartoon, only has one row of teeth.
- The Tim Burton smile is much creepier because the teeth are rigged and fang like. To create this look, you’ll need to create a crescent smile using black paint. Once the black has dried, create small teeth in the shape of triangles, or in the shape of shark’s teeth. Create two rows of teeth: one row going down from the top and the other going up from the bottom of the mouth.
Creating the Tail and Ears
-
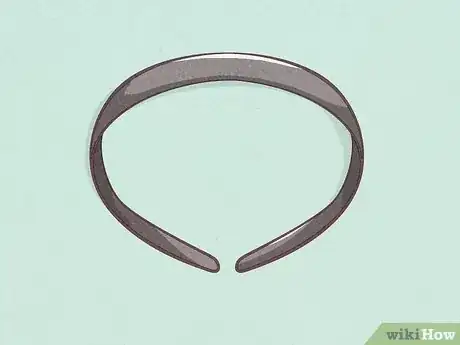
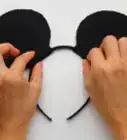
1Buy a headband. You can get these fairly cheap from a clothing outlet. Sort through their selection and try to find a black headband or a color from your color scheme. Use a cheaper headband because you’ll be gluing or sewing onto the headband.
-
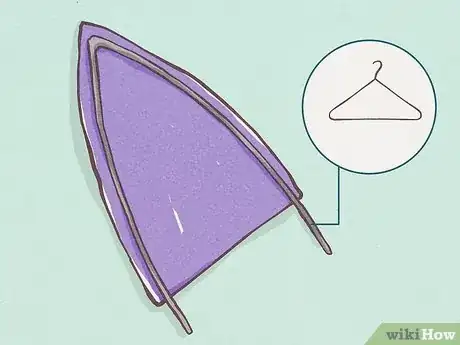
2Create the ears out of fabric. Select two types of fabric, the inside and outside of the ears. The inside fabric should be lighter than the outside fabric. Cut four bigger triangles from the darker fabric and two from the lighter one.You can either glue or sew the triangle together.
- Attach one inner triangle to one of the bigger triangles, and repeat for the other ear.
- Attach your spare triangles to the backside of each ear. Leave a small opening on the bottom to insert a wire frame into the ear.
-
3Reinforce the ears with wire. You can use an old coat hanger to create smaller wire frames to be used in the ears. Use pliers to cut two strips off a coat hanger. Fold the wire in the shape of an acute angle. Thread your wires into the ears.
- If the wire is too long, make adjustments.
- You can also purchase craft wire from a hobbyist store.
- Use glue to secure the wires to the ears.
-
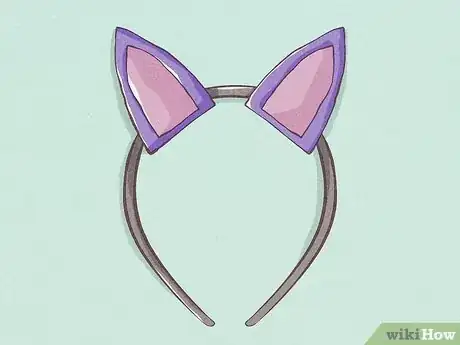
4Attach the ears to the headband. Sew or glue the ears together and then onto the headband. Use a mirror to determine the best location for the ears. A hot glue gun will hold the ears to the headband the best.[8]
-
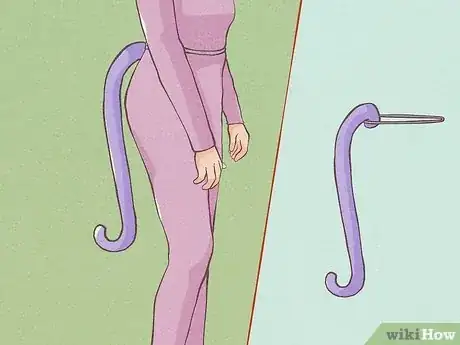
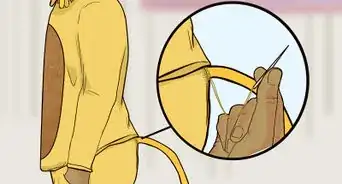
5Create the tail. Use a coat hanger as the frame for the cat tail. Cut off a side of the coat hanger using wire cutters or pliers. Keep the hanger portion to use as the curly tip of the tail. Wrap the hanger in a fluffy fabric or old tights. To secure the fabric, use a hot glue gun while wrapping the tail.[9]
- You can find furry fabric at craft and costume stores. Some fabrics are sold to be used for tails and are already the proper size.
- Cut off any excess fabric from the hanger.
-
6Attach the tail the body. Attaching the tail is one of the simpler steps to the costume. All you need is black string. First, wrap the string around your waist to figure out what length to use. Cut out the desired length of string. Use a hot glue gun, stapler, or tape to attach the tail to the middle point of the string.
- It’s better to cut out a longer piece of string opposed to a shorter one.
- You can alternatively attach the tail to a belt using tape.
Community Q&A
-
QuestionWhere can I buy the things I need for the cat tail?
 Genesis TrujilloCommunity AnswerYou can buy them at any hobby or crafting store; you probably have a wire hanger already at home you could use.
 -
QuestionWhat kind fabric can I use for the cat ears?
 Community AnswerFelt might be a good fabric to use. Use soft felt, not hard felt.
 -
QuestionHow do I make my face paint dry quickly?
 Community AnswerUse a hairdryer on the cold setting or stand in front of an electric fan. It'll dry quicker having moving air going to your face. You could even get a thick piece of paper and fan yourself that way.
References
- ↑ http://www.sugartartcrafts.com/2014/09/diy-cheshire-cat-costume.html
- ↑ http://www.coolest-homemade-costumes.com/cheshire-cat.html
- ↑ http://www.skiptomylou.org/diy-easy-striped-shirt-by-lazy-saturdays/
- ↑ http://www.xovain.com/how-to/last-minute-cat-costume
- ↑ http://www.coolest-homemade-costumes.com/cheshire-cat.html
- ↑ http://www.sugartartcrafts.com/2014/09/diy-cheshire-cat-costume.html
- ↑ http://www.jsonline.com/features/fashion/use-makeup-as-your-costume-for-halloween-b99372558z1-279917912.html
- ↑ http://www.alice-in-wonderland.net/fun/alice-in-wonderland-costume-ideas/
- ↑ http://www.doityourselfdivas.com/2012/10/diy-black-cat-costume.html
About This Article
To make a Cheshire cat costume, try to find a matching striped top and leggings in the color scheme of your choice. You'll also want to get hold of a cat ear headband and tail from a costume store. For your face, start by painting it with a foundation layer of yellow face paint. Next, dab purple paint around the edges so it blends in with the yellow, and lighten your cheeks with some white paint. You can also add further details by using white eyeliner around your eyes and black face paint for whiskers. For tips on how to make your own cat tail and cat ears, read on!

