X
wikiHow is a “wiki,” similar to Wikipedia, which means that many of our articles are co-written by multiple authors. To create this article, volunteer authors worked to edit and improve it over time.
This article has been viewed 34,752 times.
Learn more...
Sewing your own custom Barbie doll bedding is a great way to stay connected to your child as she explores the world of dolls. Although you could easily purchase bedding for Barbie, you won't glean the interactive element of working together. Be sure you involve your child throughout the entire process, teaching her about sewing and how to approach project management.
Steps
Method 1
Method 1 of 3:
Choose Fabrics and Supplies
-
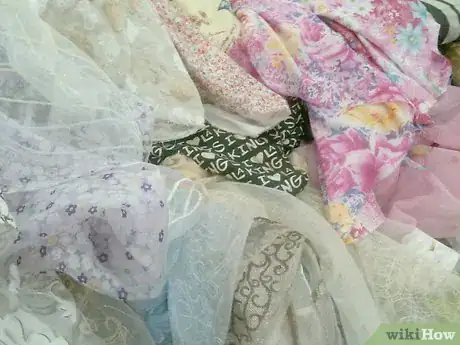
1Visit the fabric store to explore the abundance of fabric options. This is where your child can get very creative and go for some wilder patterns. If she wanted a pink, glittery bedspread (and you said “no”) now is the time to let her purchase pink glittery fabric for Barbie--at least one resident in the room will have the glitz!
- Pick up enough fabric to make the doll bed and pillow(s). Generally Barbie's bed is 8 x 10, so make sure you have enough for a 9 x 11 (or more). Also, don't forget about pillows.
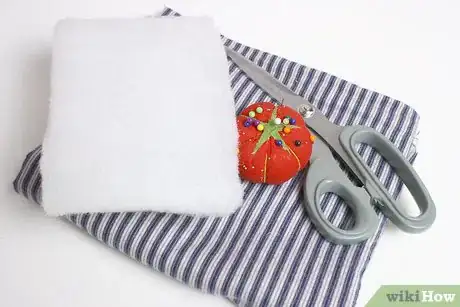
- Purchase fabric to “fill” your bedding. Of course if you were making a comforter for a human being you'd need to purchase thick batting. However, since Barbie won't be getting chilly at night, thick fabric or even stuffing it with cotton will suffice.
-
2Buy a few bags of cotton and sewing supplies. If you plan to use your sewing machine you may just need thread in a matching color. However, if you are hand sewing, make sure you have an appropriate needle and also a good pair of sharp sewing scissors (for both hand and machine sewing). You'll also need a measuring tape to ensure all measurements are correct.
Advertisement
Method 2
Method 2 of 3:
Make the Comforter
-
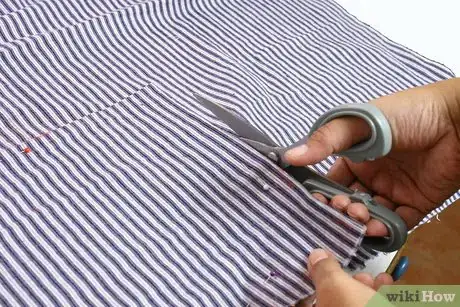
1Cut two 9 x 11 squares from your comforter fabric. Use a measuring to mark off the 9 x 11 squares.
-
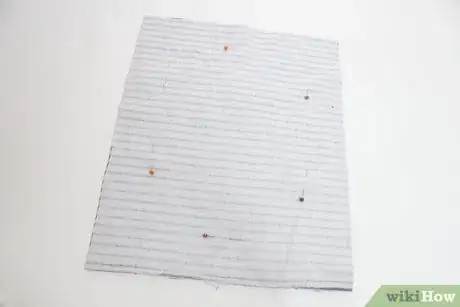
2Turn fabric so that the back of the fabric is facing outward (on both sides). If the fabric is the same pattern on both sides don't worry about this step.
-
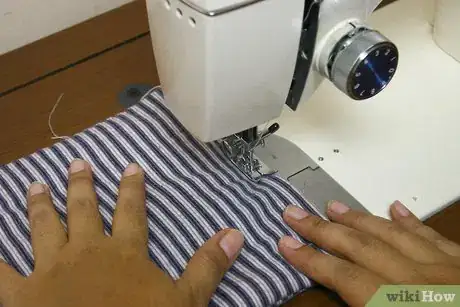
3Sew around the edges, approximately ½ inch in to create a seam. Sew the two sides and bottom but leave the top open.
-
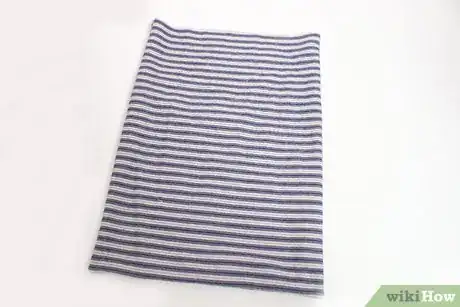
4Turn the fabric right side out so that the pattern is facing outward. Trim any excess string or fabric.
-
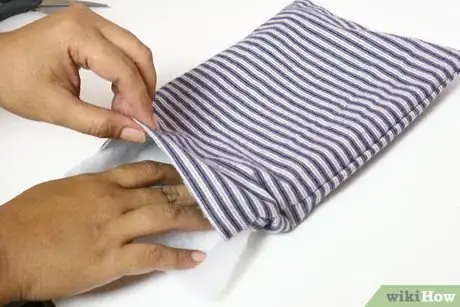
5Add batting or stuffing through the top opening of the blanket. Don't overfill but just add a thin layer to give the comforter some thickness.
-
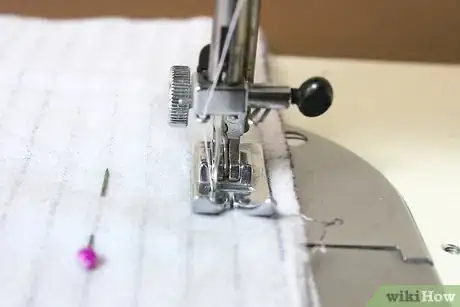
6Sew the top opening closed, following the same ½ inch seam. Trim hanging thread after you've finished to create a seamless look.
Advertisement
Method 3
Method 3 of 3:
Design and Make Pillows
-
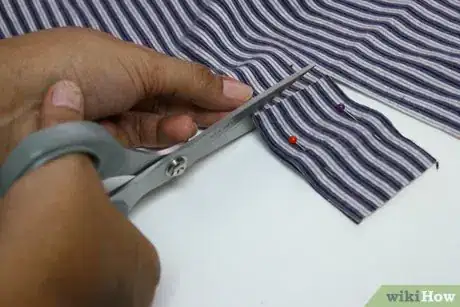
1Cut two smaller pieces of fabric to create the pillow. Depending on how large you want to make the pillow, shoot for measurements around 2 x 3. However, the exact size is up to you.
-
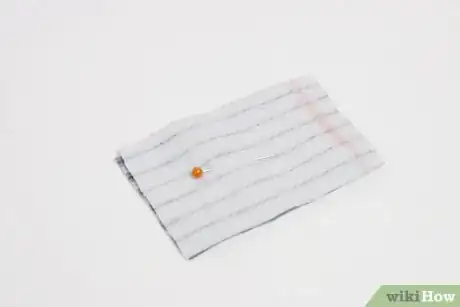
2Turn the fabric outward with the back facing out. Line the edges up carefully so you don't have a crooked pillow.
-
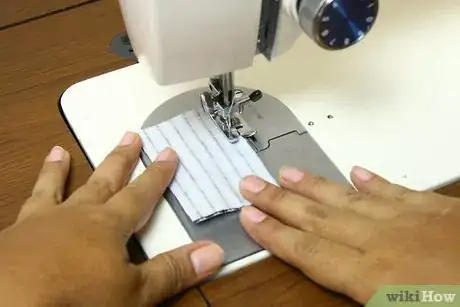
3Sew around the bottom and the two sides of the pillow. A smaller seam or ½ inch will do the trick.
-
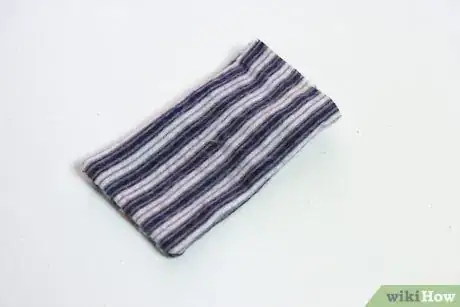
4Turn the pillow fabric right side out and trim away any excess thread or fabric. You should have an opening at the end for your filling.
-
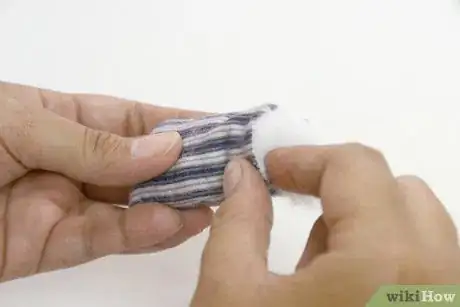
5Stuff the pillow with cotton. Be careful not to overstuff because you still need to close the other end.
-
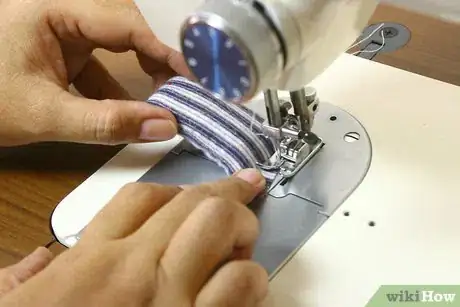
6Sew the end with the same stitch work as you did on the rest of the pillow. Trim excess thread.
Advertisement
About This Article
Advertisement
