This article was co-authored by Alicia Oglesby. Alicia Oglesby is a Professional School Counselor and the Director of School and College Counseling at Bishop McNamara High School outside of Washington DC. With over ten years of experience in counseling, Alicia specializes in academic advising, social-emotional skills, and career counseling. Alicia holds a BS in Psychology from Howard University and a Master’s in Clinical Counseling and Applied Psychology from Chestnut Hill College. She also studied Race and Mental Health at Virginia Tech. Alicia holds Professional School Counseling Certifications in both Washington DC and Pennsylvania. She has created a college counseling program in its entirety and developed five programs focused on application workshops, parent information workshops, essay writing collaborative, peer-reviewed application activities, and financial aid literacy events.
wikiHow marks an article as reader-approved once it receives enough positive feedback. This article has 16 testimonials from our readers, earning it our reader-approved status.
This article has been viewed 277,740 times.
If you've ever forgotten to do your homework or been caught unprepared for a test, then you might want to start using a planner. Though planners are available at office supply and craft stores, the benefit of making your own is that you can make it look exactly how you want and choose what will be included (or not included) on each page! There are some basics that your planner will need, but once you have those in place you can customize it however you like. Once you're finished, you'll have a unique organizer—just remember to check it and write down your assignments every day.
Steps
Choosing and Decorating Your Planner
-
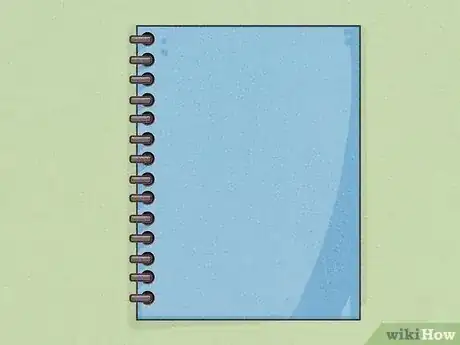
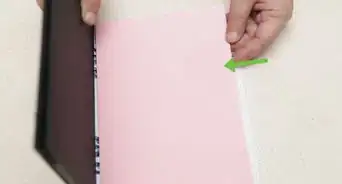
1Find or purchase a notebook. Think carefully about the size that you want. If you like to include a lot of details, you’ll probably need a larger notebook. But something smaller will be easier to carry, and it will take up less room in your backpack.
- You’ll also have a choice of bindings. Spiral-bound notebooks lie flat, but composition books and similar notebooks with a sewn binding won’t damage your other books and papers, as spiral bindings sometimes do.[1]
- If you like to keep all of your papers together, consider purchasing a notebook that has a folder attached or a pocket inside the front cover.
- If you choose to draw a biweekly calendar rather than listing your assignments, you may find that blank, grid-lined, or grid-dotted paper is a good choice.
-
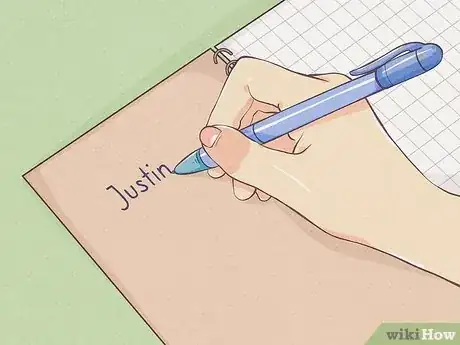
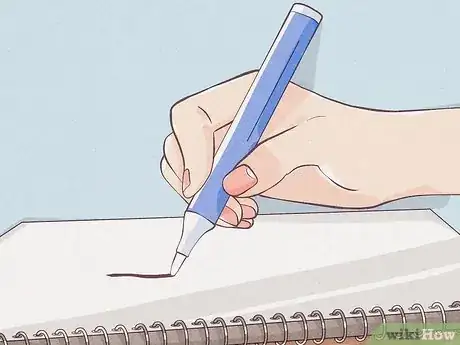
2Write your name inside the front cover. Also include any information that would help someone return your planner if you lose it. This includes your grade level, phone number, and/or student ID number.Advertisement
-
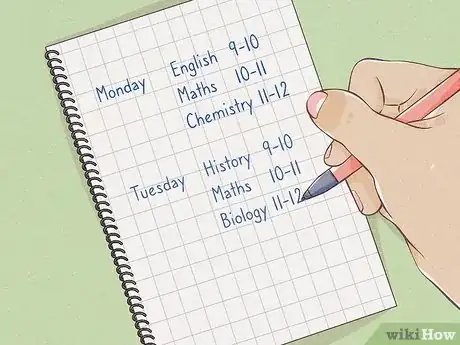
3Write or staple a copy of your class schedule on the first page. This way, you’ll have it available for easy reference.
Decorating Your New Planner
-
1Think about how you want to decorate the outside. Do you like stickers, or are you more of a doodler? Do you hoard pictures and fun text from magazines and love to create collages from interesting materials?[2] Do you like making daisies with White-Out and highlighters?
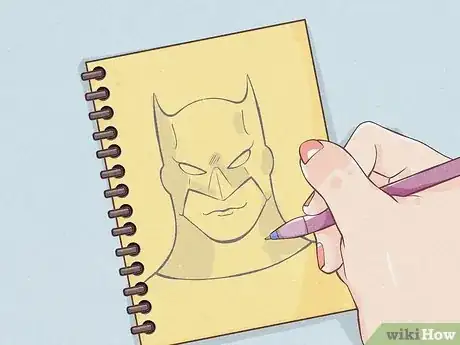
- If you like comics, consider drawing a comic strip or your favorite superhero on the cover.[3]
- Make sure that whatever you use will be durable. For example, if you glue sequins to the cover or use glitter, you risk losing your decorations in the deep, dark bottom of your backpack.
-
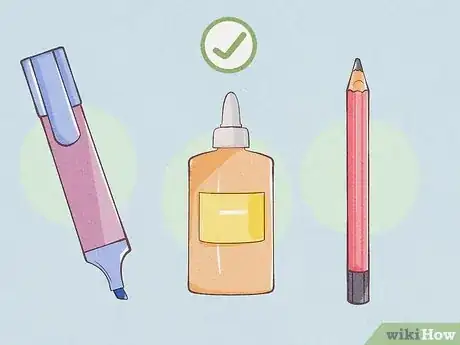
2Collect your materials. Once you have a plan, make a list of everything you need. Paints, markers, glue, colored pencils: gather it all together and set yourself up wherever you like to work when you’re creating things.
-
3Go for it! Decorating the outside is one of the best ways to make your planner just for you. And the more you feel like your planner expresses your personality and creativity, the more you’ll want to use it. Plus, you’ll get to show off your beautiful work!
Listing Your Assignments
-
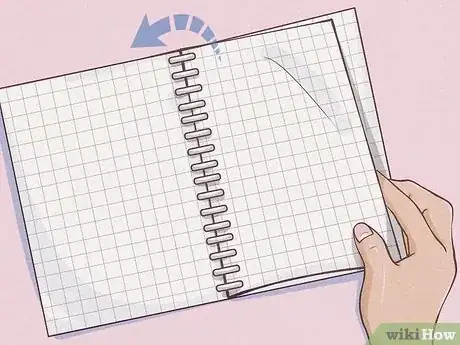
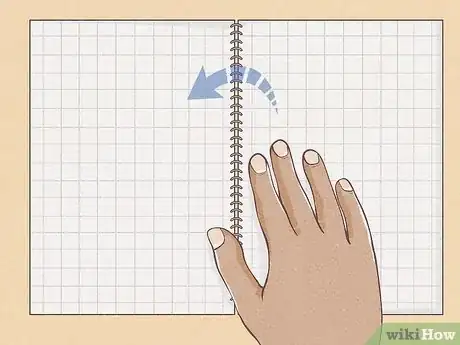
1Open to the second page. Lay the notebook flat so that you can see both the reverse side of the first page on the left and the front side of the second page on the right.
-
2Divide the right page into three sections. The sections can be vertical columns or horizontal rows, depending on what you’re more comfortable with.
- Adjust the number of sections per page according to the size of your pages and how many assignments you have.
- Lay it out in a way that makes sense to you. The point is to set up so that you'll find it easy to use and will consult it daily. A planner that you don't like using obviously won't help you organize your homework and get assignments done.
-
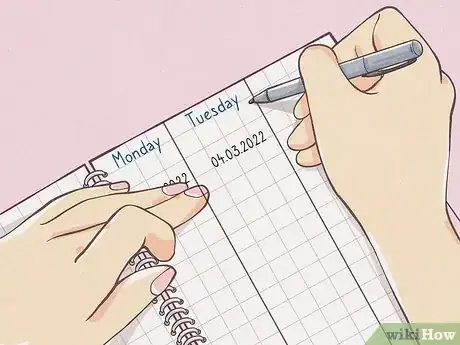
3Label each section with the day of the week and the date. For example, Monday, March 3; Tuesday, March 4; and Wednesday, March 5. This is where you will record your homework assignments from that day.
- If you structure the sections horizontally, you can use the margin or make a column on the right side to keep track of when your assignments are due.
-
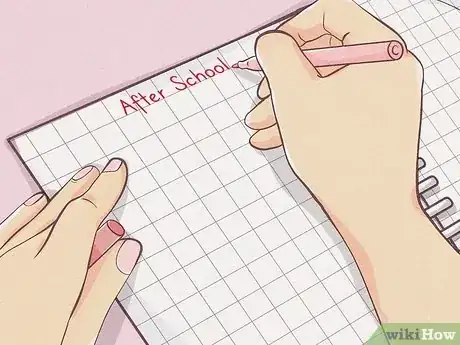
4Title the left page "After School" or “Upcoming Events.” This side is where you keep track of extracurricular activities, like band practice, sporting events, and dance class. You can divide it up into days like you did on the right side, or you can just list everything in the order that it will occur.
- You can add other sections to this page if there is anything else you need to keep track of. The more information you write down, the more you’ll use your planner as a reference. And if you’re using your planner regularly, you’ll be less likely to forget an important assignment.
Drawing a Biweekly Calendar (Alternative Layout)
-
1Open your notebook to the second page. Turn it so that it is horizontal in front of you.
-
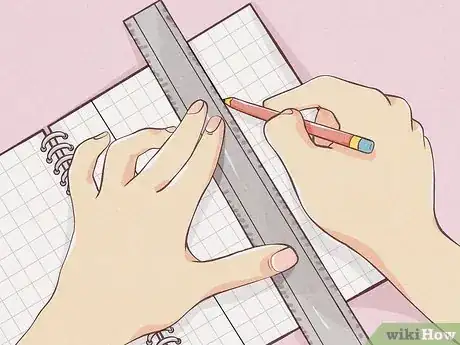
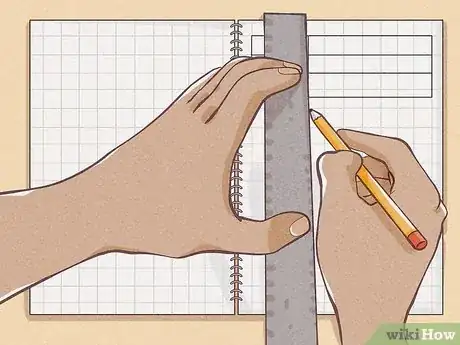
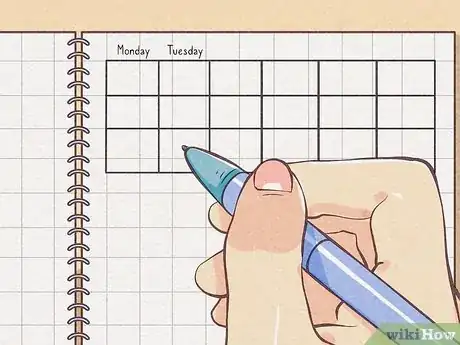
2Draw a table with two rows and six columns. Use a ruler if you like neat, precise lines. Make each square large enough to record your assignments.
- If you are using a smaller notebook, you may only be able to comfortably fit one row. That’s perfectly fine. It’s better to have only one week on the page than to make the boxes so small that you can’t fit all the information you need.
-
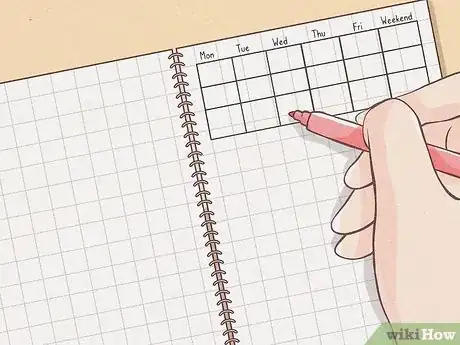
3Label each column with a day of the week. Start with “Monday” above the first column, “Tuesday” above the second, and so on through Friday. The sixth and final column is for the weekend, so you can write either “Weekend” or “Saturday/Sunday.”
-
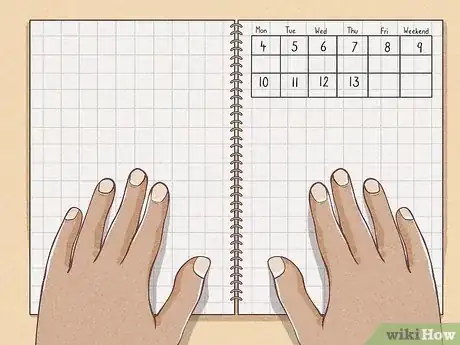
4Write the date range above the calendar. For example, Monday, February 3rd to Sunday, February 16th.
-
5Lay your notebook flat so that you can see both pages. Rotate it so that it is vertical again.
-
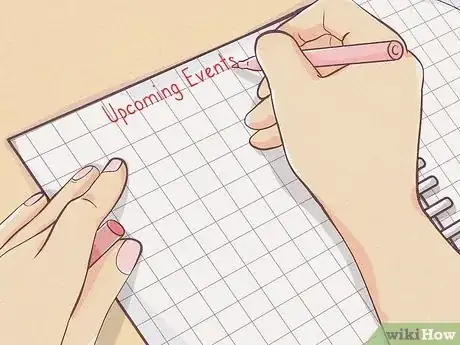
6Title the left page “Upcoming Events.” If you have enough space on your calendar, you could also just write your extracurricular activities there. However, you may find that your assignments fill the available space.
Adding the Finishing Touches
-
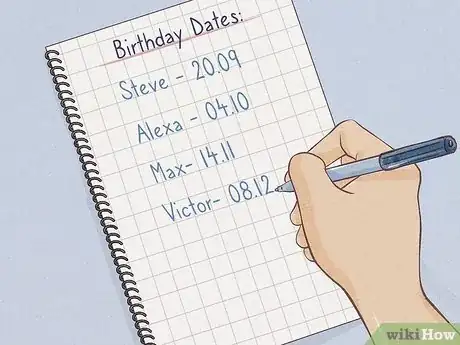
1Add useful sections in the back of the notebook. You can make a page of goals for the next few weeks or the semester, a page for the school calendar, and a page with contact information and birthdays.
-
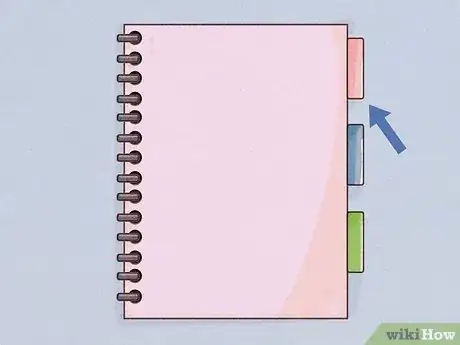
2Use sticky tabs or flags to label the sections. It will be easier to use your planner if you can flip straight to the section you need.
-
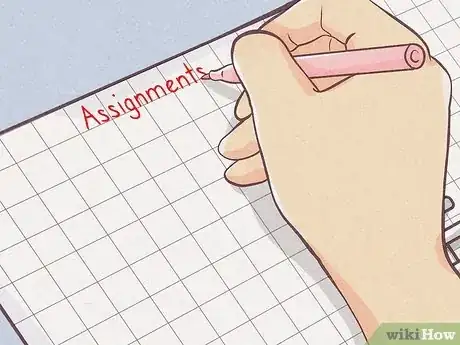
3Write in your assignments. Make sure to write your assignments down every day. If you don’t have an assignment, make a note of it so that you’ll know later that you didn’t just forget to write it down.
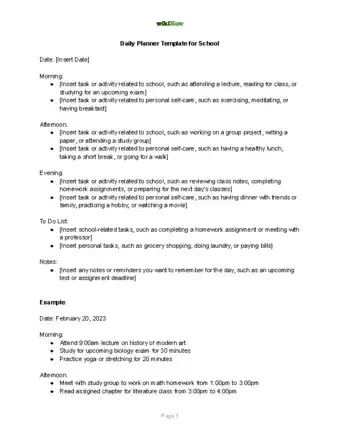
Daily Planner Template for School
Community Q&A
-
QuestionHow can I make myself remember to check the planner?
 Community AnswerPut a sticky note on your mirror or another place where you look daily. You could also set a daily reminder on your phone to check your planner.
 -
QuestionWhat is the best type of journal to use?
 Community AnswerAny notebook or journal will do. Choose one that you like and that fits well in your purse, pocket, or backpack.
 -
QuestionWhat is "dog-earing?"
 Community AnswerDog-earing is folding down a small corner of a page to mark that page in a book.
Things You'll Need
- Notebook
- Pencil, pen, or any other writing utensil
- A binder (optional)
- Decorating supplies (optional)
References
About This Article
To make your own school planner, choose a notebook that will easily fit into your backpack. Write your name inside the front cover in case you lose it, and write or staple a copy of your class schedule on the first page. Open the notebook to the second page, and divide the right page into 3 sections, each labeled with the day of the week and the date. Use these sections to write out daily work. On the left page, write “After School” or “Upcoming Assignments” so you’ll have an easy place to see everything. Keep reading to learn how to make a biweekly planner instead!
