This article was co-authored by Robert Shapiro and by wikiHow staff writer, Aly Rusciano. Robert Shapiro is a Laundry Specialist and the General Manager at Milt & Edie's Drycleaners & Tailoring Center in Burbank, California. With more than a decade of experience, he specializes in dry cleaning, stain removal, tailoring, alterations, and green and eco-friendly cleaning processes. Robert has also been featured in publications such as Cleaner and Launderer Magazine.
There are 21 references cited in this article, which can be found at the bottom of the page.
This article has been viewed 1,795,936 times.
You’ve finally found a decent pair of jeans, but they’re a bit too roomy. Lost cause? Not quite! With a little know-how, you can alter your jeans at home. In this article, we’ll show you the best ways to make your jeans tighter with and without sewing. Read on to learn how you can DIY your jeans so they fit perfectly.
Things You Should Know
- Place your jeans in hot water and toss them in the dryer on the hottest setting to quickly shrink them down a size or two.
- Turn baggier or wide-legged jeans into skinny jeans by sewing new seams along the legs with a sewing machine.
- Use a sewing machine to take in the waist of your jeans if they’re a little too big on top but fit perfectly everywhere else.
Steps
Shrinking Your Jeans with Heat
-
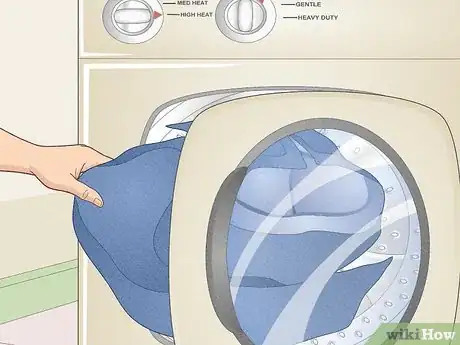
1Wash your jeans in hot water to shrink their size. Turn your jeans inside out and toss them into the laundry machine by themselves. Use the “hot” setting on your washing machine, and avoid using fabric softener. The tumbling action combined with the hot water can open and shrink the fibers of the denim, making your jeans smaller.
-
2Toss the jeans into the dryer to make them smaller. After you wash your jeans, put them in the dryer and dry them on the hottest setting for the longest time possible. This will tighten up the denim fibers and help them shrink quickly.[3]
- Be sure to read the label on your jeans before trying this method, as jeans that can’t be tumbled dried might shrink two or three sizes too small.
Advertisement -
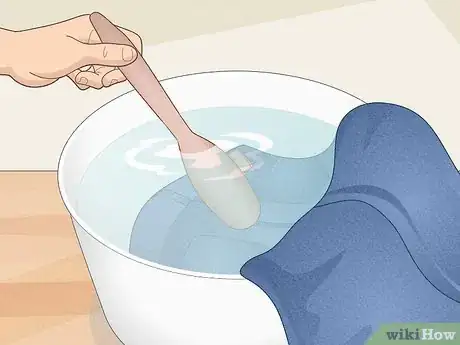
3Dip the waistband of your jeans in boiling water to shrink the waist. Pour boiling water into a tub, sink, or bucket. Immerse only the waistband into the water using a large wooden spoon, and let it soak for 10 to 15 minutes. Wring the waistband out and then dry on high heat in a dryer. This can help tighten the waist size rather than shrinking the entire jean.[4]
- Consider wearing rubber gloves while you do this to avoid burning yourself.
-
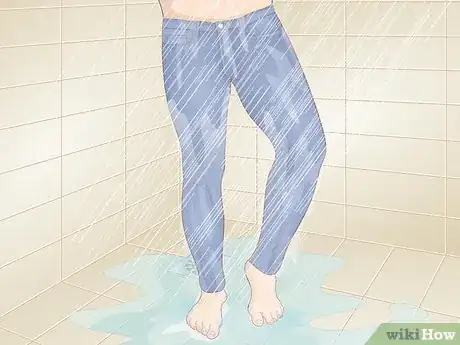
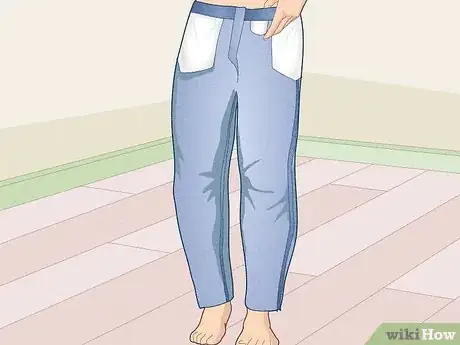
4Try taking a hot shower in your jeans. We know it sounds super silly, but wearing your jeans in hot water can actually help them mold to your body better. Jump in the shower with your jeans on and make the water tolerably hot. Stay in the shower for around 15 to 20 minutes, wiggle out of the wet jeans, and immediately toss them in the dryer.[5]
- If standing in the shower for that long isn’t feasible, no worries! Try taking a warm bath in your jeans instead.
Sewing New Seams
-
1Try on your jeans inside out to see where they need altering. Pull the legs inside out and put them on like you would when they’re right-side out, buttoning them where you’d like them to rest. Stand in front of a mirror and note where you want the jeans to be tighter.[6]
- Remember that when you turn your jeans inside-out, your left leg inside-out is your right leg right-side-out.
-
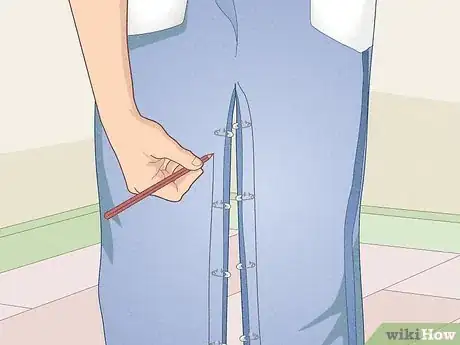
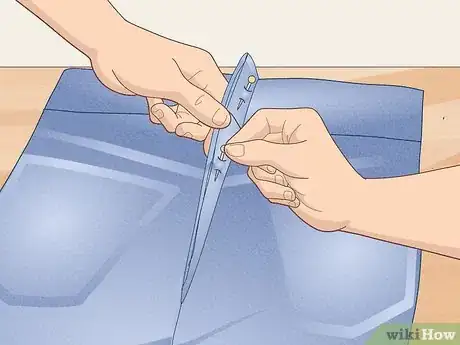
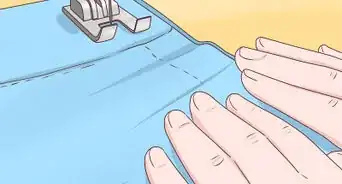
2Pin the fabric together at the crotch and down the inseam to form a new seam. The seam is where the two pieces of fabric meet and are sewn together. By making a new seam, you can tighten the leg of the pant. Simply pinch the fabric together at the inside of your leg to make it fit snugly around your leg. Then, use a safety pin or straight pin to hold the fabric in place.[7]
- Pin horizontally so you can guide your sewing machine over each pin without jamming the machine.
- Once one leg is pinned, gently remove the jeans.
-
3Pin the other pant leg to continue the inseam. Lay the jeans on a flat surface and smooth out any wrinkles in the fabric. With a ruler, measure the distance between each pin and the bottom of the pants. Copy your measurements onto the other leg, and pinch and pin the fabric to finish the layout of your inseam.[8]
- Make sure your pinned seams are flat as you measure; otherwise, your stitching may be bumpy.
-
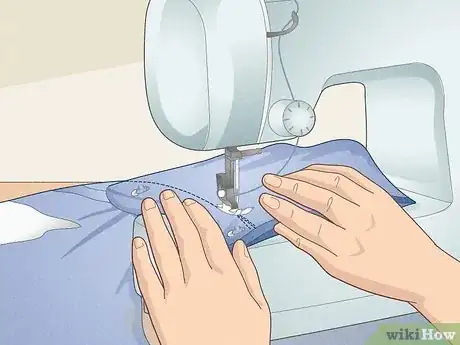
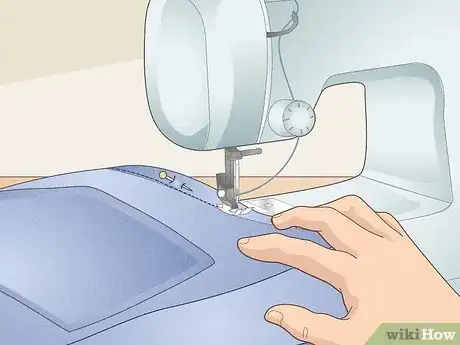
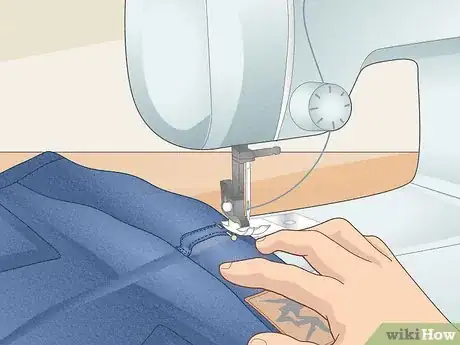
4Use a sewing machine to sew the new seam. Thread the sewing machine with an all-purpose polyester thread that matches the color of your jeans. Start at the crotch and sew along your pins, keeping the jeans as flat as possible. Continue stitching along your pins until you reach the bottom of the pants.[9]
- Consider using a temporary basting stitch first, so you can try on your jeans with the new seam and easily remove and adjust any stitching.
-
5Reverse your stitch to fasten off the thread. When you get to the bottom of your pants and the end of your pins, press the reverse sewing lever and sew a quick knot. Lift the needle and remove the pants from the machine, cutting the connecting thread. Place the other pant leg into the sewing machine and repeat the sewing process.[10]
-
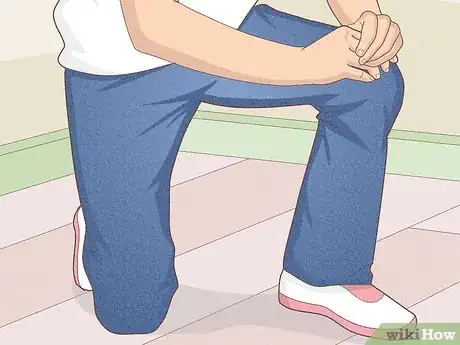
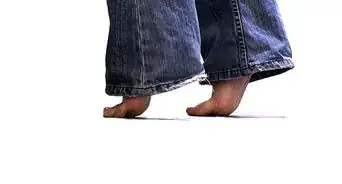
6Try on your freshly sewn jeans. Once both legs are sewn, cut off any excess thread and remove the pins. Turn the jeans right-side out and put them on. Try walking, running, kneeling, and dancing to ensure they fit exactly how you’d like.
-
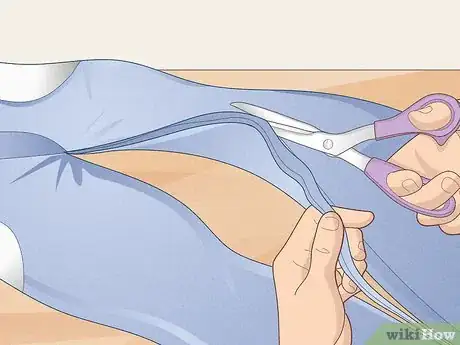
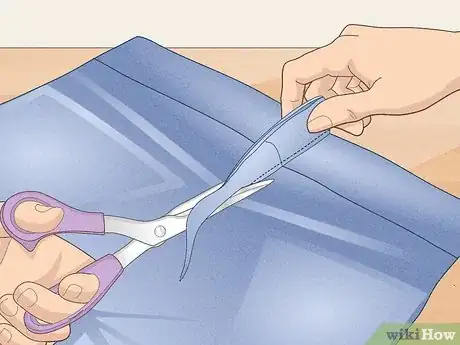
7Cut off the excess fabric to finish the new seam. If the jeans fit, take them off and turn them inside out again. Use a pair of fabric scissors to cut off the extra fabric on the outside of your new seam, leaving about 0.5 to 0.75 inches (1.3 to 1.9 cm) of space between the scissor blades and the new seam.[11]
- Consider securing the new seam with a serger, if you have one, as denim can easily fray.
Sewing the Waistband
-
1Remove the center belt loop from your jeans with a seam ripper. Carefully use a seam ripper to detach the back belt loop from the center rear of your jeans, plucking out each stitch.Set it aside and hang on to it—you’ll need it again later.[12]
-
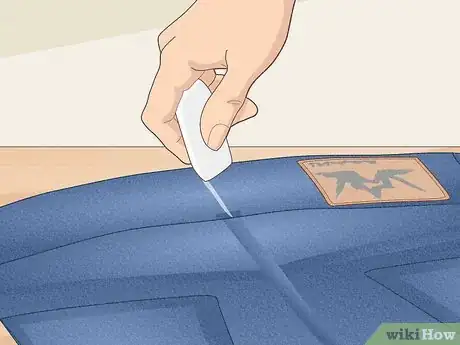
2Use a sewing marker or chalk to draw a line where the belt loop used to be. Try using a ruler to guide you so the mark is as straight as it can be.[13]
-
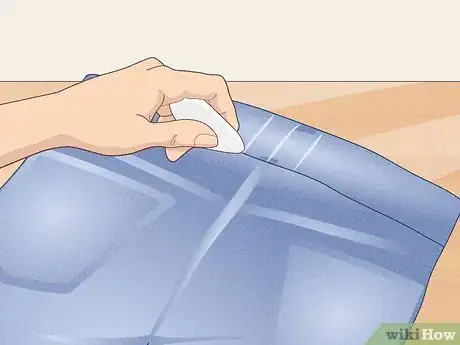
3Try the jeans on inside-out to see how much to take in. Button or zip the pants up and hold them up where you’d like them to rest. Pinch the fabric together at the back of the waist, and use your marker or chalk to mark where your fingers are holding the fabric (a line where your thumb rests, and a line where your pointer finger is).
-
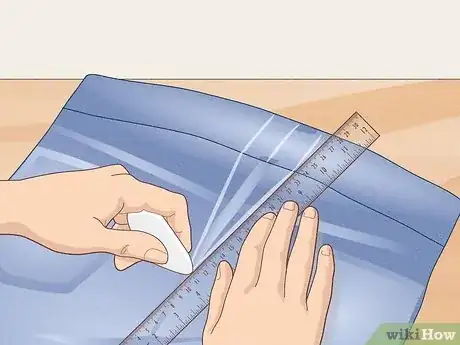
4Take off the jeans and measure the width to be removed. Keep the pants inside-out, and measure half the width of the area to be removed from the first mark you made. Use this measurement to create a new mark on either side of the center mark.[14]
- For example, if you need to remove 2 inches (5.1 cm), you’ll place a mark at 1 inch (2.5 cm) to either side of the middle.
-
5Use a ruler to draw a triangle from the outer marks to the crotch. Make a triangle by drawing a line from the bottom of each mark you made to the seam along the crotch of the pants. Make the wedge about 3 to 4 inches (7.6 to 10.2 cm) long.[15]
-
6Rip out the stitches underneath the waistband. Use a seam ripper to take out the stitches inside the wedge along the waistband. This helps make the sewing process that much easier later.[16]
-
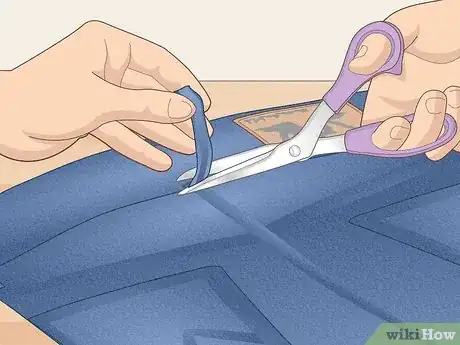
7Cut the waistband in half with a pair of scissors. Place your scissors on the center mark and snip the band in half. If you cut through the label, consider removing it.[17]
-
8Rip the center seam with a seam ripper. Carefully remove the center stitches from the waist to the bottom of the wedge you’ve marked. When you reach the bottom of the wedge, tie off the remaining threads with a double knot to prevent unraveling.[18]
-
9Line up the wedge lines and pin them together. Once the center seam is removed, hold the ripped edges up and match them up. Insert straight pins along the wedge line to hold the two pieces of fabric together. This will be your waistband’s new seam.[19]
- There will be excess fabric sticking up, but don’t worry! You’ll cut this later. Plus, the pants are inside out, so this fabric will appear to be a part of the new seam once everything is sewn together.
-
10Use a sewing machine to tighten the jeans’ waist. Start at the crotch and straight stitch along your pins to the top of the pants. Make sure both sides of the fabric are flat as you sew. Remove the pins as you go. Backstitch at the top to finish your stitch, lift the needle, and cut off the excess thread.[20]
- Use a thread that matches the color of your jeans so your stitches aren’t too visible.
- Make sure the new and old seams match up; otherwise, your back jean pockets may be lopsided.
-
11Cut off the excess fabric from the seam. Use fabric scissors to remove any bulging fabric from your new waistband seam. Give yourself an allowance of at least 0.5 to 0.75 inches (1.3 to 1.9 cm).
-
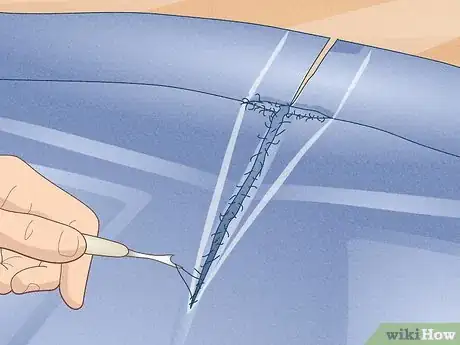
12Sew the center belt loop back onto the jeans. Line up the top seam on the belt loop with the top seam of the waistband, and pin them together. Do the same with the bottom. Place the top of the belt loop under the sewing machine's needle. Stitch horizontally across the top and the bottom of the loop. Remove the pins, and try on your self-altered jeans.[21]
Community Q&A
-
QuestionHow do I make the waist of my jeans smaller?
 Community AnswerIf you want a cleaner look and have a bit of money to spend, take them to a tailor. If not, get out a sewing kit and pin the waist so that it will fit you better, then put in a few stitches. If you don't feel like sewing, a belt can correct more minor size issues.
 -
QuestionCan I do this with school pants?
 Community AnswerYou most likely can, but it depends on the material of the pants. You may have to use an alternate shrinking method.
 -
QuestionHow do I make the waist and the legs of my jeans tight without sewing?
 Community AnswerEither boil them or wash them in the washing machine with hot water. Also, depending on your jeans, you could put them in the dryer on the hottest setting.
Warnings
- Remember, though you can always cut off more denim to sew jeans tighter, you can't put it back. When in doubt, err on the larger side.⧼thumbs_response⧽
- Avoid wearing jeans so tight that you're in pain, as you could be cutting off circulation.⧼thumbs_response⧽
Things You'll Need
Sewing New Seams
- Jeans
- Sewing machine
- Serger (optional)
- Ruler
- Fabric scissors
- Straight pins or safety pins
Sewing the Waistband
References
- ↑ http://www.marieclaire.com/fashion/news/a18926/jean-fit-tricks/
- ↑ http://www.washingtonpost.com/wp-dyn/articles/A28623-2004Nov5.html
- ↑ https://www.instyle.com/fashion/how-to-shrink-jeans
- ↑ http://www.marieclaire.com/fashion/news/a18926/jean-fit-tricks/
- ↑ https://www.cosmopolitan.com/style-beauty/fashion/a35562256/how-to-shrink-jeans/
- ↑ https://youtu.be/ekODvGvr6Ew?t=15
- ↑ https://youtu.be/ekODvGvr6Ew?t=24
- ↑ https://youtu.be/ekODvGvr6Ew?t=45
- ↑ https://youtu.be/GHNMWMiIHKI?t=532
- ↑ https://youtu.be/6ejvN73476g?t=892
- ↑ https://youtu.be/ekODvGvr6Ew?t=229
- ↑ https://youtu.be/ECZs4RubpRM?t=53
- ↑ https://youtu.be/LaoQLPKwXxA?t=182
- ↑ https://youtu.be/LaoQLPKwXxA?t=200
- ↑ https://youtu.be/LaoQLPKwXxA?t=205
- ↑ https://youtu.be/ECZs4RubpRM?t=204
- ↑ https://youtu.be/LaoQLPKwXxA?t=229
- ↑ https://youtu.be/LaoQLPKwXxA?t=245
- ↑ https://youtu.be/ECZs4RubpRM?t=649
- ↑ https://youtu.be/ECZs4RubpRM?t=862
- ↑ https://youtu.be/ECZs4RubpRM?t=1527
- ↑ https://youtu.be/fswlFcTudf4?t=1
About This Article
To make your jeans tighter, turn them inside out to protect the outer layer and wash them in a front-loading washer using hot water. If you don't have a front-loading washing machine, go to a local laundromat to use one there because the tumbling in those machines tends to shrink fabric more. While washing your jeans, skip the fabric softener which will prevent the fabric from shrinking. After your jeans are washed, dry them on the hottest setting to shrink them even more. To learn how to shrink your jeans by sewing new seams, read on!

