This article was co-authored by wikiHow Staff. Our trained team of editors and researchers validate articles for accuracy and comprehensiveness. wikiHow's Content Management Team carefully monitors the work from our editorial staff to ensure that each article is backed by trusted research and meets our high quality standards.
There are 19 references cited in this article, which can be found at the bottom of the page.
This article has been viewed 39,356 times.
Learn more...
Soapmaking is a fun craft project that can spruce up your handwashing game! It’s easy to do if you have some extra time and the right ingredients. Making your own soap base from lye and oils is optional, so consider making a lye-free soap with a premade base if you want to save some time. If you’re creating your own base, you’ll need to blend it with more oils to make the soap. It’s a lengthy process and requires some attention to detail, but it’s worth it if you want to show off your homemade soaps or surprise someone with a special gift!
Ingredients
- 4.5 oz (127.5 g) of shea butter
- 4.5 fluid ounces (130 mL) of sunflower oil
- 9.5 oz (269 g) of coconut oil
- 12 fluid ounces (350 mL) of olive oil
- 12.15 fl oz (359 mL) of water
- 3.15 oz (89 g) of potassium hydroxide powder (lye)
- 2.25 oz (64 g) of sodium hydroxide powder (lye)
- 4 oz (113 g) of soap paste
- 4 fluid ounces (120 mL) of boiling water
- 1.5 oz (42.5 g) of stearic acid flakes
- 1⁄2 mL (0.018 imp fl oz; 0.017 fl oz) of liquid vegetable glycerin
- 1⁄2 teaspoon (2.5 mL) of sunflower oil
- 2 tbsp (28 g) of bentonite clay
- 20-30 drops of essential oil (optional)
- 5 oz (142 g) of shea soap base
- 1.5 c (350 mL) of water
- 2 tsp (8.4 g) of pure glycerin soap
- 2 tsp (8.4 g) of coffee ground
- 20-30 drops of vanilla essential oil
- 1 cup (128 g) of coconut oil
- 1 tbsp (15 g) of shea butter
- 2 tbsp (30 g) of cocoa butter
- 1 c (240 mL) of olive oil
Steps
Making a Soap Base
-
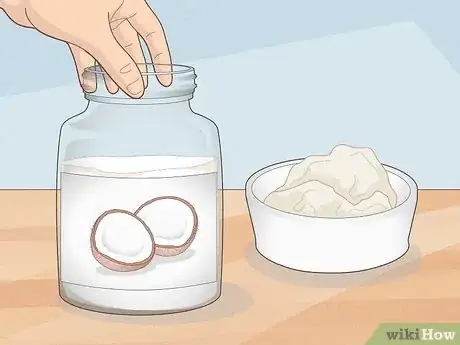
1Choose 1 or 2 hard oils to set up your soap base. Pick 1 or 2 of the following: coconut, palm, lard, tallow, shea butter, cocoa butter, or shortening. To help you choose, think about how you want the texture of the soap to be because each hard oil has different benefits. Also consider what you have on hand or what you can easily find online or at the store.[1]
- Coconut oil can help fight acne and remove dirt and oil from your skin.
- Palm oil seals in moisture and helps soothe eczema and psoriasis.
- Tallow and lard will moisturize your skin without clogging your pores.
- Shea or coconut butter are great choices if you want your soap to lather into a dense, creamy foam.
- Shortening is a good choice if you want to use the soap for your hands because it can cause breakouts on your body and face, especially if you have acne-prone skin.
-
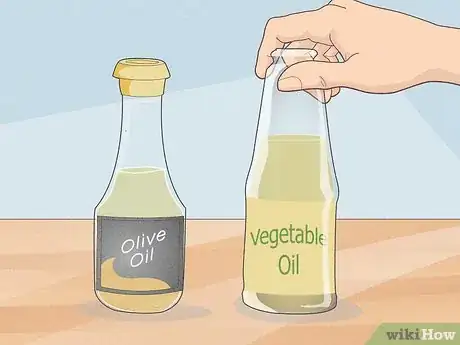
2Select 2 to 3 soft oils to combine with your hard oil. Choose from canola, olive, vegetable, or soybean oil to round out your soap base and give it that soft, whipped feel. Any of these oils will give your soap a creamy lather, so pick ones that you already have on hand or ones you can easily find in stores.[2]
- Canola and vegetable oil are the most cost-effective options and very easy to find.
- Soybean oil will make your soap a little harder, which means it’ll last longer but may not have the same light, whipped feel.
- You can use straight vegetable oil or any other oil that falls under the umbrella of vegetable oil like sunflower or rapeseed oil.
Advertisement -
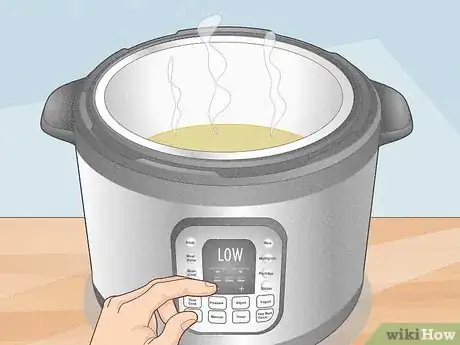
3Melt all of your oils in a slow cooker on high then turn it down to a low setting. Weigh out your hard oils on a scale while your slow cooker heats up and toss them in. Then, use measuring cups to add in the soft oils. Once the oils are melted, turn the heat down to a low setting. Here's a basic recipe to get you started:[3]
- 4.5 oz (127.5 g) of shea butter
- 4.5 fluid ounces (130 mL) of sunflower oil
- 9.5 oz (269 g) of coconut oil
- 12 fluid ounces (350 mL) of olive oil
-
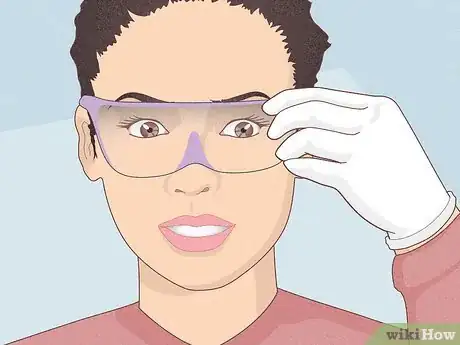
4Put on safety goggles, gloves, and a long-sleeved shirt. Always wear protective gear whenever you're working with lye. Make sure your work station is clean and away from pets or children to lessen the risk of spills.[4]
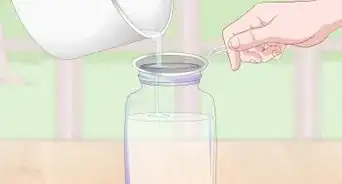
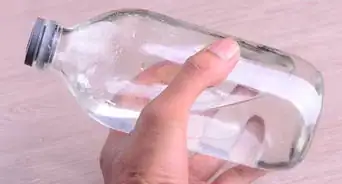
- Keep some distilled white vinegar nearby in case the lye gets on your skin. It'll neutralize it and stop it from burning your skin.
- If you do have some spills, clean it up with a rag and then soak the rag in vinegar before washing it in the washing machine.
-
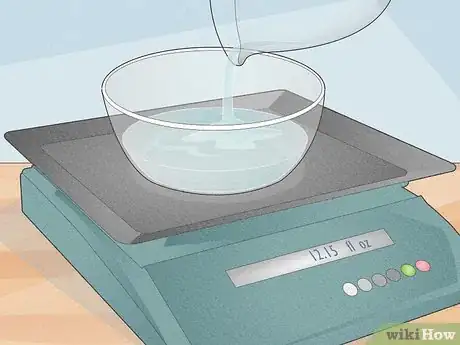
5Pour 12.15 fl oz (359 mL) of water into a heat-resistant glass. Place the glass onto a kitchen scale and pour in water until the scale reads 12.15 fl oz (359 mL). You'll be adding lye to this later on so make sure the glass is sturdy and easy to handle so you don't spill the water or lye (once you mix it in).[5]
- No need to use fancy water, just plain tap water will do the trick!
-
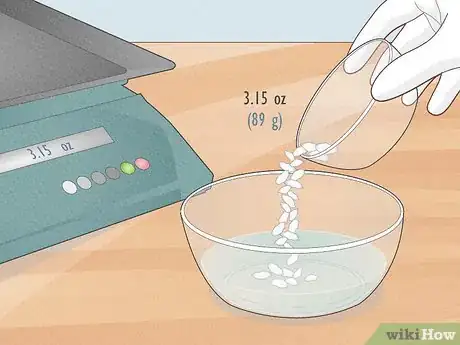
6Add 3.15 oz (89 g) of potassium hydroxide (lye) powder in small increments. Place a small glass onto the kitchen scale and reset it to "0" so it subtracts the weight of the small glass. Sprinkle in potassium hydroxide flakes until the scale reads 3.15 oz (89 g). Add it to the water and mix it in with a stainless steel spoon or fork until you don't see any flakes left.[6]
- If you don't want to use potassium hydroxide, feel free to skip this step and use more sodium hydroxide. The only benefit to using both is that you'll end up with a light, fluffy soap that's soft and easy to wash off.
- It's normal for the potassium hydroxide to give off some steam as it mixes with the water.
- If you’re experimenting with a different recipe, run your ingredients through an online lye calculator to see exactly how much you need to use.
- You can buy potassium hydroxide powder online or from chemical manufacturing stores. You may be able to find it at large superstores as well.
Warning: Lye can burn your skin can cause severe damage to your eyes, so always wear goggles, gloves, and a long-sleeved shirt when you’re working with it.[7]
-
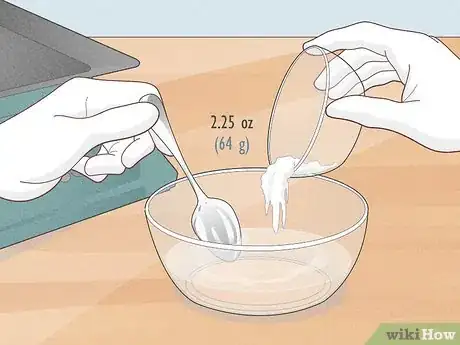
7Stir in 2.25 oz (64 g) of sodium hydroxide powder (lye). Place a small glass onto your kitchen scale and reset it to 0. Use a small spoon to add the powder to the bowl until the scale reads 2.25 oz (64 g). Then sprinkle the lye into the water in small increments, mixing it as you go with a spoon or fork.[8]
- If you're omitting the potassium hydroxide, add 5.4 oz (153 g) of sodium hydroxide powder instead. Note that your soap may be a little harder than expected (but it'll still have a "whipped" look and soft feel to it).
- You can buy sodium hydroxide online or from some large superstores—it’ll likely be in the laundry aisle.
-
8Pour the lye water slowly into the crockpot with the oils while you blend it. Use a stainless steel fork or spoon to stir the oils and pour in the lye water 1–2 tablespoons (15–30 mL) at a time. Be careful not to splash any outside of the pot.[9]
- You should notice the mixture thicken up pretty quickly.
-
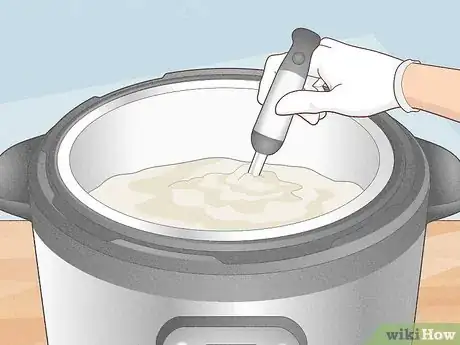
9Blend the mixture with an immersion blender until it thickens. Plug in an immersion blender and get to work, moving it in large circles and figure eights around the pot. Blend it until you notice the mixture is tracing (that is, when you lift up the blender, little globs will stay on the top for 1 or 2 seconds). This should only take about 1 to 3 minutes.[10]
- If you don’t have an immersion blender, a hand mixer (with the beater attachments) will do the trick. You can use a whisk, but it’ll be exhausting and take a very long time.
-
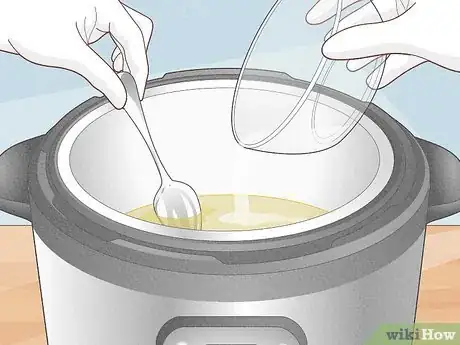
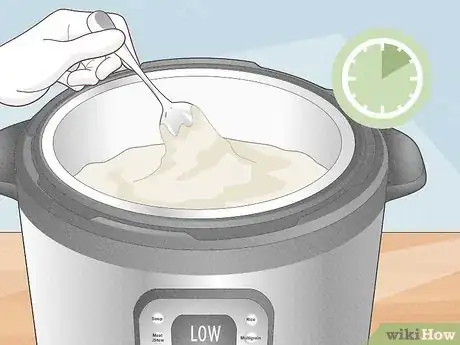
10Leave the cooker on low and stir it every 10 minutes until it's translucent. Keep checking on the paste every so often and give it a stir. Pay attention to how it's changing color or texture to get an idea of when it'll be ready.[11]
- It may take on the consistency of mashed potatoes, taffy, or paste during this time, and that's okay. The key is to wait for it to turn translucent in color.
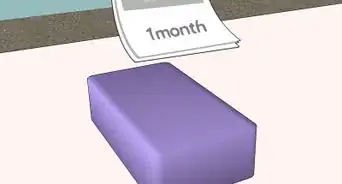
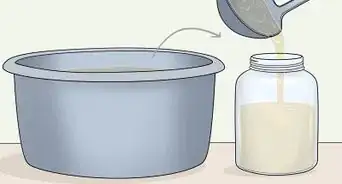
- If you don’t want to make the soap right away, store the base in airtight glass jars. Put the jars in a cool, dark cabinet and you can use the base for several soap-making sessions for up to 1 year. It’s ready to go as is, just measure out what you need once you’re ready to make the soap!
Combining the Base with the Hard Oils
-
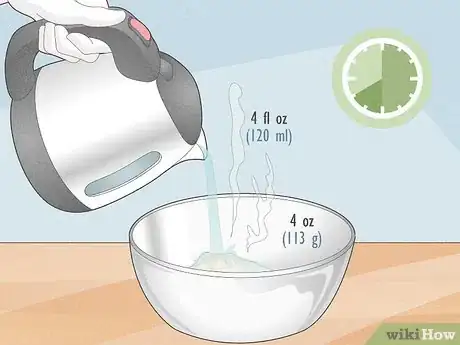
1Melt 4 oz (113 g) of soap base with 4 fluid ounces (120 mL) of boiling water for 6-8 hours. Use a kitchen scale to measure out 4 oz (113 g) of the base and put it in a stainless steel mixing bowl. Cover it with 4 oz of boiling water and let it sit 6 to 8 hours so it softens up.[12]
- Feel free to leave it overnight and make the soap in the morning.
- Make sure to use a heat-resistant bowl made from stainless steel, glass, or ceramic-coated metal.
- If you made your own base, use that. Otherwise, you can buy some online or from most craft stores.
-
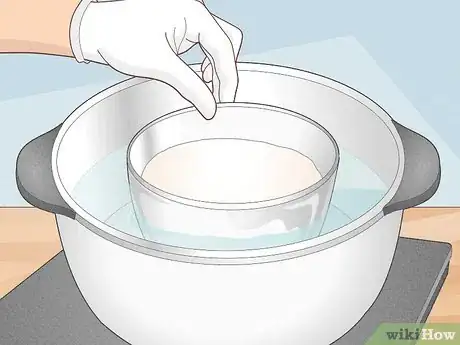
2Place the bowl in a large pot of hot water to make a double-boiler. Fill a large pot (large enough to hold the bowl) with water and heat it over the stove on medium heat. Let it steam up a little and then put the bowl in.[13]
- This will help keep the hard oils melted and easy to work with.
-
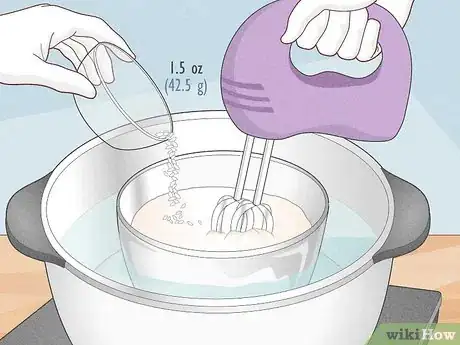
3Add 1.5 oz (42.5 g) of stearic acid flakes and beat it with a hand mixer. Insert the beater attachments into the hand mixer and blend it at low speed while you incorporate the stearic acid. Make sure it's completely incorporated and melted before you move on to the next step. Otherwise, you might end up with waxy chunks in your soap.[14]
- Stearic acid is a thickening agent that will help your soap keep its form.
- You can buy stearic acid online or at some craft stores or supermarkets.
-
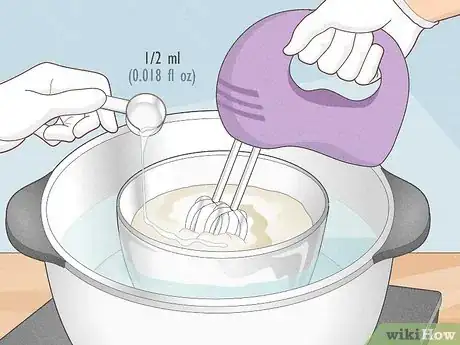
4Blend in 1⁄2 mL (0.018 imp fl oz; 0.017 fl oz) of liquid vegetable glycerin. Measure out the vegetable glycerin in a measuring cup and pour it in slowly while the mixer is still running. You'll notice that the mixture will take on more of a shiny look and creamy texture as it gets blended in.[15]
- You can buy vegetable glycerin at most drugstores and supermarkets.
- You can use vegetable oil as an alternative.
-
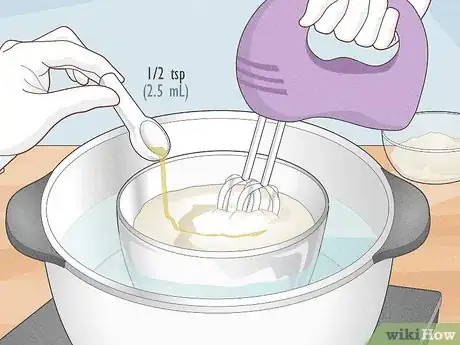
5Add 1⁄2 teaspoon (2.5 mL) of sunflower oil and 2 tbsp (28 g) of bentonite clay. Use a measuring spoon to dole out 1⁄2 teaspoon (2.5 mL) of sunflower oil and pour it into the bowl while you’re mixing it. Then use the tablespoon measurer to add the 2 tbsp (28 g) of bentonite clay.[16]
- Bentonite clay will help firm up the soap. It’ll also help clean oil off of your hands when you use the soap later on.
- Use a high-oleic blend of sunflower oil with a minimum of 80% oleic acid.
- If you want to add some fragrance to your soap, drop in 20-30 drops of essential oil. Choose between lavender, chamomile, rose, rosemary, orange, grapefruit, sandalwood, or frankincense depending on whether you’d like an herbal, citrus, or earthy smell.
-
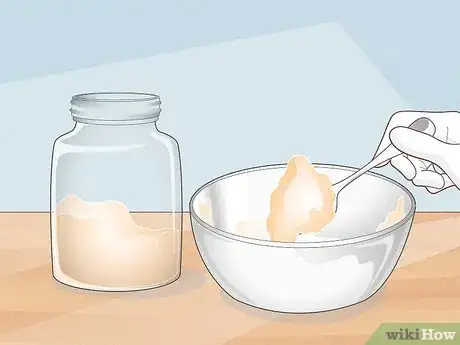
6Scoop or pipe the fluffy mixture into lidded jars. Use a spoon to scoop the mixture into jars and you're done! If you want to get fancy with it, spoon the mixture into piping bags and pipe it into jars to look like icing or pretty, floral designs. Since it’s a hot-pressed soap, you can use it right away if you like. However, if you want it to take a certain shape, wait a week or so before you dip your fingers into it.[17]
- Your homemade whipped soap should last 3 to 4 months if you store it in a lidded jar.
Fun Decorating Tip: If you like to make hard soap as well, set that into molds and then pipe the whipped soap on top for a fun play on texture and shape. You can also make 2 batches of whipped soap, 1 that’s harder (using 80% hard oils and 20% soft oils) and 1 that’s softer (using 60% hard oils and 40% soft oils).[18]
Using a Premade Base for Lye-Free Soap
-
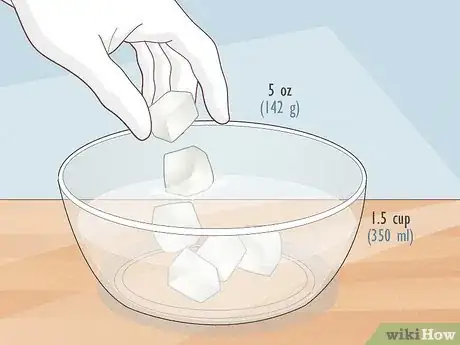
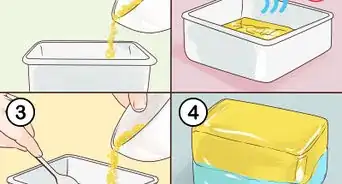
1Mix 5 oz (142 g) of shea soap base and 1.5 c (350 mL) of water into a bowl. Cut off cubes of shea soap base from the larger block and place them onto a kitchen scale until you have about 5 oz (142 g). You can eyeball it, but it's best to use a scale so you can be confident the soap will firm up nicely and hold its shape. Use a large glass or ceramic mixing bowl because you'll be popping it in the microwave.[19]
- You can buy shea butter soap base online or at most craft stores.
- Shea butter soap base contains a blend of oils like coconut oil, palm oil, safflower oil, glycerine.
-
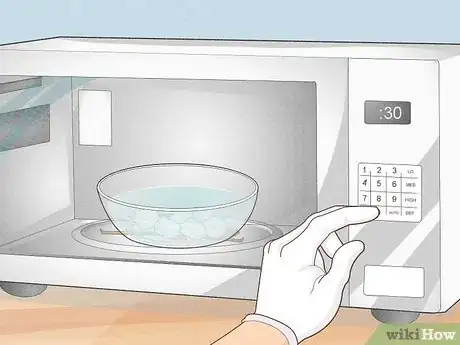
2Microwave the base and water for 30 seconds at a time until they’re melted. Place the bowl in the microwave and set it to 30 seconds. Stir it and then add another 30 seconds. Keep doing this until the shea butter soap base is completely melted and the water is fully mixed in.[20]
- Depending on the power of your microwave, it may take two to three 30-second heating intervals to melt it.
-
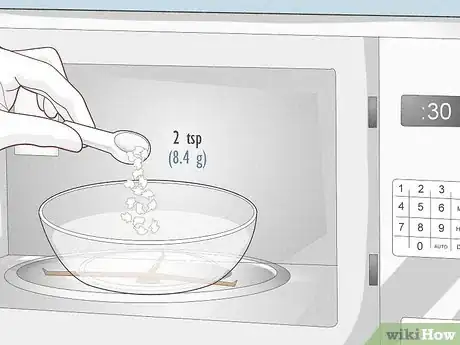
3Add 2 tsp (8.4 g) of pure glycerin soap and heat it for 30 seconds. Once the shea butter base is melted, use a measuring spoon to dole out 2 tsp (8.4 g) of glycerin soap. Add it to the bowl and pop it in the microwave for another 30 seconds. Stir it in once it's melted.[21]
- If you have an old bar of pure glycerin soap, feel free to chop off a small cube and use that. You can also grate the bar with a cheese grater until you have the right amount. Otherwise, most pharmacies, supermarkets, and craft stores carry pure glycerin soap.
-
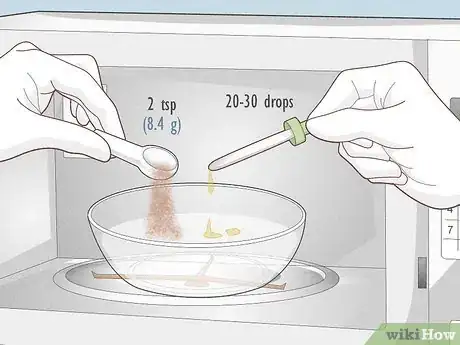
4Stir in 2 tsp (8.4 g) of coffee grounds and 20-30 drops of vanilla essential oil. Make sure to use coffee grounds that are super fine like the consistency of soft sand. As for the oil, you can use whatever scent you like, but vanilla works best to complement the coffee grounds.[22]
- If you don’t want to use vanilla, lavender, ylang-ylang, or rose essential oil will also smell great with this blend.
-
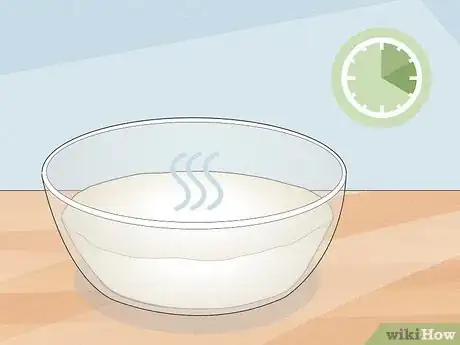
5Wait 10-20 minutes for the mixture to cool off a little (but not harden). Set the bowl somewhere it won't get knocked over. Let it sit for about 10 to 20 minutes until it's cooled off a little.[23]
- If it starts to firm up, shake the bowl or stir it around to keep it more liquid than solid.
-
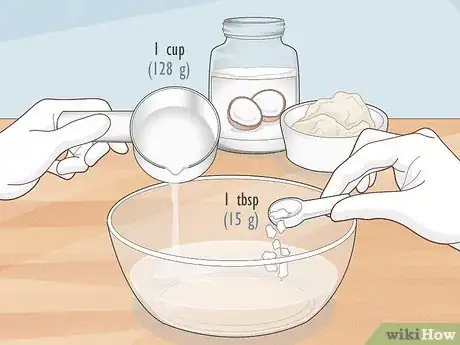
6Place 1 cup (128 g) of coconut oil and 1 tbsp (15 g) of shea butter into a bowl. Use a measuring cup to dole out 1 cup (128 g) of coconut oil and plop it into a large mixing bowl. Use a measuring spoon to add 1 tbsp (15 g) of shea butter. No need to mix it together just yet—you’ll be doing the mixing later on once you’ve added all of the oils.[24]
- If you have a stand mixer, use a bowl that fits with your model. If you're using a hand mixer, any large mixing bowl is fit for the job.
-
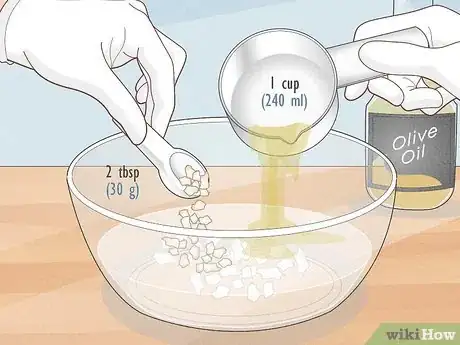
7Add in 2 tbsp (30 g) of cocoa butter and 1 c (240 mL) of olive oil. Use a measuring spoon to add the cocoa butter and a measuring cup to mix in the olive oil. Choose pure, extra-virgin, or pomace olive oil for the best consistency.[25]
- Avoid using "light" varieties of olive oil because it may leave you with a cracked, dusty soap.
-
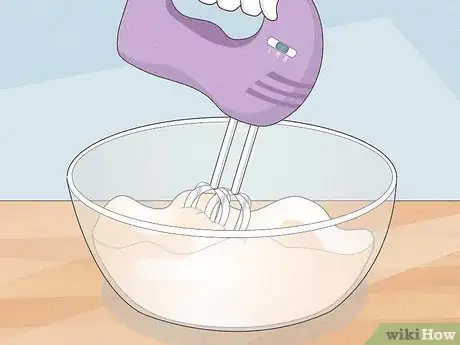
8Blend the oils together with a hand or stand mixer set to medium speed. Fit the mixer with the egg-beater tools (the standard ones that usually come with most mixers) and set it to medium speed. Move the mixer around the bowl in large circles and figure eights to incorporate all of the ingredients.[26]
- Blend it for about 30 seconds—just long enough so that the different oils are all mixed in.
- If you don't have a hand or stand mixer, you can use a whisk. Just know it'll take longer (and you'll need a strong arm!).
-
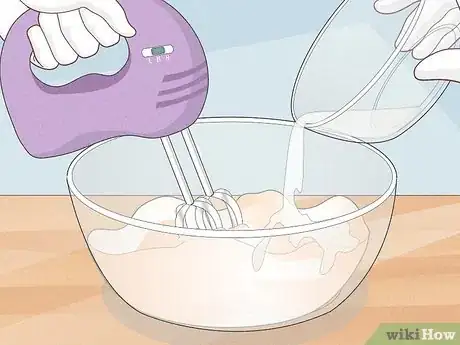
9Incorporate the soap base mixture in small increments while you're blending. Hold the mixer in one hand and slowly pour in the soap base mixture (the first bowl that was left cooling off). Pour in about 1/2 cup (64 g) at a time, blend it for 5 to 10 seconds, and then add another 1/2 cup (64 g). Keep doing this until all of the soap base is incorporated into the oils.[27]
- If you have a stand mixer, pour it in around the sides of the bowl as its blending.
- If you want to add a few drops of food coloring to your soap, now's the time to do it!
-
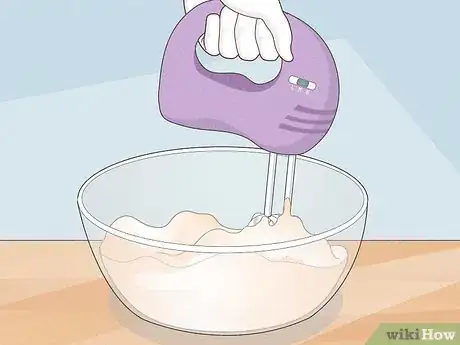
10Keep blending the mixture until it has a fluffy, whipped consistency. Now's the fun part where you get to really whip up the soap! Keep blending the mixture at medium speed until you see soft peaks start to form. Once the soft peaks form, keep blending for 30 longer until it has the consistency of whipped cream.[28]
- A good way to know it's fully whipped is to remove the beater or whisk from the mixture. If it sticks and doesn't drip down or lose its shape, it's good to go!
-
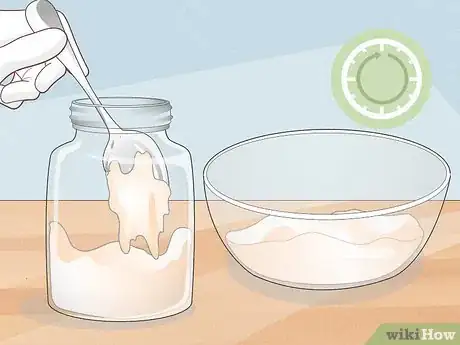
11Scoop your soap into small lidded jars and wait 24 hours before using it. Choose some fun, decorative jars to hold your whipped soap. If you plan to use it up within the next few weeks, it’s okay to scoop it onto a flat ceramic dish or into a lidless jar.[29]
- It’s important to wait 24 hours for it to harden up a little before you use it. Otherwise, it might turn into mush as soon as you dip your fingers into it.
- If you live in a hot or humid area, it may take up to 36 hours to fully set.
Community Q&A
-
QuestionIs it whipping cream used in your soap? Also, is there a substitute for the palm oil?
 Community AnswerThere is absolutely no cream used in the soap. The cream would become rancid. You could use cocoa butter or shea butter instead of palm oil.
Warnings
Things You'll Need
Making a Soap Base
- Slow cooker
- Safety goggles
- Gloves
- Long-sleeved shirt
- Kitchen scale
- Stainless steel spoon or fork
- 2 small glasses (for measuring lyes)
- Immersion blender
- Heat-resistant glass cups
- Distilled white vinegar (optional, to clean up lye)
Combining the Base with the Oils
- Kettle or pot (for boiling water)
- Stainless steel mixing bowl (or any heat-proof bowl)
- Kitchen scale
- Large pot (for double-boiler setup)
- Hand mixer (with beater attachments)
- Measuring spoons
- Spoon
- Piping bags and tips (optional)
Making Lye-Free Soap with a Premade Base
- Large microwaveable bowl (glass or ceramic)
- Microwave
- Spoon (for stirring)
- Measuring spoons
- Large mixing bowl
- Hand or stand mixer (with beater attachments)
- Small glass jars with lids (for storing)
References
- ↑ http://www.soapqueen.com/bath-and-body-tutorials/tips-and-tricks/free-beginners-guide-to-soapmaking-common-soapmaking-oils/
- ↑ http://www.soapqueen.com/bath-and-body-tutorials/tips-and-tricks/free-beginners-guide-to-soapmaking-common-soapmaking-oils/
- ↑ https://www.diynatural.com/whipped-soap/
- ↑ https://www.ccohs.ca/oshanswers/chemicals/chem_profiles/sodium_hydroxide.html
- ↑ https://youtu.be/Xv9qmZt5grk?t=376
- ↑ https://www.thesprucecrafts.com/using-liquid-lye-solution-517220
- ↑ https://www.ccohs.ca/oshanswers/chemicals/chem_profiles/sodium_hydroxide.html
- ↑ https://www.diynatural.com/whipped-soap/
- ↑ https://www.diynatural.com/whipped-soap/
- ↑ https://youtu.be/Xv9qmZt5grk?t=713
- ↑ https://www.diynatural.com/whipped-soap/
- ↑ https://www.diynatural.com/whipped-soap/
- ↑ https://www.diynatural.com/whipped-soap/
- ↑ https://www.diynatural.com/whipped-soap/
- ↑ https://www.diynatural.com/whipped-soap/
- ↑ https://www.diynatural.com/whipped-soap/
- ↑ https://youtu.be/avwQLcloFeI?t=466
- ↑ https://youtu.be/oX__rjAQbw8?t=344
- ↑ https://youtu.be/iazd6GY1QCE?t=5
- ↑ https://youtu.be/iazd6GY1QCE?t=7
- ↑ https://youtu.be/iazd6GY1QCE?t=10
- ↑ https://youtu.be/iazd6GY1QCE?t=19
- ↑ https://youtu.be/iazd6GY1QCE?t=23
- ↑ https://youtu.be/iazd6GY1QCE?t=23
- ↑ https://youtu.be/iazd6GY1QCE?t=26
- ↑ https://youtu.be/iazd6GY1QCE?t=29
- ↑ https://youtu.be/iazd6GY1QCE?t=31
- ↑ https://youtu.be/iazd6GY1QCE?t=32
- ↑ https://www.thesprucecrafts.com/how-to-make-whipped-soap-516816
- ↑ https://www.ccohs.ca/oshanswers/chemicals/chem_profiles/sodium_hydroxide.html
- ↑ https://www.dhhs.tas.gov.au/__data/assets/pdf_file/0007/83329/Fact_sheet_Lye_Water_Dec_2010.pdf
