This article was co-authored by Alina Bokovikova. Alina Bokovikova is a Costume Designer from California. With over 15 years of experience, she specializes in designing costumes for stage productions. Alina earned an MFA in Costume Design from the University of California, San Diego and her Master of Education from the Novosibirsk Pedagogical University. She’s won two Outstanding Costume Design awards and her costumes have been displayed in Moscow, Prague, and San Jose, California.
This article has been viewed 811,100 times.
No true vampire look is complete without a set of fangs. If you have a touch of DIY-fever, try making your own fangs instead of buying a set from a party store. You can make fangs from nothing but a plastic straw and scissors, or gather a serious stock of materials and make realistic, custom-fit acrylic fangs. For something in between, try attaching fake nails to your teeth with denture wax instead.
Steps
Making Fake Nail Fangs
-
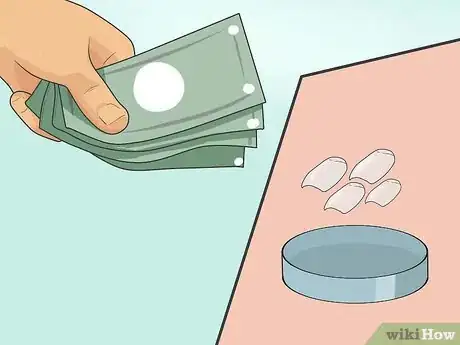
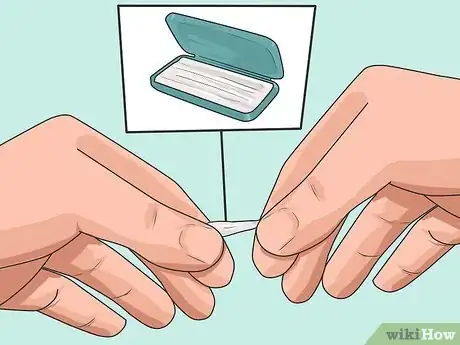
1Buy fake nails and dental wax. Choose a fake nail color as close to your own teeth color as possible. Fake nails and dental wax are both sold at some drug stores. Denture wax or dental grip will also work.
-
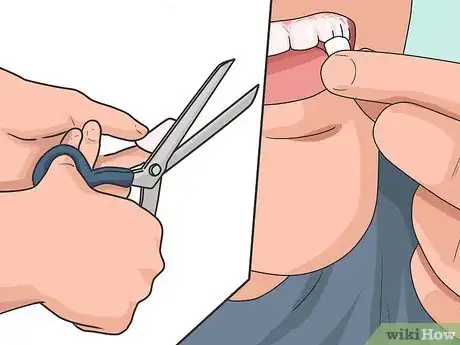
2Cut the nails into a triangle shape. Use a pair of scissors to cut a nail into a triangle shape. Hold the nail over your teeth to get a rough idea of how large the triangle should be.Advertisement
-
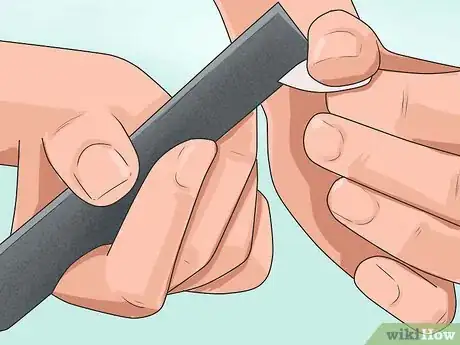
3File the nails to a sharp edge. Using a nail file, file each fake nail into a sharp tooth shape. File over newspaper to catch all of the debris that falls as you file.
-
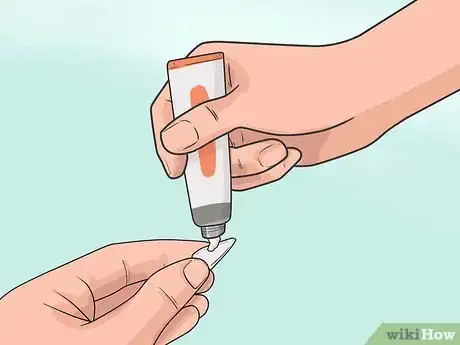
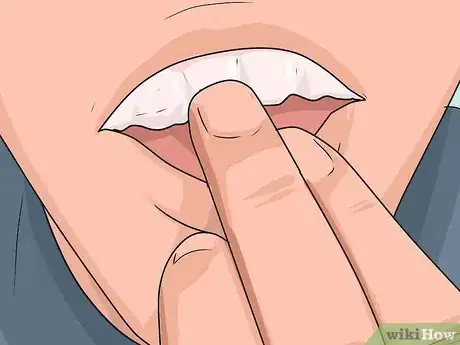
4Put a dab of denture glue onto the back of the tooth. Gently apply it direct to your tooth. Hold the fake nail in place on top of the glue for about 5 minutes to allow it to set. Repeat for the other fang.
- Not all drug stores stock this. Try ordering it online, or asking your dentist.
- Remember that the things that go in your mouth need to be clean.
Using a Plastic Straw
-
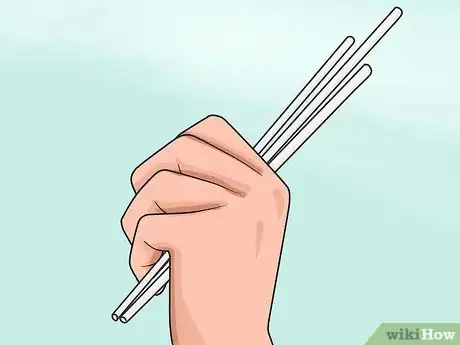
1Find a white plastic straw. Ideally, the color should match your teeth, but whitening toothpaste or other methods can blend most teeth in with a bright white, plastic straw.
- This method is quick and easy, and the fangs are easily removed and reattached.
-
2Cut off a small portion. If your straw is a bendy straw, cut off the top portion, right above the accordion bend. Otherwise, cut off about 2 inches (5 centimeters) with a pair of scissors. Or, stick the end of the straw over your tooth and look in a mirror to measure twice as long a piece as you need.[1]
-
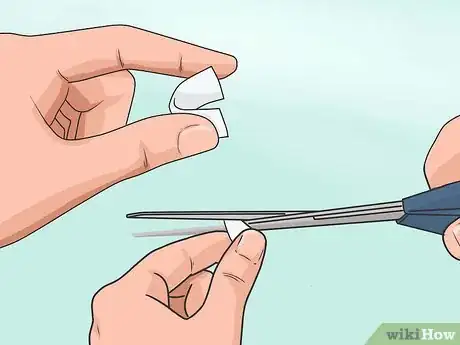
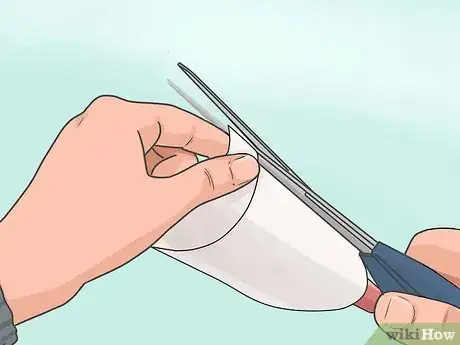
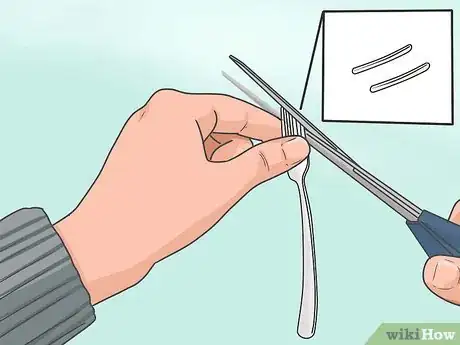
3Fold the piece and trim it into fangs. Fold the cut-off piece of straw in half. Use the pair of scissors to trim to the two sides into fang shapes. Leave them attached while you trim them, so you can compare the shapes and keep them symmetrical.
- Don't cut too close to the fold. That area of the straw will go over your tooth, and needs to be kept intact or the fang could fall apart.
-
4Cut the fangs in half and wear them. Cut the piece of straw in half along the fold, separating it into two fangs. Slip these onto your canines, or onto the incisors directly to either side of your large front teeth.
Making Realistic Acrylic Fangs
-
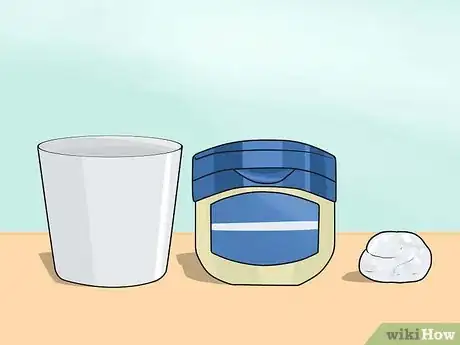
1Gather supplies. This method gives you realistic vampire fangs that fit your teeth, but it requires much more time and money. Here's a list of the materials you'll need to track down:
- Alginate, available from dental supply stores and some art supply stores. (Online vendors are your best bet.)
- A paper cup or mouth guard.
- Plastic casting resin, or another casting material. This is available at hobby shops, or some art supply stores.
- Sculpting clay and a small tool to shape it, from an art supply store.
- Nail acrylic (in two-part powder and liquid form), from stores that sell beauty supplies (also available as dental acrylic)[2]
- Petroleum jelly (Vaseline), from a drugstore
-
2Create a mouth-guard from a paper cup. Trim off the top portion of a paper cup using clean scissors. The remaining base should be only slightly taller than the height of your upper jaw. Cut off one side of the cup to make an opening that can slip into your mouth.
- Skip this step if you have a real mouth-guard on hand or decide to buy a real mouth-guard.
-
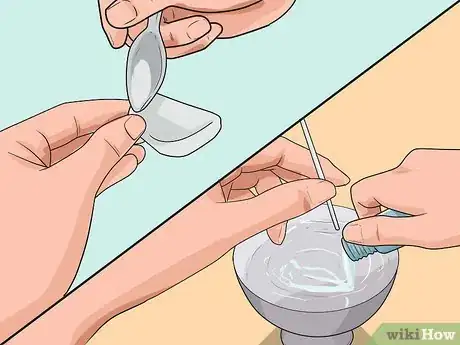
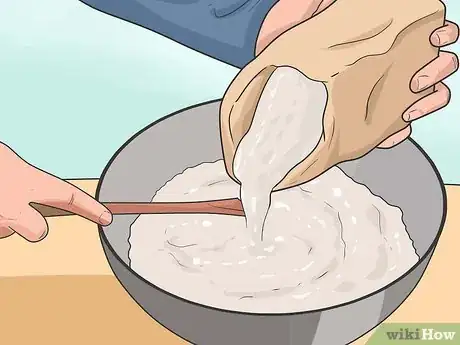
3Mix alginate molding material and move it into the mouth guard. Read the instructions on your alginate product for more specific instructions, since the exact time and method can vary by brand. In most cases, you'll combine one part alginate and one part water in a small dish, mixing the two materials together with any utensil. Transfer the alginate mixture to your mouth-guard when done.
- You will need to work fairly quickly when using the alginate portion of this method. An alginate mold will begin to crack and break apart within hours.
-
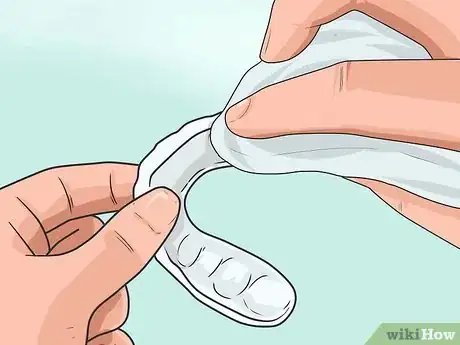
4Press your upper teeth into the alginate. Gently press the alginate-filled mouth-guard into your upper teeth. Remove it by pulling straight down after 3 minutes. You should be left with an alginate negative of your teeth when done. This will be used as a mold for the next portion of the procedure. If there are bubbles or broken pieces interfering with the outline of the teeth you want to turn into fangs, repeat this step.[3]
- Do not push the mouth-guard so far up that your teeth go through the bottom.
- Wait until the alginate becomes solid before removing it.
- If you want a more accurate way of determining when the alginate is ready to remove, place a small dot of it on your finger and watch for it to turn solid.
-
5Mix two-part plastic or other casting material. You can use any sturdy casting material for this method, but this method will give instructions for two-part plastic resin. Combine 3 oz (90 ml) of one liquid with 3 oz (90 ml) of the other liquid in a glass or plastic dish. Stir it together using a heavy-duty stirring rod or kitchen utensil.
- Choose a two-part cast plastic that dries hard and comes together quickly. Make sure that the plastic will be non-toxic when dried.
-
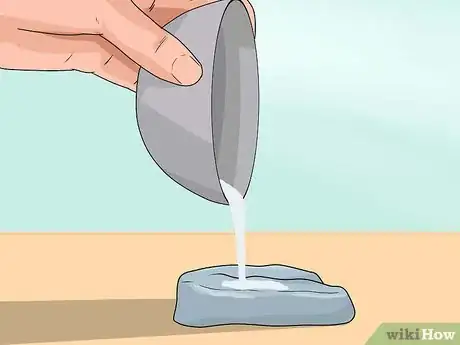
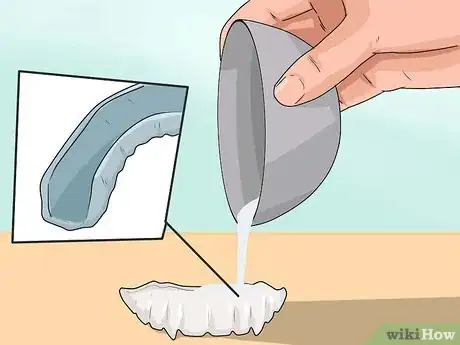
6Pour the plastic into your negative mold. Immediately after the two liquids are combined, carefully pour the plastic solution into your alginate mold. Pour slowly to avoid trapping air bubbles in the cast. Let dry before attempting to remove it.
- Within several minutes of being combined, the plastic should become very hot and turn white. Do not touch it with your bare skin.
- After the plastic is dry and cool to the touch, wait an additional 10 minutes before removing it from the mold. This gives the inside plenty of time to dry, ensuring that your plastic teeth will be solid once removed.
-
7Sculpt the fangs onto the model. Remove the plastic model of your teeth once you are sure it's dry. Add a blob of casting clay over the model where you want to create fangs, and use a small, sharp tool to shape it into the desired shape.
- Optionally, add a small "cap" of clay over the teeth directly behind the fangs, to make them more stable.[4]
-
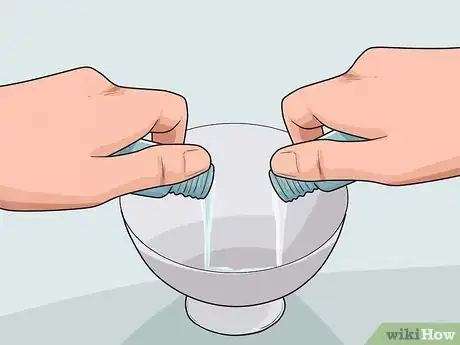
8Soak the model in soapy water. Add dish soap to a bowl of water, and soak the model and its clay fangs under the water level for ten minutes. This will prevent the alginate in the next step from sticking to the clay.[5]
-
9Make a second alginate impression. Use the alginate as before to make a negative mold. But this time, use the plastic resin model with attached fangs instead of your real teeth. Press softly to avoid dislodging the fangs, and lift it slowly out once the alginate mold is ready. Inspect the alginate to make sure there are no bubbles or broken pieces.
-
10Remove the clay fangs and wipe the model with petroleum jelly. Pull off the clay fangs. Use a cotton swab to wipe petroleum jelly (Vaseline) along the plastic model in a thin smear, avoiding leaving lumps of jelly anywhere on the model. The jelly will make it easy to remove the acrylic fangs once they've set.[6]
-
11Mix together nail acrylic. Combine the nail acrylic powder with the accompanying liquid and mix thoroughly using a disposable utensil and mixing cup, not anything you want to reuse. Continue mixing for several minutes until the turns into a paste. When you lift the utensil, it should drag up a string of acrylic. Add more powder if it is too runny, or more liquid if it is too hard.[7]
- The acrylic becomes hot as it mixes. Avoid direct contact with your skin.
- Mix the acrylic in a well-ventilated area.
-
12Pour the acrylic into the fang holes of the alginate mold. Slowly pour the acrylic paste into the holes left by the clay fangs, on your new alginate mold. Pour it slowly in to avoid leaving air bubbles, and stop pouring once the fangs are filled, or mostly filled.
-
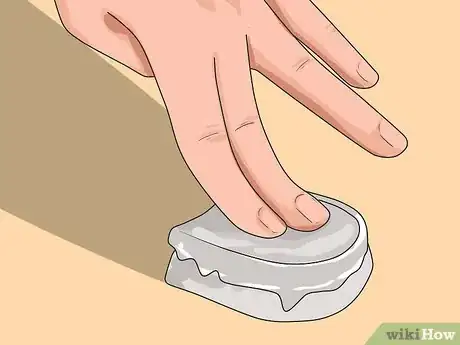
13Press your tooth cast into the mold and let the acrylic harden. Gently push your ordinary tooth cast, without the clay fangs, into the alginate mold. The teeth of the mold should push into the acrylic, and the acrylic will harden around them, adopting the shape of your tooth. You can watch the leftover acrylic in your mixing bowl to gauge how much the acrylic has hardened. Gently remove the cast when the acrylic is mostly hard, but still a little rubbery. It should keep its shape, but still be relatively easy to slip off the cast.
-
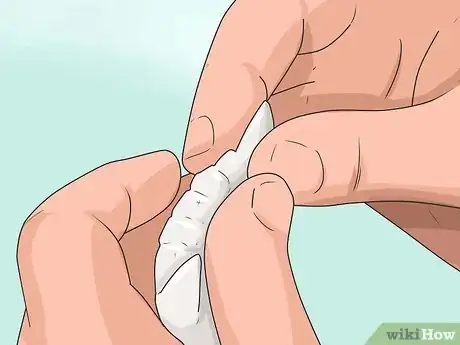
14Remove the acrylic fangs and slip them on. Theoretically, each fang should be so custom-fit to the tooth it slips over that you should be able to gently press them into place by applying pressure with your index finger while sucking each fang in using your mouth.
- If the fangs do not stay in place on their own, however, you can hold them in place using denture glue, braces wax, or a small dot of gum.
Trying Out Other Household Items
-
1Make vampire fangs from cotton balls. Wet cotton balls can be trimmed to size, shaped, and stuck to your upper teeth in order to form quick fangs.
-
2Create vampire fangs using cotton swabs. Trim the cotton portion off the swabs and attach the remaining sticks to your teeth using nail glue.
-
3Form vampire fangs from non-toxic clay. Form the clay into a pointed cone or "fang" shape and fit it to your tooth for a custom fit. Let the clay harden before using the fangs as part of a costume.
-
4Work around your braces by using braces wax. If you have braces but still want to make vampire fangs, you can so so easily be forming braces wax into the shape of a fang and lodging it in between your canine teeth and the braces wire.
- Combine the wax with clay for a more realistic look.
-
5Cut fangs from a white plastic bottle. As long as the plastic has not touched anything toxic, you can cut out a pair of fangs from the bottle and attach them to your teeth.
Making Simple Fork Fangs
-
1Break off the two middle tines of the fork. Use your fingers to gently bend the two middle tines or “teeth” of a white plastic fork forward until they snap at the base.
- If the tines do not break off at the base, use a clean pair of sharp scissors or a clean utility knife to shave off any remaining plastic.
- Instead of snapping the tines off by hand, you could also remove them by directly cutting off the entire tine with a pair of scissors or utility knife.
-
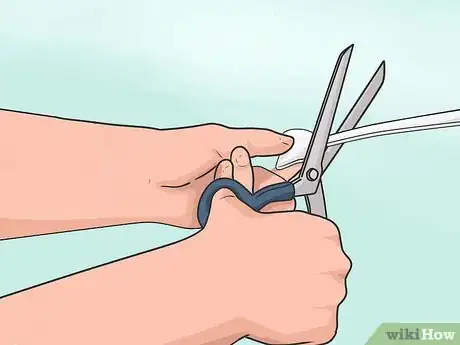
2Cut off the handle. Use scissors or a clean utility knife to cut away the handle of the fork in a straight horizontal line.
- You will actually end up cutting away more than just the handle. Trim the fork roughly halfway in between the handle and the base of the tines, right at the spot where the fork begins to curve.
- The remaining piece should be fairly boxy rather than being rounded.
- Make sure that the scissors or utility knife you use is thoroughly cleaned and sanitized before using it since the plastic will need to go in your mouth after coming into contact with your cutting tool.
-
3Stick dental wax along the bridge of the fangs. Stick a small dot of braces wax or denture wax to the horizontal bridge of the remaining piece. You can buy dental wax from some drug stores, or from dentist supply stores online.
- Apply the wax to the portion that curves “in.” This part was originally the front of the fork.
-
4Attach the fangs to your upper front teeth. Stick the makeshift fangs onto your front teeth with the wax pointed in. Press gently to secure the wax and the plastic teeth.
- Make sure that the fangs are centered at the front of your mouth. You should be able to see an even amount of your two front teeth in between the fangs when done.
Community Q&A
-
QuestionIf I can't find dental glue, is there any other type of glue that I can use?
 Community AnswerIf you can find a non-toxic and edible glue, it is possible. Dental glue is recommended.
 -
QuestionIs there any other alternative for the dental wax, as it is not easily available in my area?
 Community AnswerSugar free chewing gum. Roll it in your hands until it warms and you can easily mold it just as you would with dental wax. This would only last for a bit of time as the gum melts. If you can find beeswax, use that instead. You'll need to make a cylindrical shape that will fit over your tooth. Shave and cut the cylinder with an Exacto knife to the fang shape you want, then cut a hole large enough through the top to fit your tooth and bracket. This will last longer but no more than a day.
 -
QuestionIs it okay to use nail glue on my teeth?
 Community AnswerNo! It is only for nails, not for teeth.
Things You'll Need
Straw Fangs:
- White plastic straw
- Scissors
Simple Fork Fangs:
- White plastic fork
- Clean scissors or clean utility knife
- Dental paste or wax
Custom-Fit Acrylic Fangs:
- Paper cup or mouth-guard
- Scissors
- Alginate
- Water
- Disposable stirring rod & shallow container
- Two-part plastic resin casting material (or other casting material)
- Two-part nail acrylic
Fake Nail Fangs:
- Set of fake nails
- Nail file
- Newspaper
- Denture glue
- Scissors
Expert Interview

Thanks for reading our article! If you'd like to learn more about vampire fangs, check out our in-depth interview with Alina Bokovikova.
References
- ↑ https://www.youtube.com/watch?v=MZv9Tl8RpGY
- ↑ http://cdn.makezine.com/make/wp_fangs.pdf
- ↑ http://www.howtomakevampireteeth.com/step-2-the-dental-model
- ↑ http://www.howtomakevampireteeth.com/step-3-sculpting-your-vampire-teeth
- ↑ http://www.howtomakevampireteeth.com/step-4-impressing-your-model
- ↑ http://www.howtomakevampireteeth.com/step-5-creating-your-fangs
- ↑ http://www.howtomakevampireteeth.com/step-5-creating-your-fangs
About This Article
One of the easiest ways to make vampire fangs is with white press-on fingernails. You’ll also need a tube of denture glue for this project. You can buy a cheap set of white press-on nails and denture glue at most grocery and drug stores. Grab 2 press-on nails and make sure they're the same size so the fangs will match. Hold the nail over 1 of your canine teeth to get a rough idea of how much you need to trim off. Then, use a pair of sharp scissors to cut the nail into a triangle shape. Do the same thing with the other nail to create your second fang. Use a nail file to smooth out and shape each fang so they’re both nice and pointy. Hold the first fang with the triangle tip pointing down at the floor, turn it over so the back side is facing you, and put a dab of denture glue on the top half the tooth. Press the fang directly onto your canine tooth and hold it in place for 10-15 seconds so the glue can create a strong bond. Do the same thing with the other fang for your other canine tooth. Your fangs should stay in place all night! Avoid eating or sleeping with your fangs in. When you’re ready to remove them, simply tug them off with a little force and brush your teeth with warm water to remove any glue residue. When you're ready to put your fangs back on, just reapply another dab of denture glue and press them back into place. To learn how you can make vampire fangs from cotton balls, non-toxic clay, or even plastic forks, scroll down!
