This article was co-authored by Madeleine Johnson. Madeleine Johnson is a Hair Stylist and Hair Extensions Specialist based in Beverly Hills, California. She is affiliated with Hair by Violet Salon in Beverly Hills. Madeleine has over six years of hairstyling experience as a licensed cosmetologist. She specializes in microbead extensions and tape-in extensions. She trained under celebrity extension artist Violet Teriti (Chaviv Hair) and earned her cosmetology license from Santa Monica College.
This article has been viewed 243,315 times.
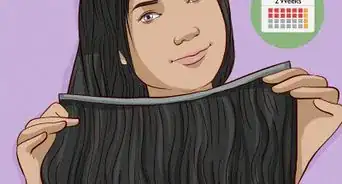
Store-bought hair extensions can be expensive, so why not make your own? This article provides two different but equally simple methods for making your own hair extensions. One method describes the process for making clip-in extensions, while the other shows you how to make halo extensions, which simply sit on top of your head. See Step 1 below to get started.
Steps
Making Halo Hair Extensions
-
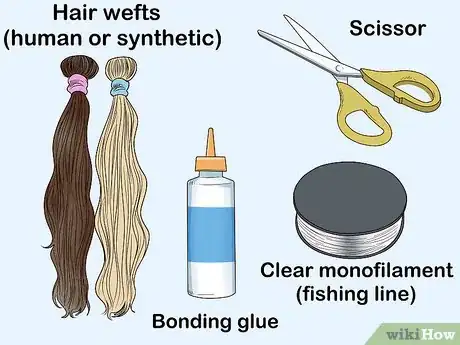
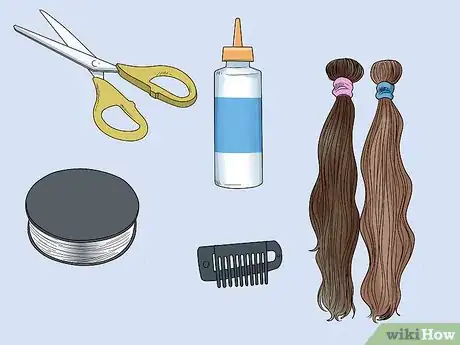
1Get the right materials. To make halo hair extensions, you will need a pack of hair wefts (human or synthetic), a tube of bonding glue, a pair of scissors and some clear monofilament (fishing line).
-
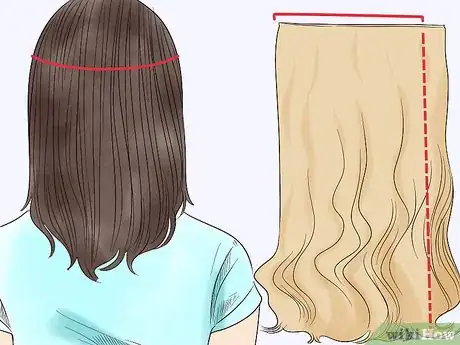
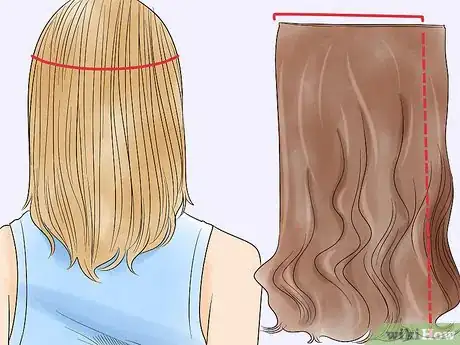
2Measure and cut the hair. Take the hair weft and measure it against the back of your head.[1]
- For these type of extensions you only want the hair covering the back of the head, you don't want it coming around the sides or behind your ears.
- Once you've measured the correct width, use your scissors to cut them to size. Then cut two more identical wefts of hair to the same width.
Advertisement -
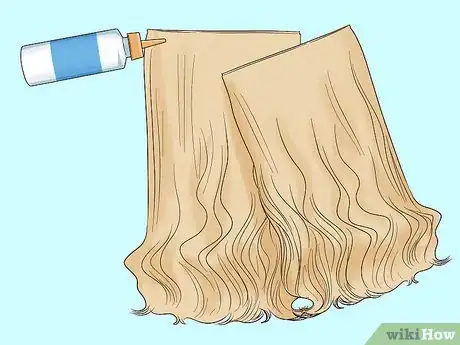
3Stick the wefts together. Take your bonding glue and squeeze a thick line under the rubber ridge (and directly onto the hair) on one of the hair wefts, then place the second hair weft on top. Do the same with the third piece, then leave the bonding glue to dry.
-
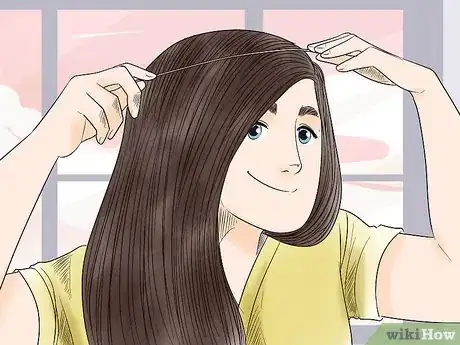
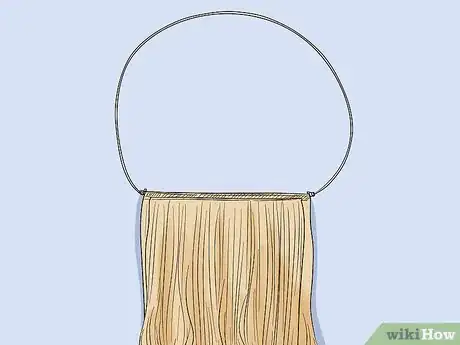
4Measure and attach the monofilament. Take a long piece of monofilament and measure it to find the right length.
- To do this, place the monofilament across the top of your head (like a headband), then stretch the end pieces to the back of your head.
- Wherever the ends of the monofilament stop is where the hair extensions will start. This is really a matter of personal preference, but most people want their extensions to start somewhere around the occipital bone (google it if you're not sure where that is).
- Cut the monofilament to your preferred length, but leave an extra couple of inches on either side for tying knots.
-
5Attach the monofilament to the hair wefts. Take one end of the monofilament and tie it to one end of the hair weft using a couple of simple but tight knots. Do the same on the other end. Seal the knots in place with a dot of bonding glue, then wait for the bonding glue to dry.
-
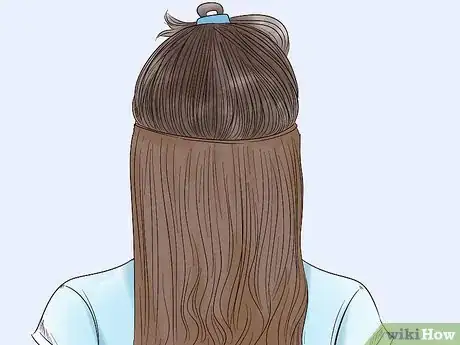
6Apply the halo extensions. To apply the halo extensions, sit the ring of monofilament and hair on your head -- with the hair to the back and the monofilament across the top of your head.
- Take your hairbrush and start brushing to bring your natural hair over the extensions and to cover the line of monofilament.
- You can secure the extensions in place with a couple of bobby pins, but this usually isn't necessary.[2]
Making Clip-In Hair Extensions
-
1Get the right materials. To make these clip-in extensions, you will need one full pack of hair wefts (human or synthetic), a pair of scissors, a needle and thread (in a color that resembles the color of the hair), a pack of extension clips (available in most beauty supply stores) and a tube of bonding glue.
-
2Measure and cut the hair. Take the hair weft and measure it against your head. You want it to stretch from just behind one ear to just behind the other, in a U-shaped pattern. Use your scissors to cut the hair weft to the correct width.
-
3Layer two or three wefts on top of each other. Usually, a single layer of hair weft is not enough for people with normal to thick hair.
- If you are using the extensions to make your hair look longer two layers will probably be enough, but if you want to make your hair look thicker you will need three layers.
- As a result your will need to measure and cut one or two more hair wefts, identical to the first one. There will be enough hair in a single pack of hair wefts to do this.
- You can either sew the layers together along the weft lines (by hand or using a sewing machine) or you can stick them together using bonding glue.
- If you decide to use bonding glue (which is probably the easier option of you're not an experienced sewer), run a thick line of bonding glue just beneath the weft line on the first piece of hair, then stick the second piece on top, ridge side up.
- Do the same with the third layer of hair (if using), then wait for the bonding glue to dry completely.
-
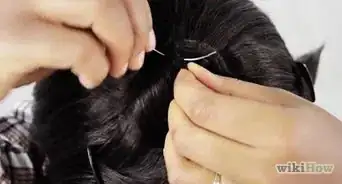
4Sew the extension clips to the hair. Next, take your needle and thread and sew the extension clips to the weft line.[3]
- In terms of placement, you'll need to put one clip on either side of the extensions, right at the edge, and one in the middle to prevent the extensions from sagging.
- Make sure to sew the clips to the side of the extensions with the rubber ridges and make sure to sew the extension clips with the comb side up -- otherwise you won't be able to put them in your hair!
- You don't need to use any fancy sewing techniques; just thread your needle (tying a knot at the end) and pass it through the first small hole on the extension clip and through the ridge of the hair weft.
- Bring the needle and thread up over the top of the extensions and pass it through the second small hole. Continue in this manner until you reach the last hole on the clip. Pass the needle and thread through, then tie several small knots in the thread to secure before cutting off the rest.
-
5Apply the hair extensions correctly. Now that you have your very own hair extensions, it's important to know how to apply them correctly.
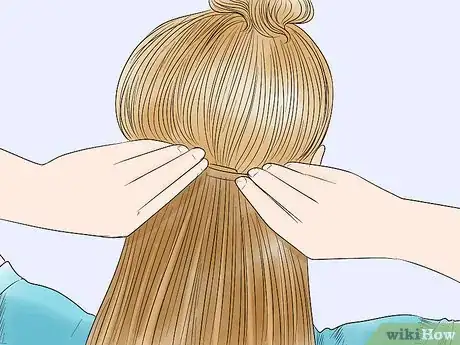
- Pin up all of the hair above your ears. Take a comb and tease (or backcomb) the hair at the roots, then spritz it with hairspray. This will give the extension clips something to hold onto.
- Open the clips on your hair extensions and fasten them onto the exposed roots -- one behind each ear and one in the middle.
- If you decided to make a second set of extensions for added thickness, let down an extra inch of hair and repeat the process of teasing and hair spraying before applying the second set.
- Let down the the top section of hair and brush or comb to combine your natural hair with the extensions. If your extensions are made from human hair, you can now style your hair as normal using a flat iron or curling tongs.
Making Your Hair Extensions Look Natural
-
1Choose between human and synthetic hair.[4] When buying hair wefts at the beauty supply store you are usually faced with two options: human or synthetic.
- Synthetic hair is the cheaper option, which is good for people who are on a budget, or who need a large quantity of hair. However, it's important to be aware that synthetic hair cannot be styled using heated appliances like flat irons or curling tongs -- so if you have curly hair you will need to buy pre-curled synthetic hair, or be prepared to flat iron your hair each time you want to wear your extensions. Synthetic hair can't be dyed either, so it's important that it closely matches your natural hair color.
- Human hair tends to be more expensive than synthetic hair, but is usually of higher quality. Human hair can be dyed to match your natural (or colored) hair and can be styled with flat irons, curling tongs and hair dryers, making them very versatile. With human hair, you usually have a choice between virgin (unprocessed, undyed) hair, and hair that's been treated, colored relaxed, etc.
-
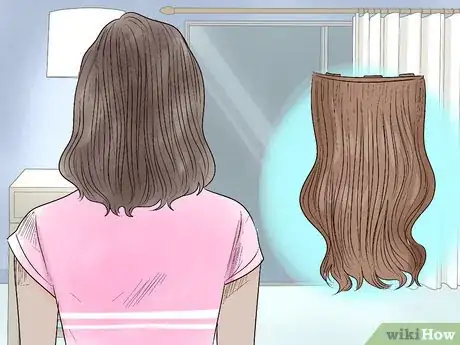
2Carefully match the hair wefts with your natural hair color.[5] It's pretty obvious that the closer the color of your extensions are to the color of your natural hair, the more natural they will look.
- To ensure you get the right color, take some time to browse around and find the right color for you. Ask a representative from the beauty supply store to help you match the extensions to your hair -- they have a lot of experience and will be able to recommend the best color for you.
- Even if you have highlighted or multi-toned hair, you should be able to find something that matches. Many hair wefts combine two or more colors to cater for people with dyed hair. If not, get 2 different colors instead.[6]
- You should go shopping for hair extensions during the day and match the extensions to your hair in natural lighting conditions -- artificial light can be deceptive and may cause you to choose the wrong color.
-
3Use clips, thread and bonding glue close to the color of the hair wefts. Nowadays, many girls are making their own hair extensions and the beauty supply industry has started producing products to cater for this.
- It is possible to buy hair extension clips in a number of different colors -- red, blonde, brown, black, etc. -- so no matter what color extensions you wish to make, you can find clips to match. This is important as black clips could be really obvious on blonde hair extensions, and vice versa.
- You can also find bonding glue in a couple of different colors, so the color of the dried glue is not visible through the hair. For example, you could use white bonding glue on blonde hair, but you would need a darker colored glue for black or dark brown extensions.
- When sewing the extension clips to the hair wefts, you also want to find a thread color that closely matches both the color of the clips and your hair.
-
4Style the extensions and your natural hair in the same way.[7] Another obvious yet important thing to mention is that both your natural hair and your hair extensions will need to be styled in the same way in order to blend into one another. There's nothing more obvious looking than straight extensions in wavy hair, or vice versa.
- Most hair stylists advise women to curl their hair if they're going to put in their own extensions, as this allows the hair to blend more easily.[8] In other words, it's harder to see where the natural hair ends and the extensions start when the hair is curled.
- Another tip is to curl (or straighten) your extensions before you put them in your hair. This makes them easier to work with and allows you to achieve the style that you want. Remember that you can only use heated appliances on human hair, synthetic hair can only be styled using no-heat methods, such as hair rollers.
- Blend the hair and the extensions together. Once you have applied the extensions to your hair, you can make them less noticeable by using a wide-toothed comb or brush to gently brush your hair, combining your natural hair with the extensions.
-
5Take good care of your hair extensions. Keeping your hair extensions in good condition will help them to appear more natural and last longer.
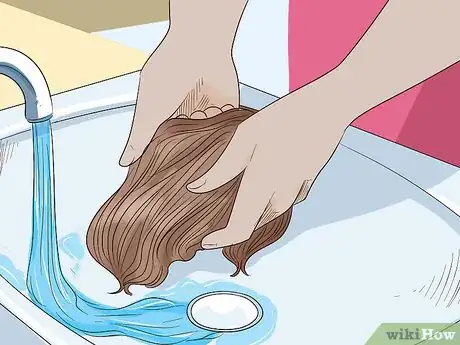
- Just like natural hair, your extensions will need to be washed and conditioned.[9] Wash them after you have worn them once or twice, especially if you used a lot of hairspray. However, you shouldn't wash your extensions more than twice a week as this will simply dry them out.
- Avoid brushing your extensions too roughly as this can cause hairs to fall from the track, thinning the extensions. Use a little leave-in conditioner to help loosen tangles and brush from the ends of the extension upwards, as this causes the least damage.
- Allow extensions to air dry after washing, rather than drying them with a hair dryer. Don't attempt to towel dry them or wring out moisture by twisting them, as this only damages them. You can also prevent human hair extensions from becoming damaged by spraying them with heat protectant before straightening or curling.
Community Q&A
-
QuestionWhat's a halo hair extension?
 Community AnswerIt's a hair piece that sits on top of your head, under your hair so it blends in. It's in the shape of a ring or a halo.
 -
QuestionWhere can I buy hair wefts?
 Owls2014Community AnswerOften you can find hair wefts at a local beauty supply or hair care store. I know you can find them sometimes at Ulta, or even Walmart.
 -
QuestionCan I wash my hair if I have hair extensions? Do I need to take them out if I wash my hair?
 Community AnswerYes, take them out and wash your hair as normal. You should also wash the extensions separately.
Warnings
- It's possible to buy loose hair (rather than hair that is pre-attached to a weft) for much cheaper than packs of hair wefts. Although it is possible to make your own hair extensions using loose hair, the process is very difficult and time consuming, so it is not recommended.⧼thumbs_response⧽
Things You'll Need
- Pack of hair wefts, in color and length of your choice
- Extension clips
- Needle and thread
- Bonding glue
- Monofilament
- Scissors
References
- ↑ https://www.youtube.com/watch?v=w916qwJKYgg
- ↑ https://www.youtube.com/watch?v=w916qwJKYgg
- ↑ https://www.youtube.com/watch?v=9VcRoUpwU-A
- ↑ Madeleine Johnson. Hair Stylist & Hair Extensions Specialist. Expert Interview. 18 December 2019.
- ↑ https://www.cosmopolitan.com/uk/beauty-hair/hair/tips/a36544/tips-to-avoid-hair-extensions-looking-obvious/
- ↑ Madeleine Johnson. Hair Stylist & Hair Extensions Specialist. Expert Interview. 18 December 2019.
- ↑ Madeleine Johnson. Hair Stylist & Hair Extensions Specialist. Expert Interview. 18 December 2019.
- ↑ https://www.cosmopolitan.com/uk/beauty-hair/hair/tips/a36544/tips-to-avoid-hair-extensions-looking-obvious/
- ↑ Madeleine Johnson. Hair Stylist & Hair Extensions Specialist. Expert Interview. 18 December 2019.
- Videos provided by beautygloss
About This Article
To make clip-in hair extensions, start by stretching a hair weft against your head in a U-shaped pattern from just behind one ear to just behind the other, then cutting it to the right width. Once you’ve measured and cut 1 weft, you may want to cut 1-2 more, depending on how thick and long you want your hair to look. Then, sew the wefts together, or use bonding glue to stick them together, letting the glue dry completely before you continue. Finally, use a needle and thread to sew extension clips to the middle and both sides of the weft, and you’re good to go! To learn how to make halo hair extensions, scroll down!
