X
This article was co-authored by Pippa Elliott, MRCVS. Dr. Elliott, BVMS, MRCVS is a veterinarian with over 30 years of experience in veterinary surgery and companion animal practice. She graduated from the University of Glasgow in 1987 with a degree in veterinary medicine and surgery. She has worked at the same animal clinic in her hometown for over 20 years.
This article has been viewed 20,760 times.
Your dog’s paws are up against the elements every day. In the summer paws can get cracked and dry from hot pavement. In the winter months, snow, ice, and chemicals used to melt winter precipitation can irritate a dog’s paws. Learning how to make and apply dog paw palm can help save your pooch’s paws.
Steps
Method 1
Method 1 of 3:
Gathering Your Supplies
-
1Get a six ounce tin or glass jar. You will be making approximately six ounces of dog paw balm. You can use a six ounce tin or glass jar to store the dog paw balm once it’s made. You can also use twenty standard lip balm tubes instead of the six ounce container and share with your friends!
-
2Find a double boiler. You will need a double boiler to heat and combine the ingredients for dog paw balm. If you don’t have one handy, ask a friend if you can borrow theirs. If all else fails, you can purchase one online or at a retail store that carries kitchen supplies.
- If you don’t have access to a double boiler and don’t want to purchase one, you can use a small pot instead.
Advertisement -
3Borrow a digital kitchen scale. While a digital scale is optional when making dog paw balm, it will make the process of measuring and weighing a bit easier. If you don’t already have a digital kitchen scale, ask a friend or family member to borrow theirs.
-
4Purchase your ingredients. You will need two ounces of olive, sunflower, or sweet almond oil. You will also be using two ounces of coconut oil, one ounce of shea butter, and four teaspoons of beeswax.[1]
- Two ounces is approximately two tablespoons.
- One ounce is approximately one tablespoon.


Advertisement
Method 2
Method 2 of 3:
Making Dog Paw Balm
-
1Melt your ingredients in a double boiler or a small pot over low heat. Melt two ounces of olive, sunflower, or sweet almond oil, two ounces of coconut oil, one ounce of shea butter, and four teaspoons of beeswax together over low heat. Stir constantly until all the ingredients are melted and blended together. This will take five minutes or less.[2]
-
2Pour the mixture into a six ounce glass tin or jar. You can also carefully pour the mixture into twenty standard lip balm tubes. Be careful you do not burn yourself as you pour the dog balm into the storage containers!
- To protect yourself, try wearing gloves during this step as the mixture will be hot.
-
3Allow the dog balm to cool at room temperature. Once you have poured the dog balm into the storage containers, it’s important you let the balm cool completely. It should be hard when it is cool enough. After it is cool, place the caps or lids on the storage containers.


Advertisement
Method 3
Method 3 of 3:
Applying Dog Paw Balm
-
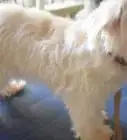
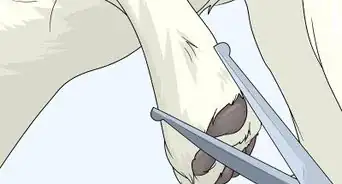
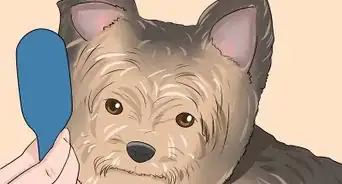
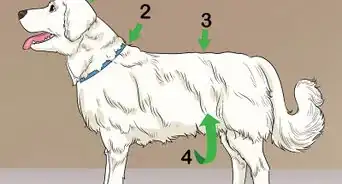
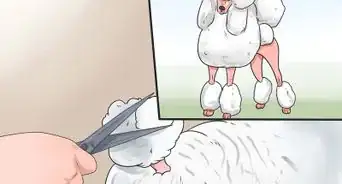
1Trim the hair around your dog’s paws. Keeping the hair surrounding your dog’s paws groomed will make it easier to apply the balm. Trimming also prevents ice and snow from becoming trapped around the paw pads in the winter. Trim the hair between your dog’s toes so that it is even with the paw pads.[3]
-
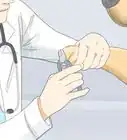
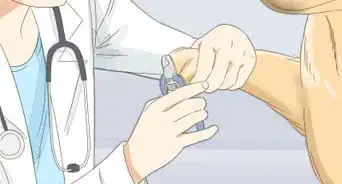
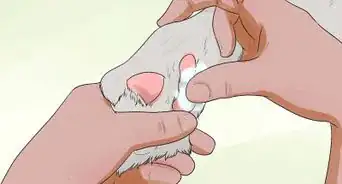
2Cut your dog’s nails. It’s important to keep your dog’s nails trimmed throughout the year. This is especially important during the winter months because longer nails can cause the paw outstretch as it makes contact with the ground. If this happens the likelihood of snow and ice accumulating around the paw pad increases.[4]
-
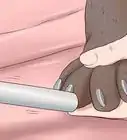
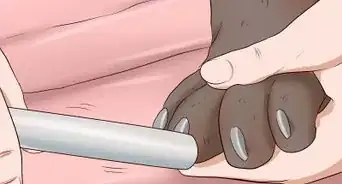
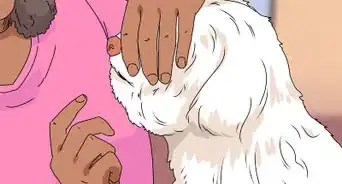
3Apply a thin layer of balm to the paws before going outside. Applying dog paw balm before your dog goes out on a walk will protect their paws from environmental irritants like chemicals used to melt snow or hot pavement in the summer.
-
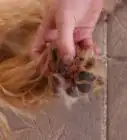
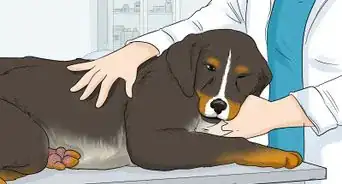
4Wipe your dog’s paws after going outside. Once your dog is finished playing or walking outside, take a washcloth moistened with warm water and gently wipe the balm and any debris from their paws.
-
5Apply another layer of dog paw balm. After you’ve gently cleaned your dog’s paws using a wet, warm washcloth, apply a second layer of dog paw balm. This will soothe, protect, and heal your dog’s paws. It will also help prevent your dog’s delicate paws from drying out and cracking.[5]


Advertisement


References
- ↑ http://www.akc.org/content/dog-care/articles/how-to-make-your-own-paw-balm-for-winter/
- ↑ http://www.akc.org/content/dog-care/articles/how-to-make-your-own-paw-balm-for-winter/
- ↑ http://www.aspca.org/pet-care/dog-care/dog-grooming-tips
- ↑ https://www.cesarsway.com/dog-care/paws/winter-proofing-your-dogs-paws
- ↑ https://www.cesarsway.com/dog-care/paws/winter-proofing-your-dogs-paws.
About This Article

Pippa Elliott, MRCVS
Veterinarian
This article was co-authored by Pippa Elliott, MRCVS. Dr. Elliott, BVMS, MRCVS is a veterinarian with over 30 years of experience in veterinary surgery and companion animal practice. She graduated from the University of Glasgow in 1987 with a degree in veterinary medicine and surgery. She has worked at the same animal clinic in her hometown for over 20 years. This article has been viewed 20,760 times.
Co-authors: 4
Updated: September 16, 2021
Views: 20,760
Categories: Dog Grooming
Advertisement