This article was co-authored by wikiHow staff writer, Darlene Antonelli, MA. Darlene Antonelli is a Technology Writer and Editor for wikiHow. Darlene has experience teaching college courses, writing technology-related articles, and working hands-on in the technology field. She earned an MA in Writing from Rowan University in 2012 and wrote her thesis on online communities and the personalities curated in such communities.
This article has been viewed 10,539 times.
Learn more...
If you move a linked file in your Adobe Premiere Pro project, you'll see an error where the media should be. This wikiHow will teach you how to locate a missing media file in Adobe Premiere Pro on your PC or Mac.
Steps
-
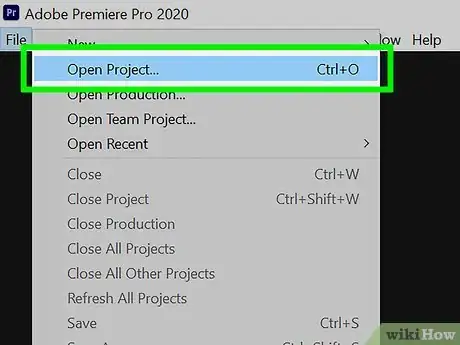
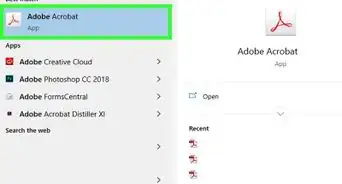
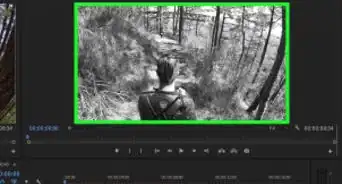
1Open your project in Premiere Pro. You can open Premiere Pro from the Start menu in Windows or your Application folder in Mac then click File > Open or you can right-click your project file from your file manager and select Open with > Premiere Pro.
-
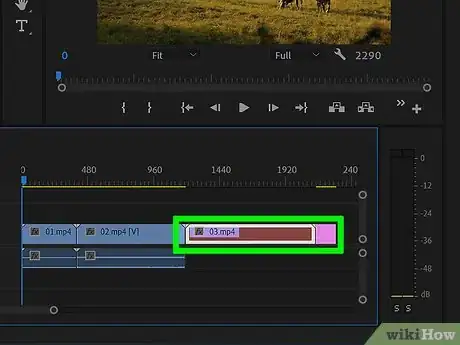
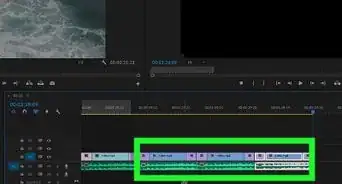
2Right-click the "Media Offline" error. It's in the timeline of your movie where your media should be.Advertisement
-
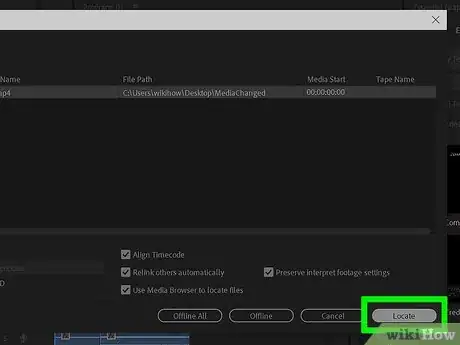
3Click Link Media. A window will open that shows the name and file path of the original media.[1]
-
4Click Locate. It's in the bottom right corner.
- To make the search easier, you can click the box next to Display Only Exact Name Matches.
-
5Click Search. It's in the bottom right corner of the window and will begin a search for that file on your computer.
- If you know where the file is, you can navigate to your file and double-click it.[2]
- Use the folders on the right side of the screen to narrow Premiere Pro's search to a specific location. This might make the search faster or prove more successful.
-
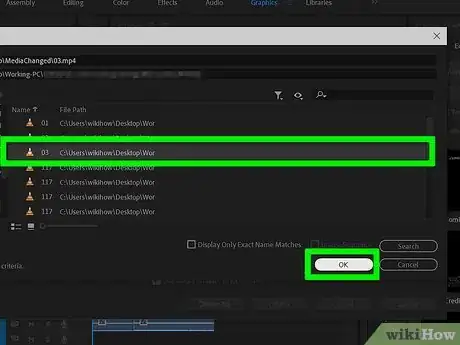
6Click OK. It's in the bottom right corner and will replace the offline media with the one you selected.
References
About This Article
1. Open your project in Premiere Pro.
2. Right-click the "Media Offline" error.
3. Click Link Media.
4. Click Locate.
5. Click Search.
6. Click OK.
