This article was co-authored by wikiHow staff writer, Danielle Blinka, MA, MPA. Danielle Blinka is a Writer, Editor, Podcaster, Improv Performer, and Artist currently living in Houston, TX. She also has experience teaching English and writing to others. Danielle holds a Bachelor of Arts in English, Bachelor of Arts in Political Science, Master of Arts in English with a concentration in writing, and Master of Public Administration from Lamar University.
There are 13 references cited in this article, which can be found at the bottom of the page.
This article has been viewed 7,977 times.
Learn more...
Silver is a beautiful, valuable metal that’s used to make jewelry, household items, and decorations. However, it can be hard to recognize the purity of silver versus metal fakes. Most silver items have an etching on them, which makes it really easy to figure out their purity. However, you can do a few simple observation tests if your item is free of etchings. If you don’t mind damaging a small spot on the item, an acid test can tell you for sure if the item is silver.
Steps
Checking for an Etching
-
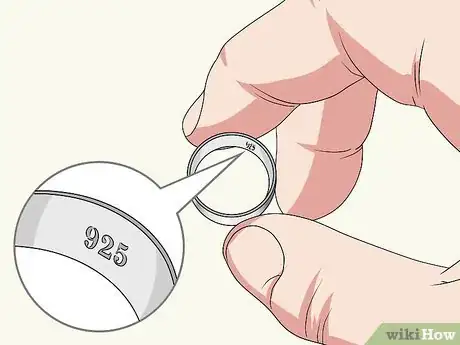
1Examine a piece of jewelry to see if there’s a 925 etched onto it. Most pieces of sterling silver are etched with a 925 to show their purity. The 925 means that 92.5 percent of the item is silver, while the rest is a different metal like copper. Look for 925 on your item to see if it’s real sterling silver.[1]
- Bracelets and necklaces are typically etched around the clasp, while pendants or earrings may be etched on the underside. Rings are often etched on the inside of the band.
Did You Know? Pure silver is too soft to be used on its own, so it’s usually mixed with a stronger metal to form an alloy. While sterling silver isn’t pure silver, it’s still very valuable.
-
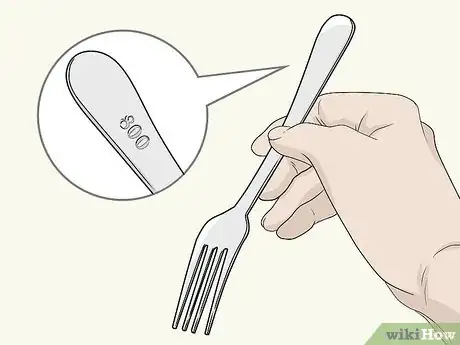
2Look for any number between 800-950 if the item isn’t jewelry. While 925 signifies that the item qualifies as sterling silver, you may find silver pieces that contain a lower percentage of pure silver, as well. These items are still valuable. Check the bottom of serving ware and decorative items for a number between 800 and 950, typically 800, 850, 900, 925, or 950.[2]
- The number 800 means an item is 80% silver, 850 means the item is 85% silver, 900 means the item is 90% silver, and 950 means the item is 95% silver.
- In most cases, the etching will be on the underside of the item, but it could be along the side.
Advertisement -
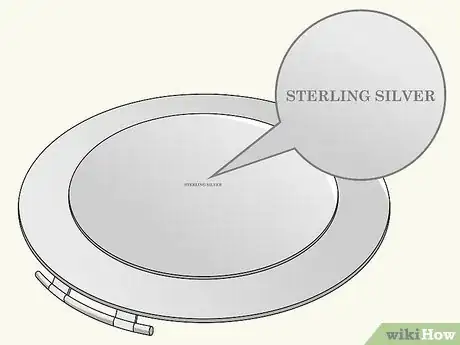
3Check for a mark that says “sterling” or “ster” on the item. Some silver items are etched with the word “sterling” or the abbreviation “ster.” This is especially true for silver serving ware, such as teapots or serving trays. Look on the bottom of the item for a mark.[3]
- Items that aren’t real silver may not have any mark or they might just have the brand name. If the item doesn’t say “sterling” or have a number printed, it’s probably not real.
Variation: Rarely, the item may be etched with “coin” if it was made with melted down silver coins. Since silver coins are about 90% silver, items etched with "coin" are typically 90% silver.
Doing Observation Tests
-
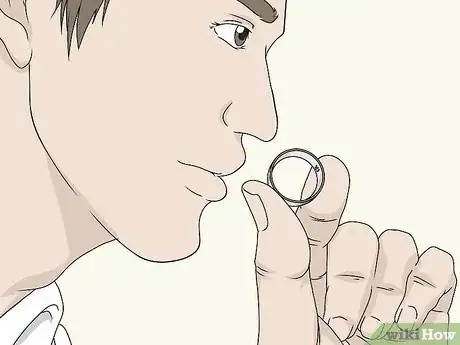
1Sniff the item to see if it smells metallic or like sulfur. Although metal doesn't have an odor, many metals pick up body odor from oils on your skin. Metals like iron and nickel typically start to smell after you handle them, but silver usually doesn't pick up body odor. Check the item to see if it has a strong metallic smell or smells like sulfur. Even a silver-plated item will smell if the core is made of a different metal.[4]
- You might not be able to use the sniff test if your item came into contact with something smelly. For instance, a silver tray that had perfume spilled on it might just smell like the fragrance.
-
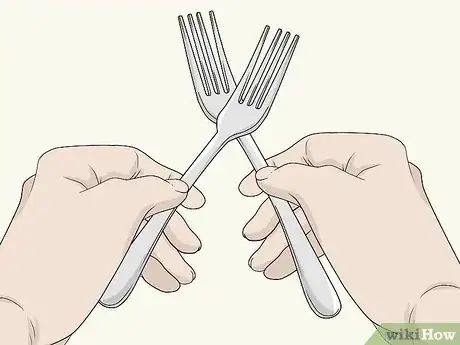
2Listen for a ring when you tap it. Silver has a nice ring to it, while its less expensive counterparts don’t. Hold the item in your hand, then tap it to see if there’s a crisp, high-pitched “ping” that lasts 1-2 seconds. If you hear a dull ring or a thud, the item likely isn’t real silver.
- The ping will sound kind of like a very small bell.
-
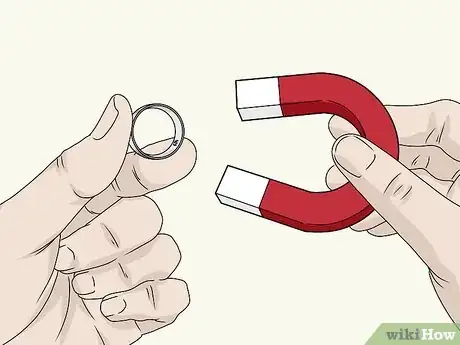
3Hold a magnet close to the item to see if there is an attraction. Silver isn’t magnetic, so a magnet won’t react to it. However, many other metals that are used in place of silver, such as nickel, iron, and cobalt, are magnetic. Check your item’s magnetism by holding a magnet near it. If you feel a pull on the magnet or it sticks to the item, the piece likely isn’t real silver.
- Don’t slide the magnet along the piece, as it could cause scratching.
- If you know you’re going to be shopping for silver at thrift stores or a flea market, bring a magnet with you to use for testing.
- Some metals, like stainless steel, can pass the magnet test but still aren't silver. Use the magnet test to rule out items but not to confirm if they're for sure silver.
-
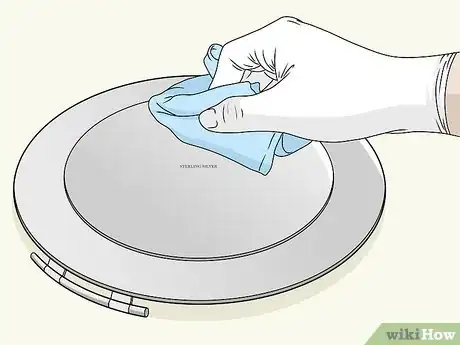
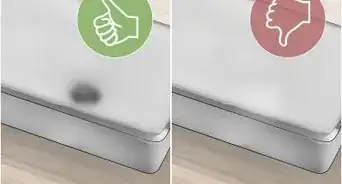
4Polish tarnished spots on the piece to see if they wipe away. Silver tarnishes in the air, so you may notice a dark patina on a real silver item. If the item is truly silver, the patina will wipe away with a silver polishing cloth. Rub a polishing cloth on the tarnished area, then check your cloth for black smudges. If you see smudges on the cloth, it’s likely the item is silver.[5]
- It's best to use a polishing cloth made for silver because it won't damage the surface of your silver items. However, you may be able to wipe off the tarnish with any fabric.
- Spots on the cloth means the tarnish is rubbing off.
-
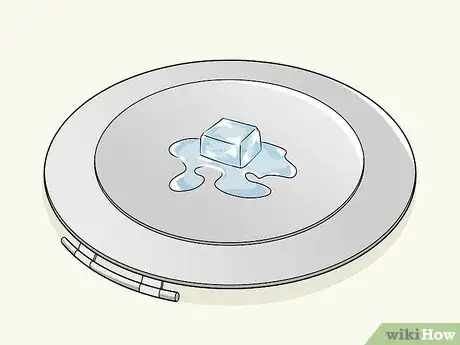
5Watch how fast an ice cube melts on the item. Silver has a high thermal conductivity, which means it holds heat. Because of this, ice will melt more quickly on silver than on other metals. To test if your item is silver, get out 2 ice cubes. Place 1 on the potentially silver item and 1 on a different surface, then see if the ice cube on the silver melts faster.[6]
- For instance, you might put an ice cube on a suspected silver ring and on a plate.
- Make sure that both the item you’re testing and the other item you use are both at room temperature.
Performing an Acid Test
-
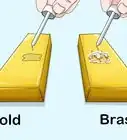
1Do an acid test as a last resort because it can cause damage. The area you test with the acid will be stained after the test. Only do an acid test on coins if they’re for scrap. If you’re testing serving ware or a piece of jewelry, only do the acid test on an inconspicuous area if you do it at all.[7]
- If the item is real silver, the acid should leave a dark brown or red spot on the item, though some acids may leave a white spot.
-
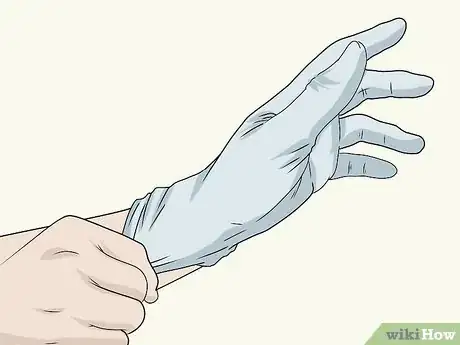
2Wear gloves while handling acids. Acids are super dangerous, so always wear gloves while using them. Use disposable rubber gloves and dispose of them after each time you handle the acid.[8]
- If you buy a kit, it may come with gloves.
-
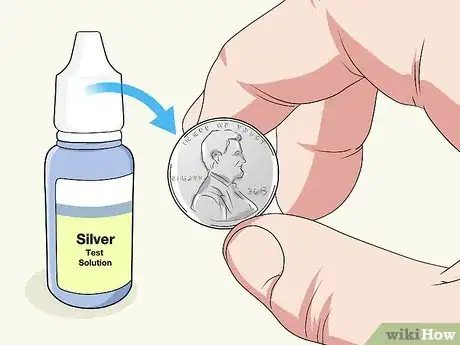
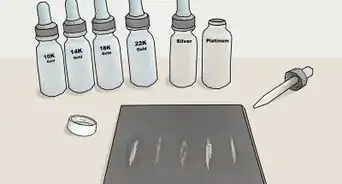
3Purchase silver testing acid. It’s best to buy acid made for testing silver so you can rely on the results. Buy your testing acid online or from a silver recycler.[9]
- Typically, the acid solution for testing silver consists of nitric acid and muriatic acid. However, some products consist of only nitric acid.
Warning: Although vinegar is a mild acid, it’s best to avoid using it to test silver. Vinegar tarnishes and erodes silver, so it will damage your item. Additionally, this result is very slow to develop, so it’s not a practical way to test silver.[10]
-
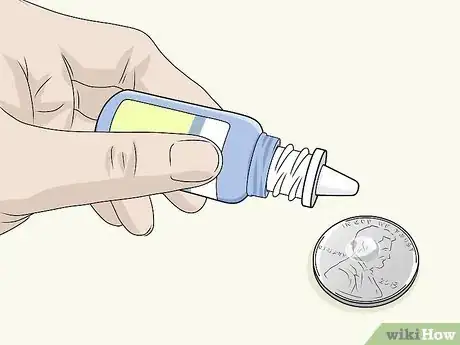
4Apply 1 drop of the acid solution to the item you’re testing. Your bottle of acid should have a dropper on the top. Hold the bottle of acid over your suspected silver item, then squeeze out 1 drop. Only apply 1 drop, as the acid will damage the item.[11]
- If you suspect the item is silver plated, you may need to etch the surface of the item first. To do this, scrape a metal object, like the end of a screwdriver, against the item to make a small gash in the surface. However, keep in mind that this will damage the item’s silver plate.[12]
-
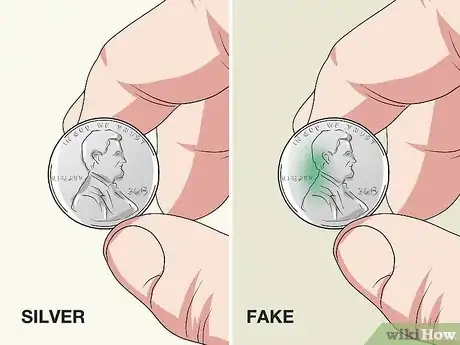
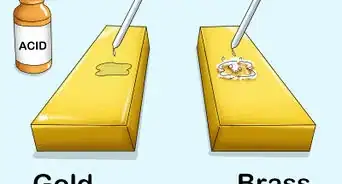
5Check the color of the drop of the acid to determine if the item is silver. Watch the acid for a few minutes to see if it changes color. If the item isn’t silver, the acid and the area under it will change color. Typically, a fake item will turn green. If the item is silver, it may not change color or could slightly change color.[13]
- Read and follow your kit’s instructions to determine if your item is real silver. Your kit should give you a color guide to use.
- For instance, the color of the acid will probably remain the same or turn reddish brown if the item is real silver. On the other hand, the acid may turn a green or light brown color if the item is fake.
Warnings
- Be extremely careful when handling an item you don’t own. If you damage the item, you will likely have to buy it.⧼thumbs_response⧽
References
- ↑ https://www.consumer.ftc.gov/articles/0293-gold-silver-jewelry
- ↑ https://www.youtube.com/watch?v=e6mqbQtr9DM&feature=youtu.be&t=32
- ↑ https://www.youtube.com/watch?v=e6mqbQtr9DM&feature=youtu.be&t=23
- ↑ https://www.youtube.com/watch?v=BqLH-nTZEOc&feature=youtu.be&t=153
- ↑ https://www.southernliving.com/does-sterling-silver-tarnish
- ↑ http://scienceline.ucsb.edu/getkey.php?key=5857
- ↑ https://www.youtube.com/watch?v=jY0bbRx3K64&feature=youtu.be&t=146
- ↑ https://www.youtube.com/watch?v=KfpOC7Ah2-s&feature=youtu.be&t=6
- ↑ https://www.youtube.com/watch?v=jY0bbRx3K64&feature=youtu.be&t=31
