X
This article was co-authored by wikiHow Staff. Our trained team of editors and researchers validate articles for accuracy and comprehensiveness. wikiHow's Content Management Team carefully monitors the work from our editorial staff to ensure that each article is backed by trusted research and meets our high quality standards.
This article has been viewed 105,250 times.
Learn more...
Deco mesh is a loosely-woven material commonly used to make wreaths. It comes in all sorts of colors and widths, and it even has wires in the sides to help to hold its shapes. Unfortunately, deco mesh frays easily. Luckily, there are a few things that you can do to help minimize or eliminate fraying.
Steps
Method 1
Method 1 of 3:
Using a Soldering Iron
-
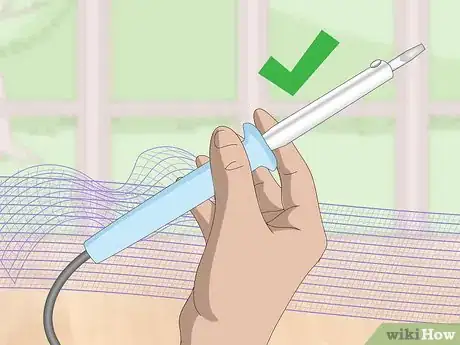
1Purchase a soldering iron with a wide tip. A regular soldering iron with a pointed tip will still work, but something with a flat, wide tip (like a flat-head screwdriver) will get the job done faster.[1]
- You may be able to rent a soldering iron from a hardware store.
- A wood burning tool will also work just fine for this. Choose one with a wide, flat tip.
-
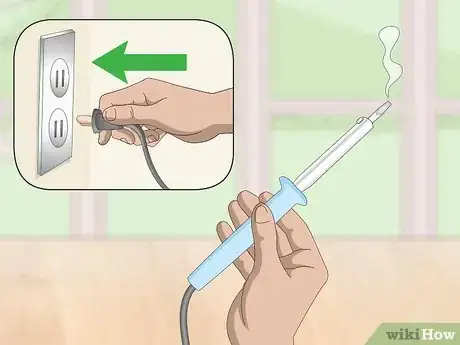
2Turn the soldering iron on. How you do this and how long it takes for it to heat up depends on what you have. Some soldering irons plug into the wall while others are battery-operated. Most soldering irons only need a few minutes to heat up.
- Work on the next step while the soldering iron heats up to save time.
Advertisement -
3Set your deco mesh on a hard, heat-safe surface. Do not cut the mesh with scissors. Simply measure out how much you want to cut, then set it down on a hard, heat-safe surface. If you need to, draw a "cutting" guideline with a marker across the mesh.
- You don't want to cut the mesh because it will fray.
- The surface must be hard, otherwise the soldering iron won't cut through the mesh. It must be heat-safe too, otherwise you'll create a fire hazard.
-
4Press the tip of the soldering iron against the deco mesh. The wider edge of the iron's tip should be parallel to the end of the mesh. This way, you'll have more surface area to "cut" with. Hold it there for a few seconds until it melts through the fibers.[2]
- Deco mesh is composed of lengthwise and widthwise fibers. Place the tip between 2 widthwise fibers.
- Gently rock the iron back and forth to help it "cut" through the mesh.
- Start on the edge of the deco mesh. It does not matter if it's on the left or right side.
-
5Work your way across the deco mesh. Lift the soldering iron and move it across the mesh to the next un-cut segment. Press it down again, and rock it back and forth until it cuts through the mesh. Keep doing this until you reach the other side of the mesh.[3]
- The heat of the iron will cause the fibers to melt and separate. The hot plastic will bind to itself and prevent fraying.
Advertisement
Method 2
Method 2 of 3:
Hemming the Mesh
-
1Cut the deco mesh 1 inch (2.5 cm) longer than you want it. This extra length will be enough to create a 1⁄2 in (1.3 cm) hem at each end. It would be an even better idea to cut the mesh a little longer than that, just in case it starts to fray as you work.[4]
- Instead of scissors, consider using a rotary cutter. This will help reduce fraying even more.
-
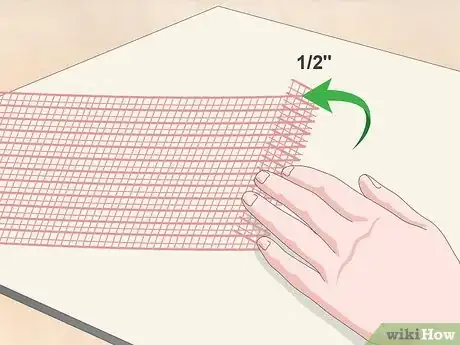
2Fold the end down by 1⁄2 inch (1.3 cm). If the mesh is wired, then pinch the edges to help create a crease. Pinch your way across the folded edge, or weigh the mesh down with a heavy book.[5]
- Just do one end for right now.
-
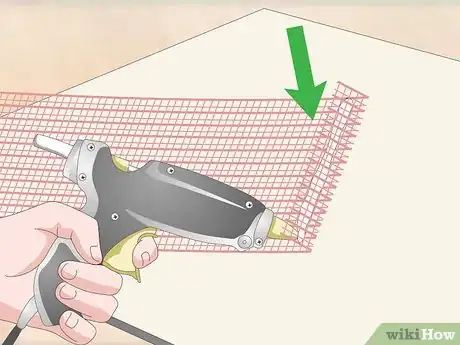
3Open up the hem and coat it with glue. You can use hot glue or fabric glue for this. Hot glue will dry faster, but it will also turn opaque and stiff. Fabric glue will need longer to dry, but it will dry clear and not as stiff.[6]
- Use a low-temp hot glue gun. This way, you can handle it with your fingers without getting blisters.
- Work on a sheet of wax paper or freezer paper so that the glue doesn't sink through the mesh and stick to your table.
-
4Cover the hem with wax paper and press it down. The wax paper will help keep your fingers clean since you won't be touching the glue directly. If you used hot glue, then it will act as a buffer between your skin and the hot glue.
- If you don't have wax paper, you can use freezer paper instead.
-
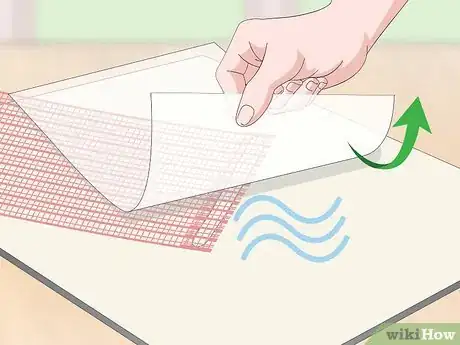
5Peel the paper away and let the glue dry. If you used hot glue, this should only take 2 to 3 minutes. You'll know it is dry once it turns opaque again (the same color as the glue stick). If you used fabric glue, then you may have to wait 15 to 20 minutes.
-
6Hem and glue the other end of the deco mesh. Set the mesh down on a sheet of wax paper and fold the end down by 1⁄2 inch (1.3 cm). Coat the inside of the hem with hot glue or fabric glue, then fold it back down. Cover it with another sheet of wax paper and press it with your finger. Remove the paper when you're done.
- After this, the mesh is ready to use.
Advertisement
Method 3
Method 3 of 3:
Trying Other Methods
-
1Use a rotary cutter instead of scissors to minimize fraying. This won't completely eliminate fraying, but it will help reduce it. It is a great option if you don't have the time to glue the mesh.
- Make sure that you cut across the mesh, between 2 widthwise fibers.
-
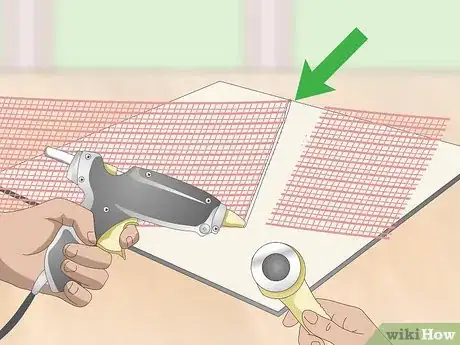
2Cut the mesh, then place drops of glue on the corners for a quick solution. Cut across the mesh between 2 widthwise fibers. Place a drop of glue on each corner of the mesh, then wait for the glue to set. This will help keep that last, widthwise strand in place. Trim the excess lengthwise fibers down, if desired.[7]
- Hot glue will work just fine here, but you can also use fabric glue or super glue.
- Hot glue will set within minutes, while fabric glue and super glue will need 10 to 15 minutes to set.
-
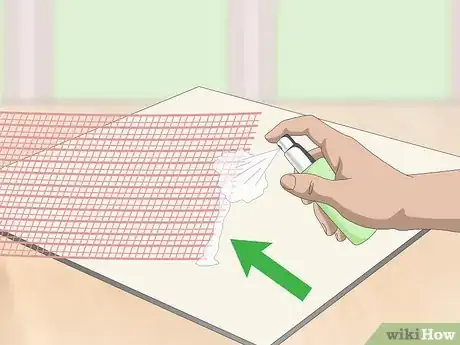
3Spray the edge with hairspray, spray adhesive, or clear, acrylic sealer. Cut your deco mesh to the length you want it between 2 widthwise fibers. Set it down on a sheet of paper, then mist it with your desired product. Wait for it to dry, then flip it over and spray the other side. Let it dry completely before using it.
- How long the deco mesh takes to dry depends on the product that you used. Hairspray will dry the fastest.
- You don't need to spray the entire deco mesh—just the edge.
-
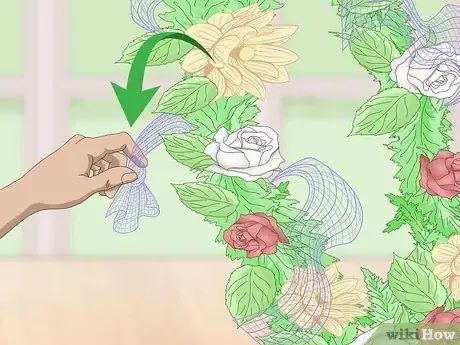
4Knot the end of the mesh if it won't be visible. This is a great option if you are making a deco mesh wreath where the ends are behind the wire frame and out of sight. Form a loop in the deco mesh, then pull the end through it. Guide the knot towards the end of the mesh, then trim off the excess.[8]
- Keep the ends of your mesh on the back of the wreath so that they aren't visible.
Advertisement
Community Q&A
Did you know you can get answers researched by wikiHow Staff?
Unlock staff-researched answers by supporting wikiHow
-
QuestionHow do you fluff deco mesh after storage?
 wikiHow Staff EditorThis answer was written by one of our trained team of researchers who validated it for accuracy and comprehensiveness.
Staff Answer wikiHow Staff EditorStaff Answer
 -
QuestionHow do you store deco mesh?
 wikiHow Staff EditorThis answer was written by one of our trained team of researchers who validated it for accuracy and comprehensiveness.
Staff Answer wikiHow Staff EditorStaff AnswerIf you’ve already incorporated it into a decoration, such as a wreath or garland, just place it carefully in a container, such as a box or bin, and take care not to put anything on top that will crush the mesh. You can store unused deco mesh by winding or rolling it and placing it in a drawer or container so it won’t get flattened.
 -
QuestionWhat do you cut deco mesh with?
 wikiHow Staff EditorThis answer was written by one of our trained team of researchers who validated it for accuracy and comprehensiveness.
Staff Answer wikiHow Staff EditorStaff Answer
Advertisement
Things You'll Need
Using a Soldering Iron
- Wide-tipped soldering iron
- Deco mesh
Hemming the Mesh
- Scissors or rotary cutter
- Hot glue or fabric glue
- Wax paper or freezer paper
- Deco mesh
Trying Other Methods
- Scissors or rotary cutter
- Hot glue or fabric glue
- Hairspray, spray adhesive, or clear, acrylic sealer
- Deco mesh
References
- ↑ https://www.youtube.com/watch?v=jDF4u0fdF2o&feature=youtu.be&t=25s
- ↑ https://www.youtube.com/watch?v=jDF4u0fdF2o&feature=youtu.be&t=1m35s
- ↑ https://www.youtube.com/watch?v=jDF4u0fdF2o&feature=youtu.be&t=1m
- ↑ https://tipjunkie.com/projects/no-fray-mesh-ribbon-tips-tutorial/
- ↑ https://tipjunkie.com/projects/no-fray-mesh-ribbon-tips-tutorial/
- ↑ https://tipjunkie.com/projects/no-fray-mesh-ribbon-tips-tutorial/
- ↑ https://www.clumsycrafter.com/2012/03/deco-mesh-wreath-tutorial/
- ↑ http://www.apinchofjoy.com/2013/12/how-to-make-a-simple-mesh-garland/
About This Article
Advertisement
