X
wikiHow is a “wiki,” similar to Wikipedia, which means that many of our articles are co-written by multiple authors. To create this article, volunteer authors worked to edit and improve it over time.
This article has been viewed 26,587 times.
Learn more...
If you've ever have had an iPhone app that doesn't have an iPad app and now need full functionality of the iPhone app, all while operating on your iPad, do not despair. There is certainly a way to reclaim the app on your iPad too.
Steps
Method 1
Method 1 of 2:
Through a Search
-
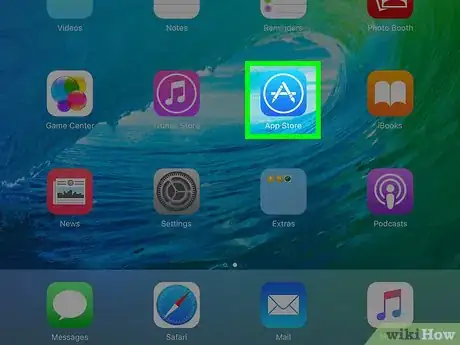
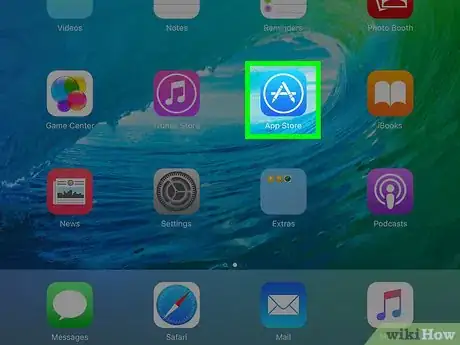
1Open up the AppStore integrated app on your iPad.
-
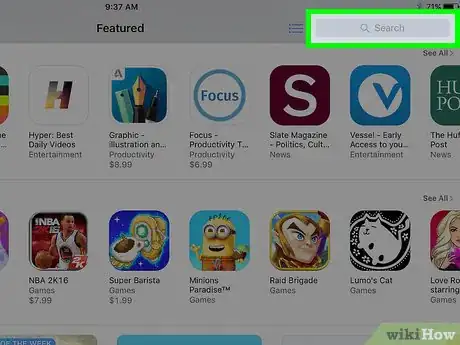
2Run a search for the app, as you would have for any application. Don't worry if the app doesn't come up in your search.Advertisement
-
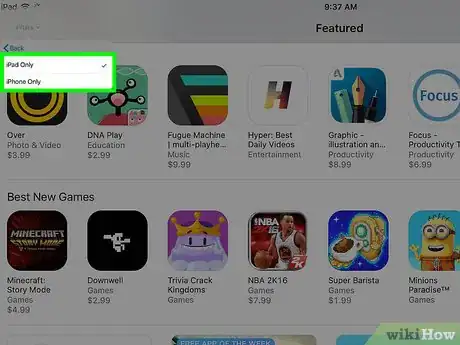
3Look for and tap the button on the search results page that says "iPad Only". It is a drop-down menu that contains this and one other choice. This button will be found almost directly below the "iPad" designation and wireless icon near the top left of the screen.
-
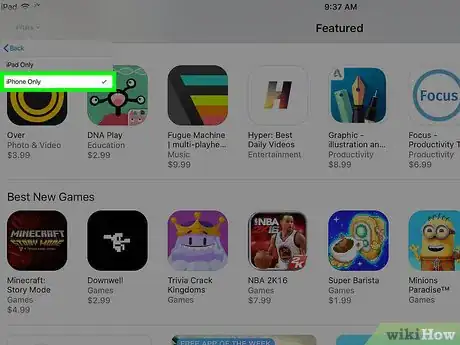
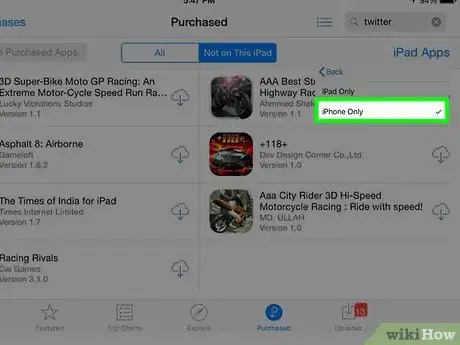
4Tap the "iPhone Only" choice to narrow it to apps on an iPhone that can be installed on your device.
-
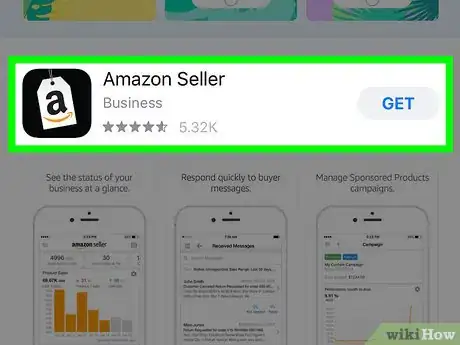
5Look for and install the iPhone App you'd like to install. If you don't see the one you'd like to install, recognize that you must be connected to the same Apple ID that you used to purchase it. Tap the Cloud icon to begin, as these apps are stored in the cloud.
- Go through the normal steps to install the iPhone app on your iPad, including typing in the password for your account and going through any initialization steps. If your iPad has TouchID and you've set it up, initialize its setup that way. If you don't remember what the iPhone app was supposed to do, or if you want additional information, you can tap on the app's icon from this screen and read the "Description" area and tap the Cloud button from there instead.
-
6Exit out of the AppStore by pressing the Home button, once you've noticed the app has finished installing. The button that once just looked like a cloud, will now change into an "OPEN" button.
-
7Set up or log into the app. However, this will depend on the process the publisher requests you use to get into their app.
Advertisement
Method 2
Method 2 of 2:
Through One of Your Purchased iPhone Apps
-
1Open up the AppStore integrated app on your iPad.
-
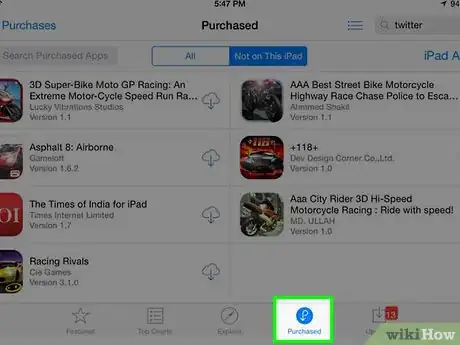
2Tap the Purchased tab button from the buttons near the bottom of the screen.
-
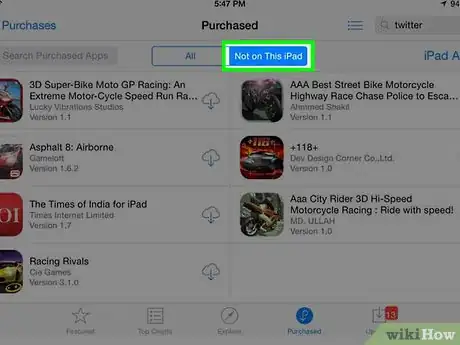
3Tap the Not on This iPad switch button. This should give you the button you'll need to find your installed iPhone apps.
-
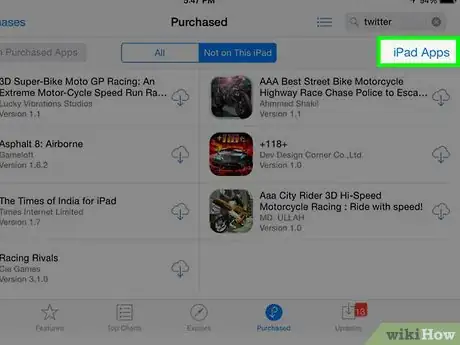
4Look for and tap the iPad Apps button. Doing so will expose additional options to choose from that you'll need.
-
5Tap iPhone Apps from the selection list.
-
6Look for and install the iPhone App you'd like to install. If you don't see the one you'd like to install, recognize that you must be connected to the same Apple ID that you used to purchase it. Tap the Cloud icon to begin, as these apps are stored in the cloud.
- Go through the normal steps to install the iPhone app on your iPad, including typing in the password for your account and going through any initialization steps. If your iPad has TouchID and you've set it up, initialize its setup that way. If you don't remember what the iPhone app was supposed to do, or if you want additional information, you can tap on the app's icon from this screen and read the "Description" area and tap the Cloud button from there instead.
-
7Exit out of the AppStore by pressing the Home button, once you've noticed the app has finished installing. The button that once just looked like a cloud, will now change into an "OPEN" button.
-
8Set up or log into the app. However, this will depend on the process the publisher requests you use to get into their app.
Advertisement
About This Article
Advertisement
